

















How To Create an EZCA Cloud PKI Subscription in the Azure Marketplace
Azure-based EZCA subscriptions are currently only available in the public Azure commercial cloud. If you are using a sovereign cloud (Azure Government/GCC High), please create your EZCA subscription directly through our EZCA Portal.
Prerequisites to Create an EZCA Cloud PKI Subscription in Azure
Before you can create an EZRADIUS cloud RADIUS subscription in Azure, you will need to ensure the following prerequisites are met:
- You have an active Azure subscription
- You have consented the Keytos Entra ID applications in your tenant
How To Create an EZCA Cloud PKI Subscription in Azure - Step-by-Step Guide
Follow these steps to create an EZCA cloud PKI subscription in Azure via the Azure Marketplace, using your existing Azure subscription and MACC credits:
How to Create an EZCA SaaS Subscription in Azure
-
Navigate to the Azure Portal and log in with your Azure credentials.
-
Click on + Create a resource.
-
Type “EZCA” in the search bar and press enter.
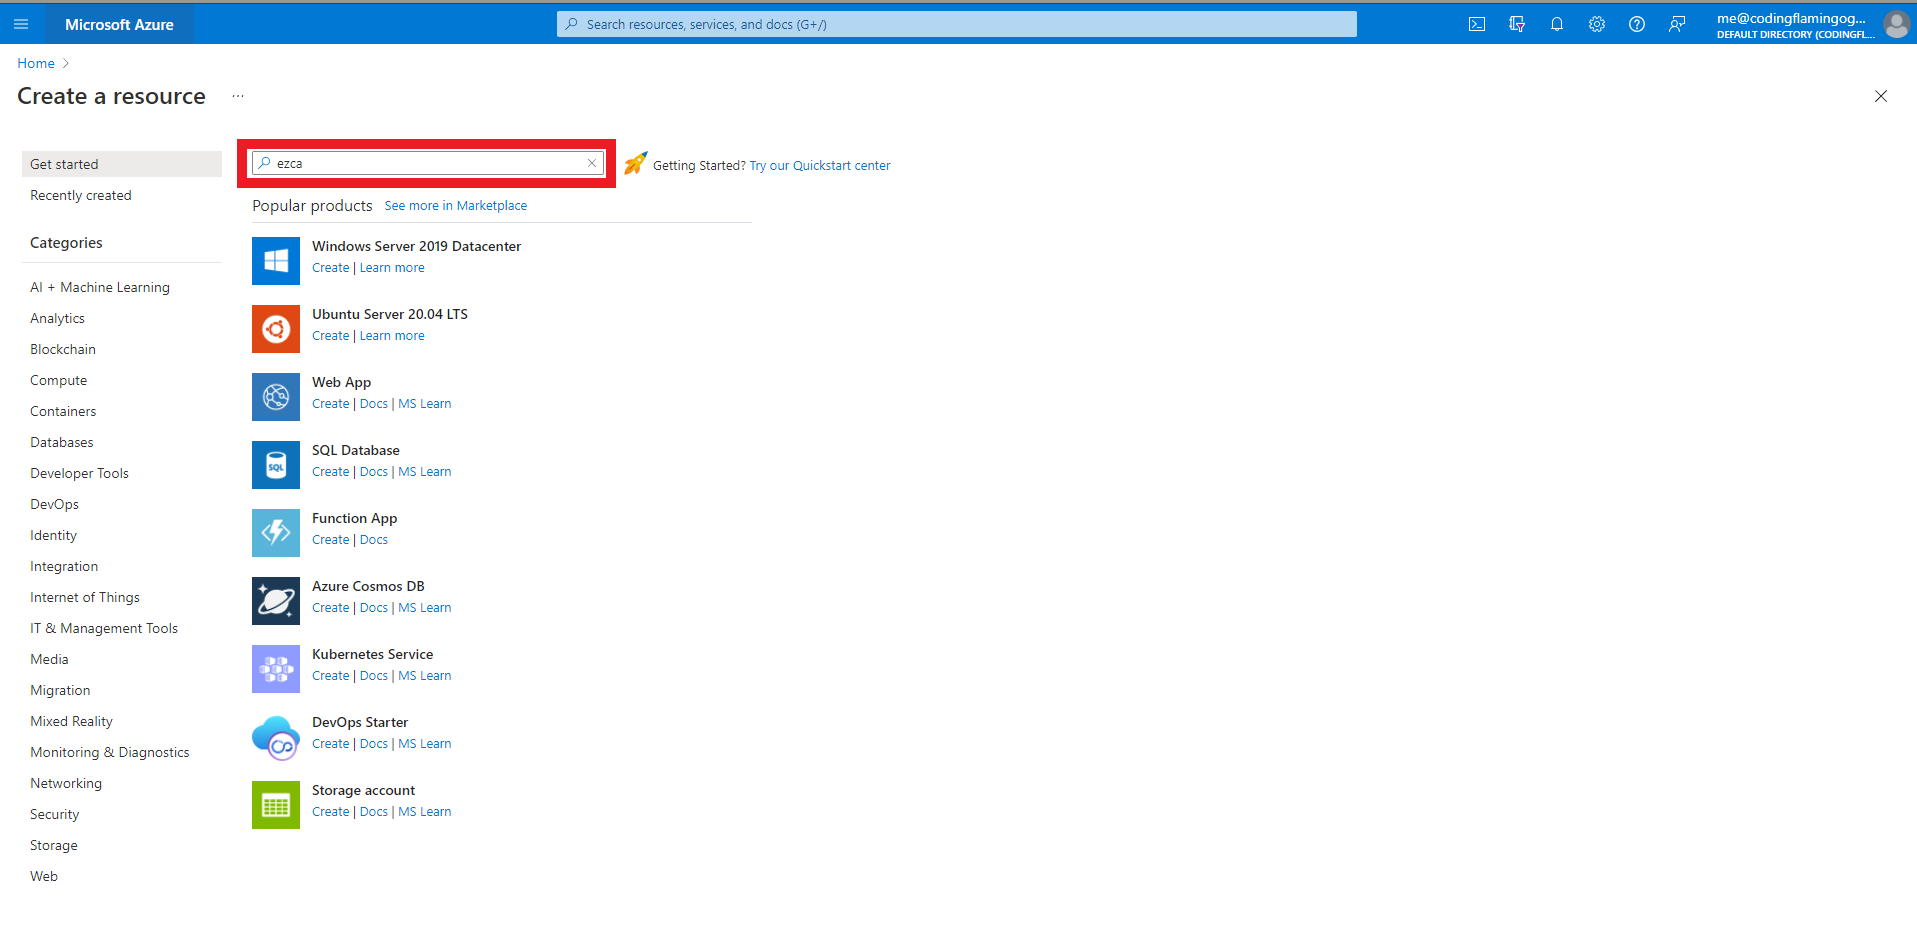
-
Select the EZCA offering from Keytos LLC which matches your data residency requirements.
- EZCA PKI SaaS For Azure - A global is hosted globally in multiple global datacenters.
- EZCA EU PKI SaaS For Azure - A European Union instance hosted only in European datacenters.
- EZCA Australia - An Australia instance hosted only in Australian datacenters.
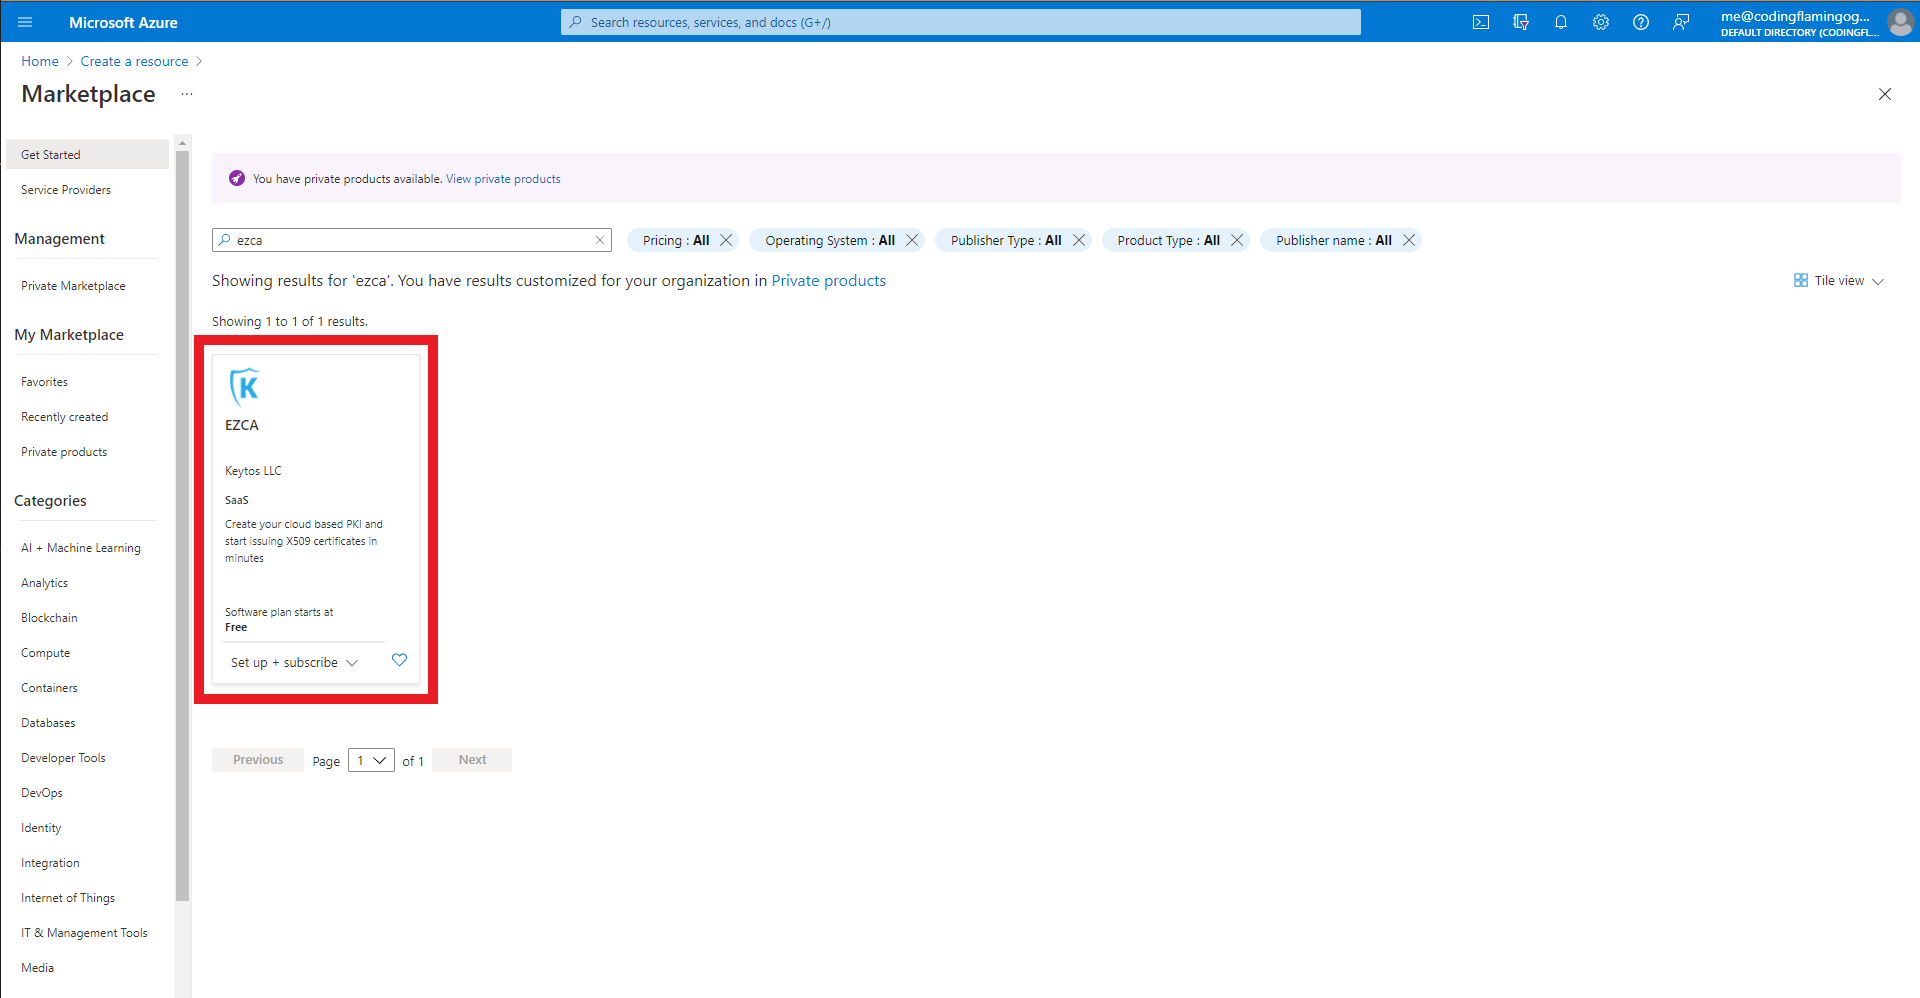
-
Select your desired Azure Subscription.
-
Select your desired plan. For more information refer to the EZCA Plan Comparison.
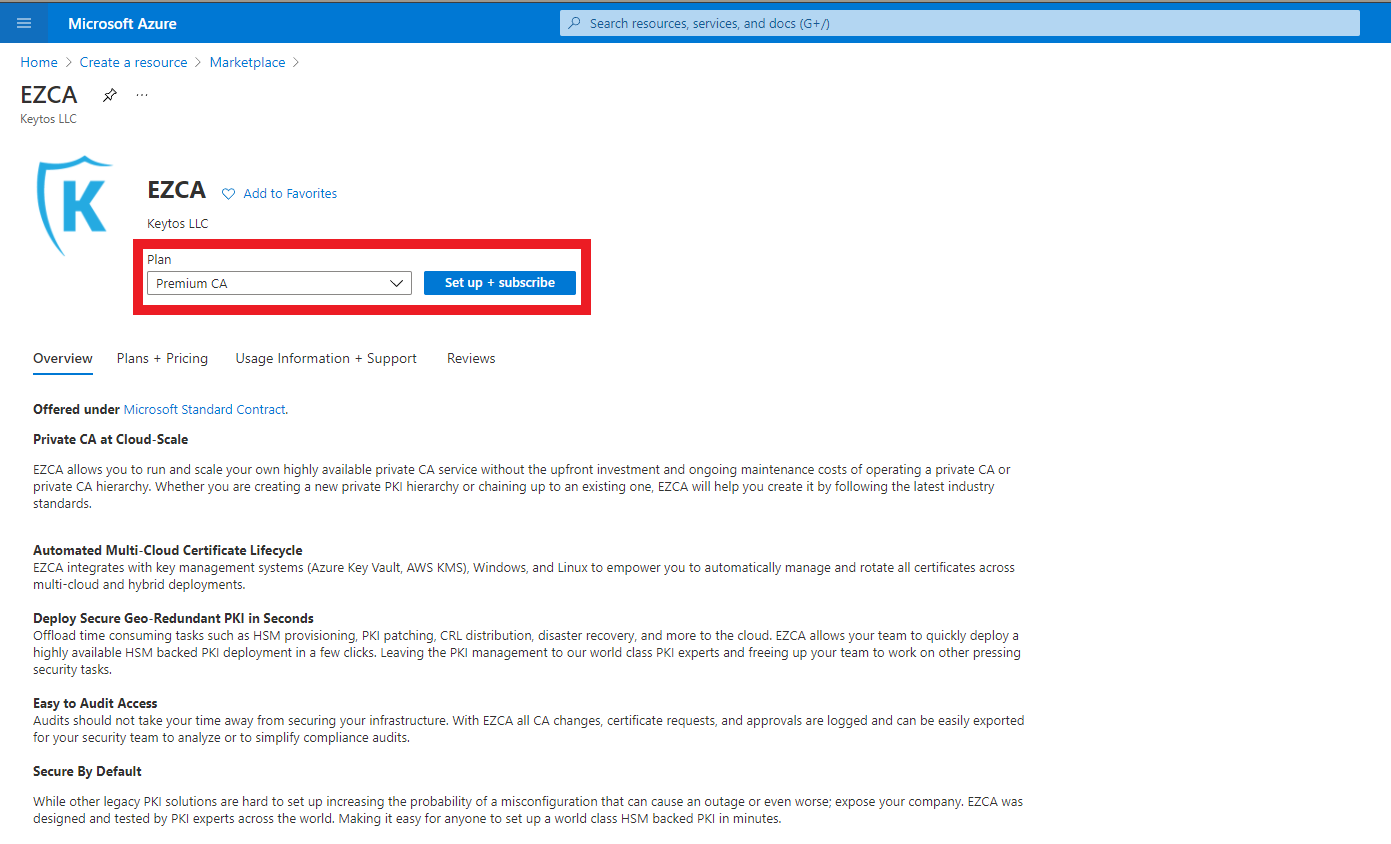
-
Click the Subscribe button
-
Enter your Azure Subscription and Resource Group information, and name your Resource.
-
Click the Review + subscribe button
-
Enter your email and phone number
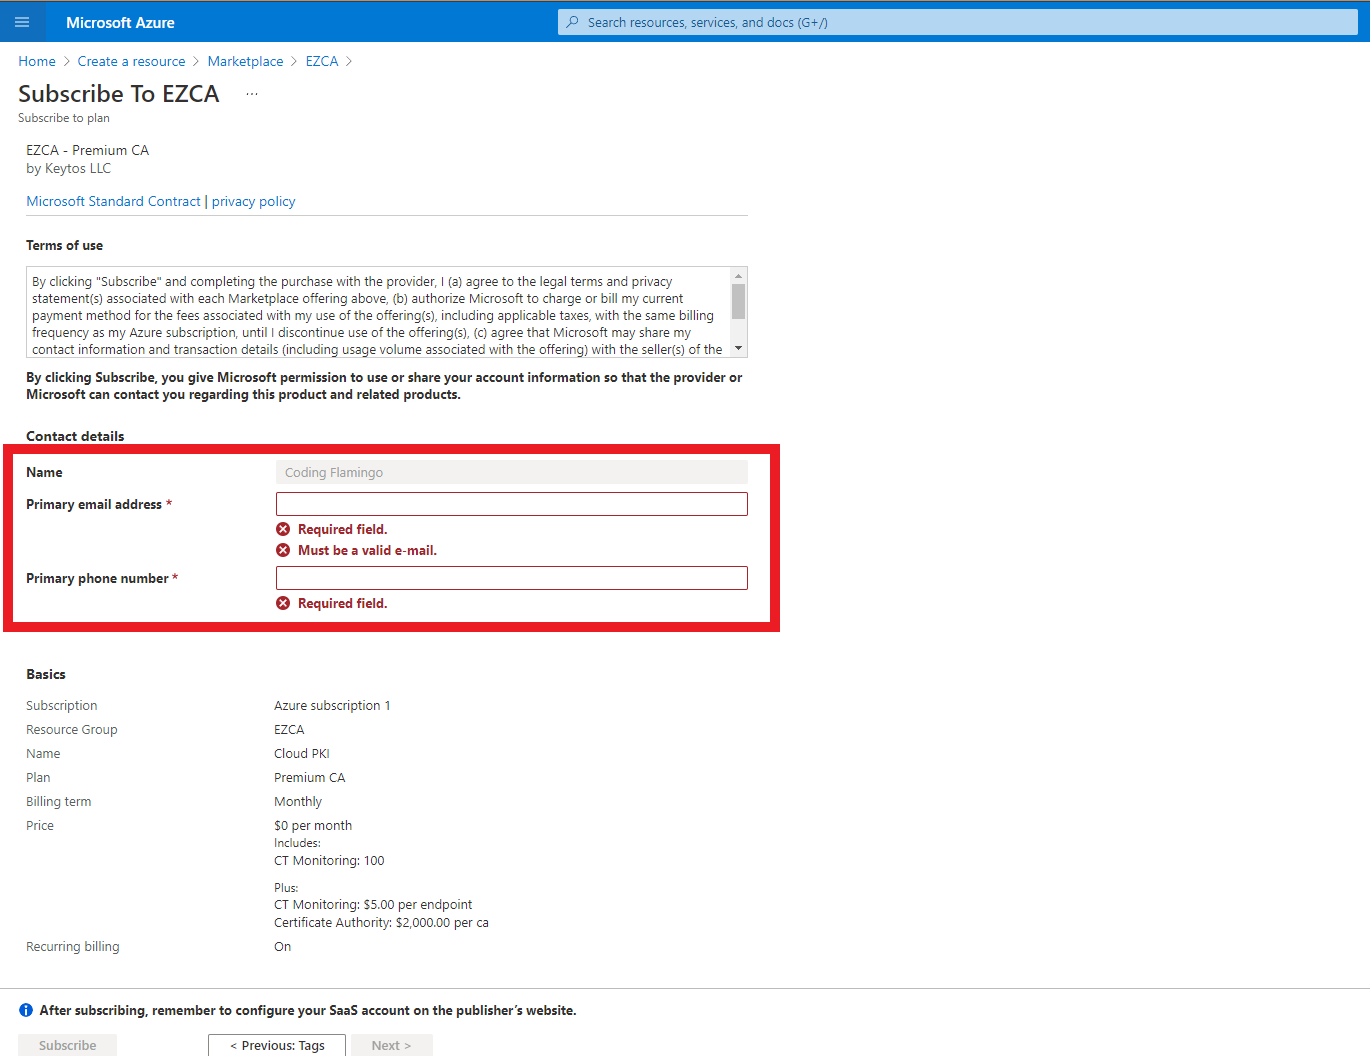
-
Click the Subscribe button
-
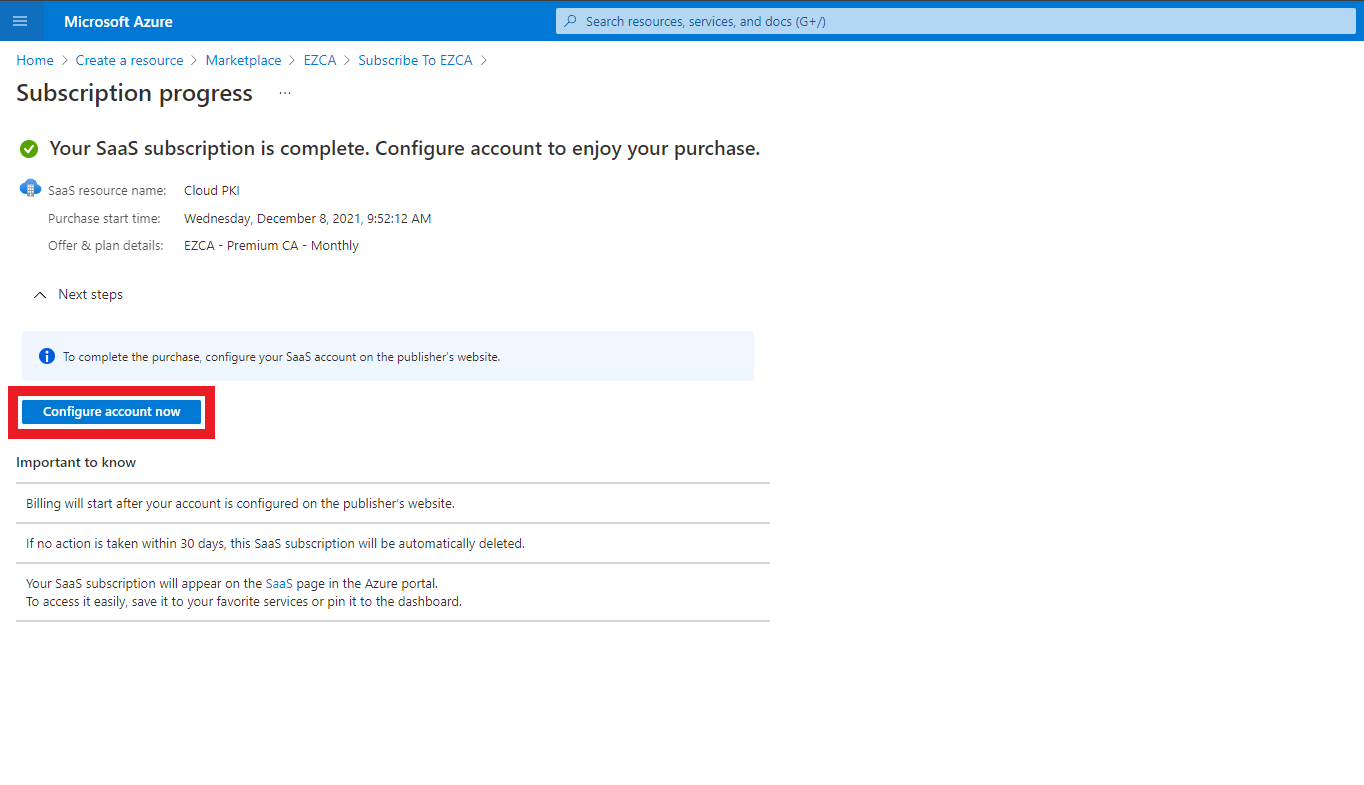
Once the subscription is complete, click the “Configure account now” button.
How to Activate and Configure Your EZCA Cloud PKI Subscription in EZCA
-
This will redirect you to our portal. Sign in with the same Microsoft account which you used to create the resource in Azure.
-
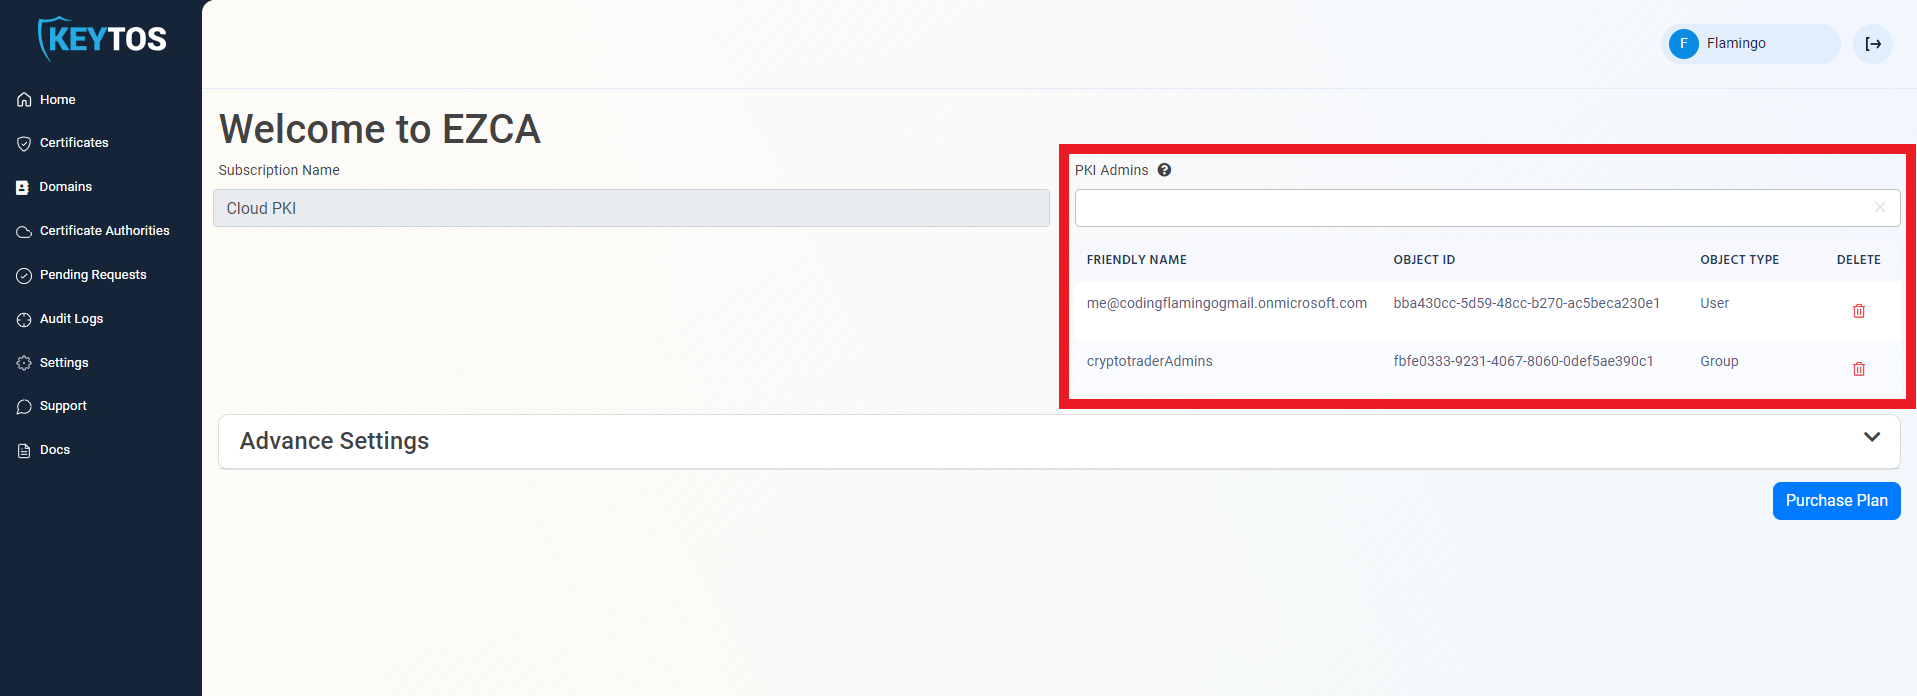
Enter the AAD Users or Groups that represent your PKI Admins
WarningPKI Administrators will be able to Create, Manage, and Delete Certificate Authorities. This should be a small group of security minded people.
-
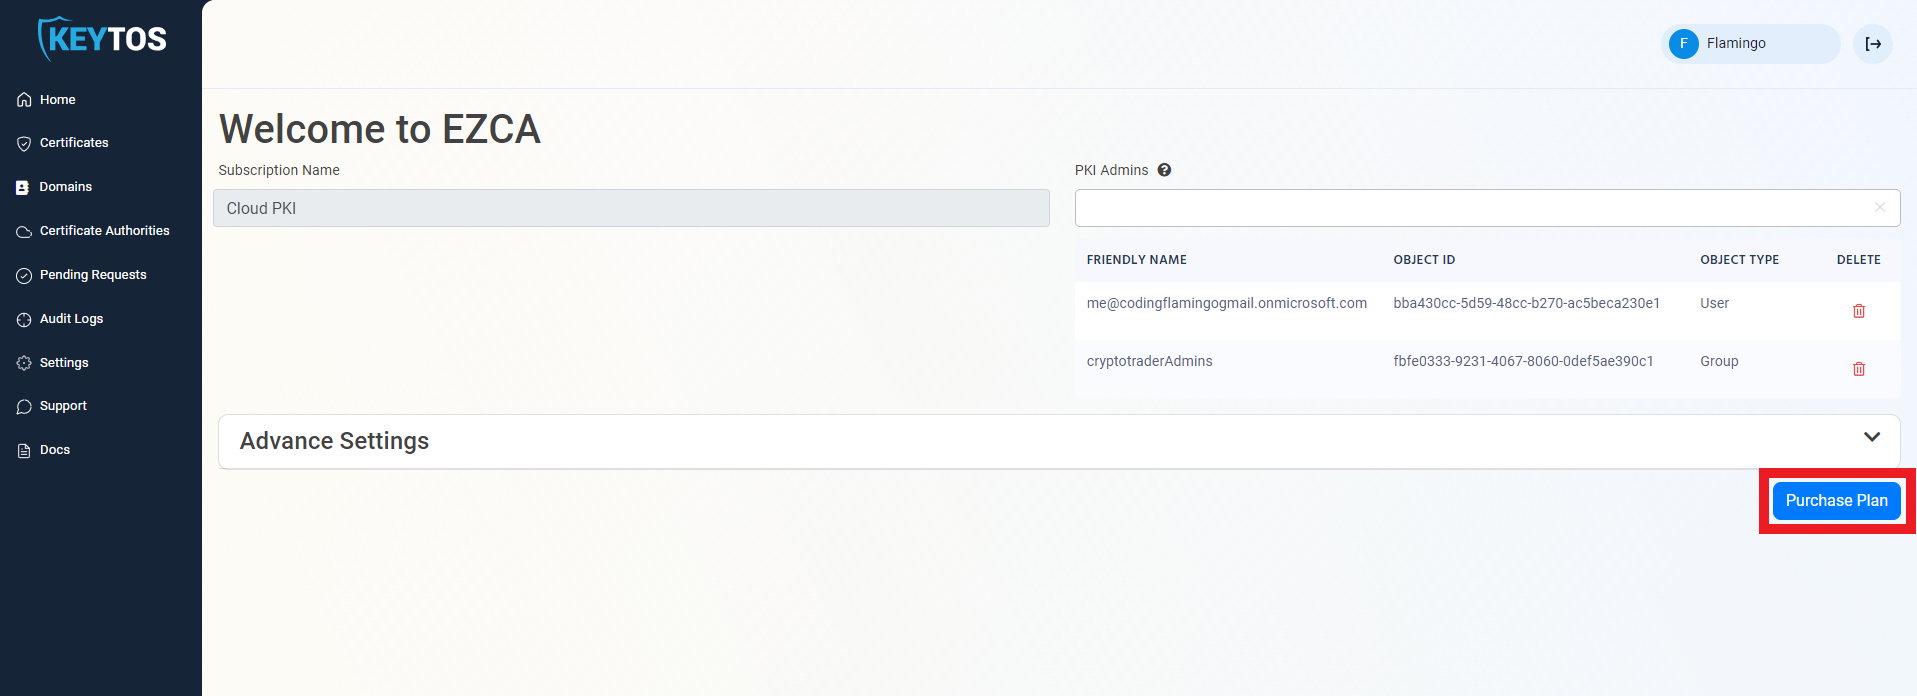
Once the subscription details are correct, click the “Purchase Plan” button.
-
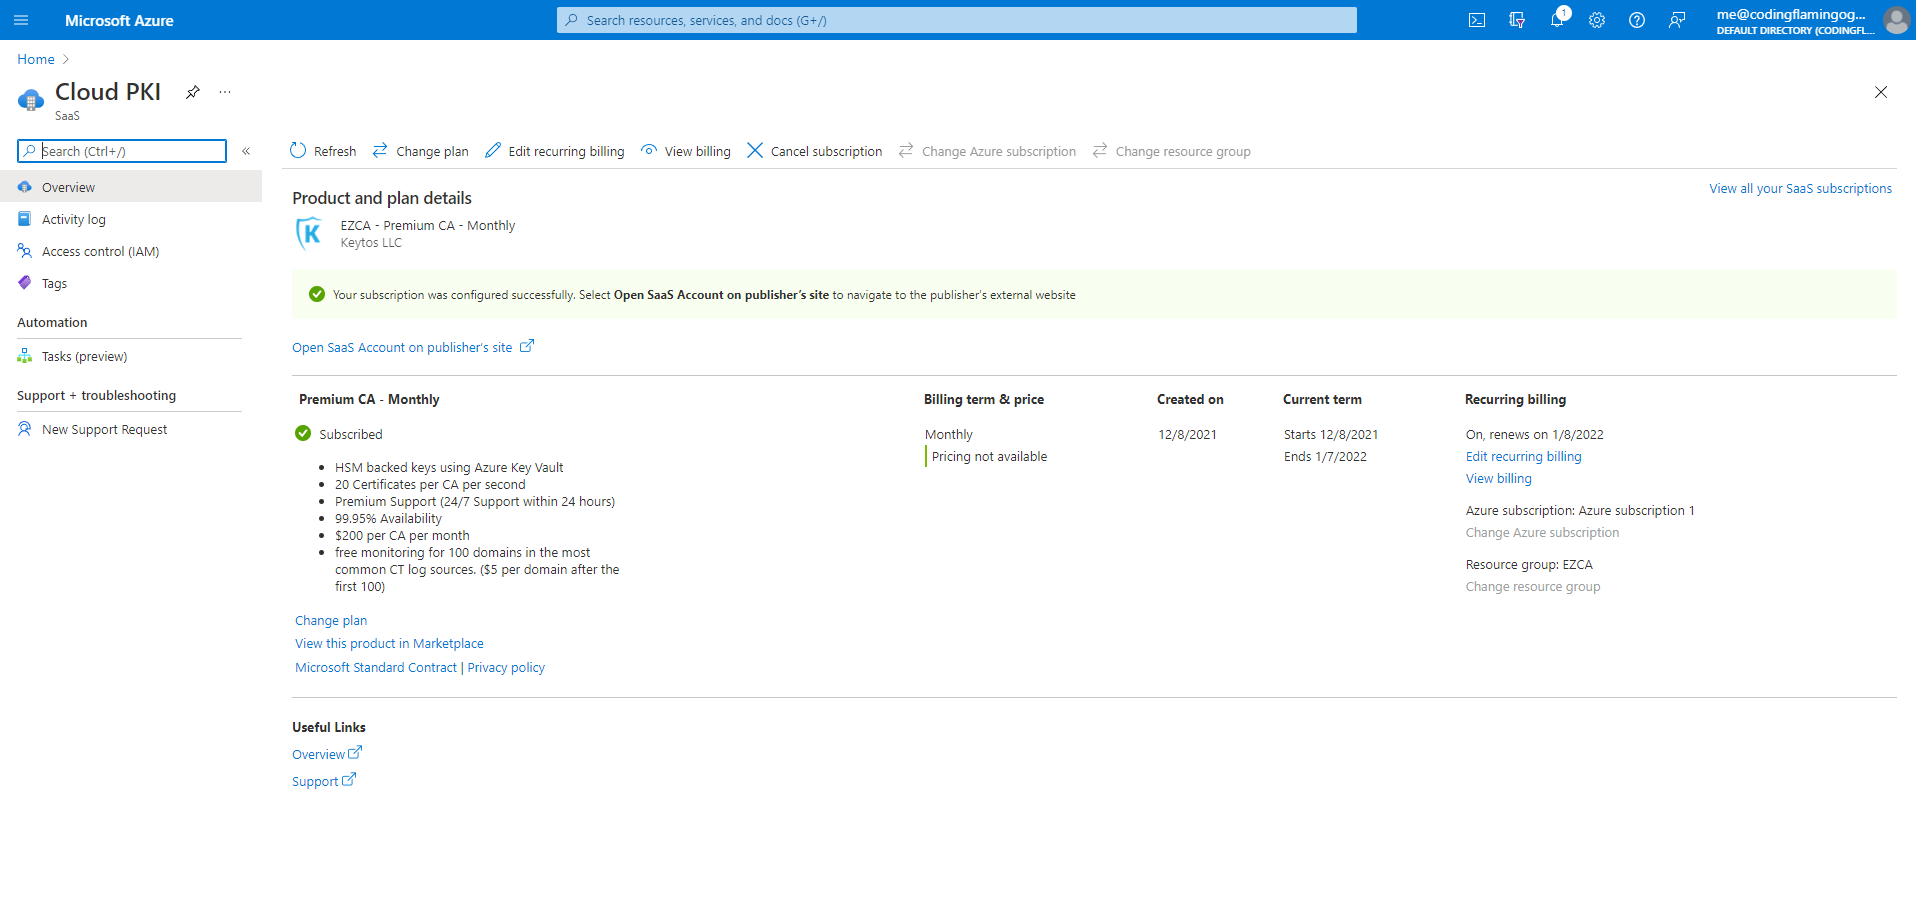
Once you have registered in EZCA, the status in your Azure resource will change to subscribed.
-
Once you are registered, you are ready to create your first CA: