How to Create Cloud RADIUS Network Policies - Video Tutorial
Introduction - Managing your Cloud RADIUS Network Policies in EZRADIUS
Network policies are used to define the conditions under which a user or device can connect to your network. In this page we will go through how to create network policies in EZRADIUS.
Navigate to your EZRADIUS portal.
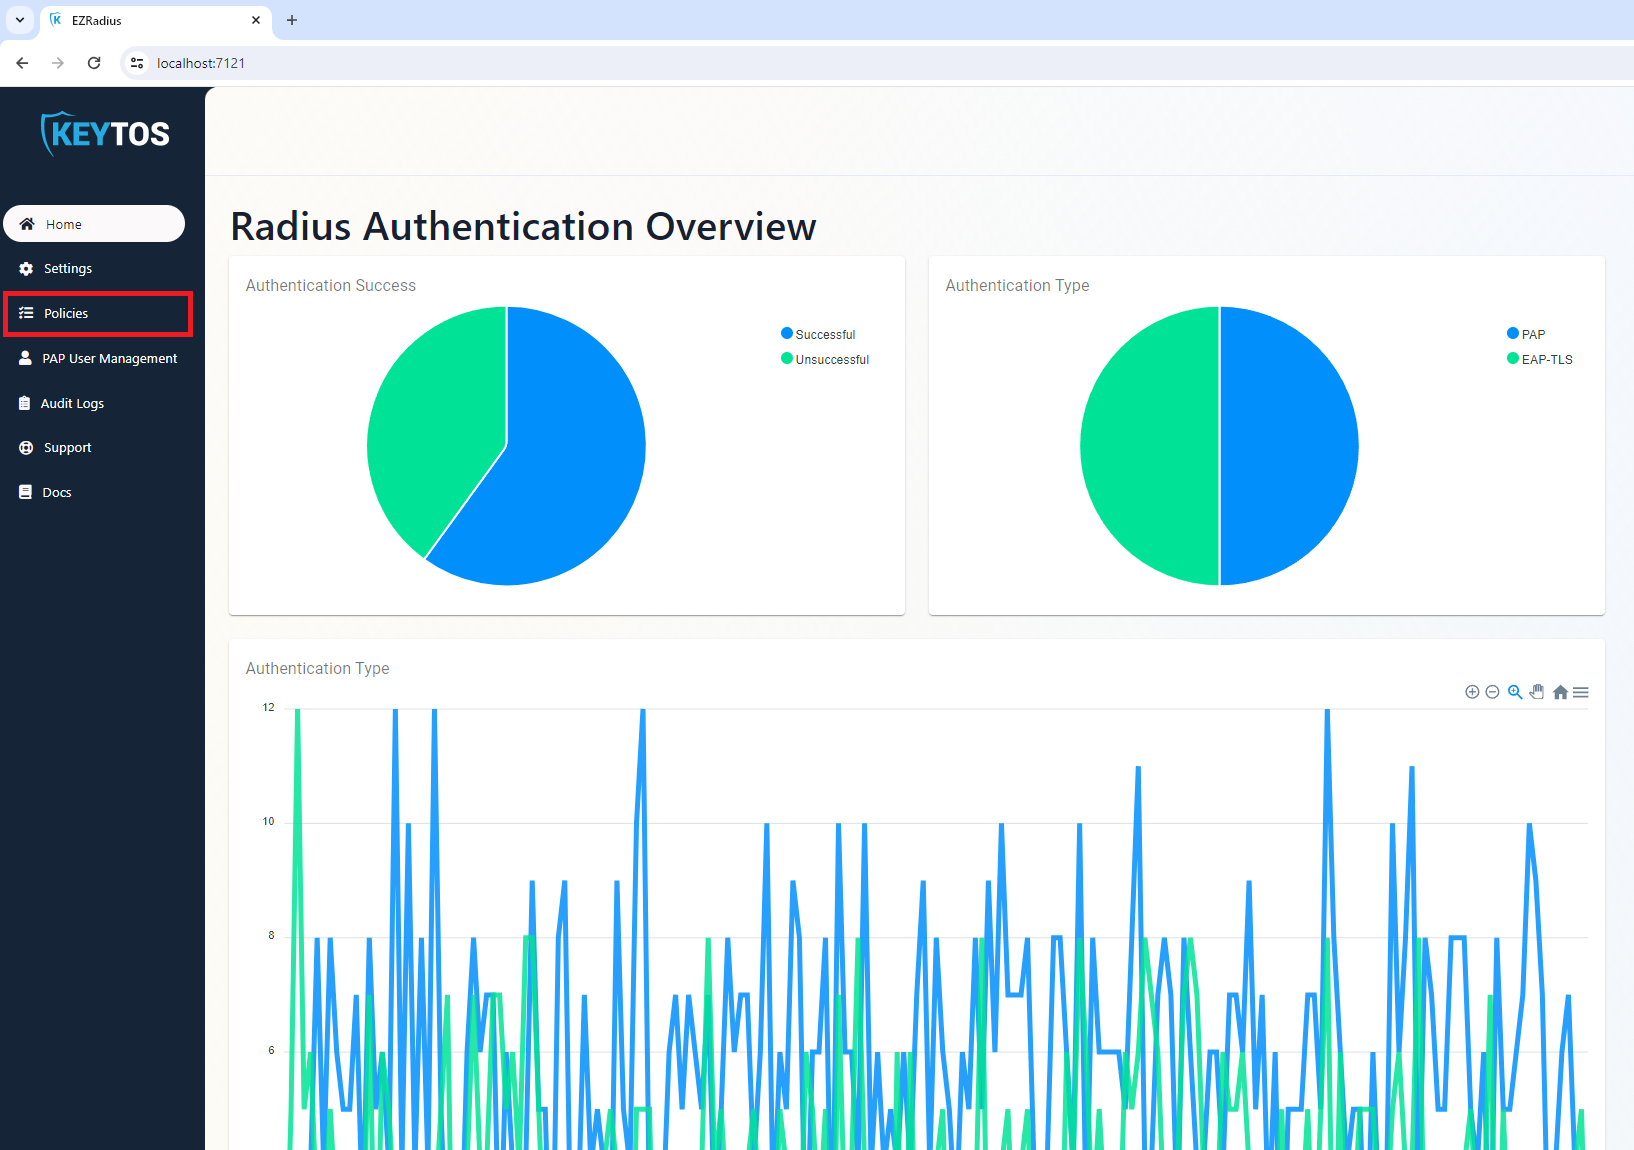
Click on Policies:
Within the Policies page, you will see three sections:
Server Details - This section contains the server details you will need to connect to the cloud RADIUS service.
Existing Network Policies - This section contains the list of RADIUS server policies you have previously created.
Create New Policy - This button allows you to create a new RADIUS server policy, including Radsec and Classic RADIUS options.
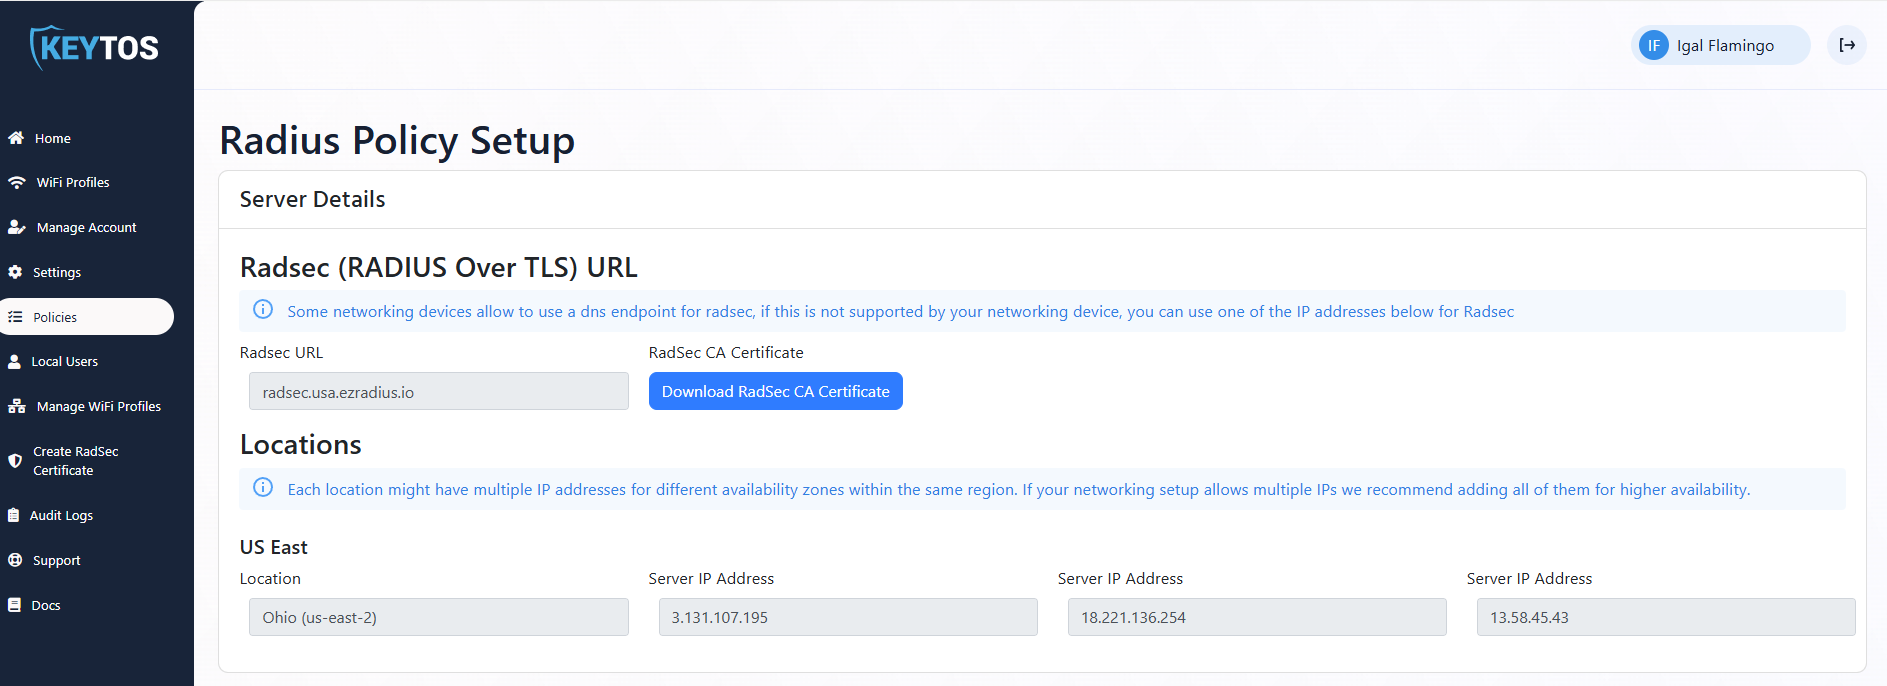
Cloud RADIUS Server Details
At the top of the page, you will see the Server Details section. This section contains vital information which you will need to connect to the cloud RADIUS service. EZRADIUS offers two different ways to connect: “Classic” RADIUS (which is over port 1812 for Authentication and port 1813 for Accounting), and RadSec (RADIUS over TLS) (which uses port 2083). Both methods can be used simultaneously and leverage the same IP addresses.
Field
Description
RadSec (RADIUS Over TLS) Certificate
This is the certificate authority (CA) that is used to authenticate the RADIUS server when using RadSec. You will need to install this CA on your networking devices to ensure they trust the RADIUS server.
Locations
EZRADIUS operates with both geo-redundant and zonal-redundant servers. Depending on which instance you selected during plan creation, you will have different server addresses. Make sure to use the correct server addresses for your instance.
Existing Cloud RADIUS Network Policies
Directly below the server details, you will see the list of existing network policies you have created. You can click on each policy to view or edit its settings. If you make any changes to a policy, make sure to click Save Changes at the top right of the policy.
Create New Cloud RADIUS Policy
Before we dive into creating a new RADIUS network policy, let’s understand the different components of a network policy. Each policy has the following components:
Component
Description
Name
A unique name for the policy.
RadSec Accepted Certificate Authorities or Certificates
The certificate authorities and/or certificates that are accepted for the Radsec authentication. These certificates authorities and/or certificates will be used to authenticate your networking infrastructure to our cloud RADIUS with Radsec.
Classic RADIUS
The IP addresses that are allowed to connect to your Cloud RADIUS server (these are the Public IP addresses of your access points).
Accepted Certificate Authorities
The certificate authorities that are accepted by the RADIUS server. These CAs are used to validate the certificates of the devices connecting to the network.
Server Certificate
EAP-TLS requires the server uses a certificate that the devices trust for identification of the server. This is the server certificate.
Access Policies
The conditions under which a user or device can connect to your network. This includes the authentication methods, the network policies, and the user groups that are allowed to connect as well as VLAN rule assignment. Each policy can have multiple access policies and they are checked in the order they are sorted.
In this page we go through how set up your EZRADIUS access policy for certificates. The first step into modernizing your RADIUS infrastructure and gaining full visibility into your network.
In this page we go through how set up your EZRADIUS instance to delegate authentication to Entra ID. The first step into modernizing your RADIUS infrastructure and gaining full visibility into your network.
In this page we go through how set up your EZRADIUS access policy for local users using PAP, MSCHAPv2, and EAP-TTLS. This allows legacy devices and users without certificates to authenticate against Cloud RADIUS.