Keytos Documentation > EZRADIUS Cloud Based RADIUS Documentation > How To Distribute WiFi Profiles to non managed devices with EZRADIUS > How To Distribute EAP-TLS WiFi Profiles to non managed Apple iOS devices with EZRADIUS
How To Distribute EAP-TLS WiFi Profiles to non managed Apple iOS devices with EZRADIUS
How to Distribute WiFi Profiles to non managed iOS devices with EZRADIUS
If your organization has enabled self-service wifi profiles you can create your own Wi-Fi profile for your Apple devices. There are three ways to obtain them: EZRADIUS sent you an email with the profile, you downloaded the profile from the EZRADIUS portal, or request an email with your profile from the EZRADIUS portal.
How to Install Wi-Fi Profile on MacOS - Video Tutorial
Option 1: Email Received from EZRADIUS
If you received an email from EZRADIUS with your profile, follow these steps to install the profile on your Apple device:
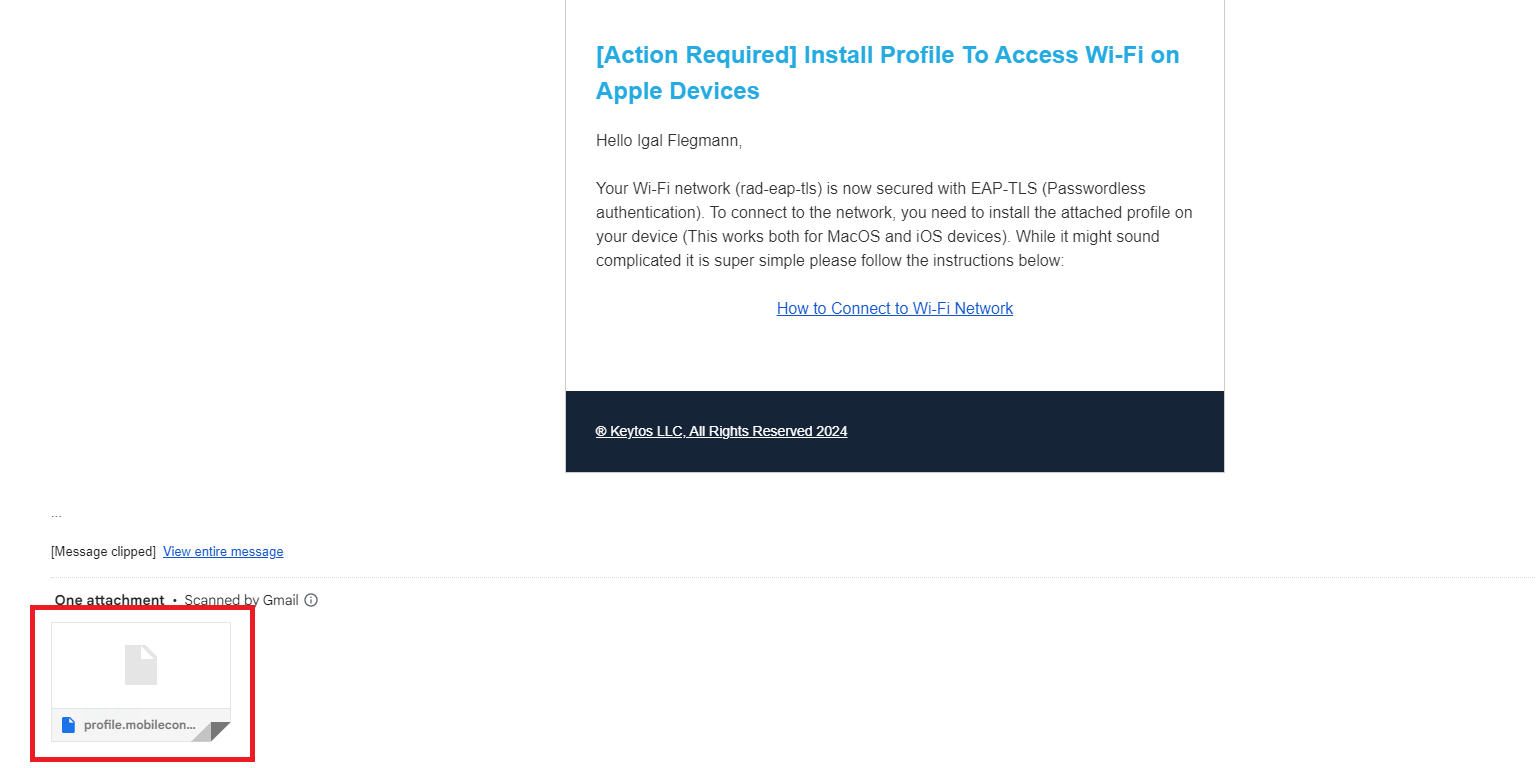
- Open the email from EZRADIUS on your Mac, iPhone, or iPad (you can repeat these steps in all of your devices) and click on the ‘profile.mobileconfig’ attachment.
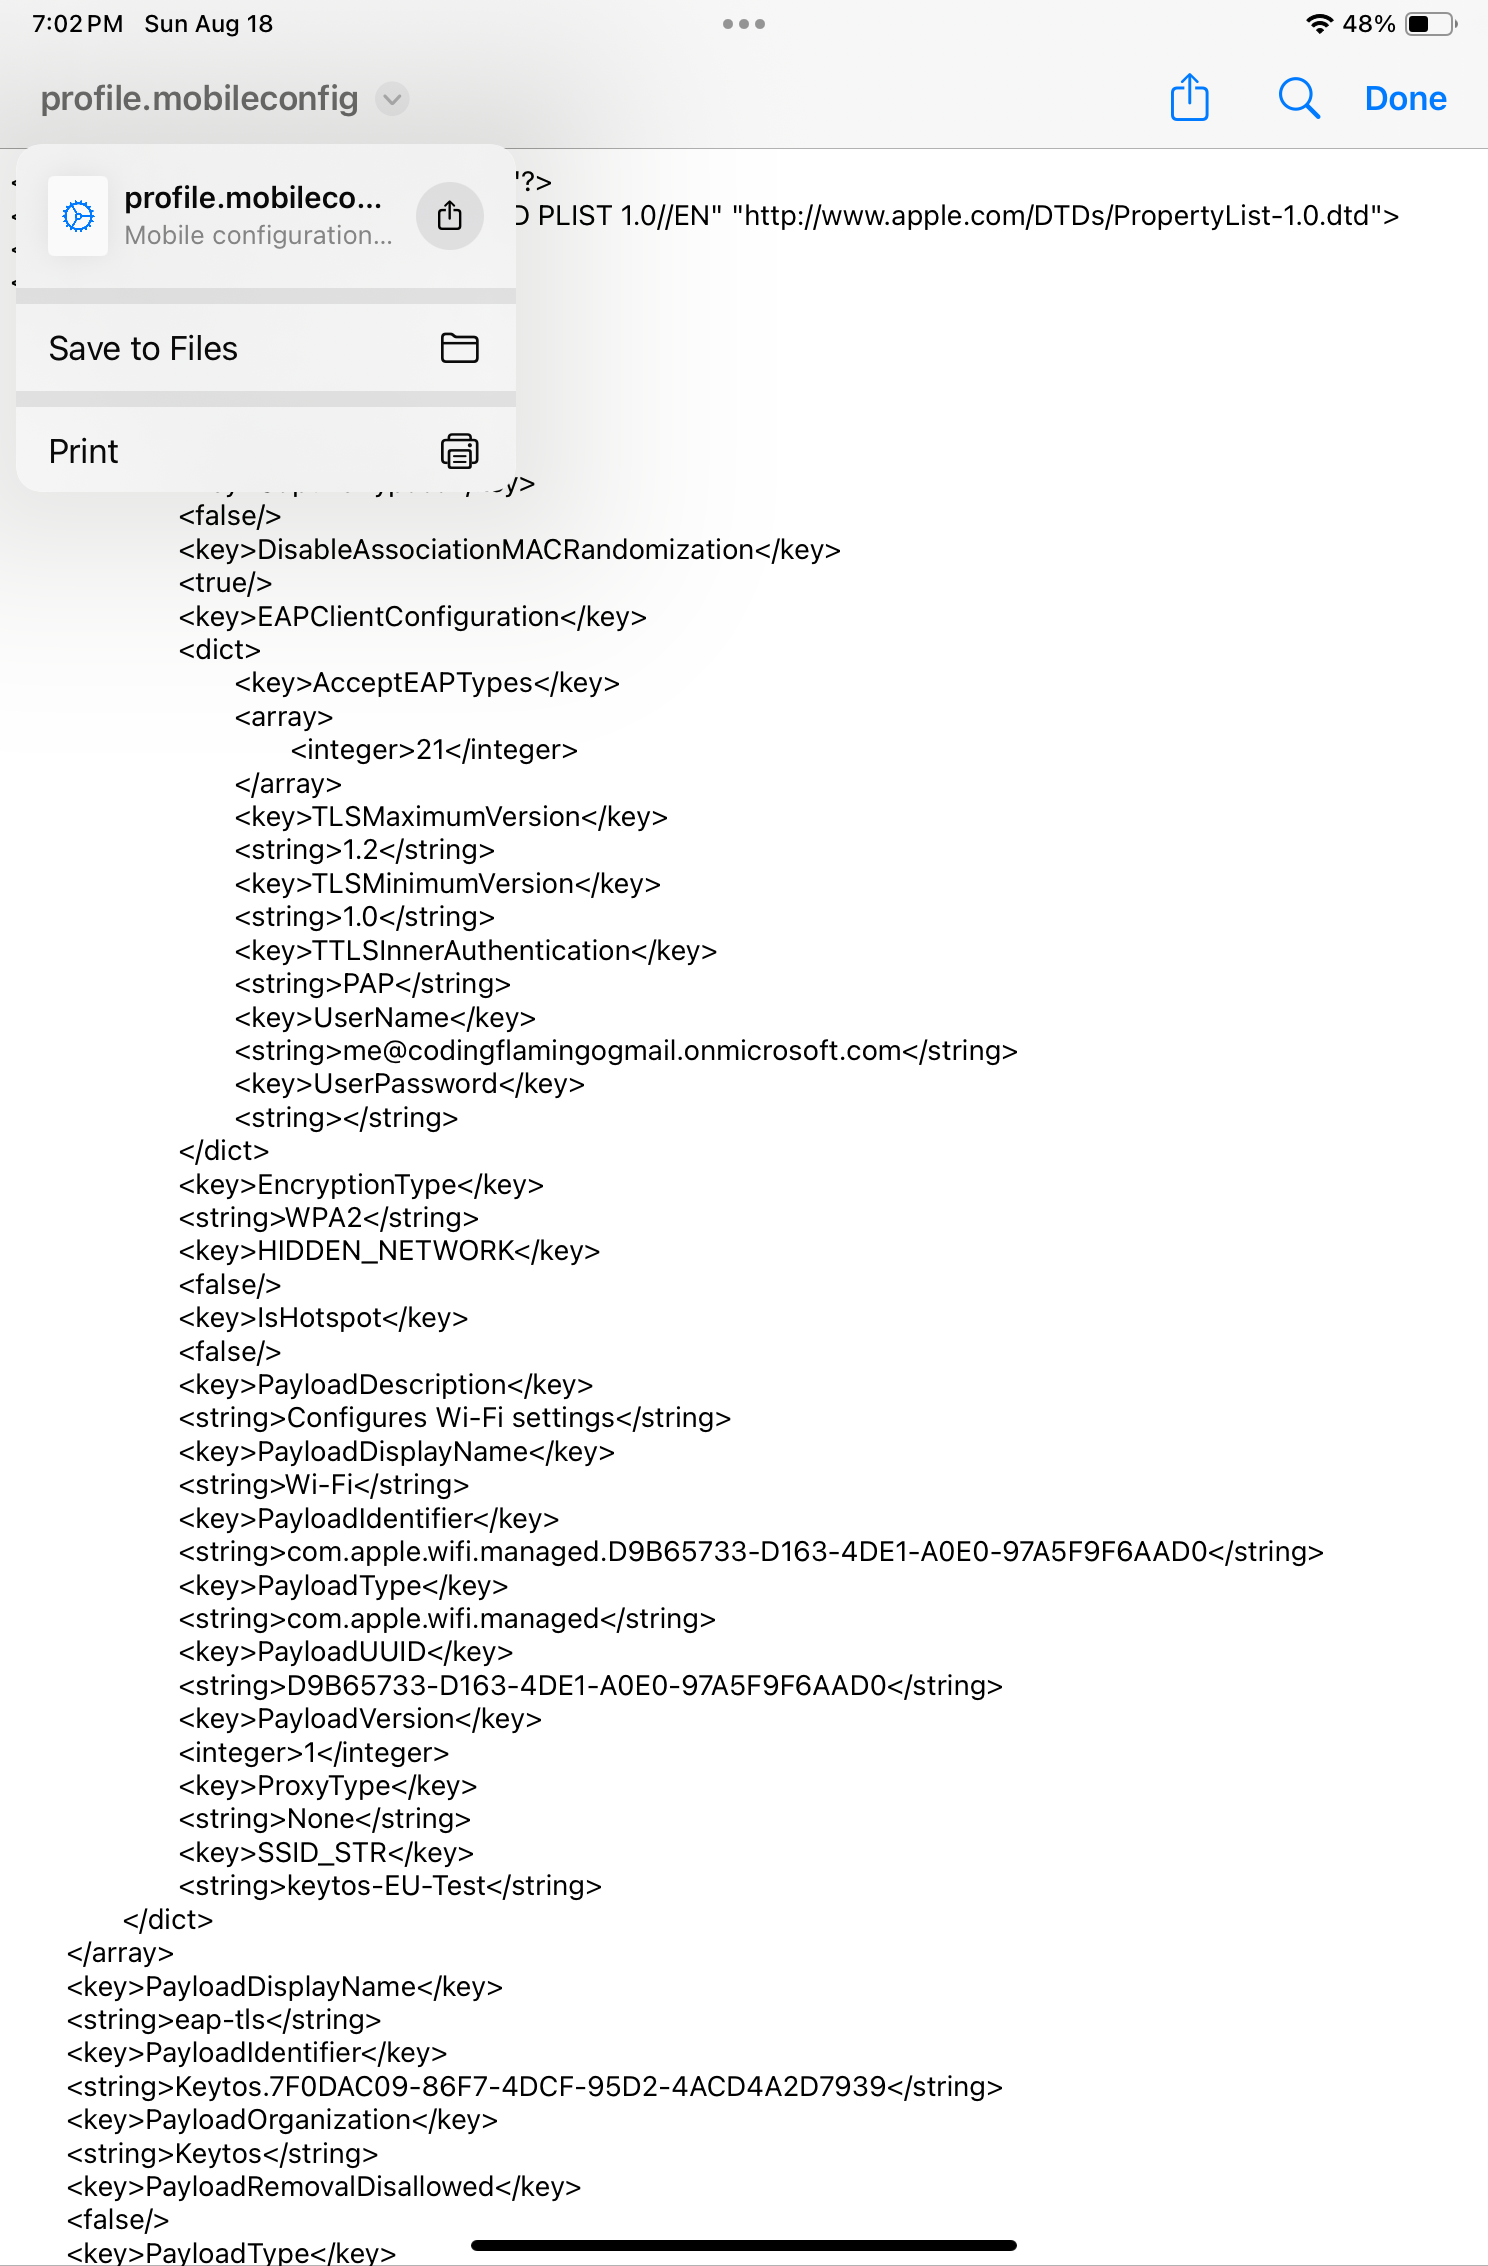
- Click save the attachment on your device.
How to Install Wi-Fi Profile on iOS
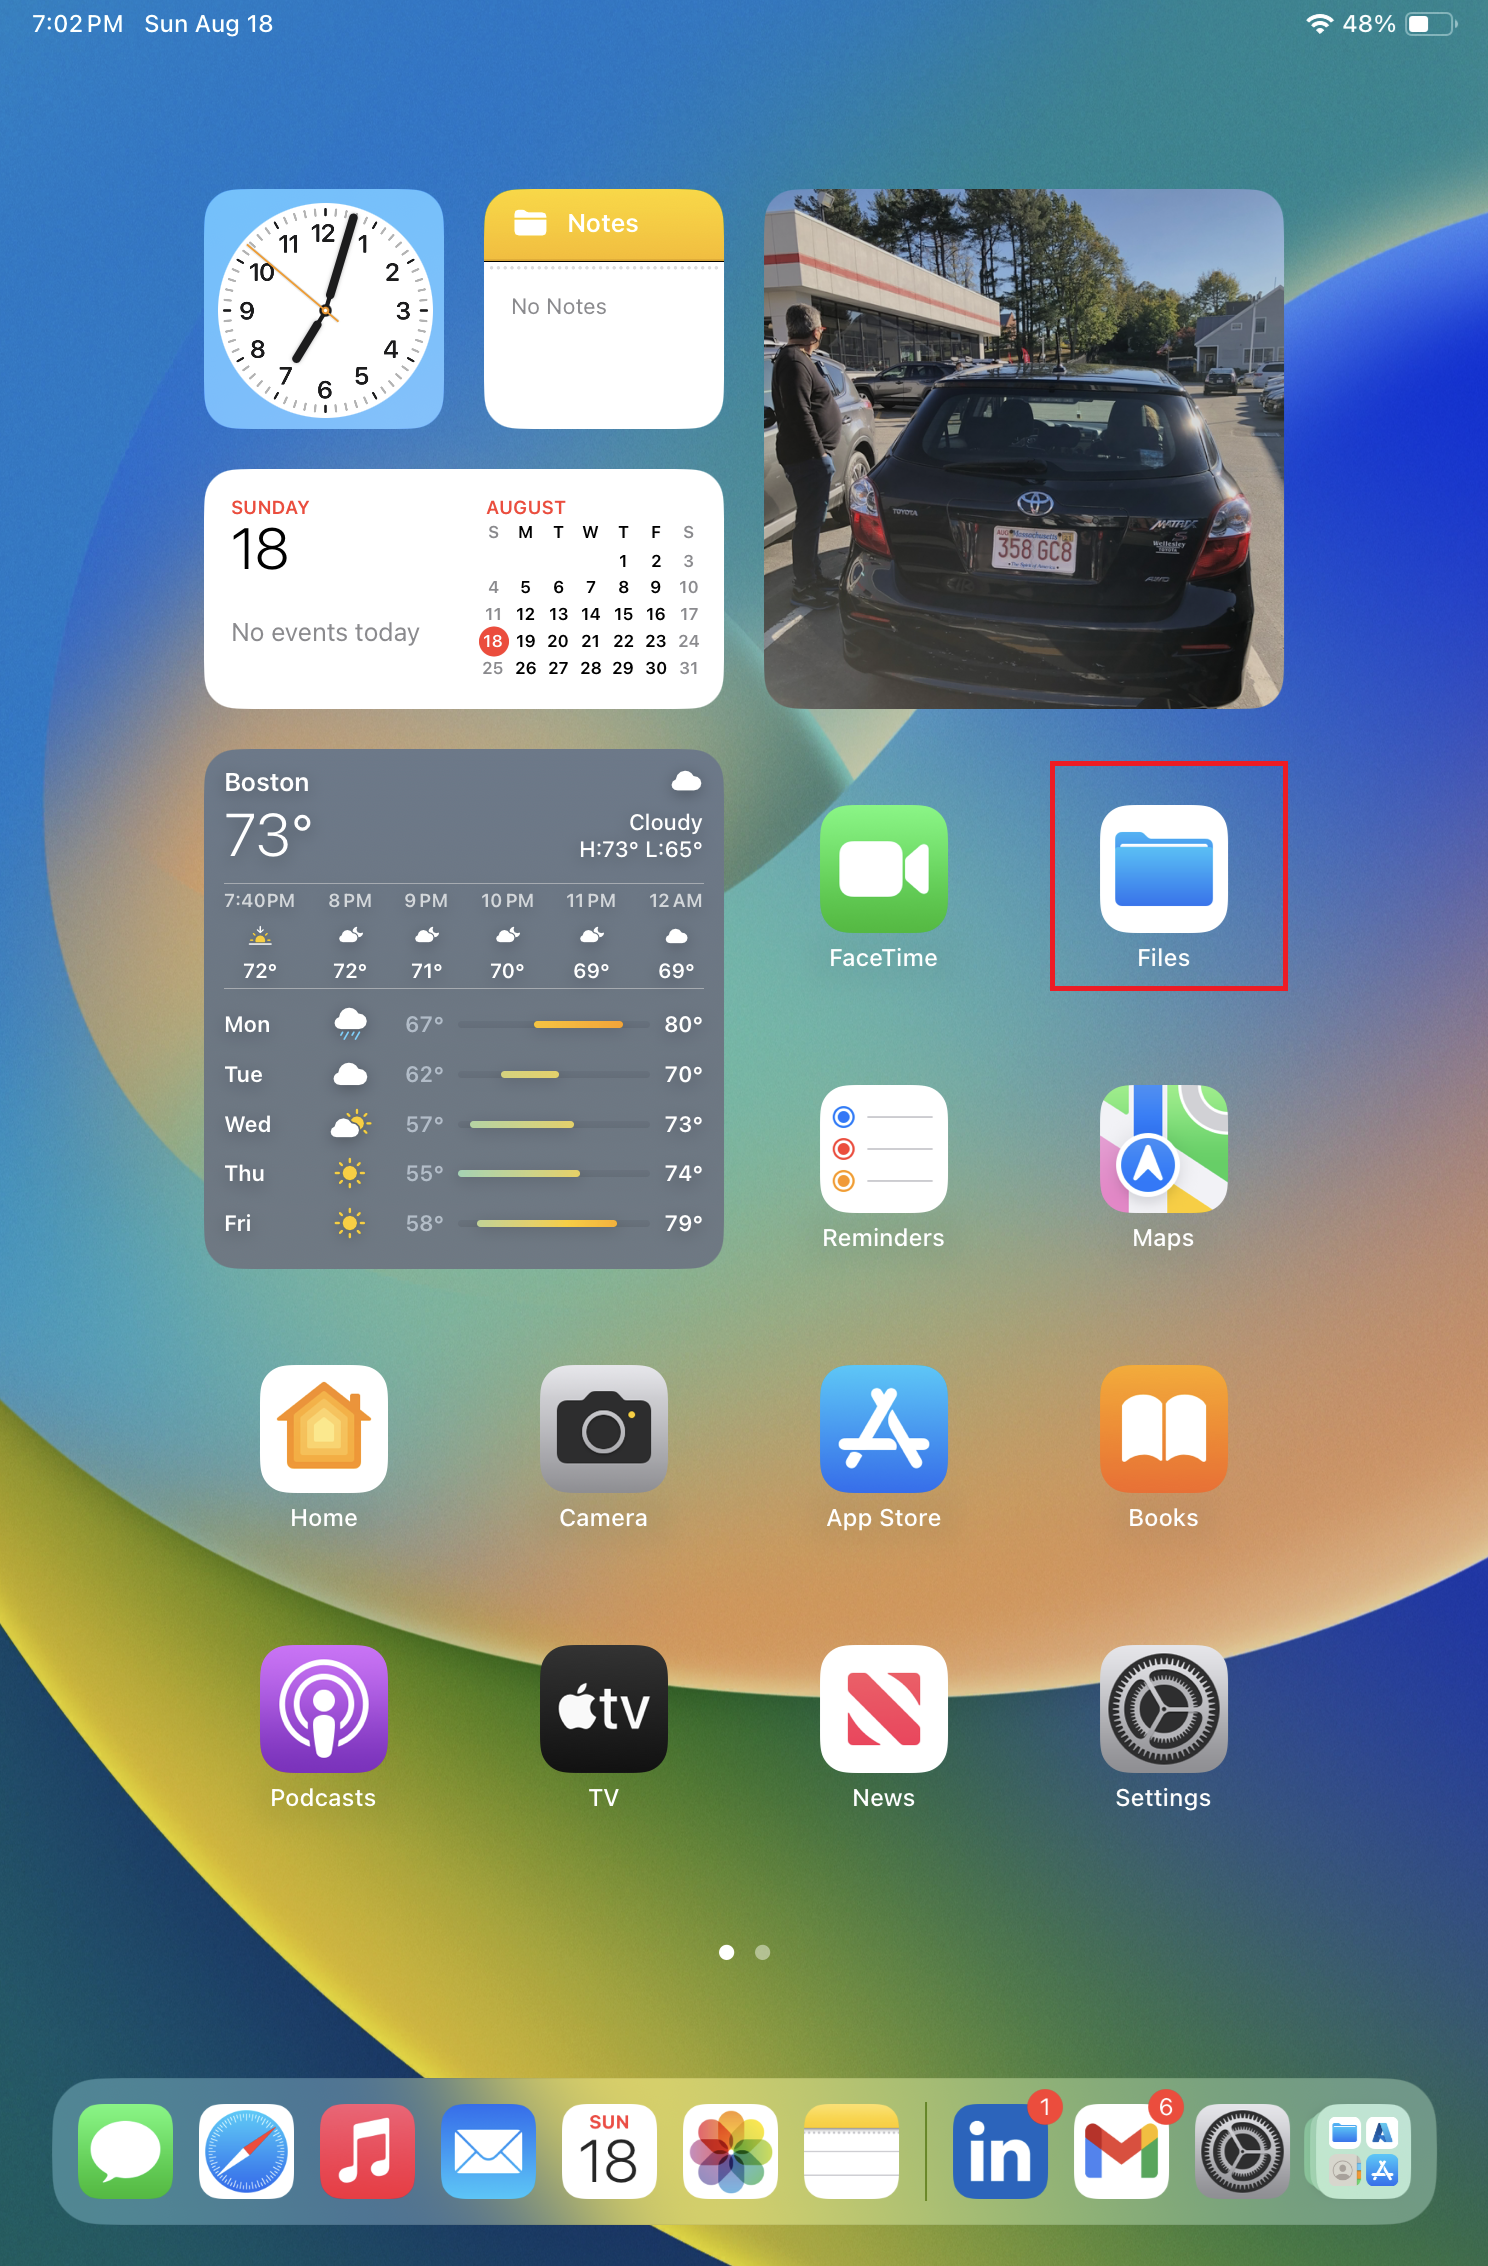
- Open the Files app on your iOS device.
- Navigate to the Downloads folder (or the folder where you saved the profile).
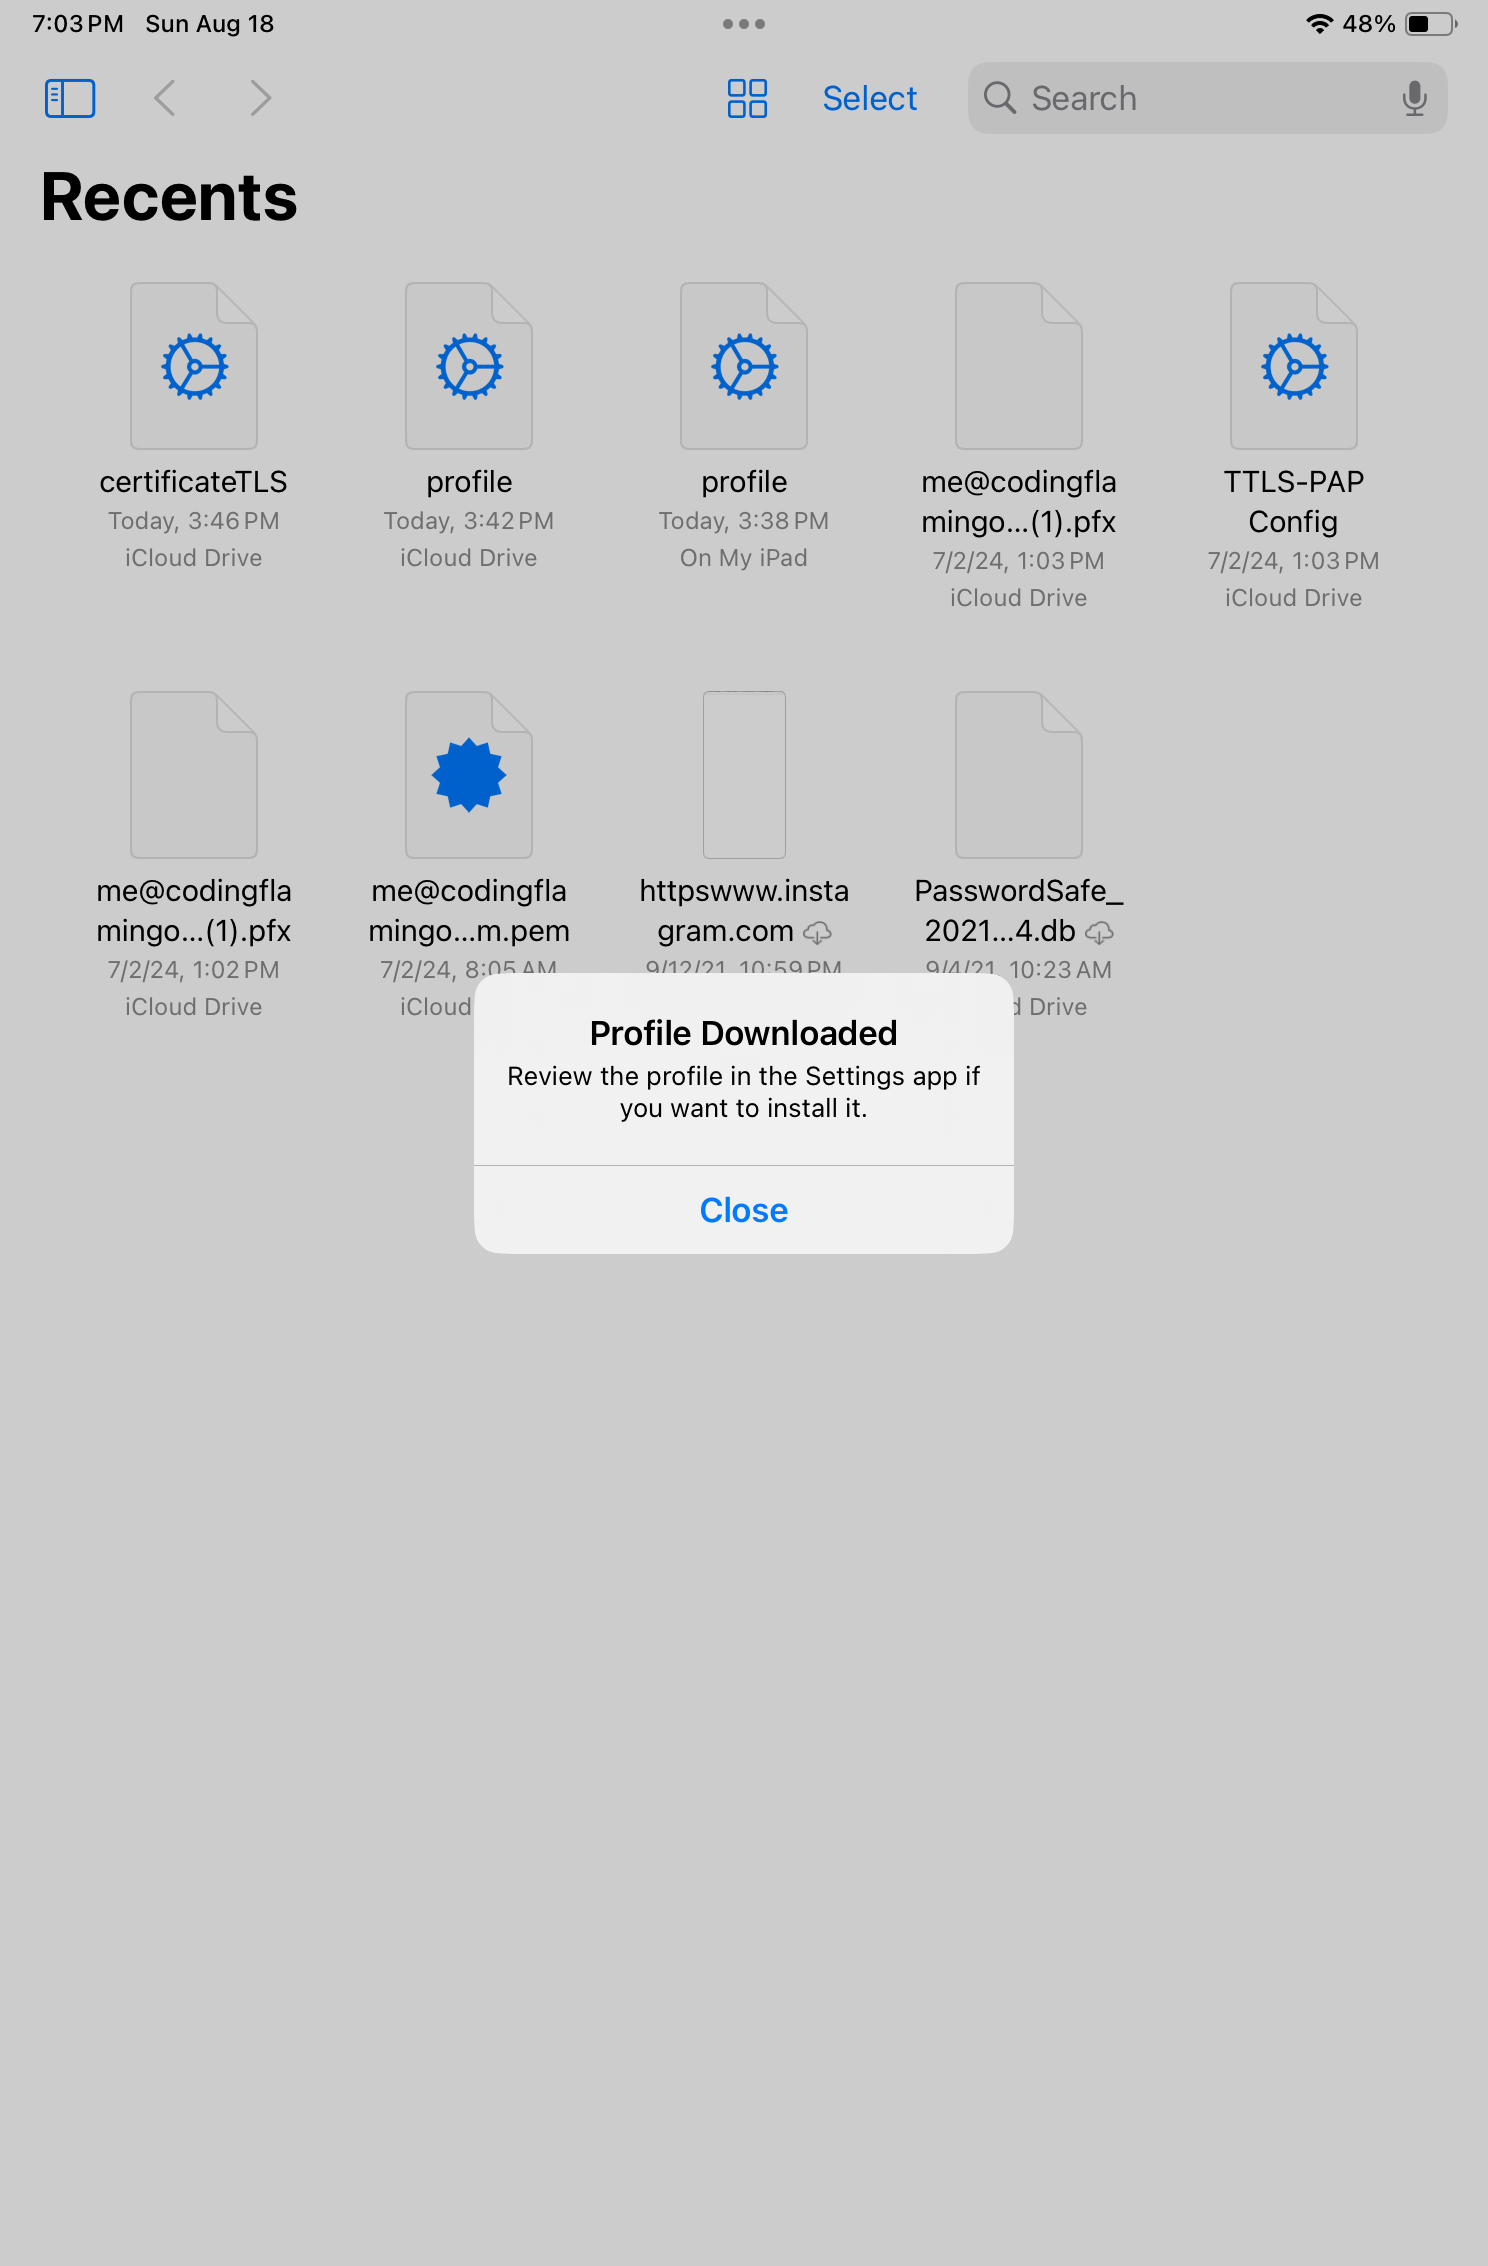
- Tap on the profile.mobileconfig file. This will give a “Profile Downloaded” prompt.
- Now that we have enabled the profile, we can go to the Settings app.
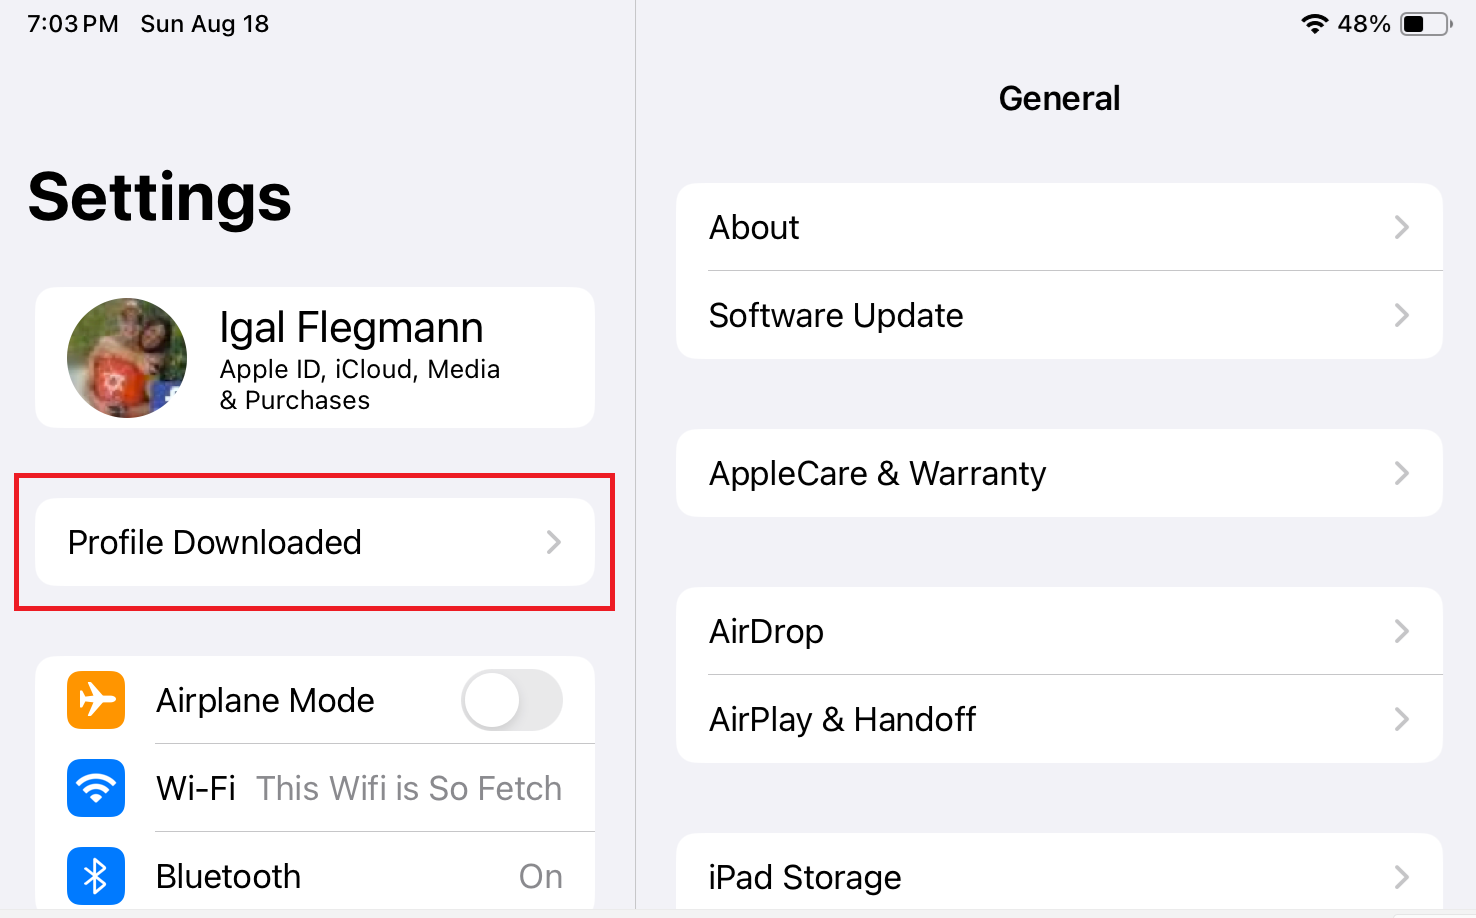
- In Settings, tap on the Profile Downloaded option.
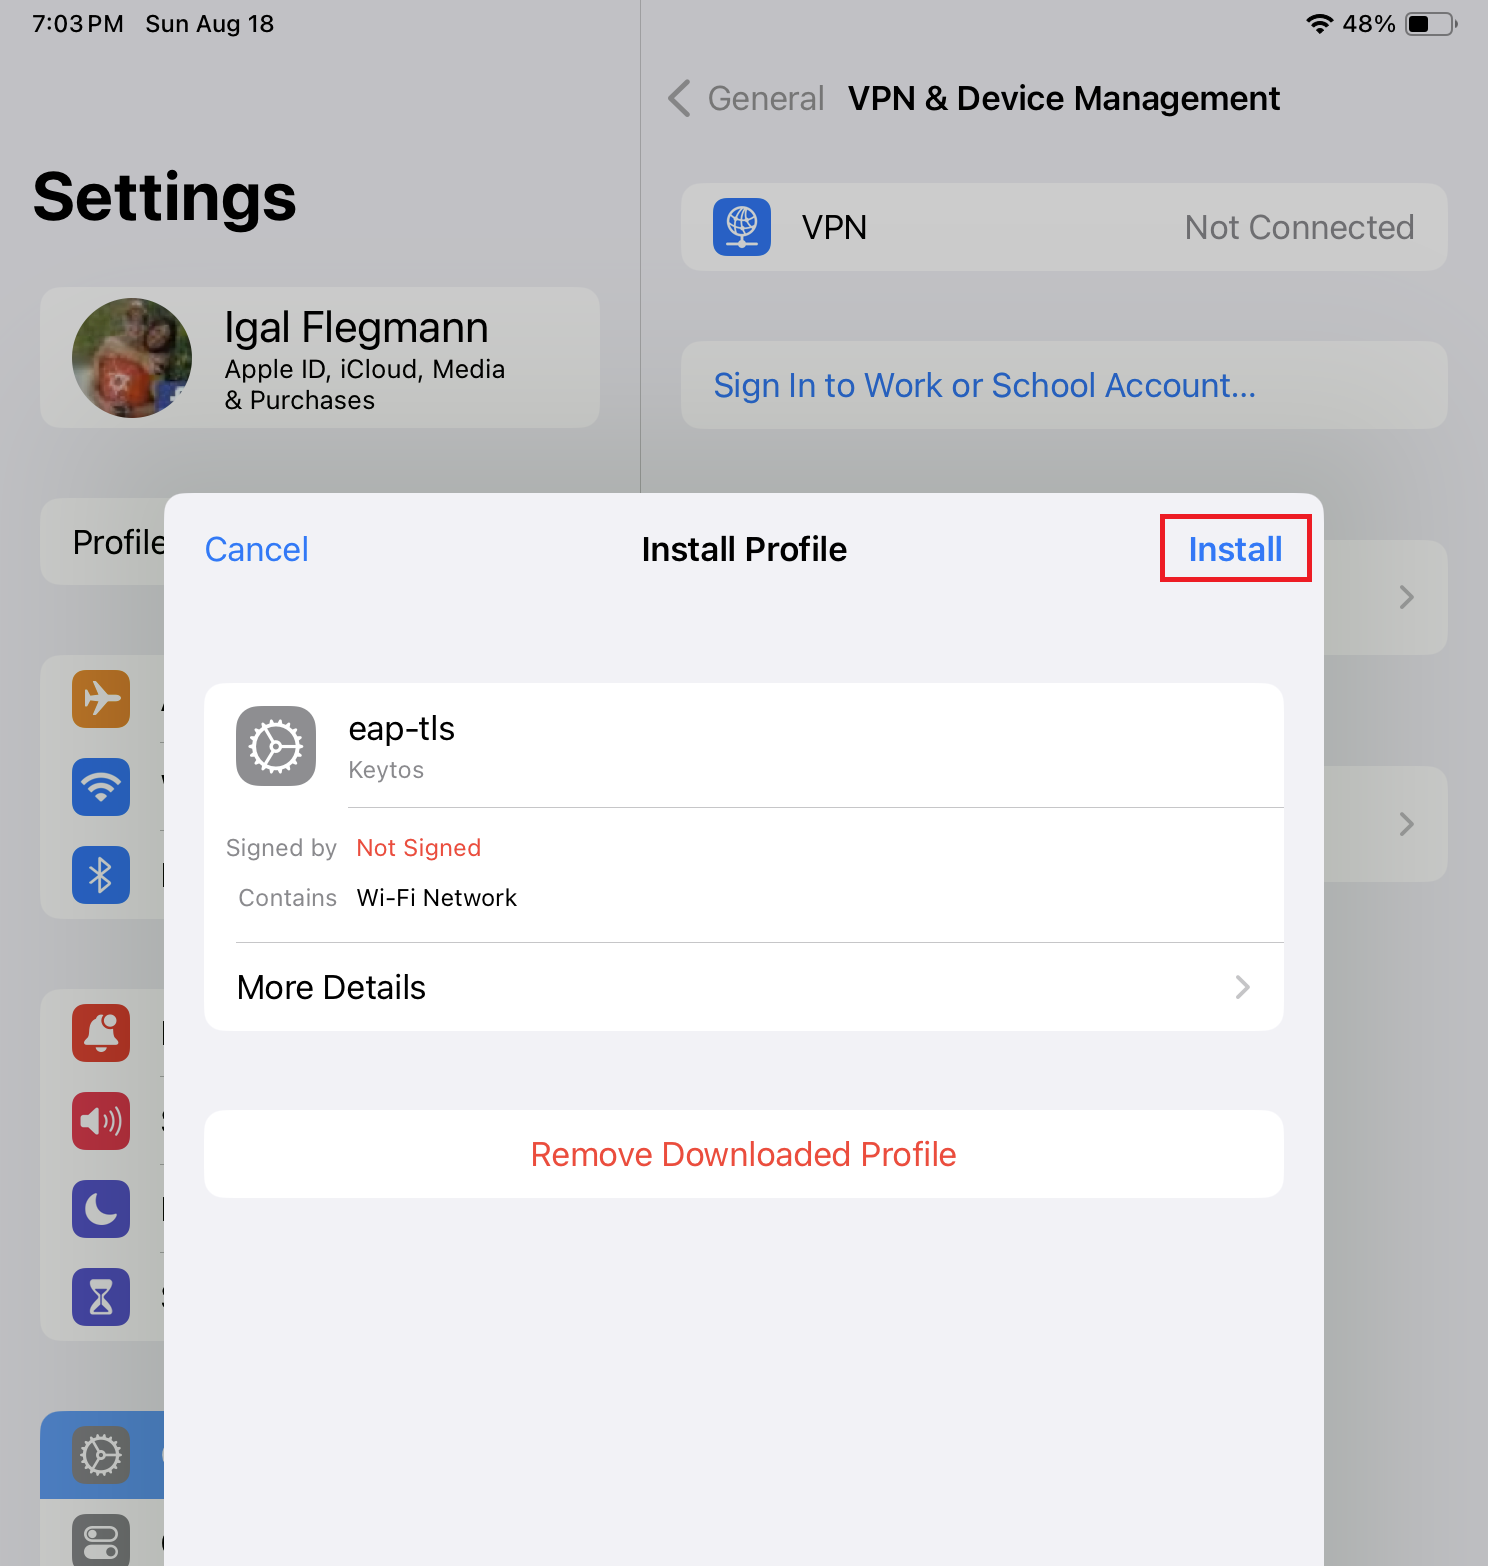
- Tap on the Install option on the top right.
- Enter your device passcode.
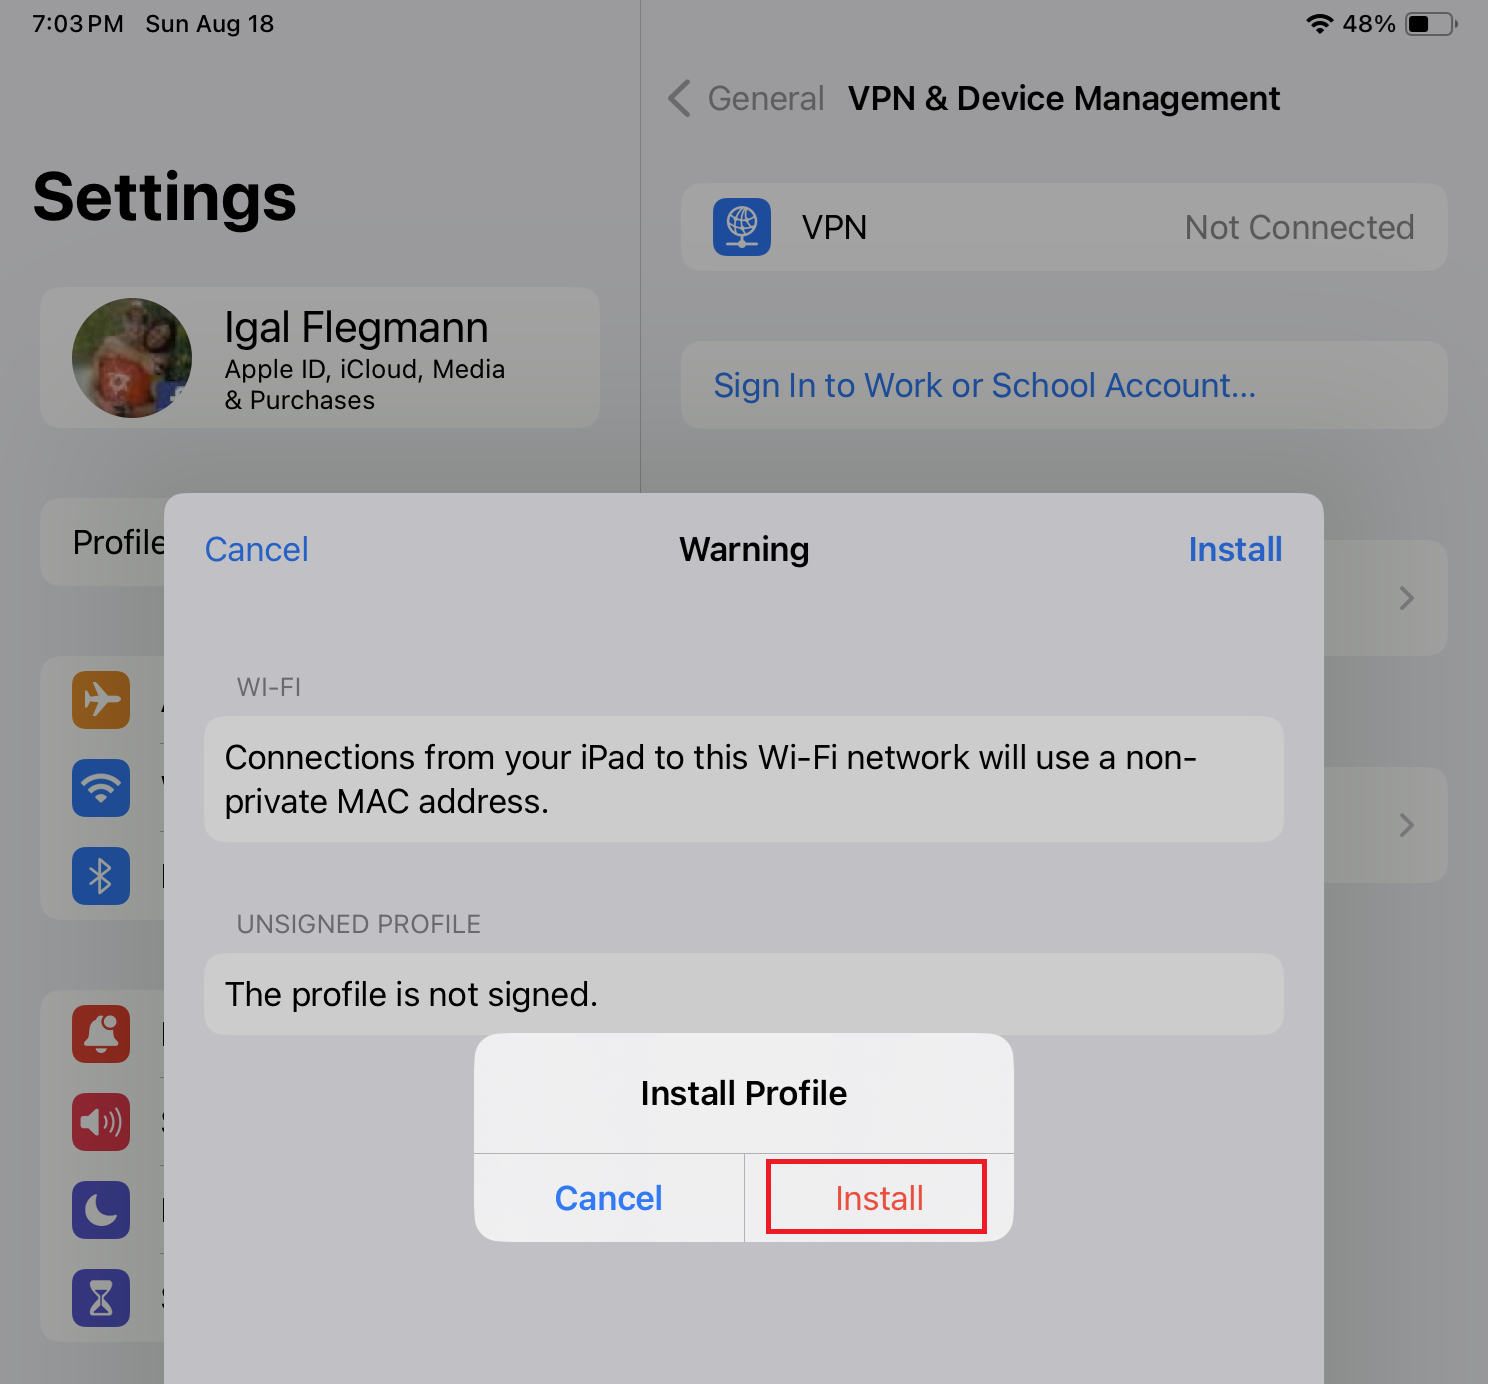
- Click Install on the pop-up.
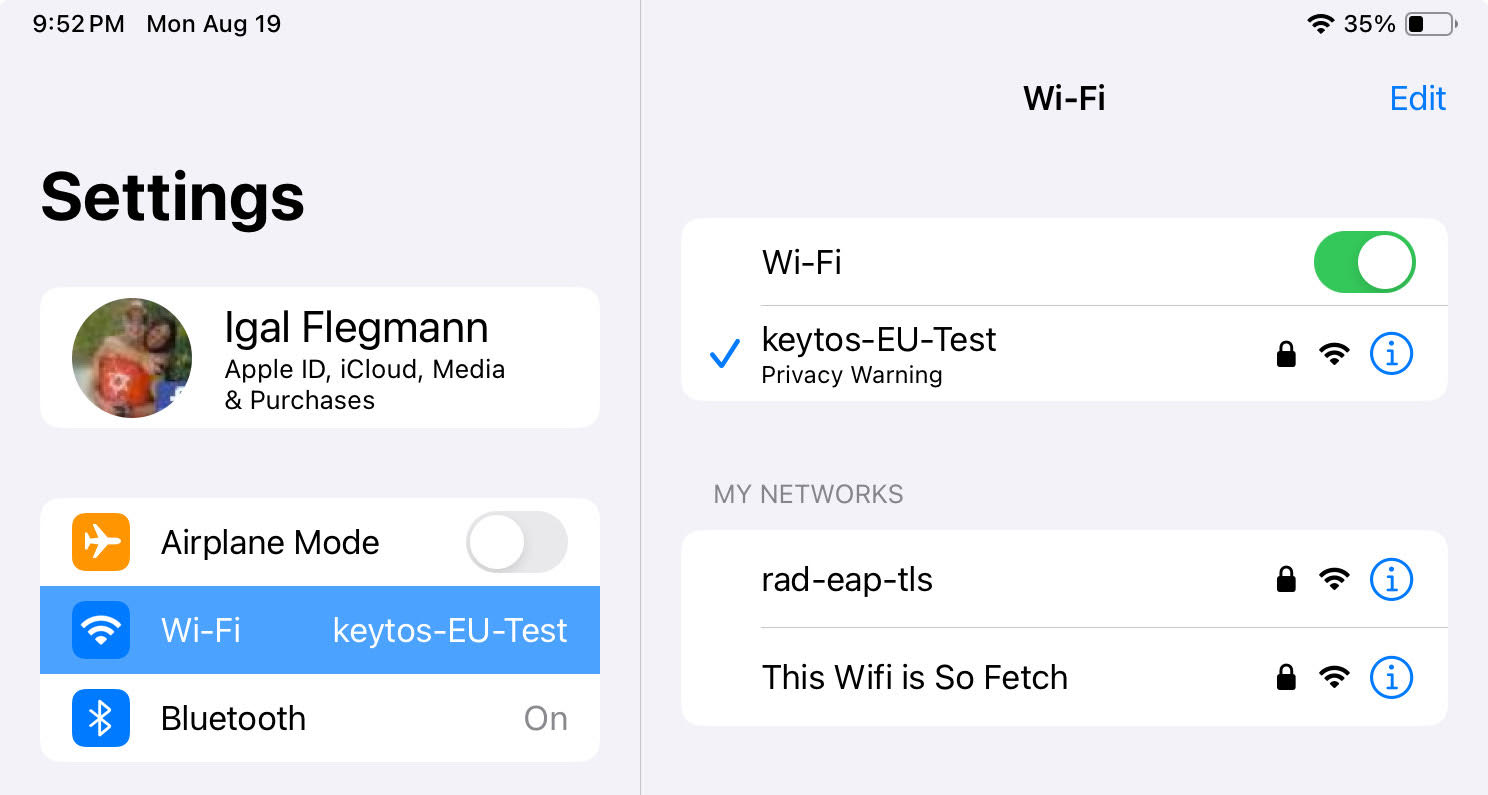
- Your wifi profile is now installed on your iOS device. You can now connect to the network.
Option 2: Request an Email with your Wifi Profile from the EZRADIUS Portal
If need access to your Wifi and your administrator has requested self service profile distribution in EZRADIUS, you can request an email with your profile from the EZRADIUS portal.
- Go to the EZRADIUS portal (this URL will be provided by your organization) and click on the ‘WiFi Profiles’ button.
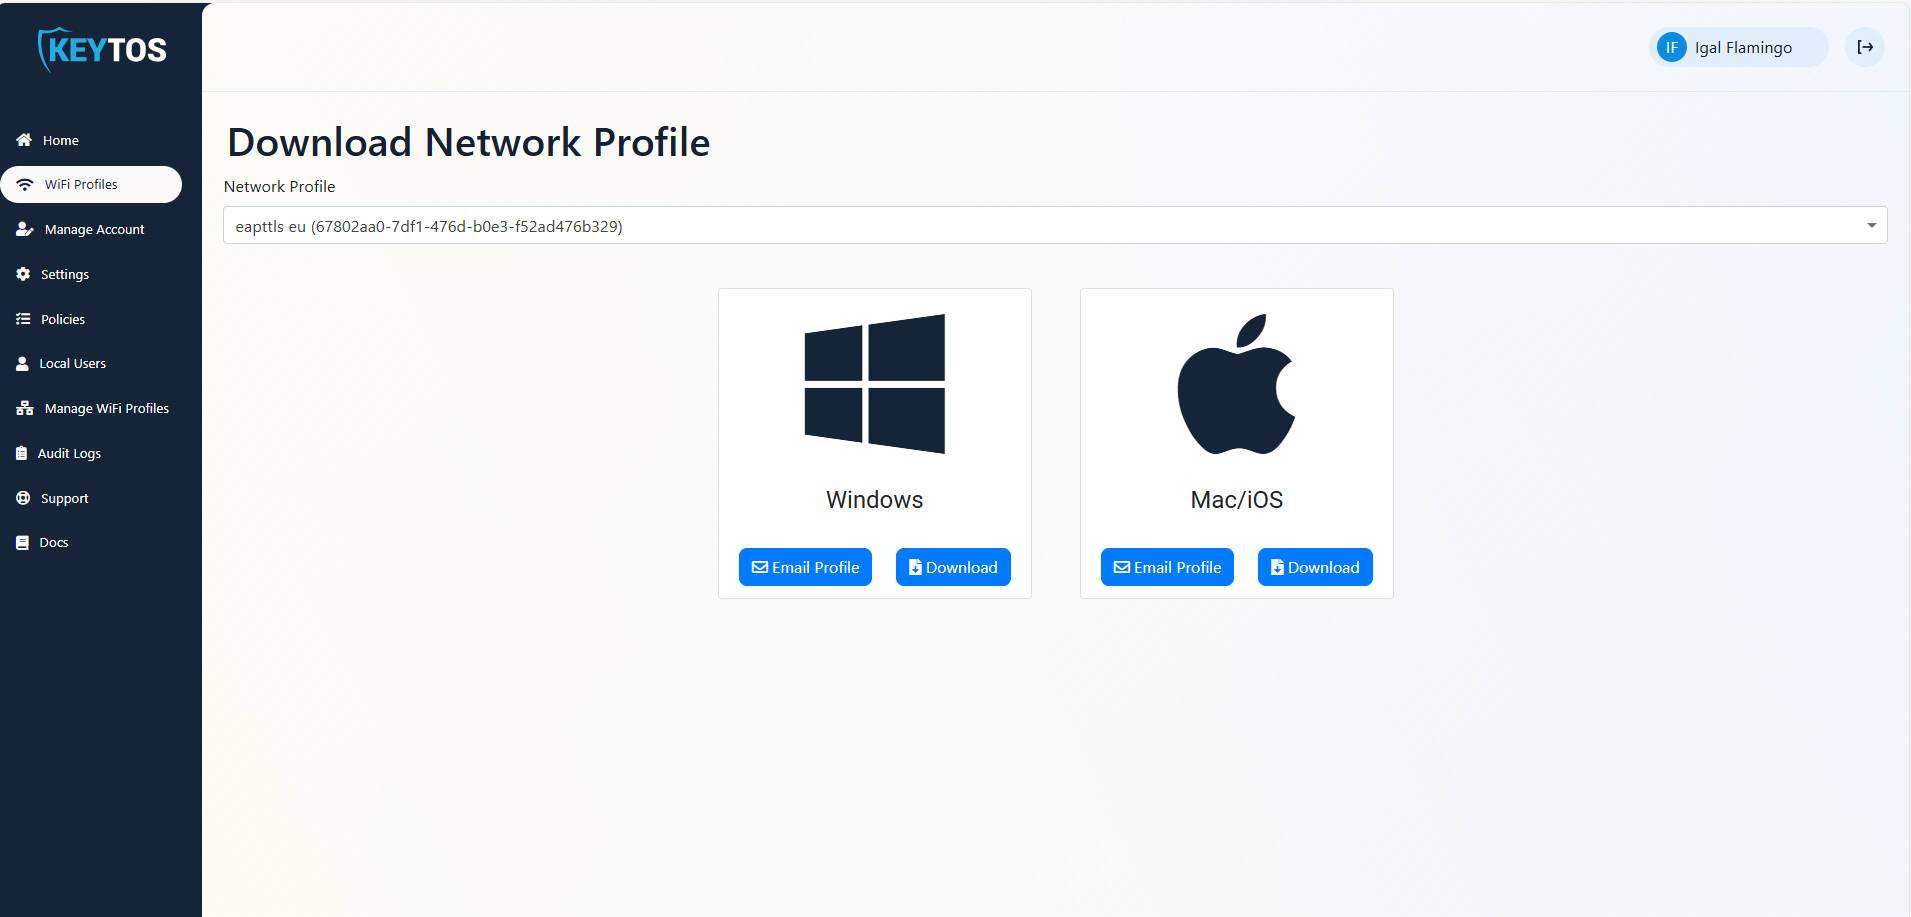
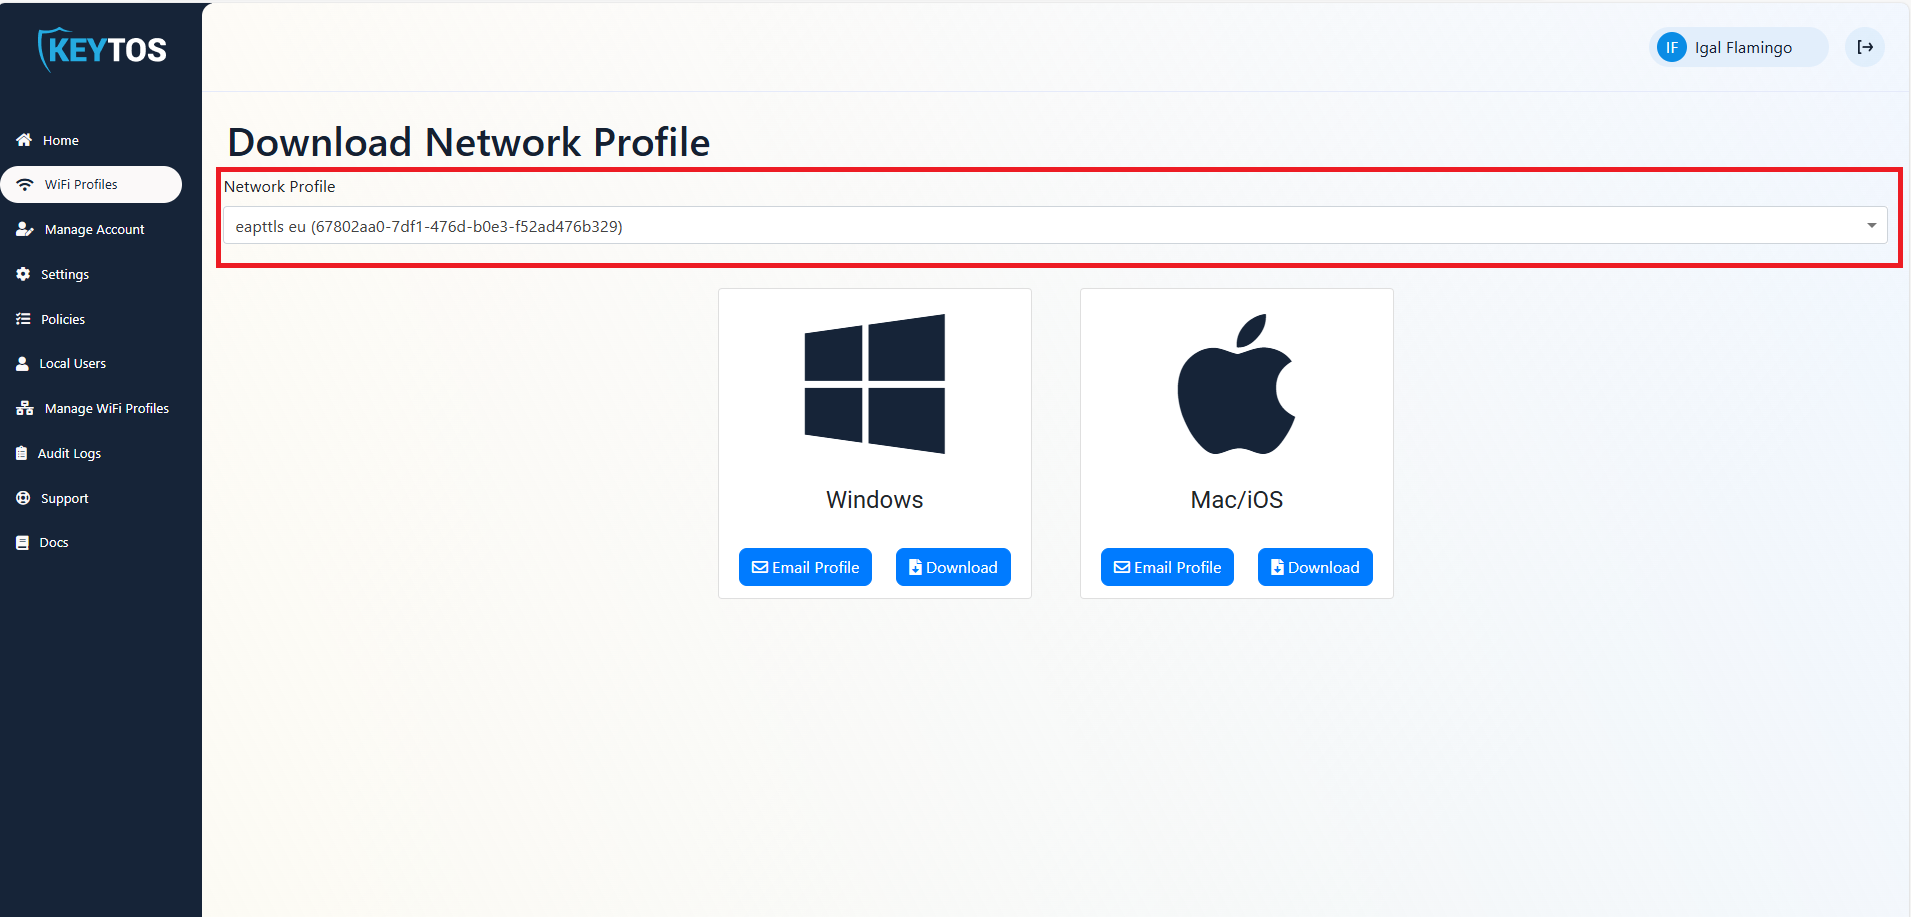
- If your organization has multiple profiles available, select the profile you want to request.
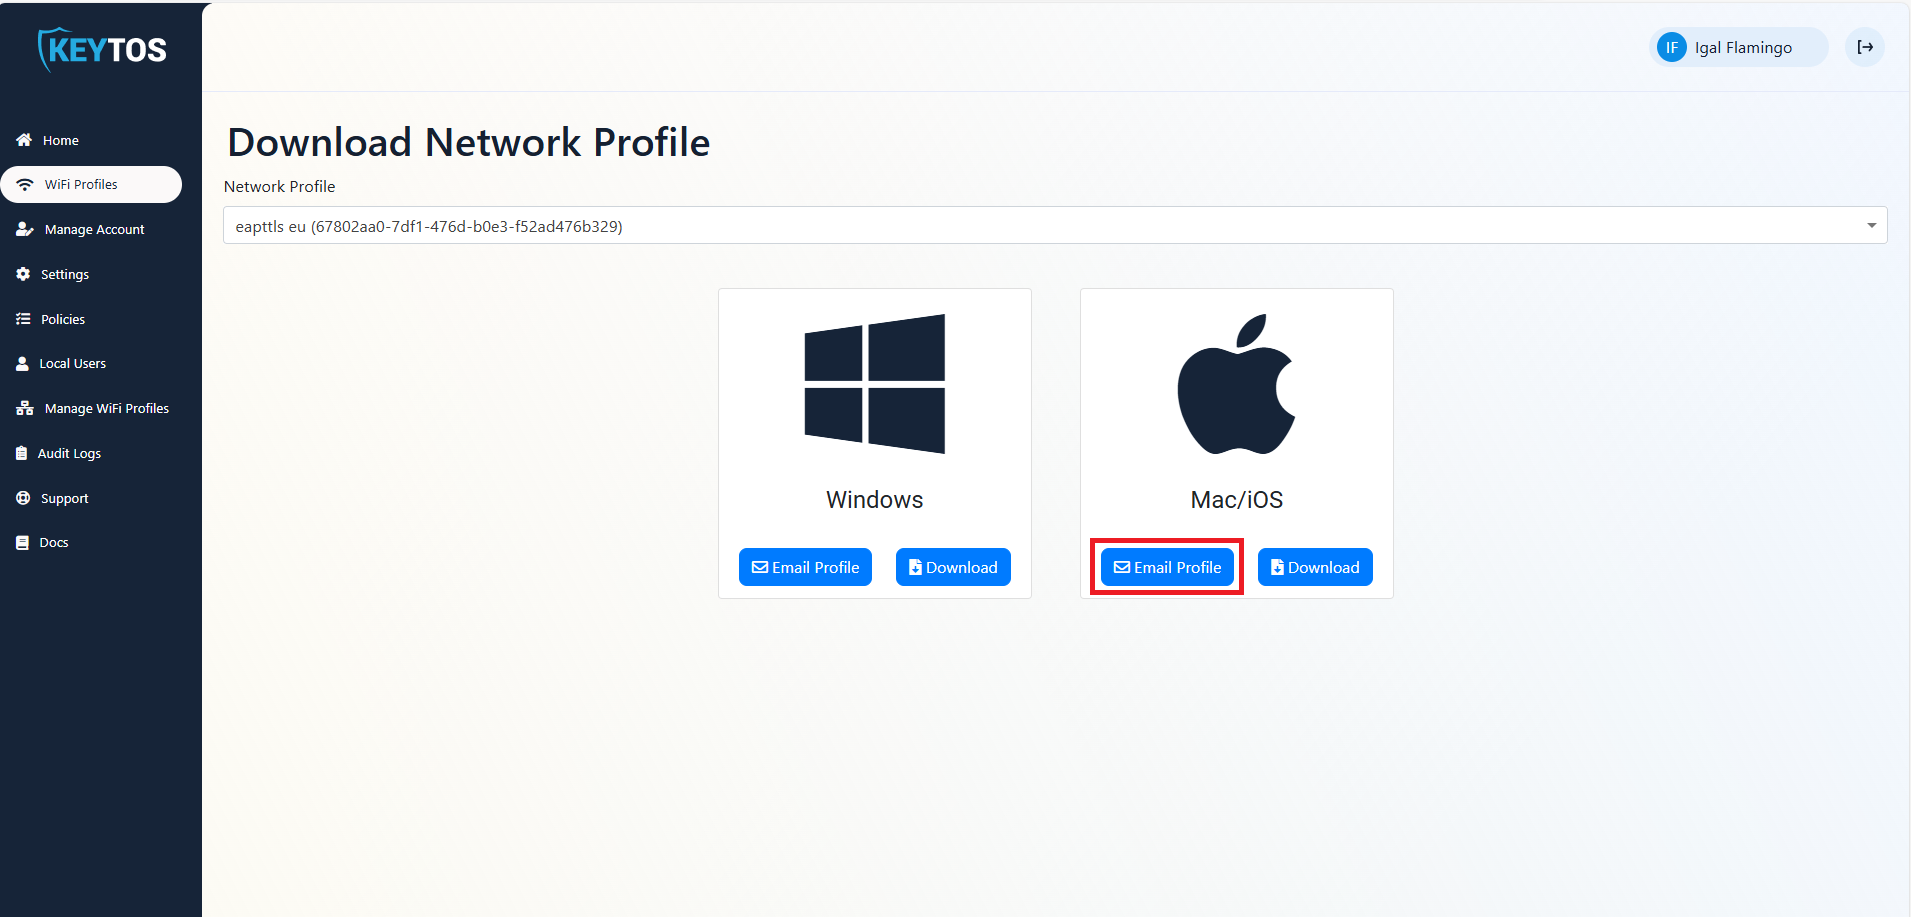
- Click on the ‘Email Profile’ button.
- Open the email from EZRADIUS on your iPhone or iPad (you can repeat these steps in all of your devices) and click on the ‘profile.mobileconfig’ attachment.

- Click save the attachment on your device.

How to Install Wi-Fi Profile on iOS
- Open the Files app on your iOS device.

- Navigate to the Downloads folder (or the folder where you saved the profile).
- Tap on the profile.mobileconfig file. This will give a “Profile Downloaded” prompt.

- Now that we have enabled the profile, we can go to the Settings app.
- In Settings, tap on the Profile Downloaded option.

- Tap on the Install option on the top right.

- Enter your device passcode.
- Click Install on the pop-up.

- Your wifi profile is now installed on your iOS device. You can now connect to the network.

Option 3: Download Wifi Profile from the EZRADIUS Portal
The last option is to download the profile directly from the EZRADIUS portal.
- In the device you want to install the profile, open your browser and go to the EZRADIUS portal (this URL will be provided by your organization).
- Click on the ‘WiFi Profiles’ button.

- If your organization has multiple profiles available, select the profile you want to download.

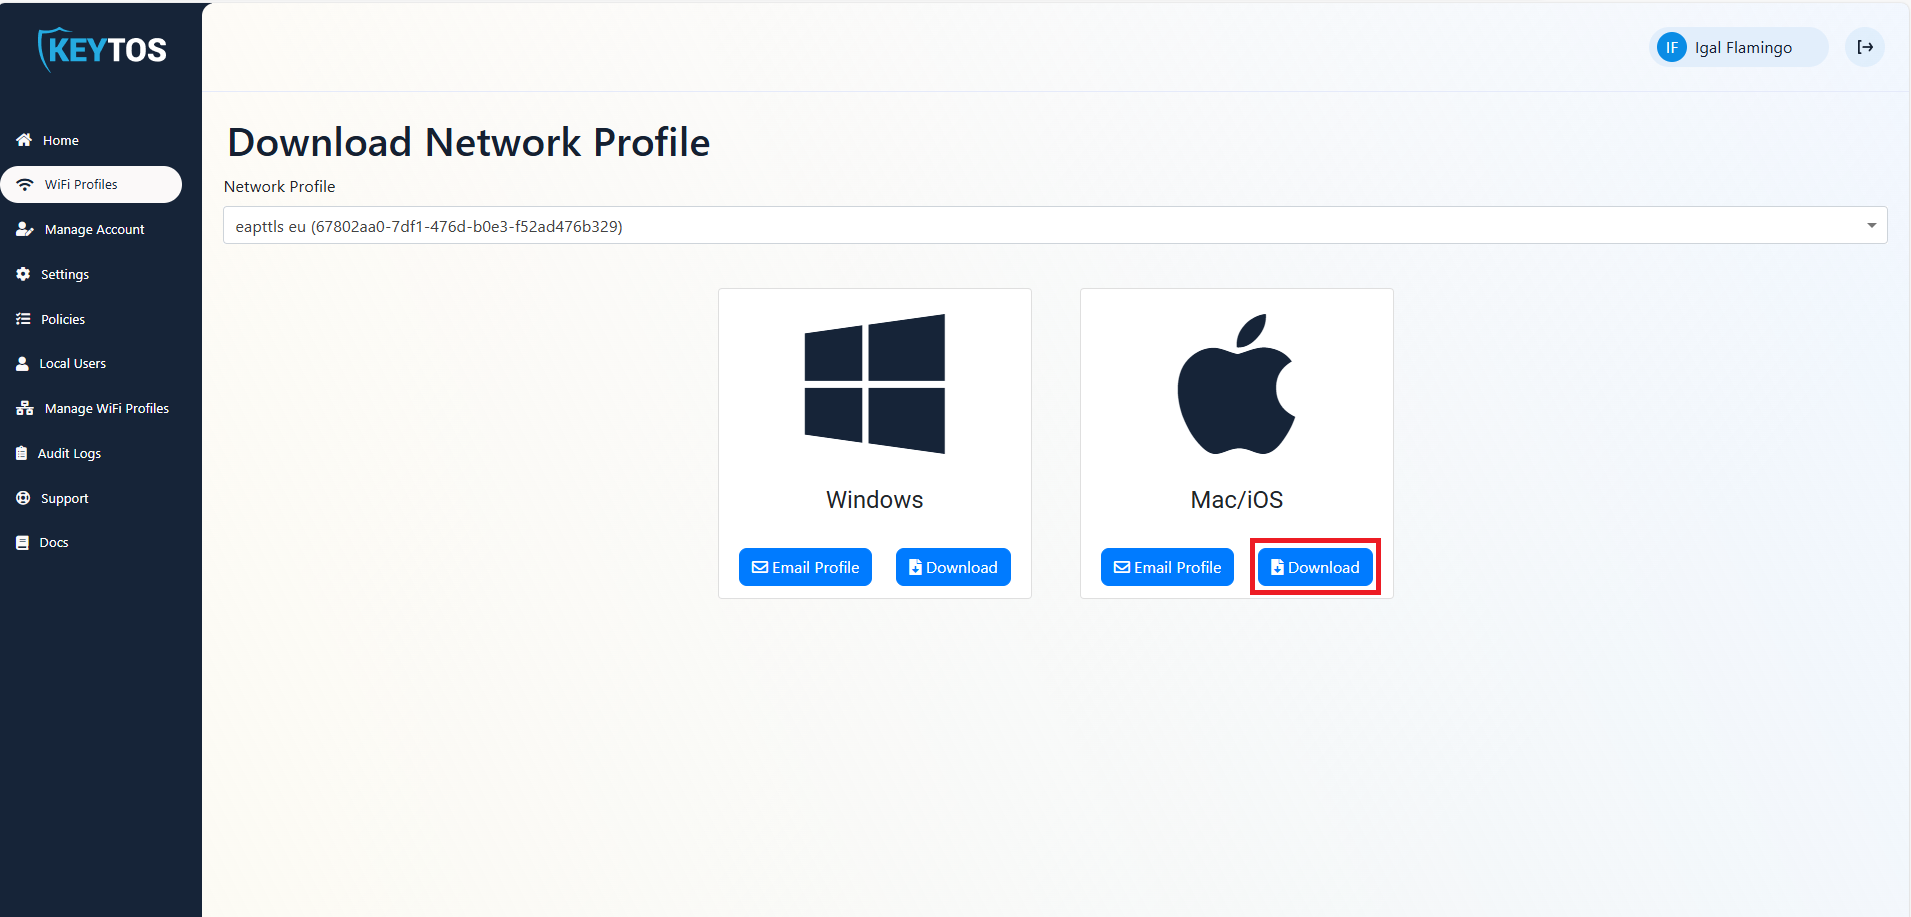
- Click on the ‘Download’ button.
How to Install Wi-Fi Profile on iOS
- Open the Files app on your iOS device.

- Navigate to the Downloads folder (or the folder where you saved the profile).
- Tap on the profile.mobileconfig file. This will give a “Profile Downloaded” prompt.

- Now that we have enabled the profile, we can go to the Settings app.
- In Settings, tap on the Profile Downloaded option.

- Tap on the Install option on the top right.

- Enter your device passcode.
- Click Install on the pop-up.

- Your wifi profile is now installed on your iOS device. You can now connect to the network.
