Keytos Documentation > EZRADIUS Cloud Based RADIUS Documentation > Manage your Cloud RADIUS Local Users > How To Create a User in Cloud RADIUS with Entra ID in EZRADIUS
How To Create a User in Cloud RADIUS with Entra ID in EZRADIUS
Prerequisites
How to Create a User in Cloud RADIUS with Entra ID in EZRADIUS
- Go to your EZRADIUS portal. (This will be provided by your network administrator)
- Click on “Manage Account”

- By default you will see the username that your network administrator has assigned to you. If your network administrator has enabled custom usernames, you can change your username by changing the text in the “Username” field. (If it does not allow custom usernames, you will not be able to change your username)
- Then enter a secure password in the “Password” field.
- Click on “Create User”

- You will see a success message and your user will be created. (Note: if the password Expiry field is empty, it means that your network administrator has not set a password expiry policy, if you see a a date, it means that your password will expire that day, See below on how to change your password)

How to Change your Password in Cloud RADIUS with Entra ID in EZRADIUS
If you need to change your password, it is very similar to creating a user:
- Go to your EZRADIUS portal. (This will be provided by your network administrator)
- Click on “Manage Account”

- Find the user you want to change the password for.
- Enter a new secure password in the “Password” field.
- Click on “Update Password”

How To Delete a User in Cloud RADIUS with Entra ID in EZRADIUS
If you need to delete a user, you can follow these steps:
- Go to your EZRADIUS portal. (This will be provided by your network administrator)
- Click on “Manage Account”

- Find the user you want to delete.
- Click on the trash icon next to the user.

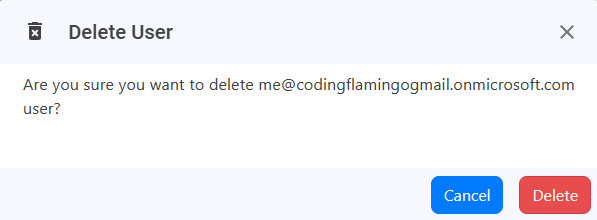
- Click on “Delete” to confirm the deletion.

- The user is now deleted (Note: The user might still appear in the list, but the password will be empty, this enables you to recreate the user if needed)