Adding EZSSH Access to Endpoints With Cloud Init
Prerequisites
Overview
EZSSH uses SSH Certificates to authenticate to endpoints. Since this is a OpenSSH supported protocol, no custom code has to run on your endpoints for authentication to work. By adding your EZSSH Certificate to your TrustedUserCAKeys your endpoint will start working with EZSSH.
In this page we will go through how to do this using cloud init. You might also be interested in:
Getting the Cloud Init
- go to https://portal.ezssh.io/
- Select the policy type you want to access (Azure Policy or Hybrid Policy)
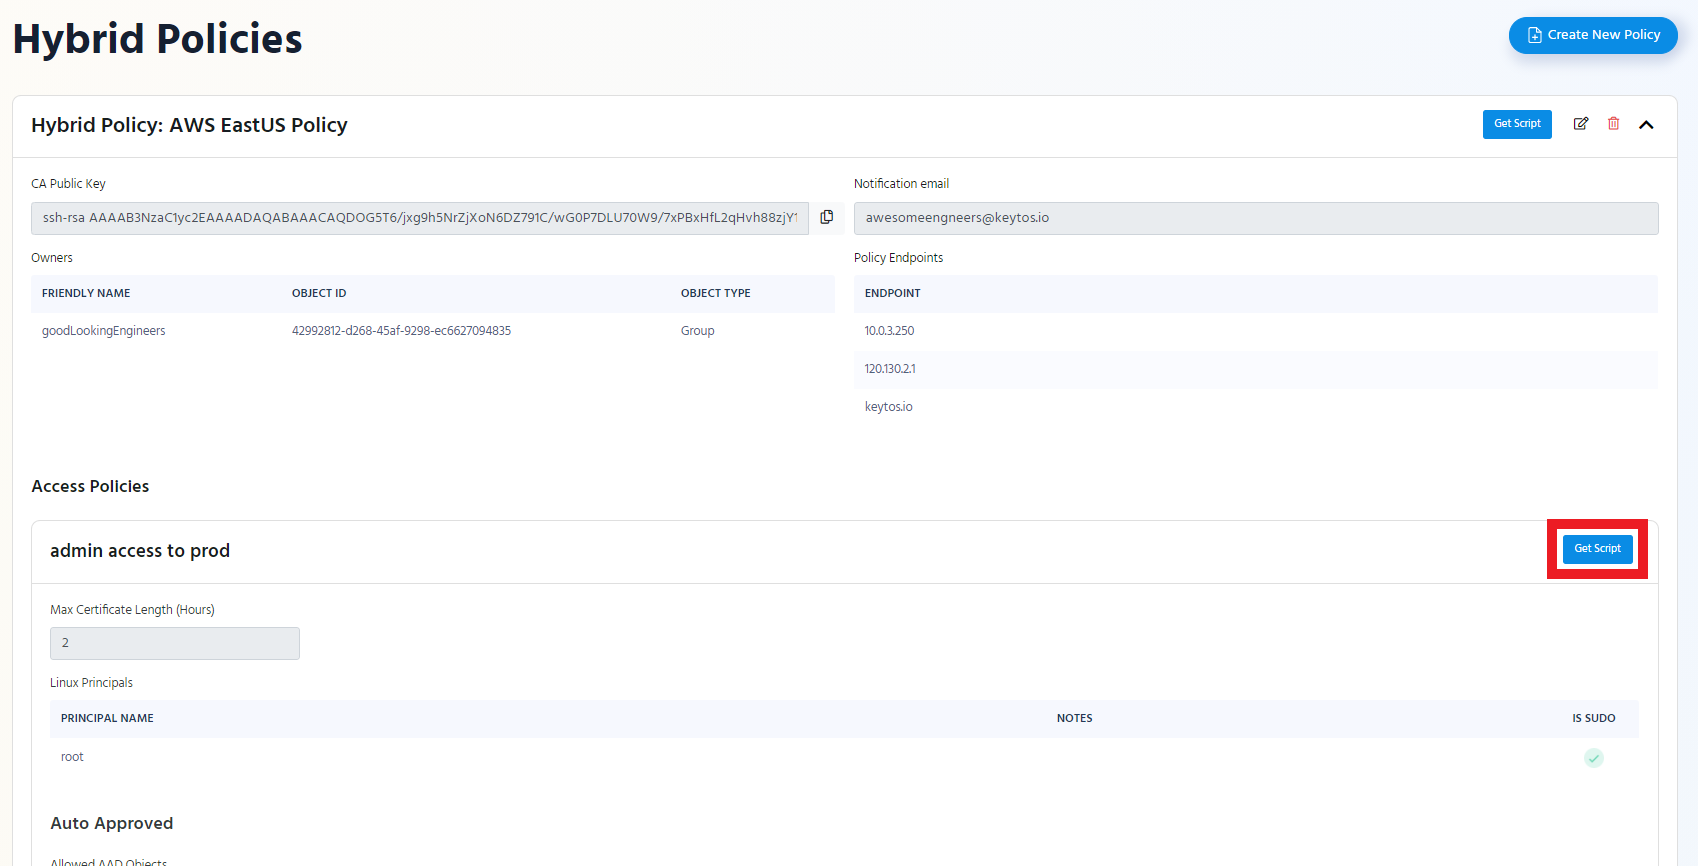
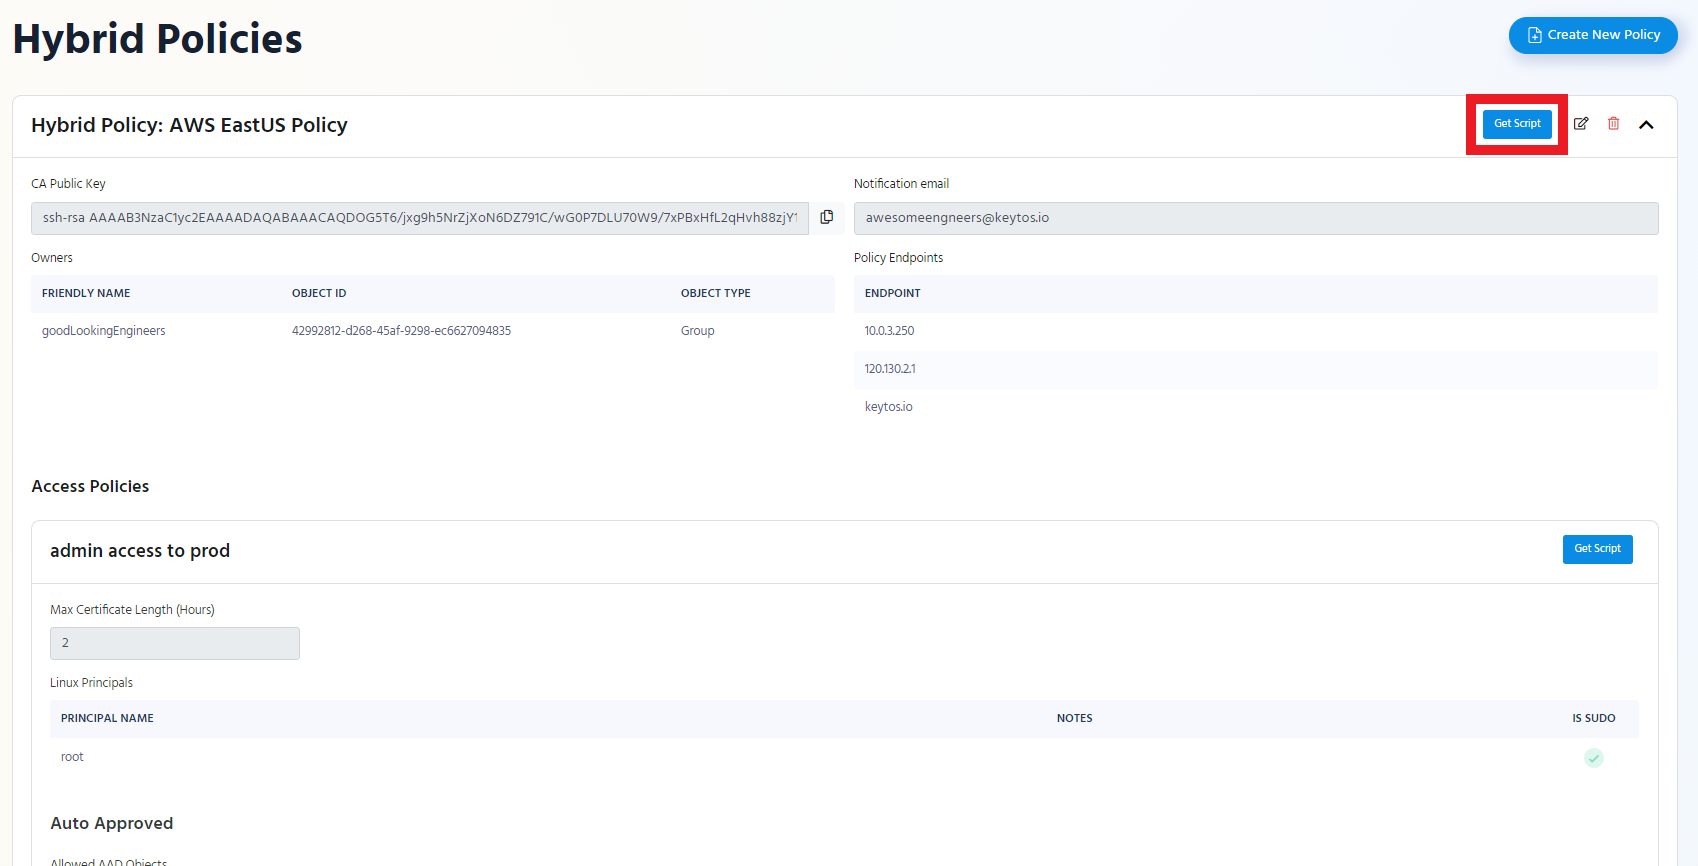
- Once you are in the policy type page, expand the policy you want to set up. In this example we will expand “AWS EastUS Policy”


- Click the “Get Script” button at the top of the policy.

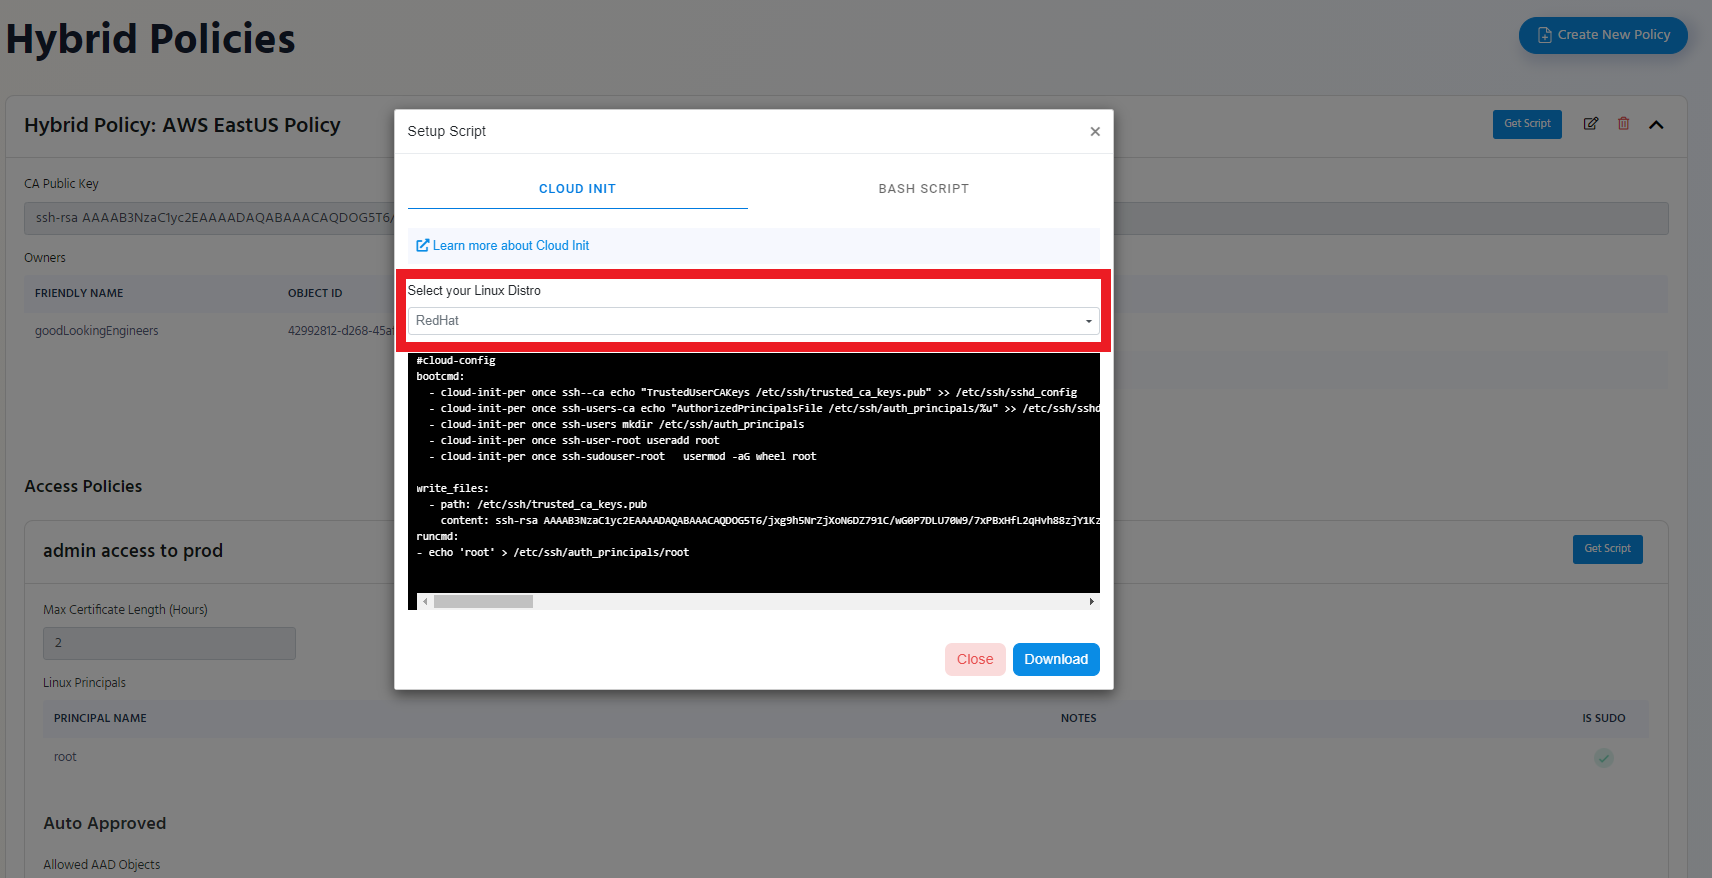
- Select the Distro you will use this Cloud Init for.

- Click the “Download” Button
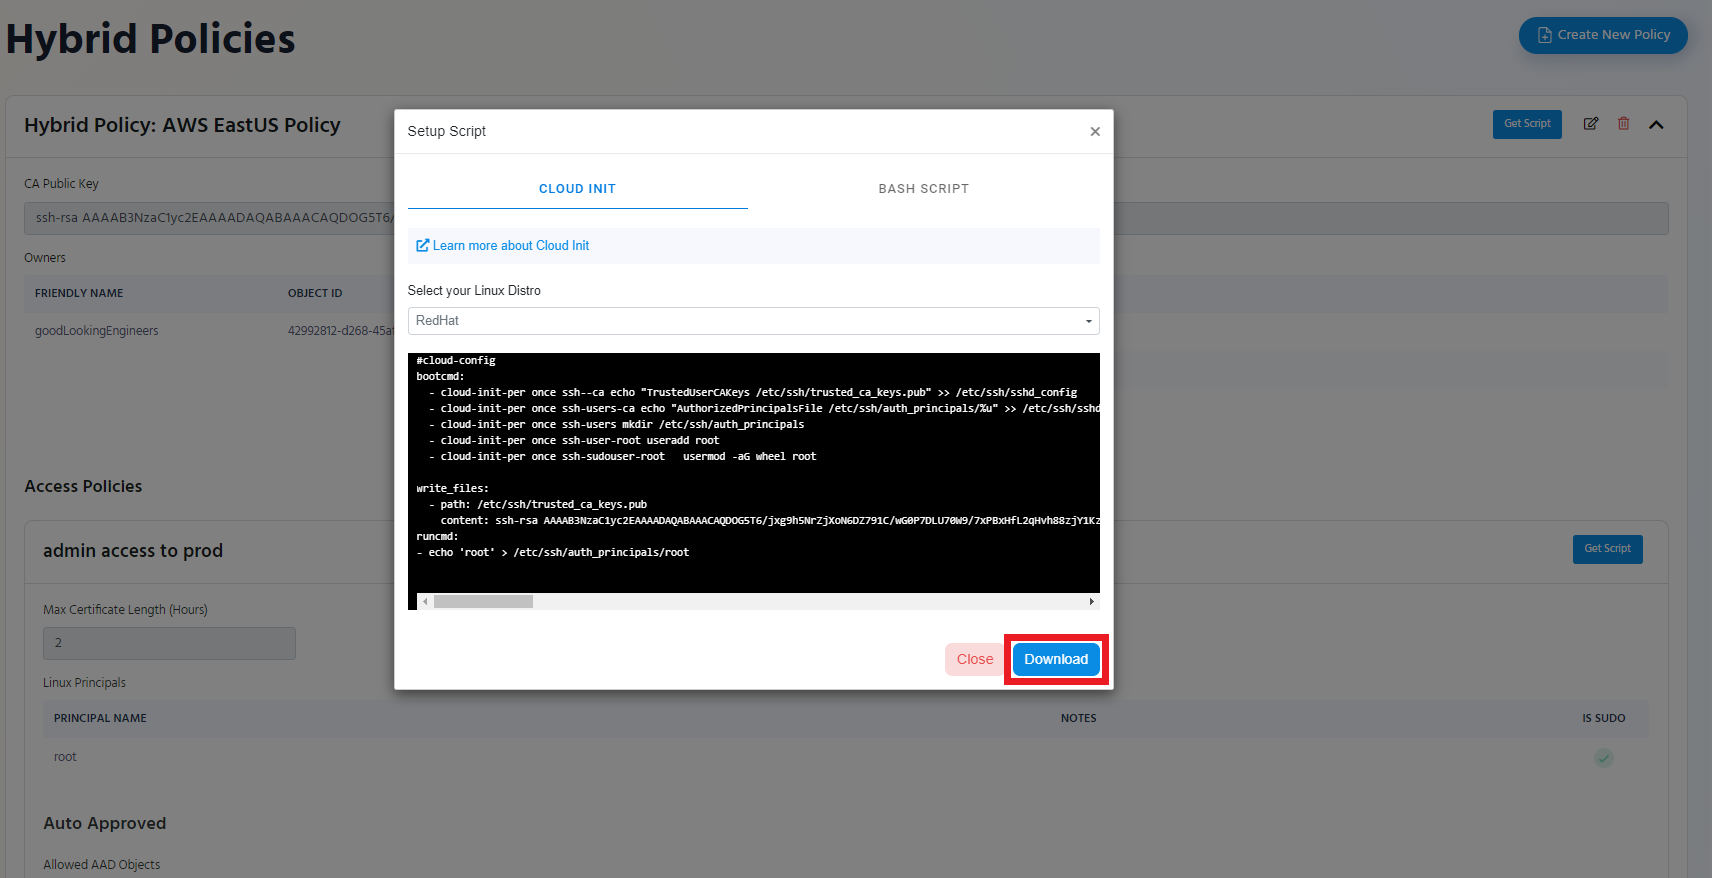

- The Script will be downloaded to your Downloads Folder.
- Add the Script to the cloud Init when creating a new vm.
Adding Cloud Init to Azure VM
-
Login to the Azure portal.
-
Select the resource type, in this example we will do an ubuntu server.
-
Enter the resource basic information.
-
Click “Next: Disks”
-
Set your disk preferences.
-
Click “Next: Networking”
-
Set your networking preferences.
-
Click “Next: Management”
-
Set your management preferences.
-
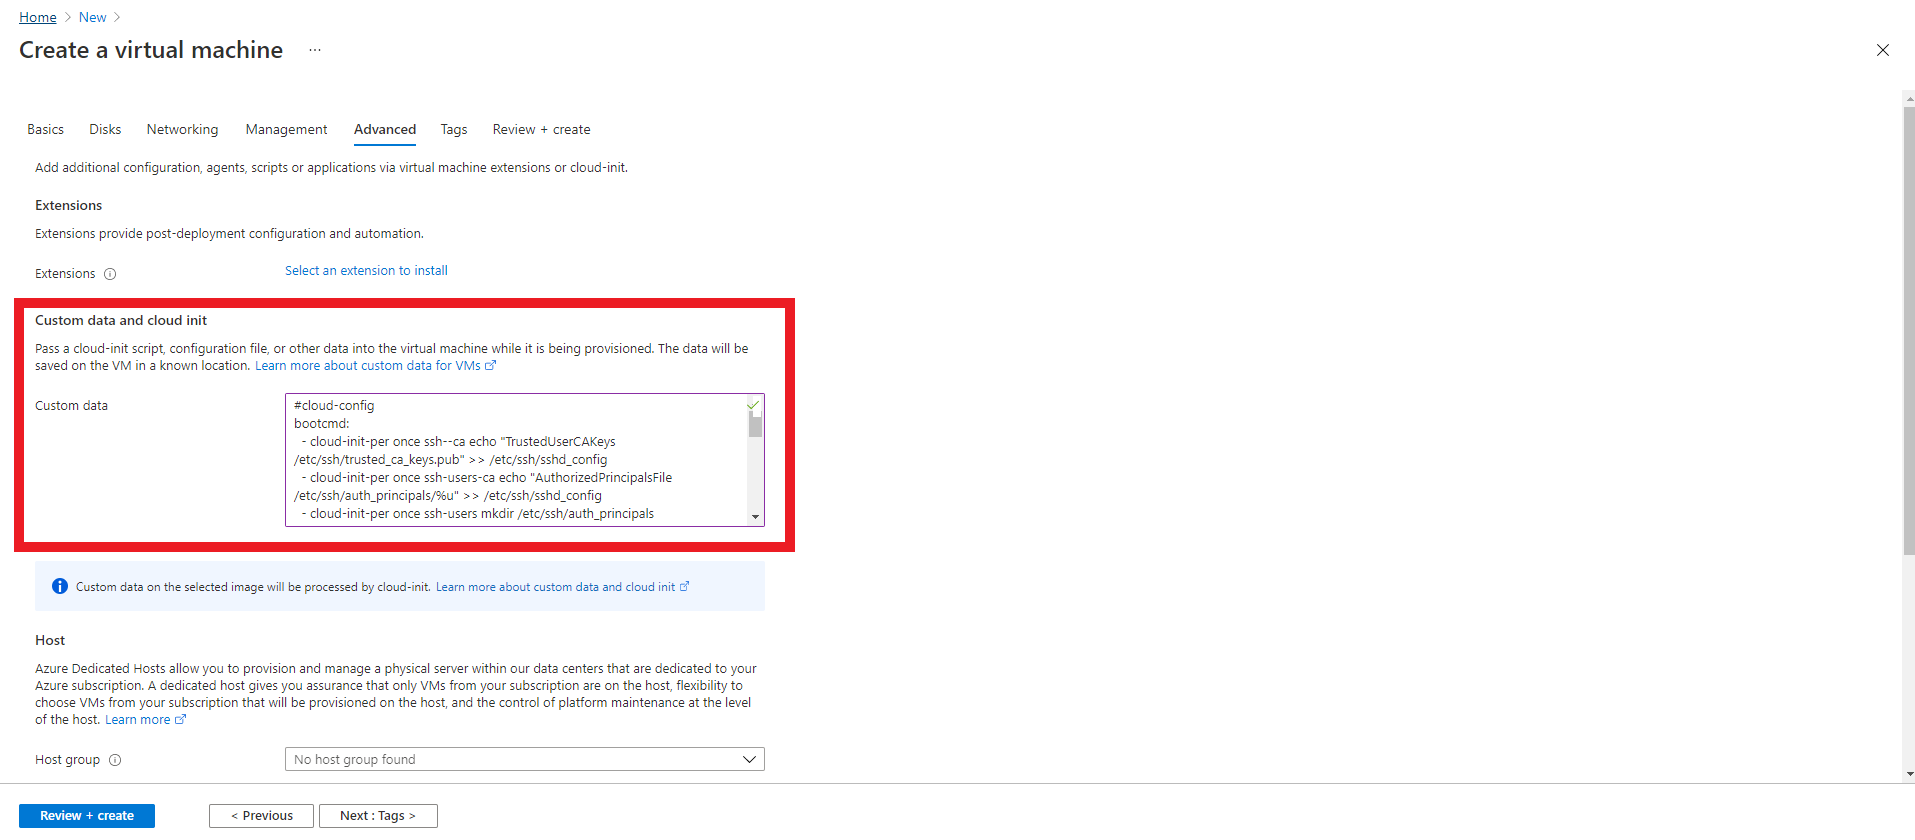
Click “Next: Advanced”
-
In the Custom Data field, paste the Cloud init you got from EZSSH.
-
Click Review + Create.
-
Create your resource.
-
Your EZSSH policy is ready to be used with this endpoint.
Adding Cloud Init to AWS VM
-
Login to your AWS Console.
-
Select the region where you want to deploy.
-
Navigate to EC2 Instances.
-
Select your OS
-
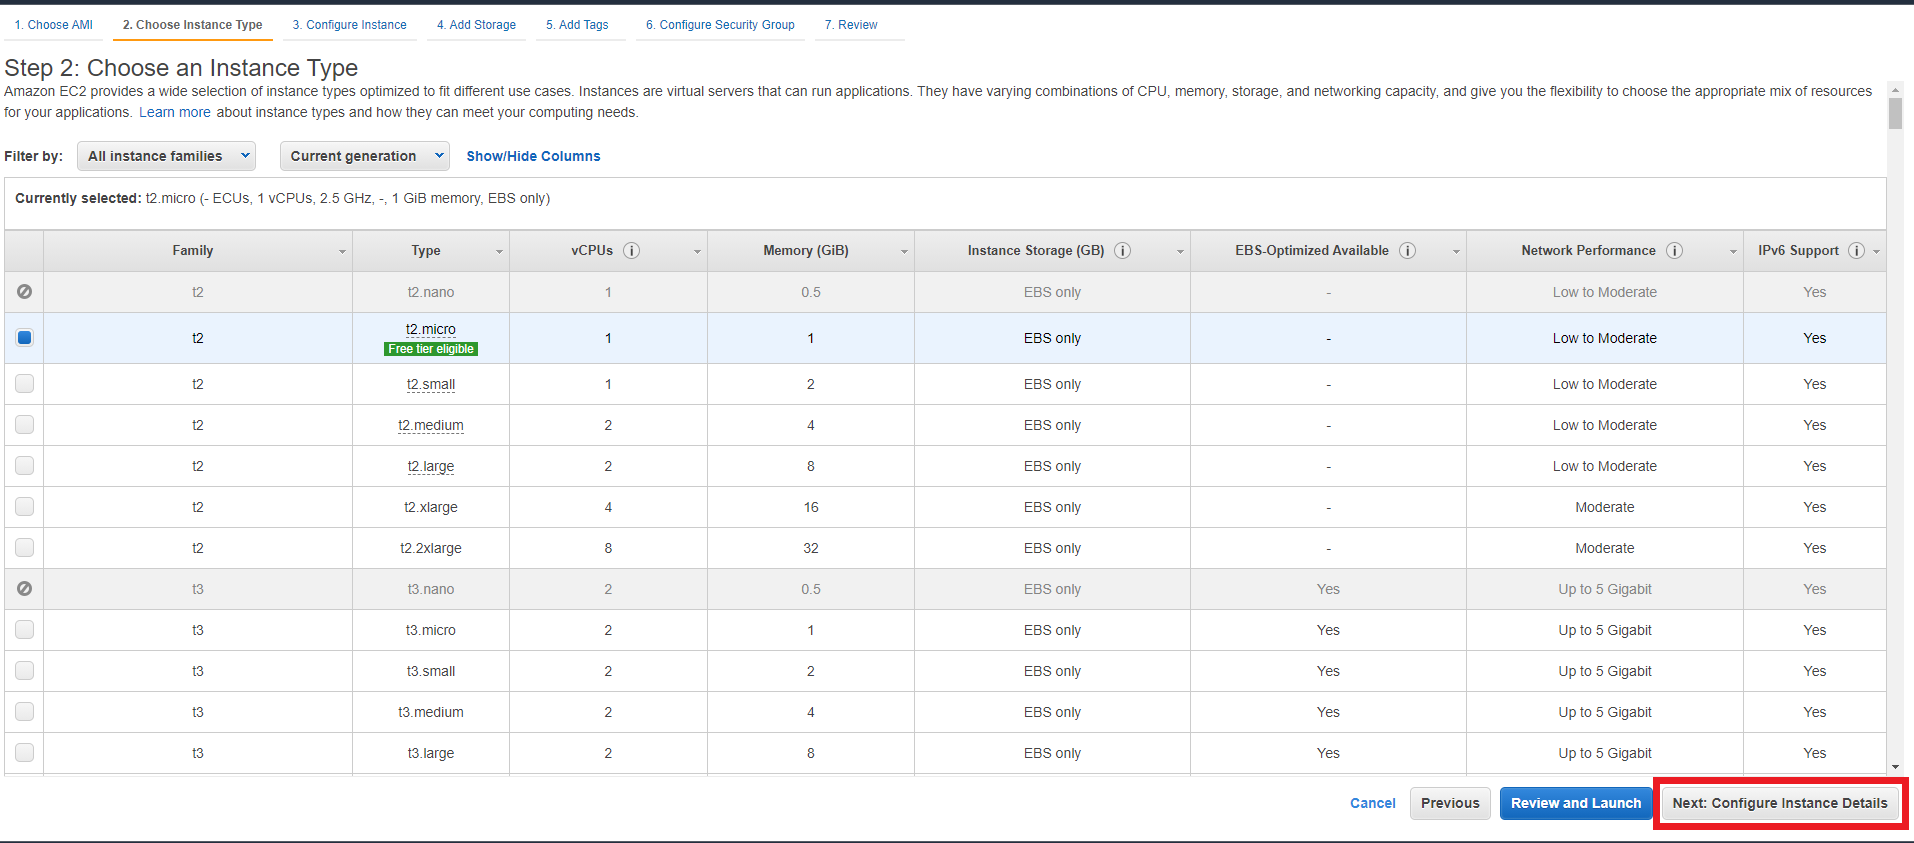
Select your instance size.
-
Scroll down to the bottom
-
Copy the content of the cloud init file you downloaded into the user data field.


-
Continue with your regular EC2 Instance deployment.
-
Your EZSSH policy is ready to be used with this endpoint
