How-To: Trust a Root Certificate in Windows and macOS
As mentioned in the CA overview for a CA to be trusted by an organization it has to be added to the trusted root store of all their devices. follow these steps to trust a new root CA.
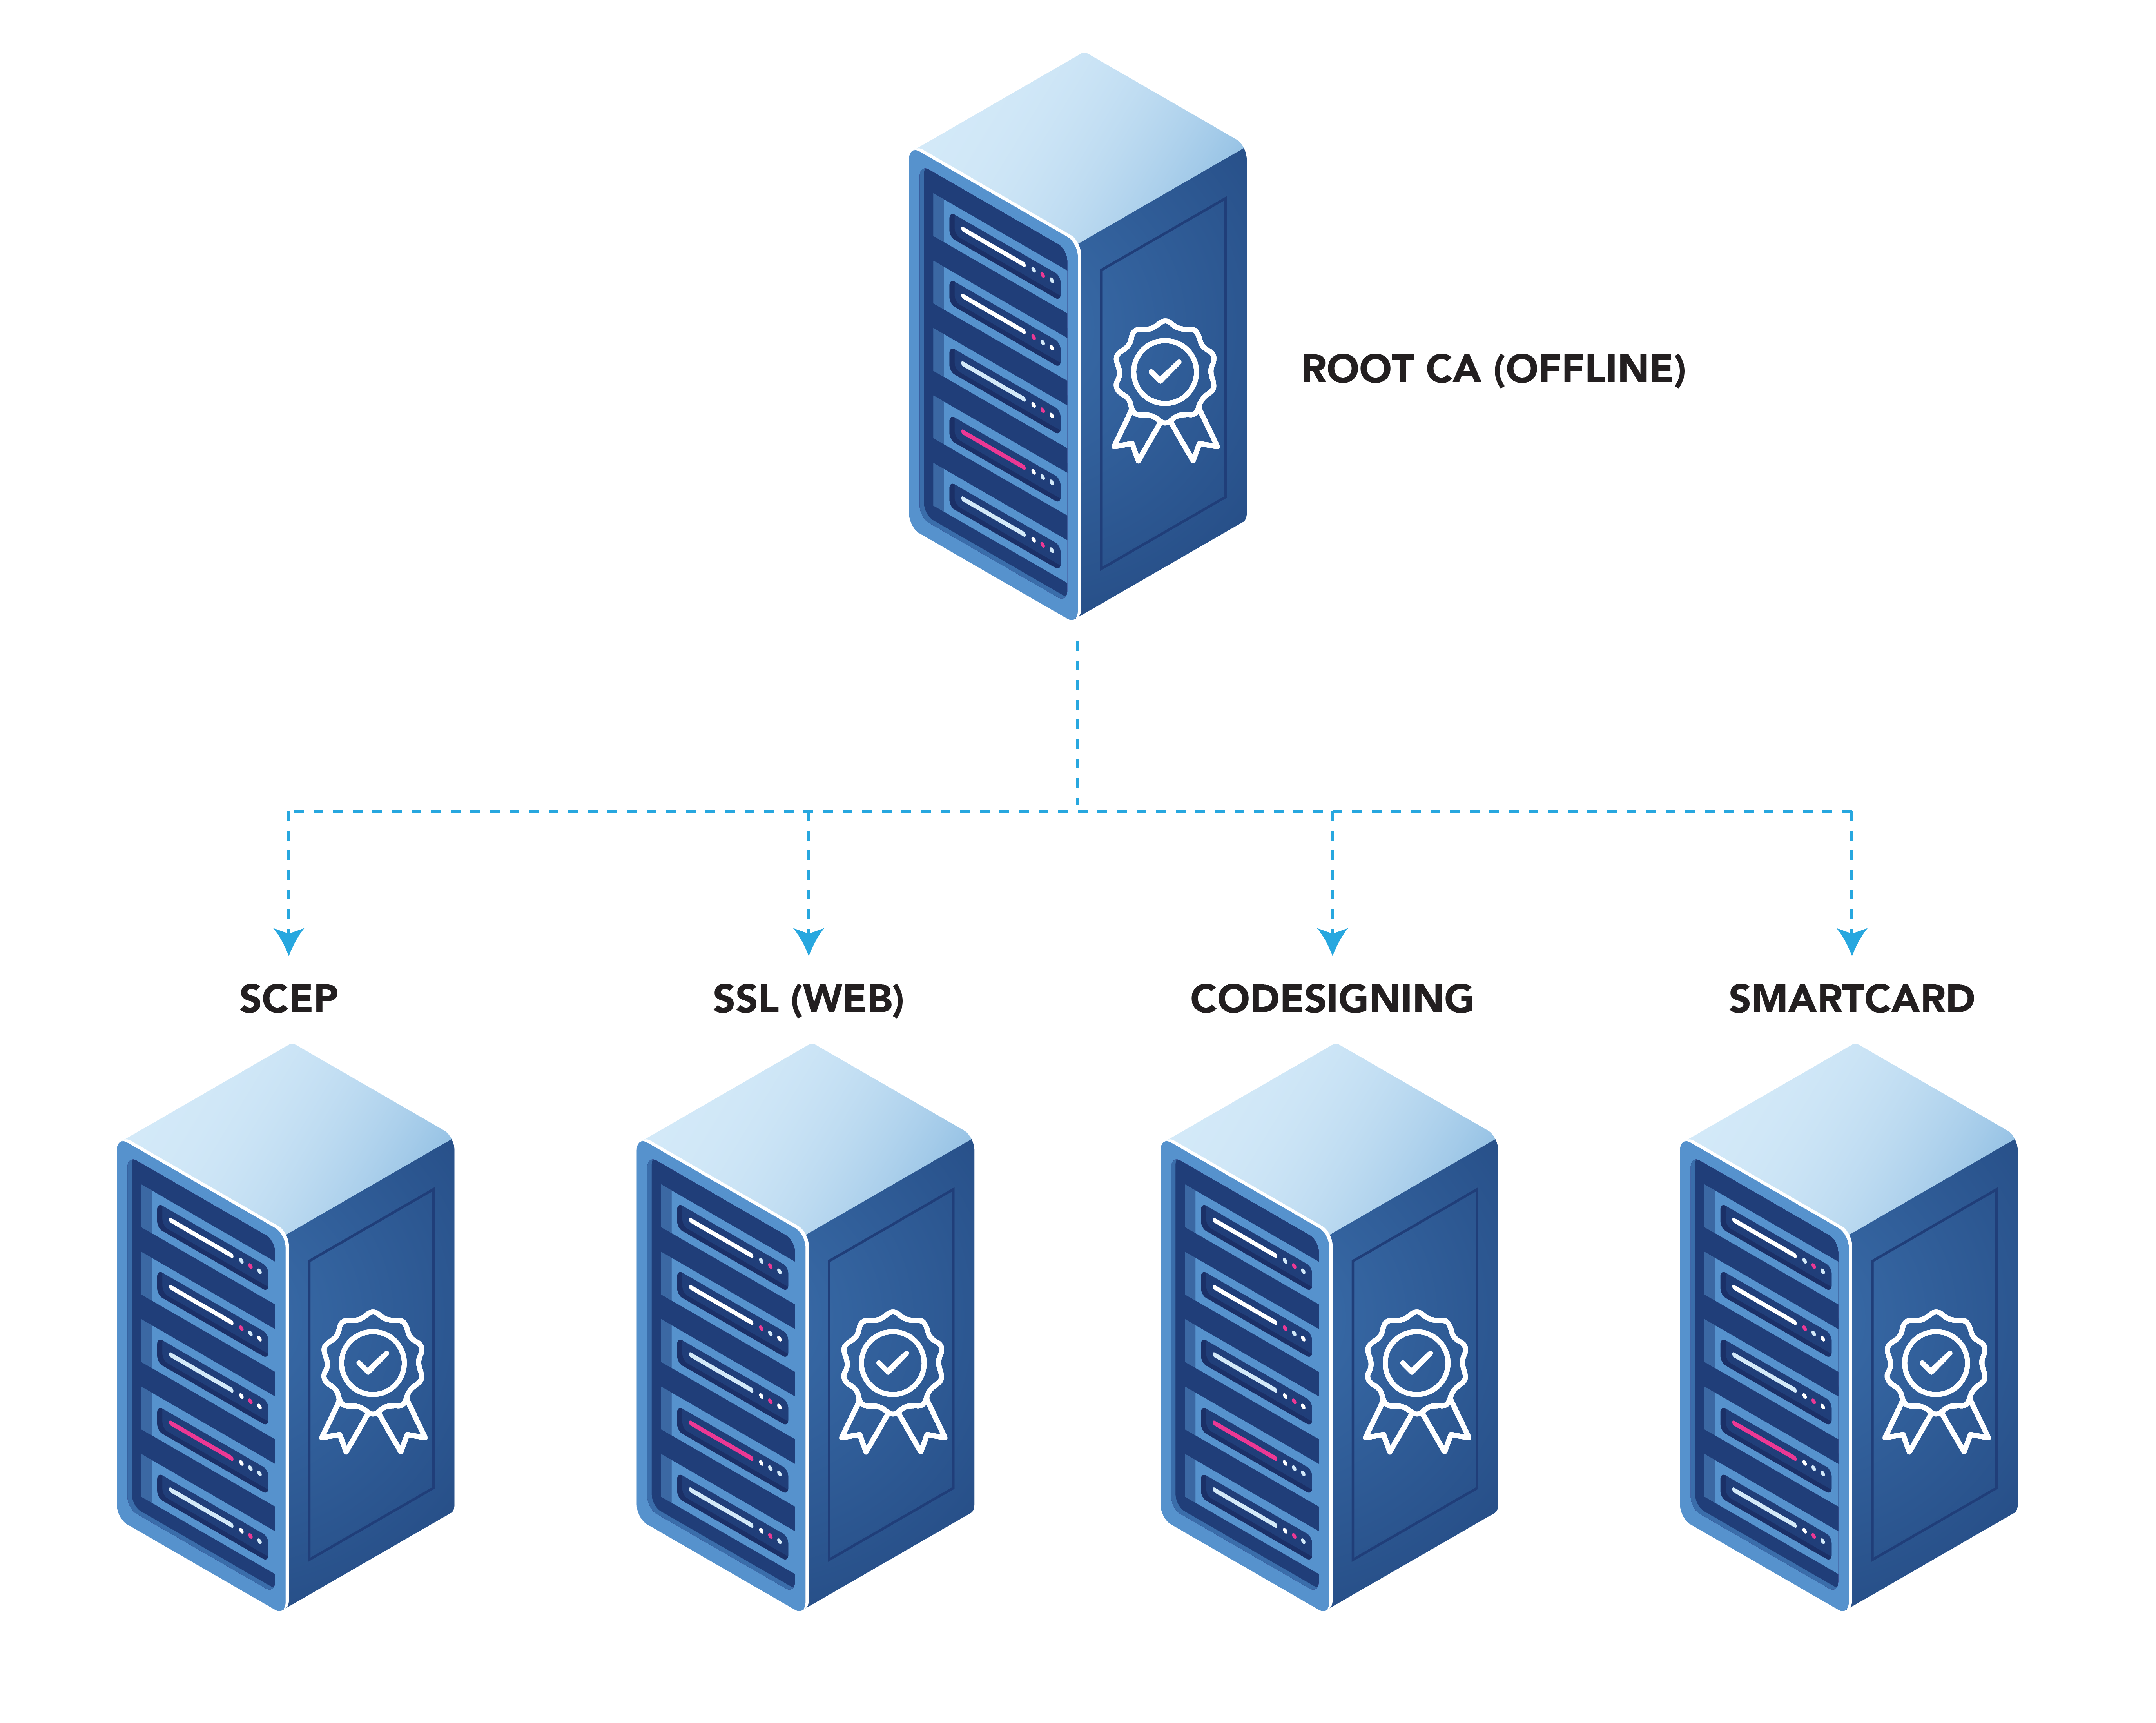
One of the most common questions we get in our free PKI assessments is if they need to create Root CA or if they should create a SCEP CA as the Root CA. PKI Best practices recommend a two tier PKI where you have your offline Root CA and then your online issuing CAs that each issued a different type of certificate (this is to prevent impersonation by someone issuing a certificate for a different purpose). This allows you to push the Root to all your devices and don’t have to manually trust each individual CA. However, if you are cost constrained and you are not issuing certificates for different purposes in the future (remember CAs last up to 10 years), you can create a single tier PKI where your SCEP CA is your Root CA.
Creating a two-tier PKI will result in an extra cost since you will have to pay for two or more CAs instead of one. Visit the EZCA Pricing Page for more details on CA pricing.
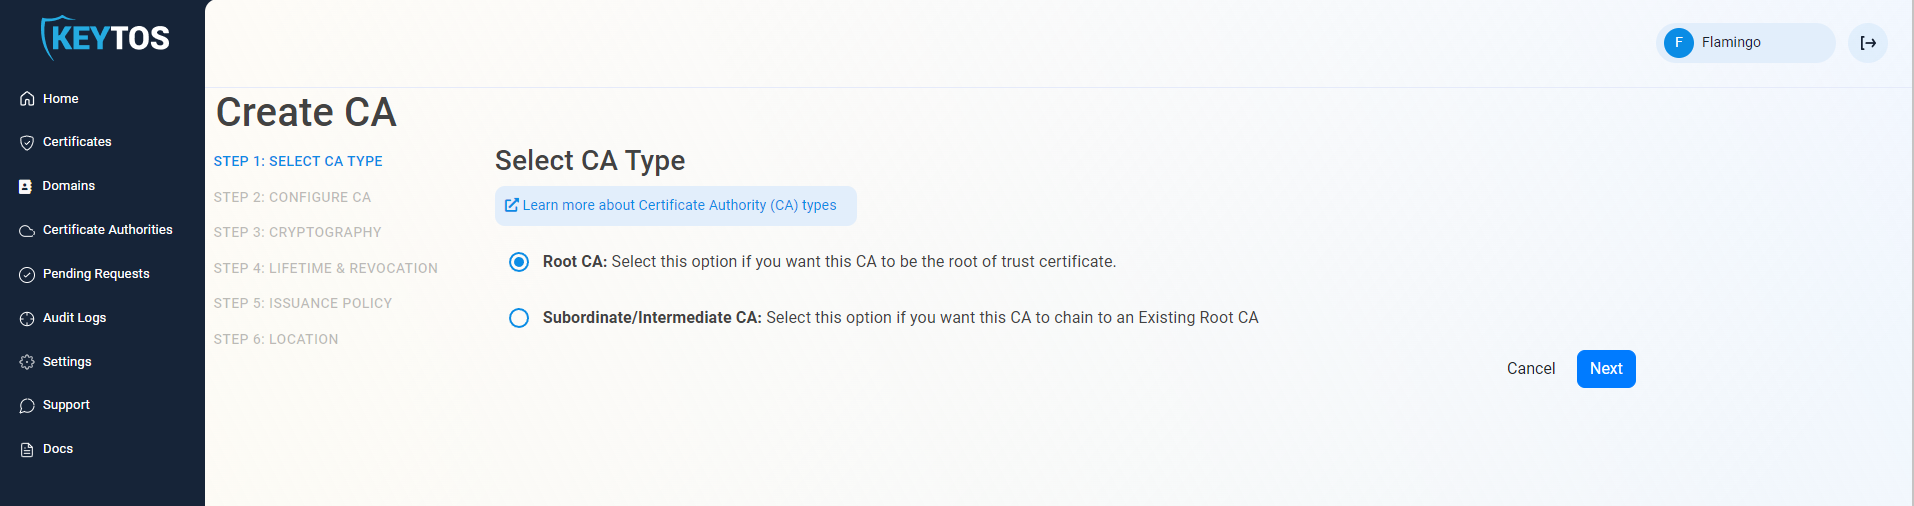
As mentioned in the CA Overview a Root CA is needed to be the root of trust for your PKI Deployment. In this page we will guide you on how you can create your own Root CA either using EZCA or creating your own offline CA.
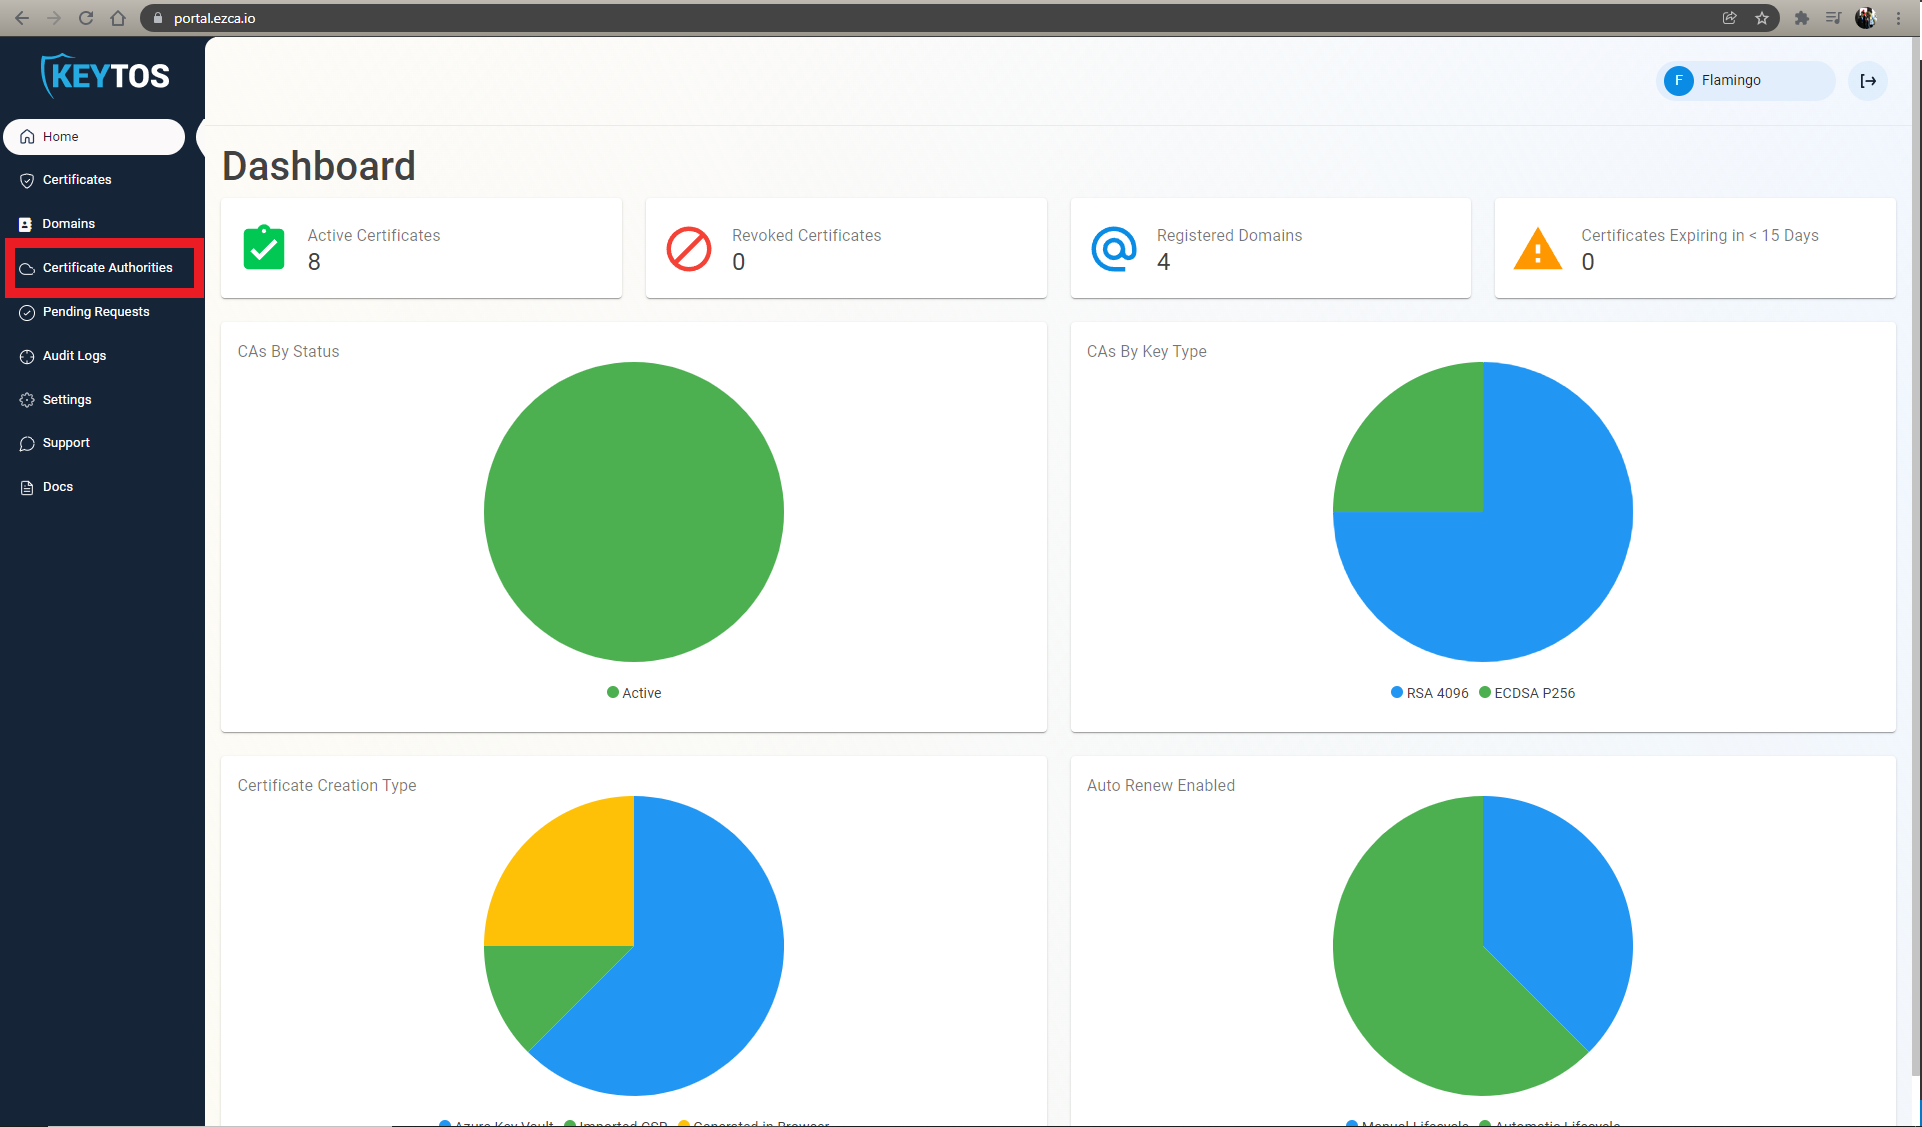
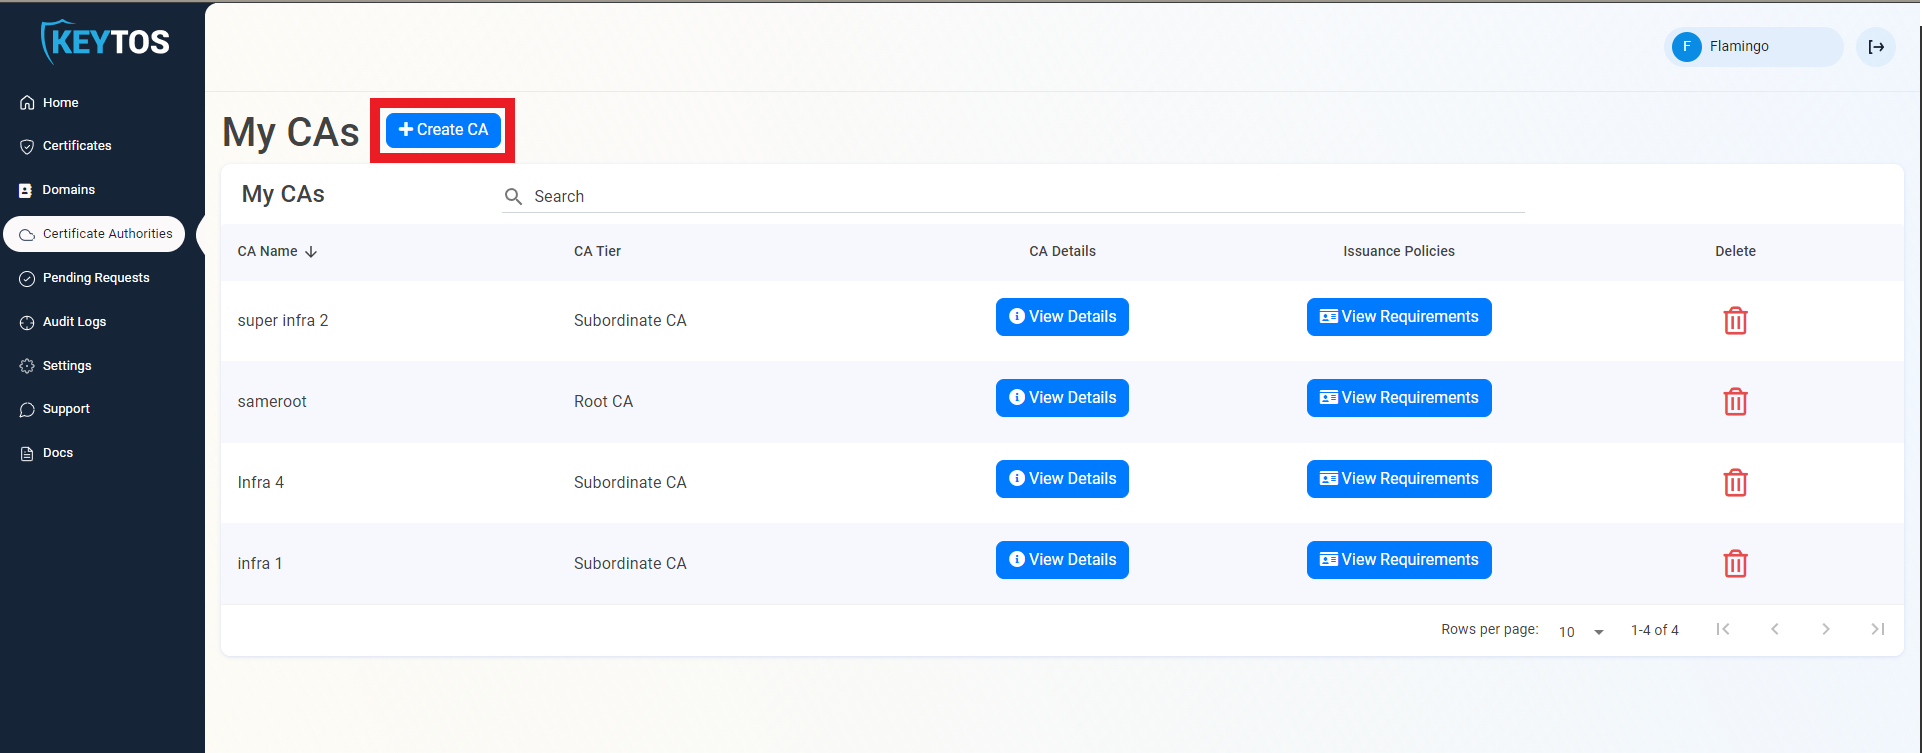
To begin creating a new Root CA in EZCA, follow these steps:
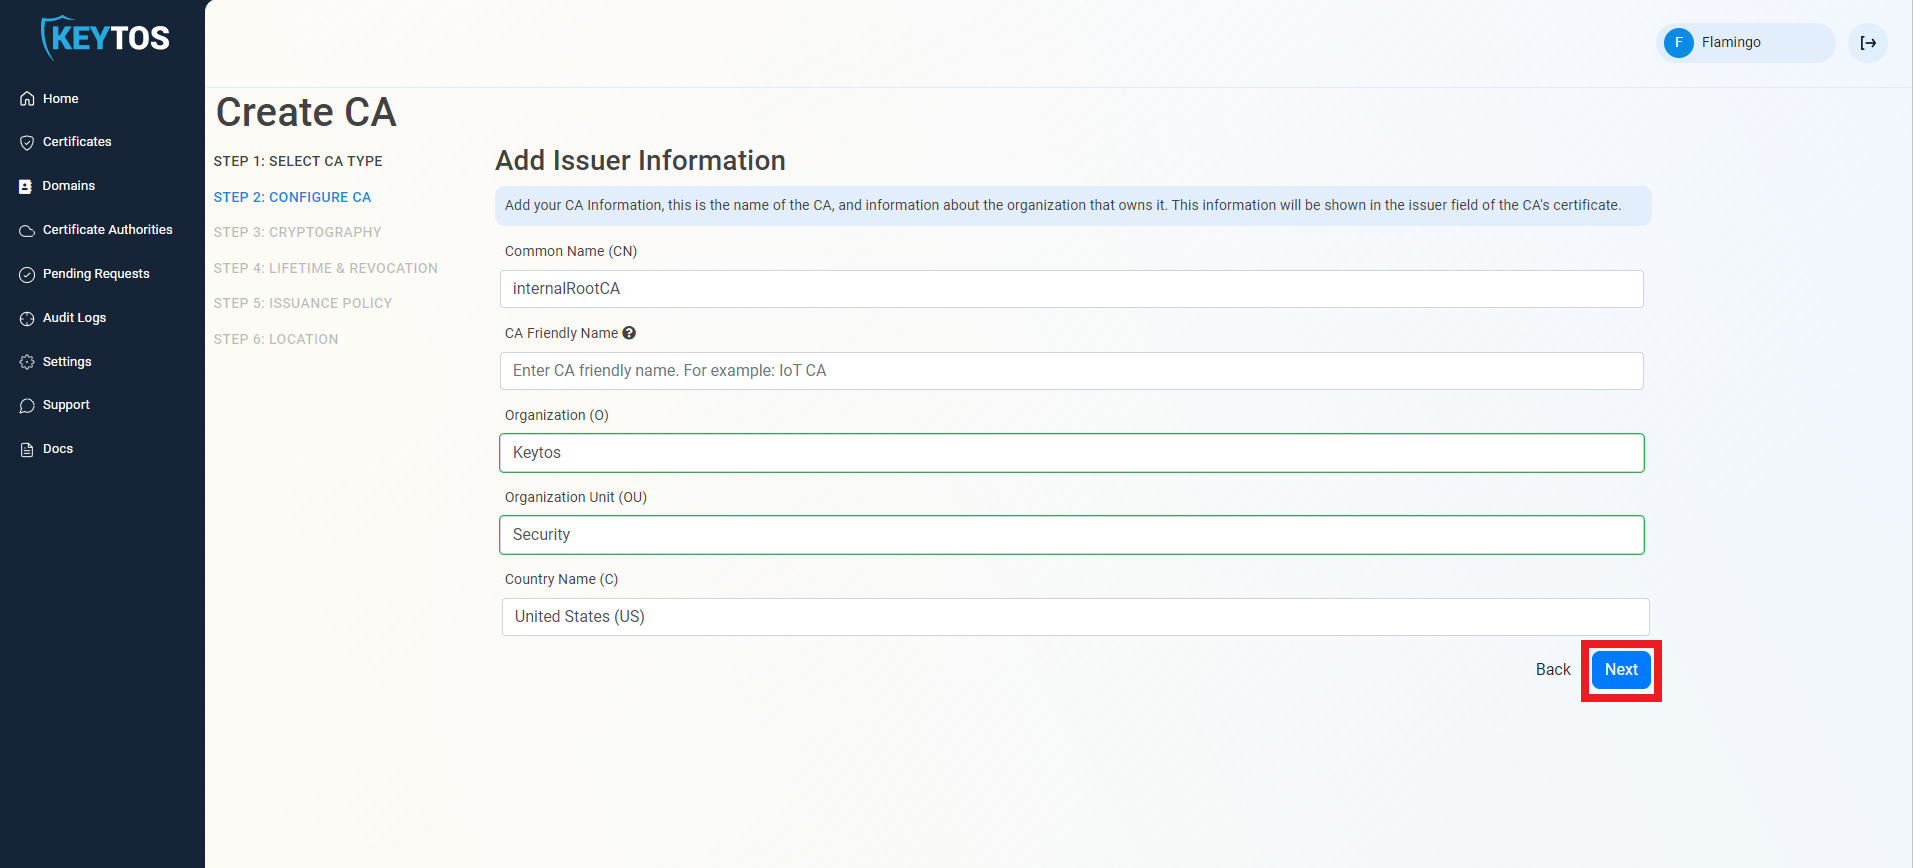
In Step 2, you will configure the basic identifying information for your Root CA.
Enter Common Name: This is the name of the CA how it will appear in the certificate.
(optional) Enter a CA Friendly Name. This is the name that will appear in the EZCA portal, by default we will use the Common Name
(optional) Enter an Organization. The Organization field is an optional certificate field that usually has the company name.
(optional) Enter an Organization Unit. The Organization Unit field is an optional certificate field that usually contains the unit that runs this CA (For example: IT or HR).
(optional) Enter a Country Code. The Country Code field is an optional certificate field that identifies the country where this CA is located.
Click Next.
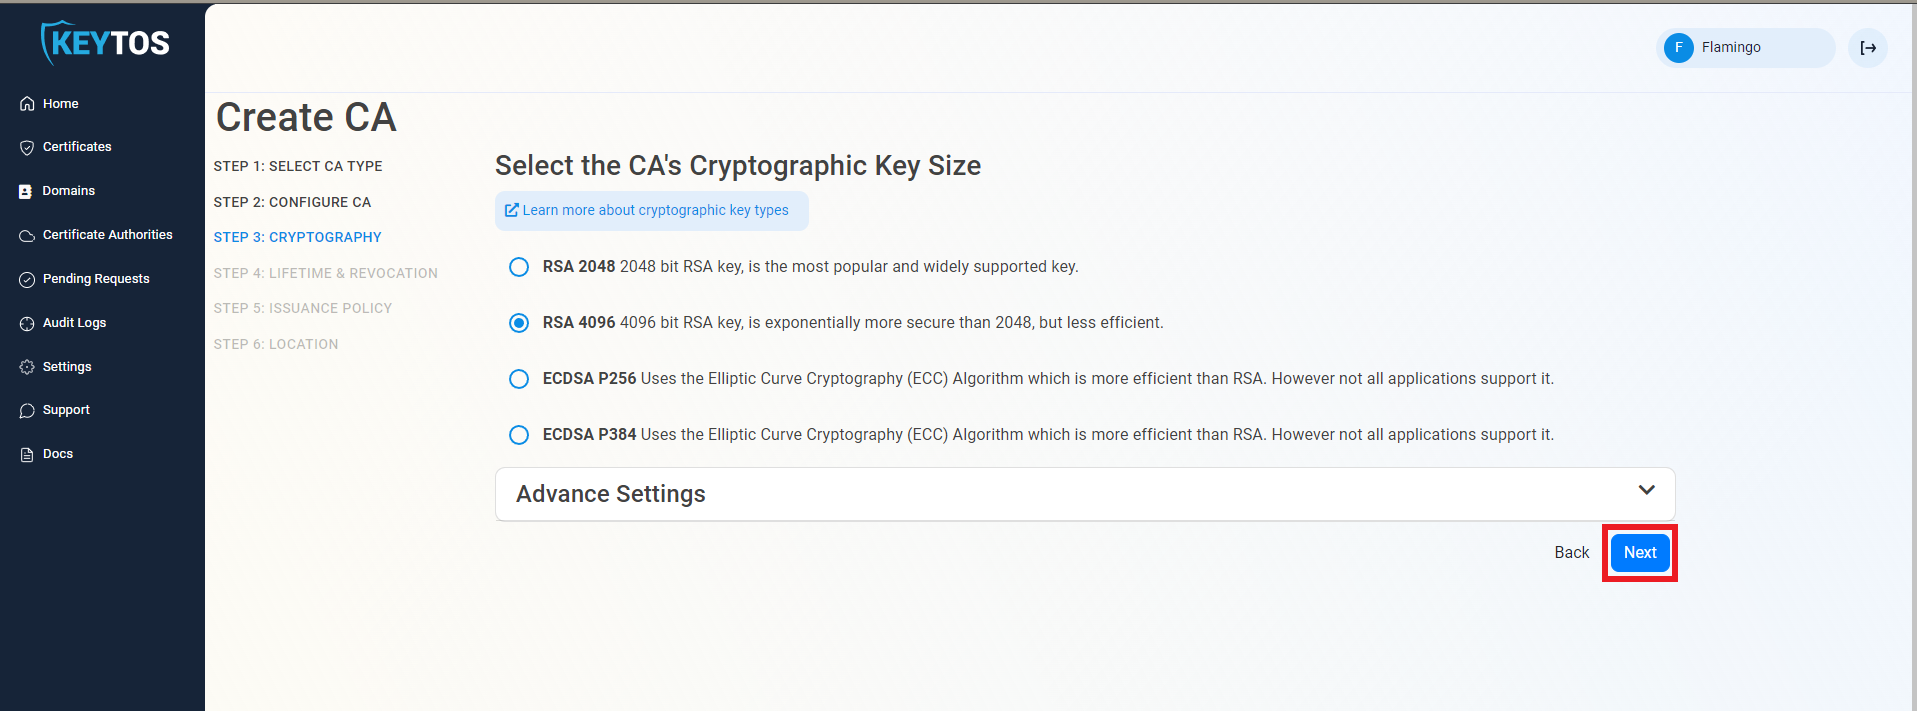
In Step 3, you will configure the cryptographic settings for your Root CA. Unless you have specific compliance or security requirements, leave the default cryptographic values for best security and compatibility and click Next.
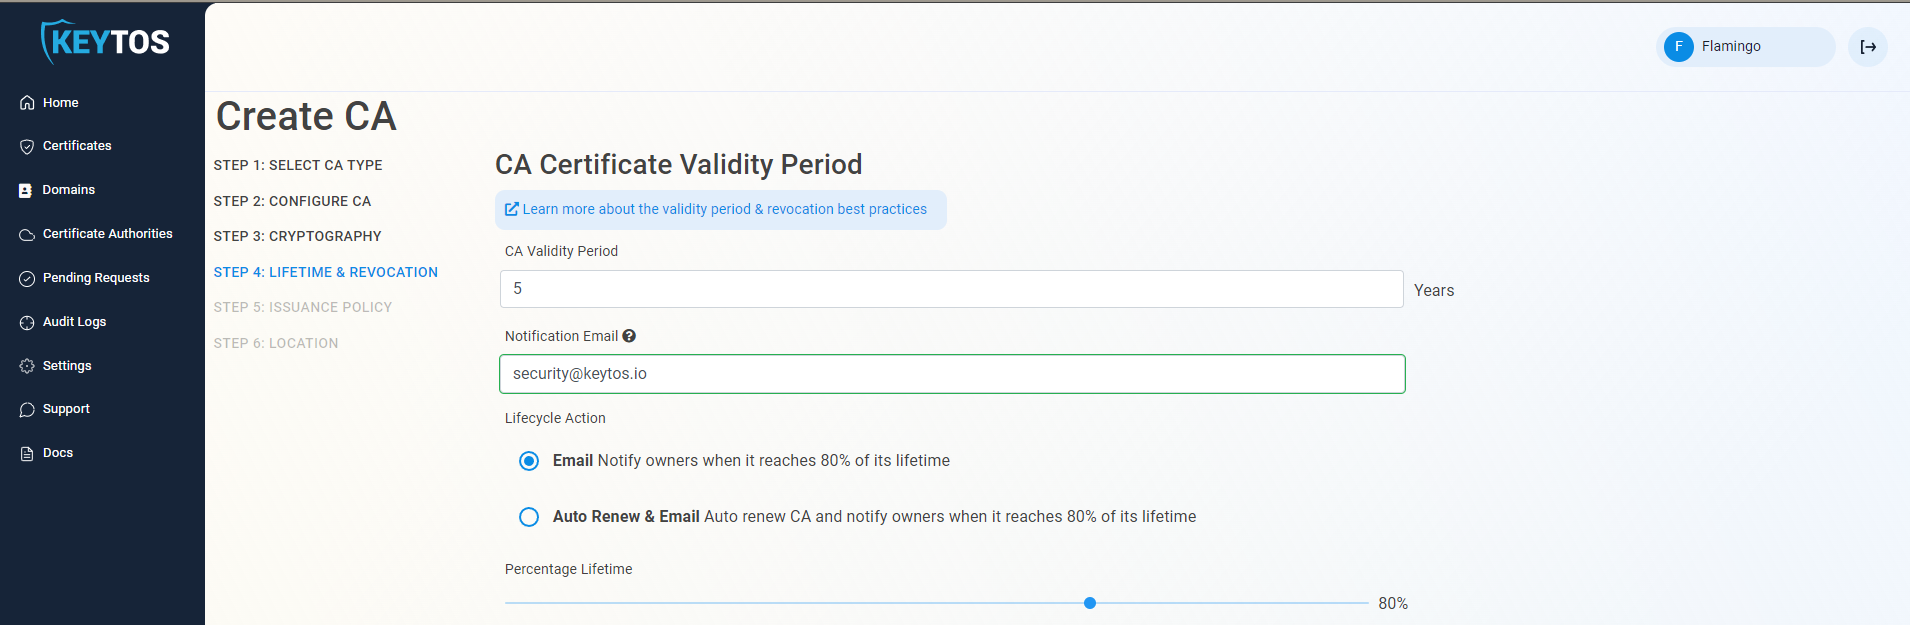
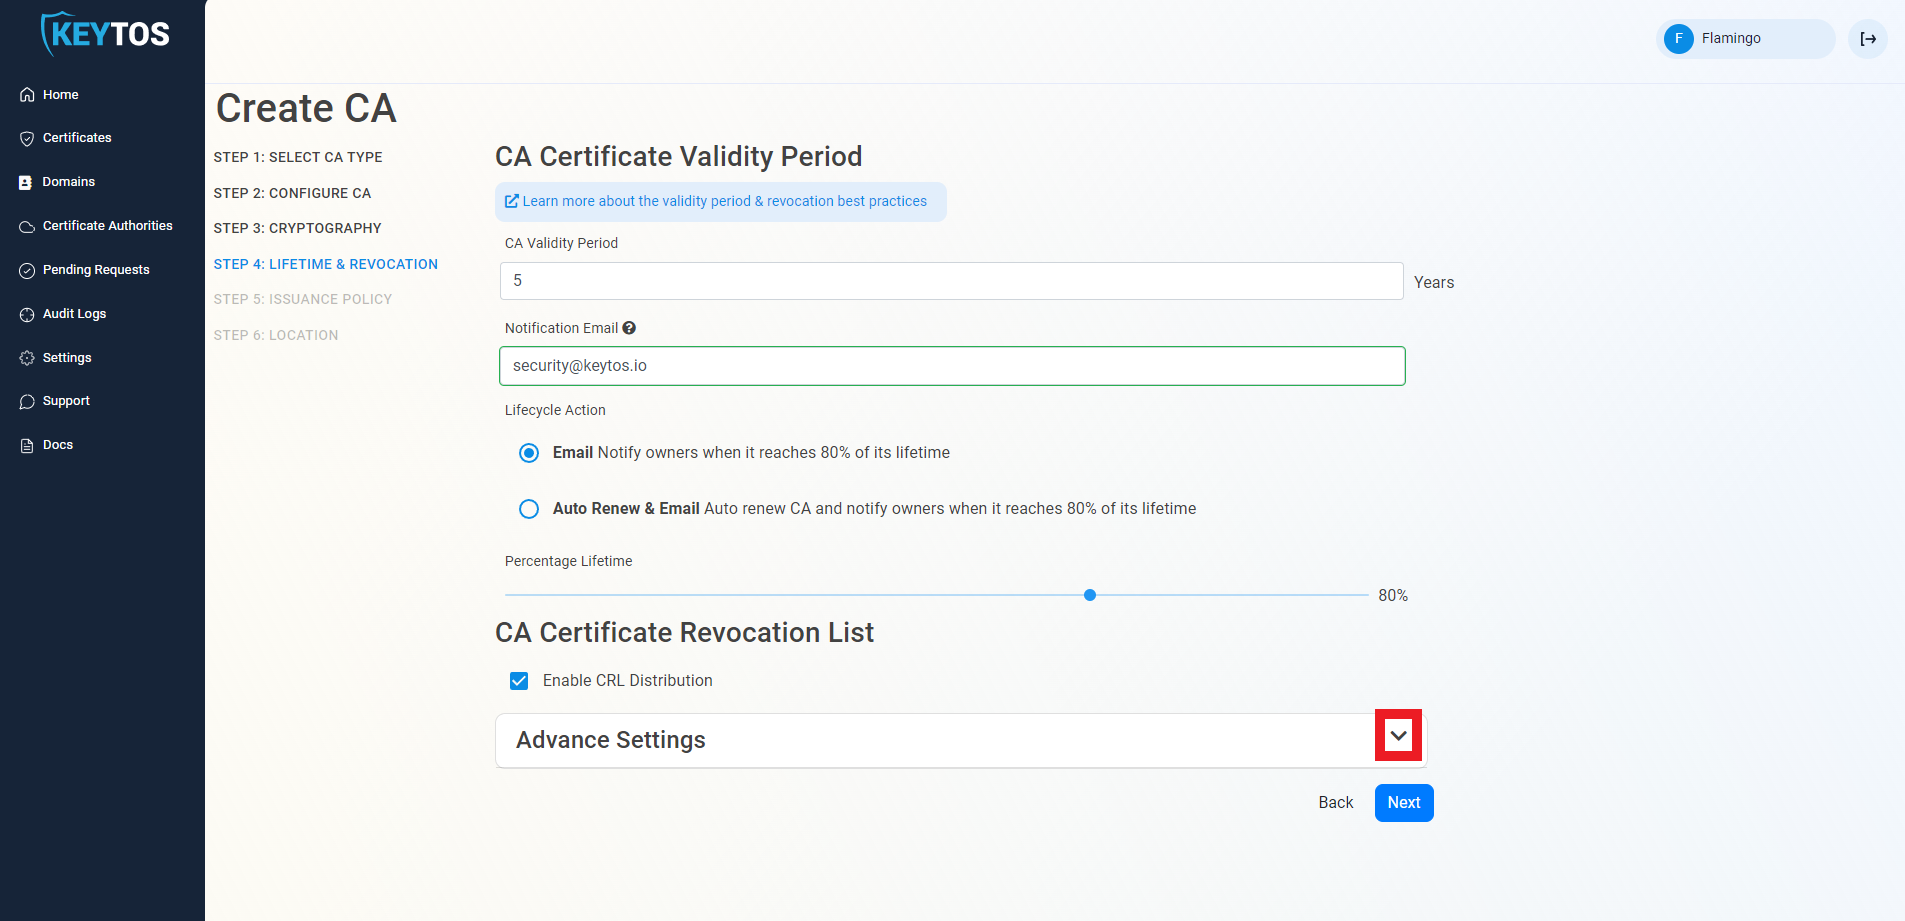
In Step 4 you can configure the lifecycle management of your Root CA, such as validity period and notification settings.
Select your CA Validity Period, in years. Learn more about Validity Period best practices
Enter a Notification Email. This email address will receive notification emails when the CA is approaching expiry, in addition to your PKI Administrators.
Select the Lifecycle Action you want EZCA to take when expiry of the CA is approaching, either Email or Auto Renew & Email.
For Root CAs we recommend to have a manual Lifecycle since the new Root will have to be added to the trusted root stores of your clients which requires manual steps from the IT team.
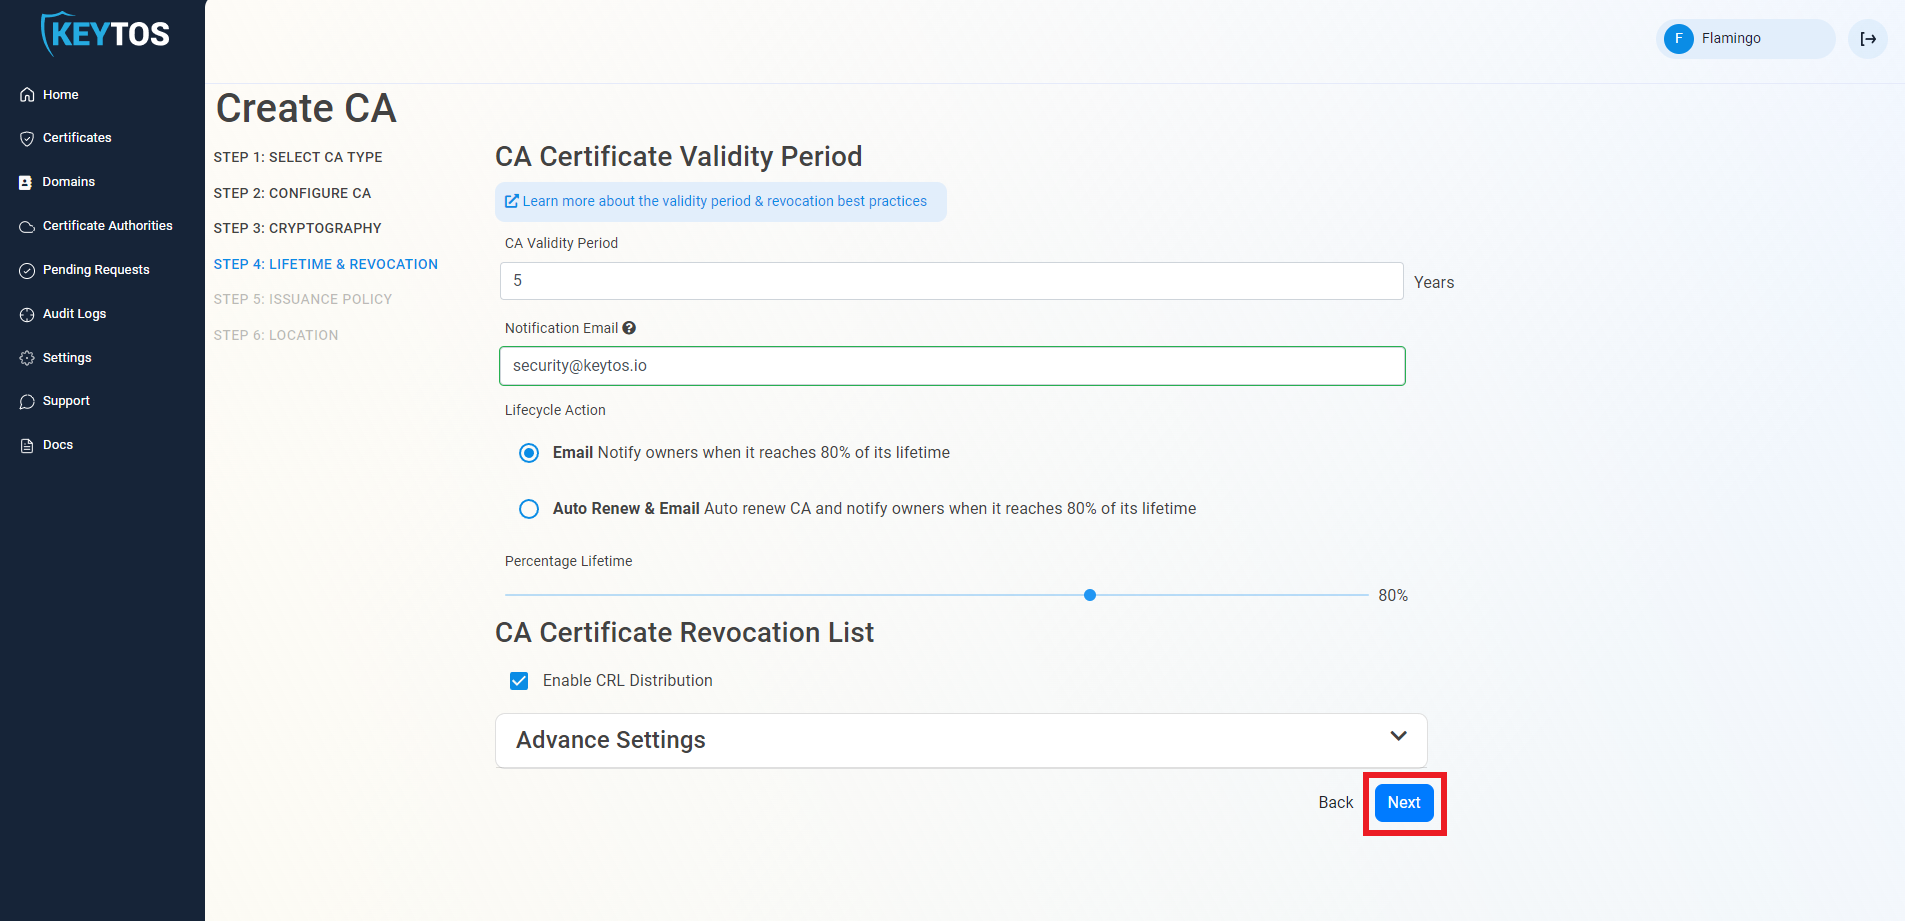
Select the Percentage Lifetime of the CA when you want EZCA to take the selected lifecycle action.
Select if you want to enable CRL (Certificate Revocation List) Distribution for this CA. This is highly recommended and is enabled by default.
Optionally change any advanced settings by clicking the expand button. See below for more details.
Click Next.
Changes to this section are only recommended for PKI experts with specific requirements.
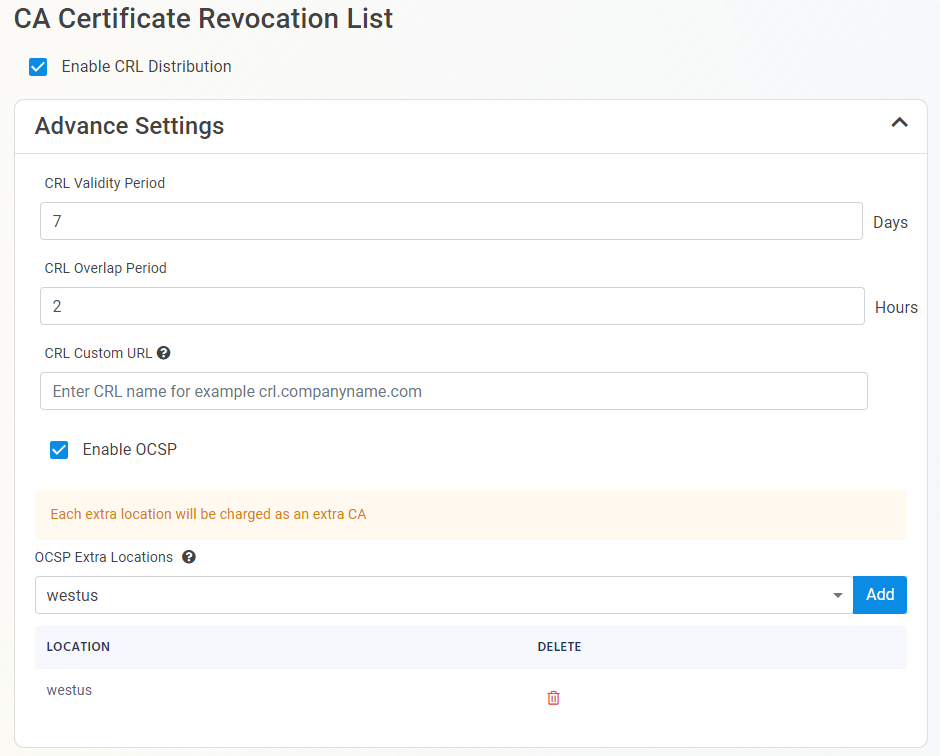
Expand the Advanced Settings section.
Enter the desired CRL Validity Period in days. This is the time period that each Certificate Revocation List (CRL) is valid before a new CRL is published.
Enter the desired CRL Overlap Period in hours. This is the time period that the old CRL remains valid after a new CRL is published to allow for replication delays.
(optional) Enter the CRL Custom URL where you will publish your CRLs. By default, EZCA will host the CRL for you in EZCA’s global CDN. However, if you have specific requirements to host the CRL in your own infrastructure, you can enter the URL here. Note that you will be responsible for publishing the CRL to this URL and ensuring its availability.
Custom CRL endpoints are supported by EZCA by adding the CRL endpoint as the CRL endpoint in the certificate. However, your PKI admins are responsible from getting the CRL from EZCA and posting it in that specific endpoint.
(optional) You can Enable OCSP to allow Online Certificate Status Protocol for this CA. See below for more details.
Click Next.
When creating a new CA, inside the CA Revocation (Step 4) advanced settings, you can enable OCSP (Online Certificate Status Protocol). OCSP is only recommended if you have specific requirements for validating certificates. While OCSP allows quicker revocation, it increases the cryptographic load on the CA and can limit the scalability of the CA. Depending on your CA tier, this can impact your performance.
Learn more about OCSP vs CRL in the Keytos blog.
If you want to enable OCSP, select the Enable OCSP option.

Enabling the OCSP will create an OCSP endpoint for this CA in the same region you select for your OCSP (this is included with the price of your CA). If you require extra scalability you can create multiple OCSPs for your certificate authority in different regions.
Each extra OCSP created for your CA will be charged as an extra Certificate Authority.
Now that you have configured the basic settings for your Root CA, in Step 5 you will configure the issuance policy for your CA for how it will issue certificates.
Select the Certificate Template you want this CA to issue. Leave as “Subordinate CA Template” unless creating a 1-tier PKI. This is not recommended if you plan to issue different types of certificates in the future.
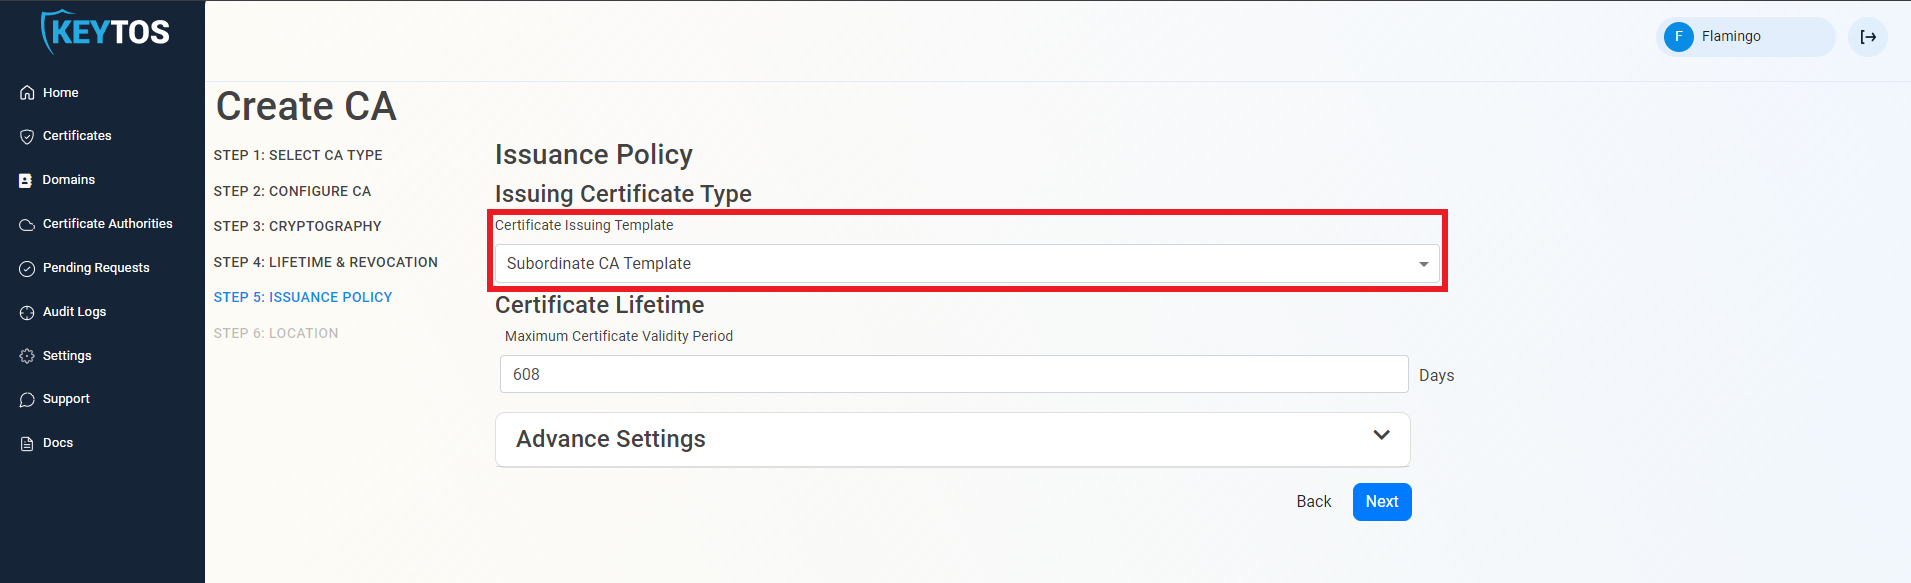
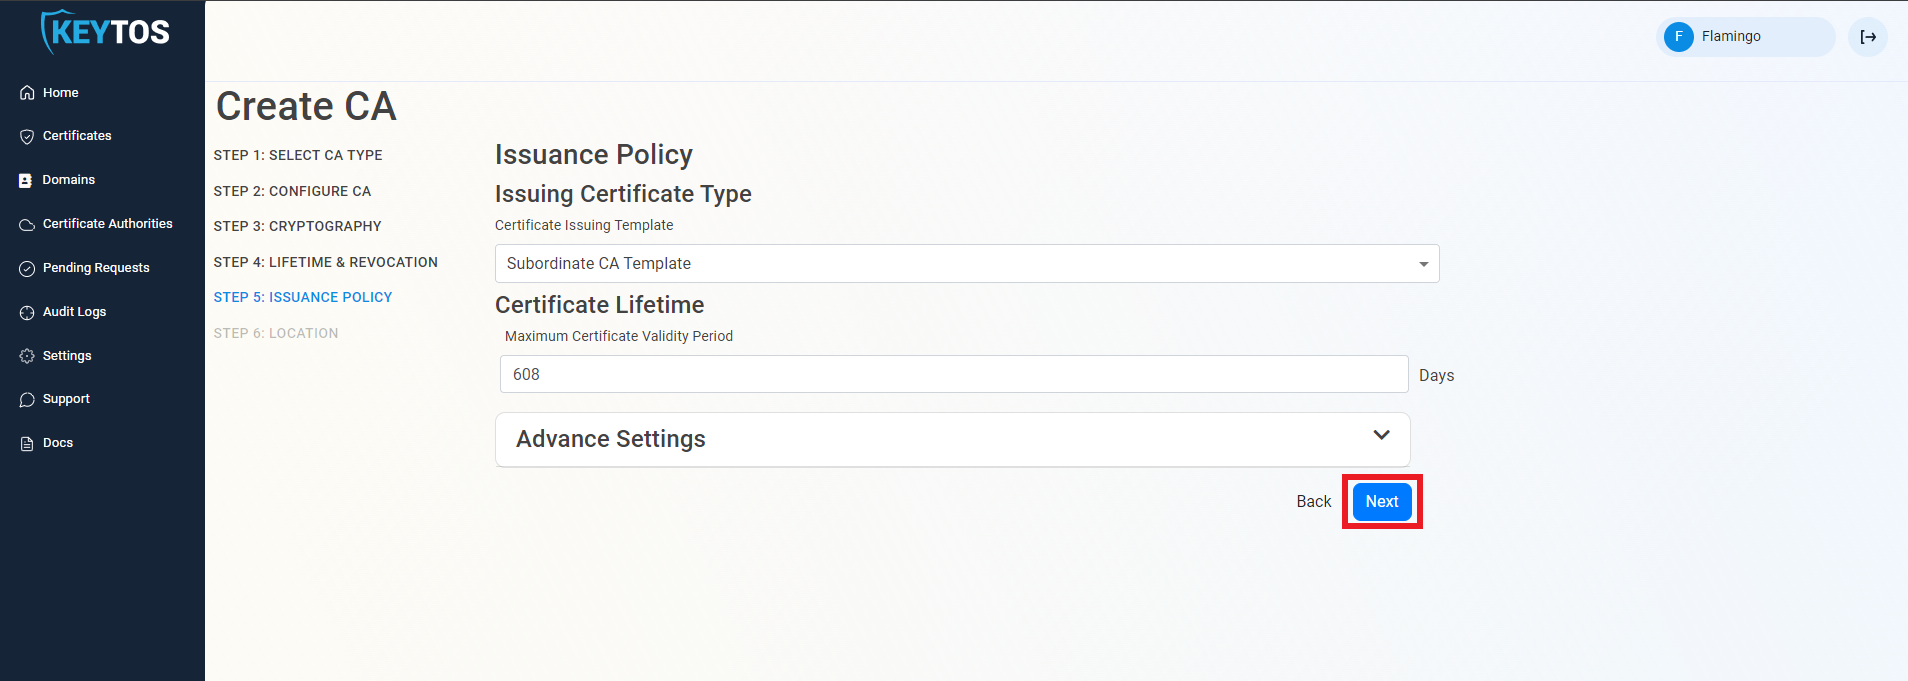
Enter the Maximum Certificate Validity Period. This is the largest certificate lifetime that this CA can issue. EZCA automatically calculates the recommended maximum based on CA lifecycle best practices.

(optional) Under Advanced Settings, set your EKU (Extended Key Usage) for the CA. These are the key usages that the certificates are used for, by default it is “All”. However, some RADIUS servers and Linux-based systems use OpenSSL which does not support the all EKU.
Click Next.
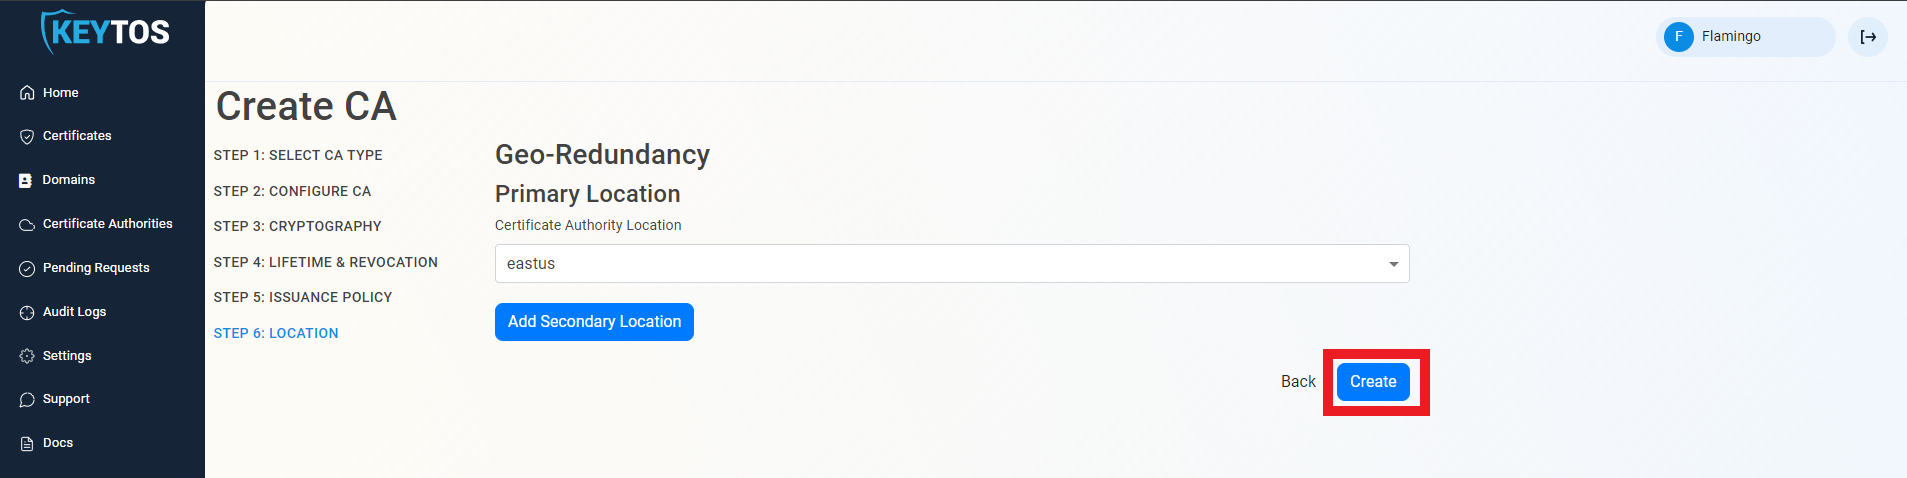
Select the location where you want your CA to be created.
(optional) If you want to create a geo-redundant CA, select an additional location.
Each extra location will be charged as an extra Certificate Authority (CA) at the same tier as the original CA.
Click Create.
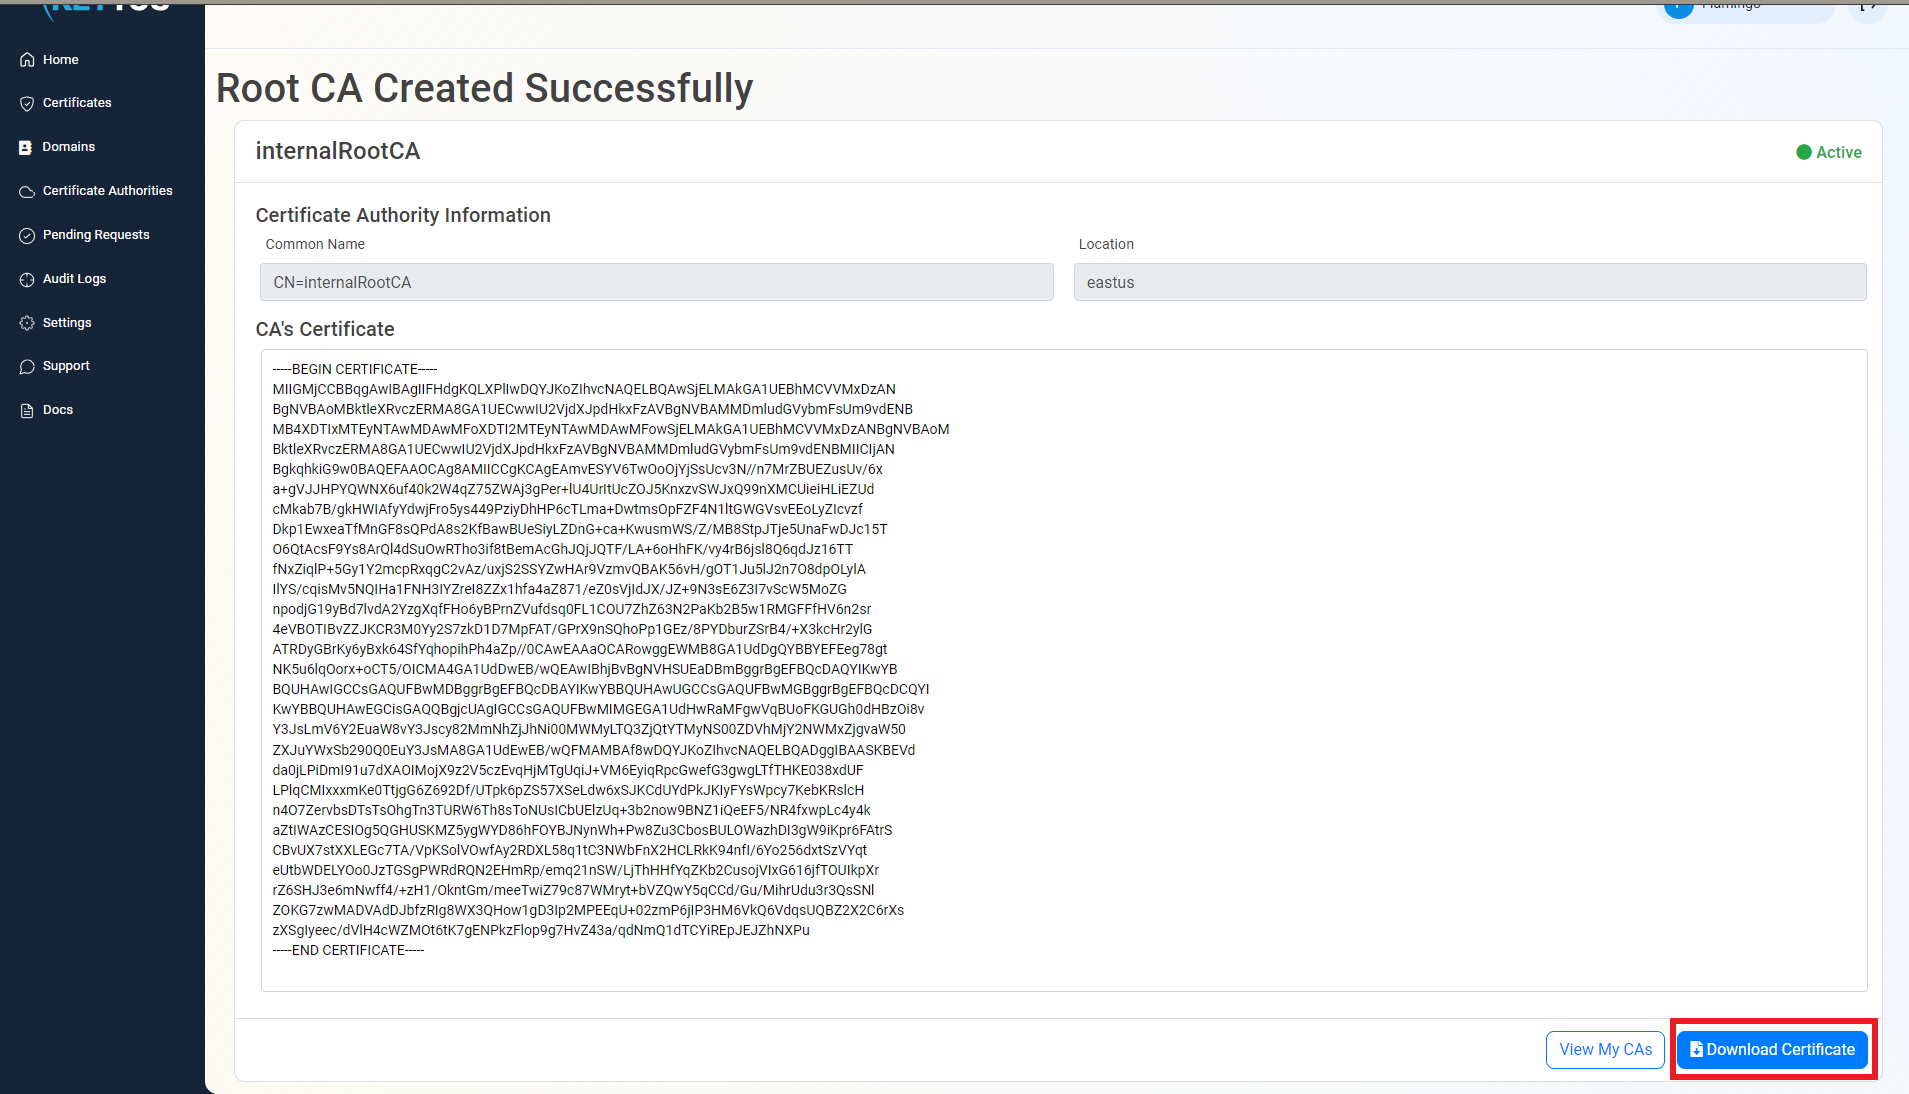
Once the CA is created click Download Certificate and push it to all your devices as a trusted root. Learn more in this guide
As mentioned in the CA overview for a CA to be trusted by an organization it has to be added to the trusted root store of all their devices. follow these steps to trust a new root CA.