How-To: Register an ACME Agent in EZCA
Introduction - Why Register the ACME Agent in EZCA?
For EZCA to validate the local domain ownership, we have to install a local agent in your network. This web service will receive all ACME requests and validate the domain ownership on behalf of EZCA.
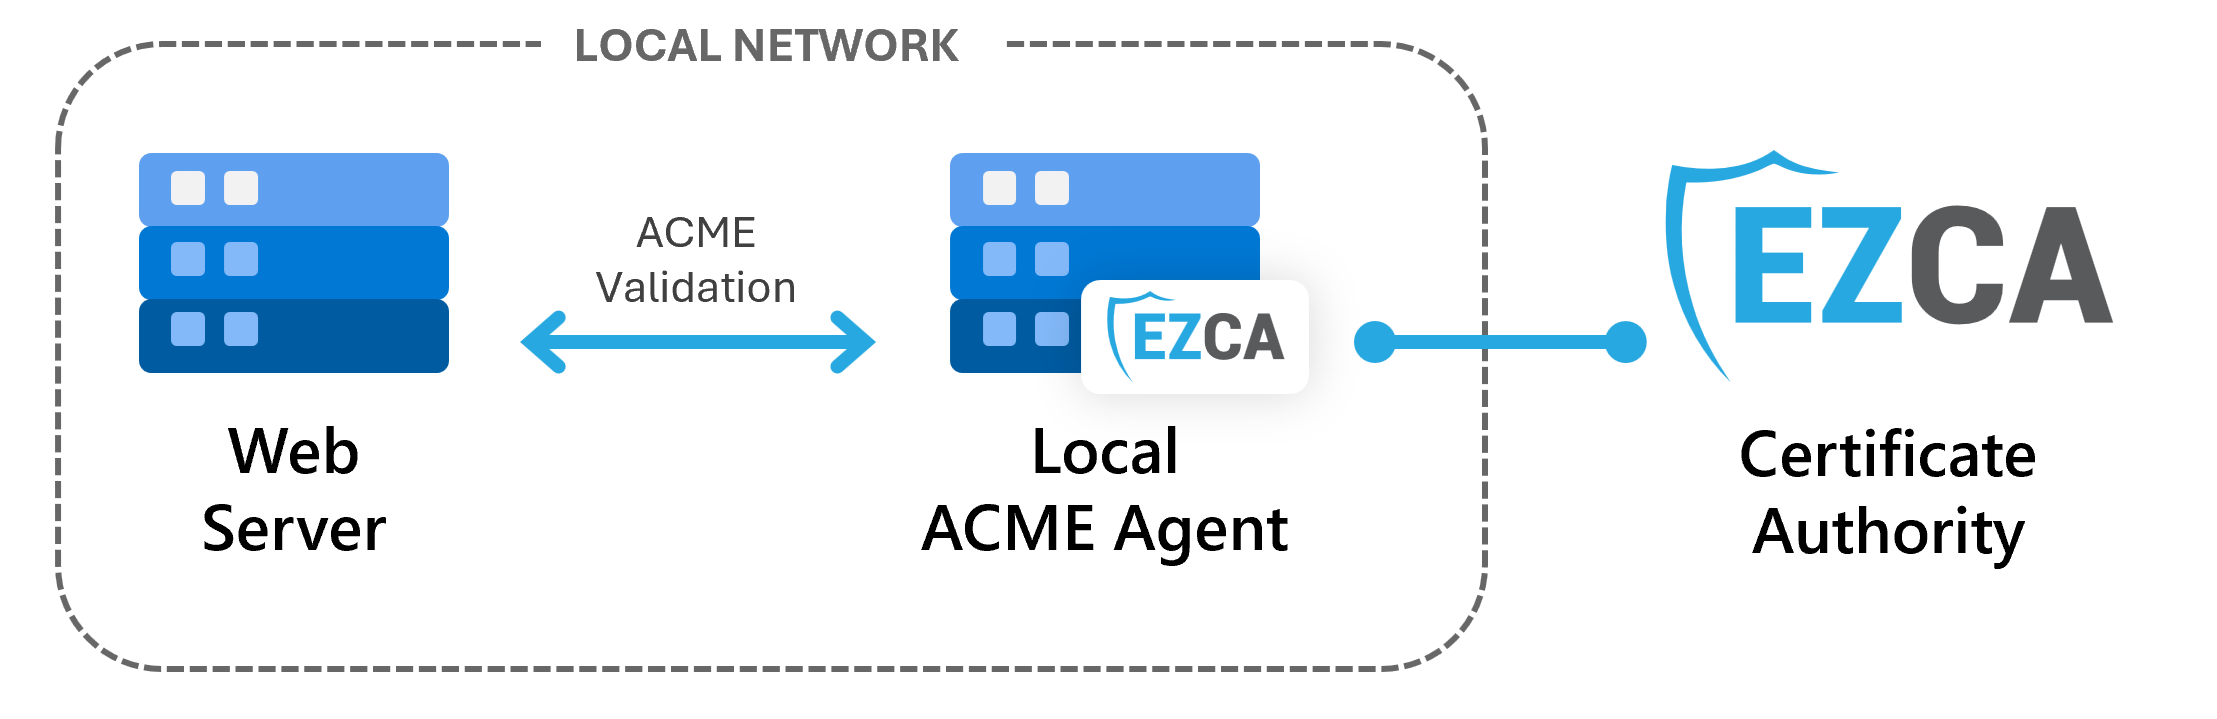
In this first step, we will register the agent in EZCA, which will allow it to issue certificates from your CA. During the registration, you will provide the details of the agent such as its name, URL, and the authentication certificate it will use to communicate with EZCA.
Prerequisites for Registering Your ACME Agent
Before you can register your ACME agent in EZCA, make sure you have the following prerequisites in place:
- You have an active EZCA subscription
- You have created an SSL Template Certificate Authority in EZCA (either root or subordinate)
When ACME agents are added to SSL CAs with Domain Approval enabled, an initial approval request is sent to create the ACME agent. Once created, the agent will be able to create domains without requiring additional approvals for new Domains. If you do not want to allow ACME agents to create domains without approval, you can instead use a pre-approved list of Domains for your CA, and add Domains to the list before a server can request a certificate for that Domain.
How to Register Your ACME Agent in EZCA - Video Walkthrough
Follow along with this video walkthrough to set up your internal ACME agent:
How to Register Your ACME Agent in EZCA - Step by Step Guide
-
Navigate to the EZCA portal.
-
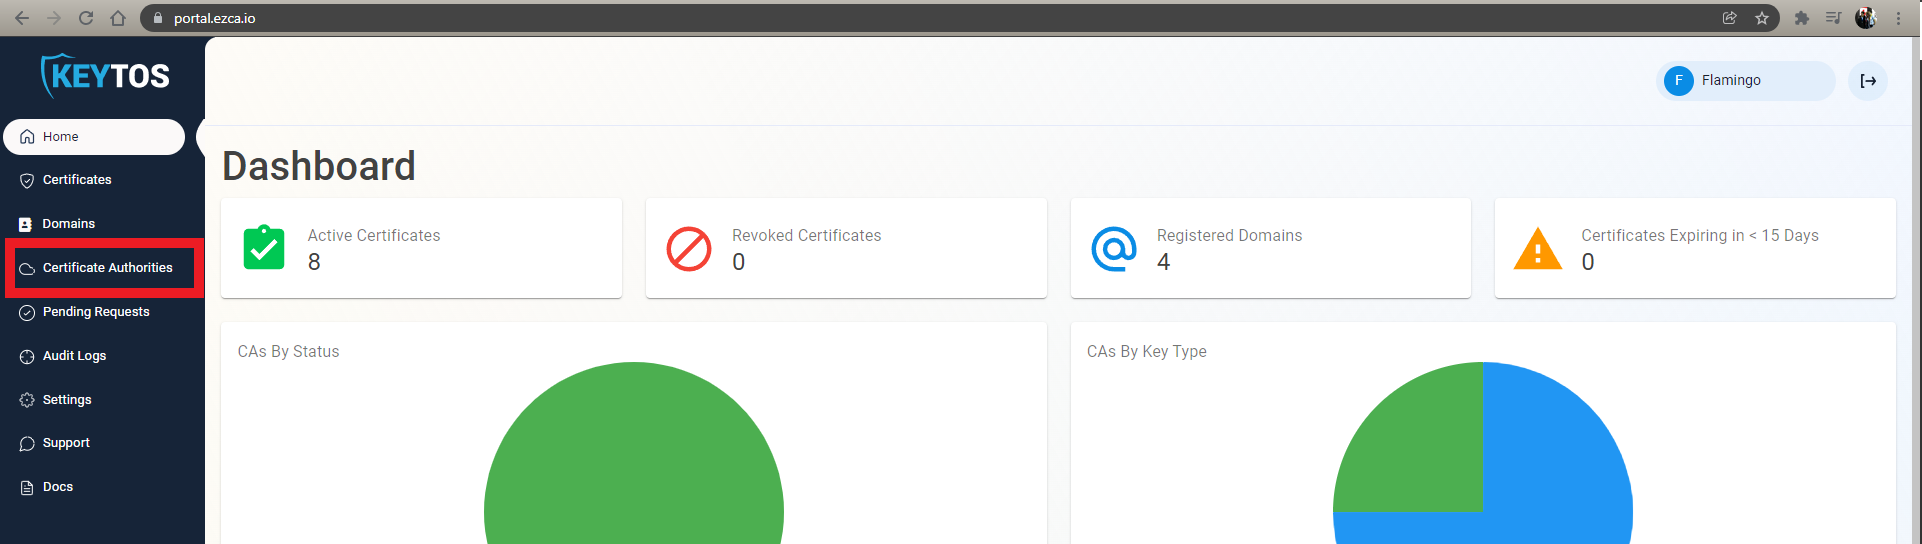
From the left-hand menu, select Certificate Authorities.
-
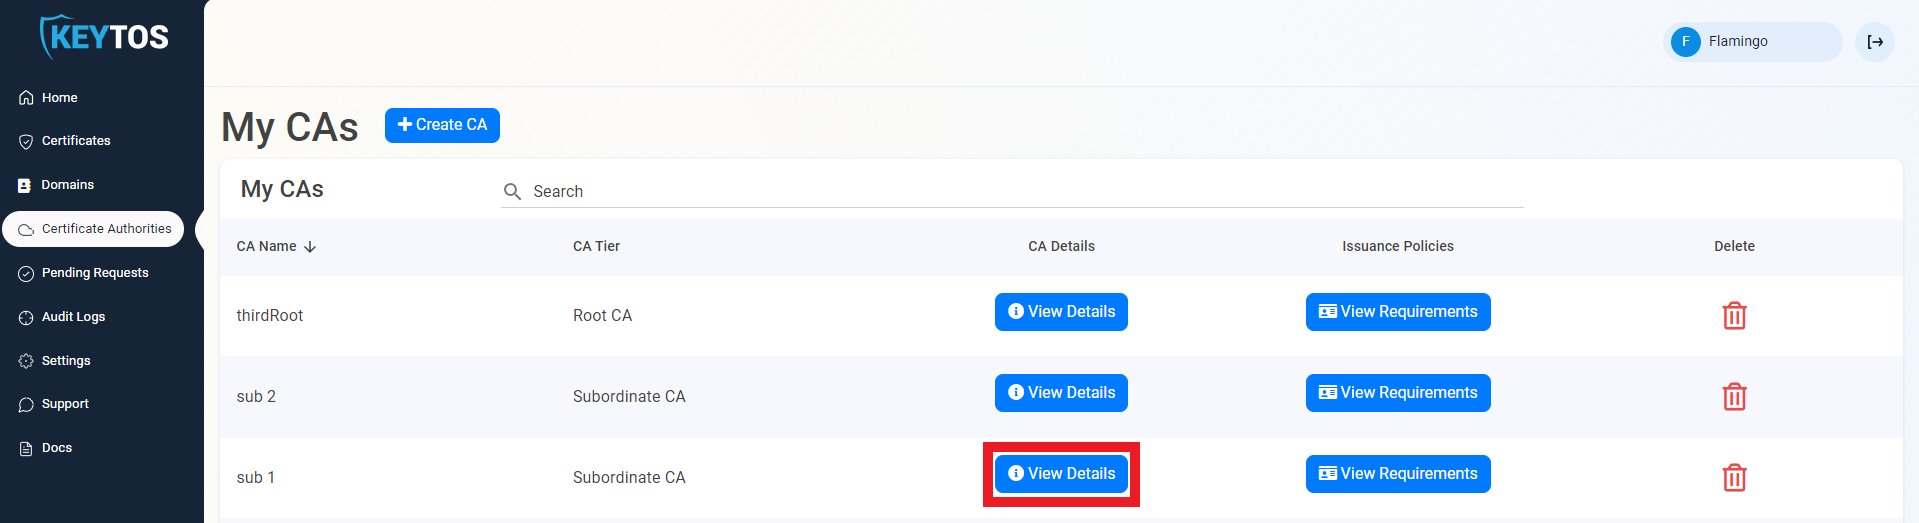
For the CA you want to enable ACME for, click on the View Details button.
-
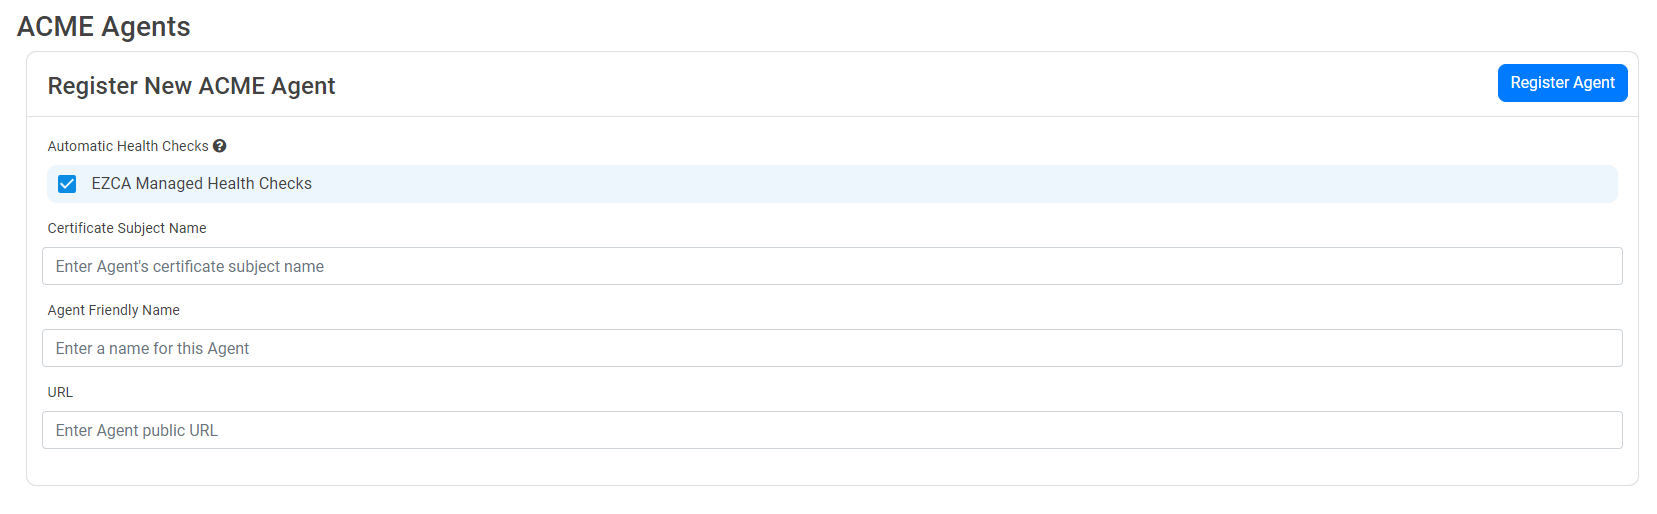
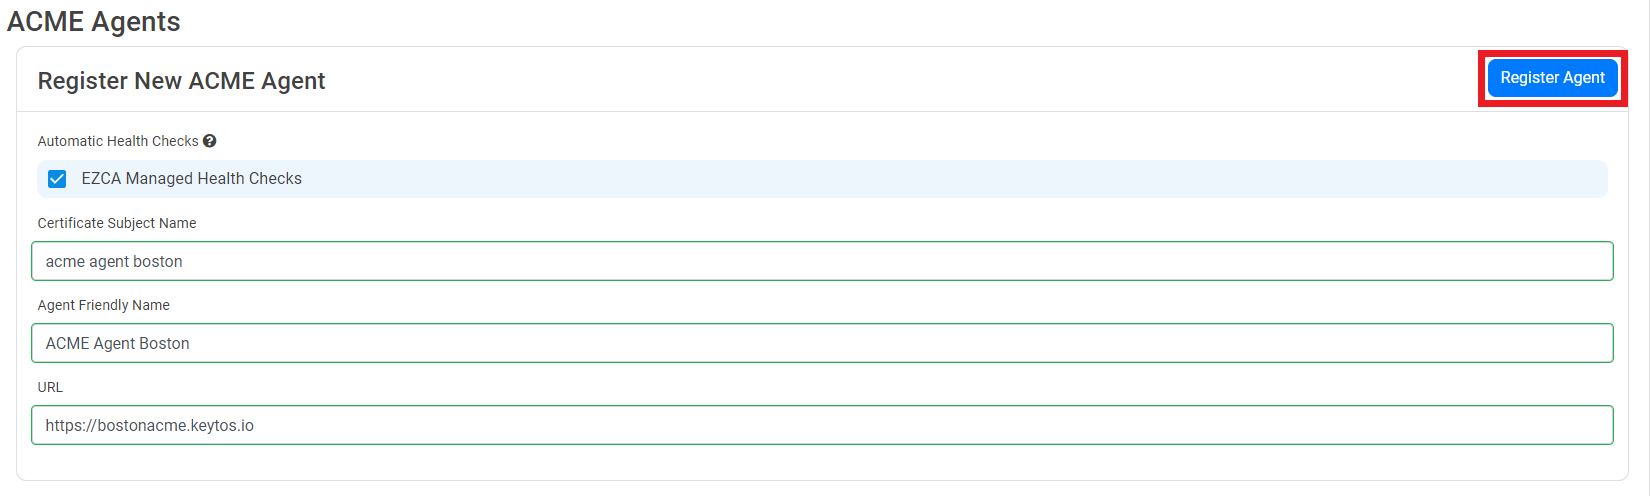
Scroll down to the Register New ACME Agent section of your CA.
-
If you would like EZCA to perform health checks on the agent and automatically renew its certificate, check EZCA Managed Health Checks.
Automatic Health Checks and Certificate Renewal Require a Public FQDNFor EZCA to automatically perform health checks, the Agent URL has to be a valid public facing FQDN with a valid SSL certificate. If your agent is behind a firewall, you can use a reverse proxy or an Application Gateway to expose it to the internet.
If you don’t want to expose your agent to the internet, you can leave this option unchecked and perform health checks and certificate renewal manually. Make sure you check the endpoint
https://YOURACMEAgent/api/Health/Overallevery few minutes to ensure your agent is healthy and its certificate is valid. If you do not periodically check this endpoint your agent’s certificate may expire without your knowledge, causing all ACME requests to fail. -
Enter the Certificate Subject Name for the authentication certificate that will be used to authenticate with EZCA (created in an upcoming step). Choose a unique name that identifies the agent, such as “ACME Agent Boston Office”.
-
Enter the Agent Friendly Name. This is the name that will be displayed in the EZCA portal to identify your agent. Choose a descriptive name that reflects the purpose or location of the agent, such as “ACME Agent - Boston Office”. It can be the same as the Certificate Subject Name or something different, as long as it helps you identify the agent in the portal.
-
If you enabled health checks, enter the Agent URL for the public endpoint of your ACME agent. This is the URL that EZCA will use to communicate with your agent for health checks and certificate renewal. Make sure this URL is accessible from the internet and it has a valid SSL certificate.
-
Click Register Agent to complete the registration process.
-
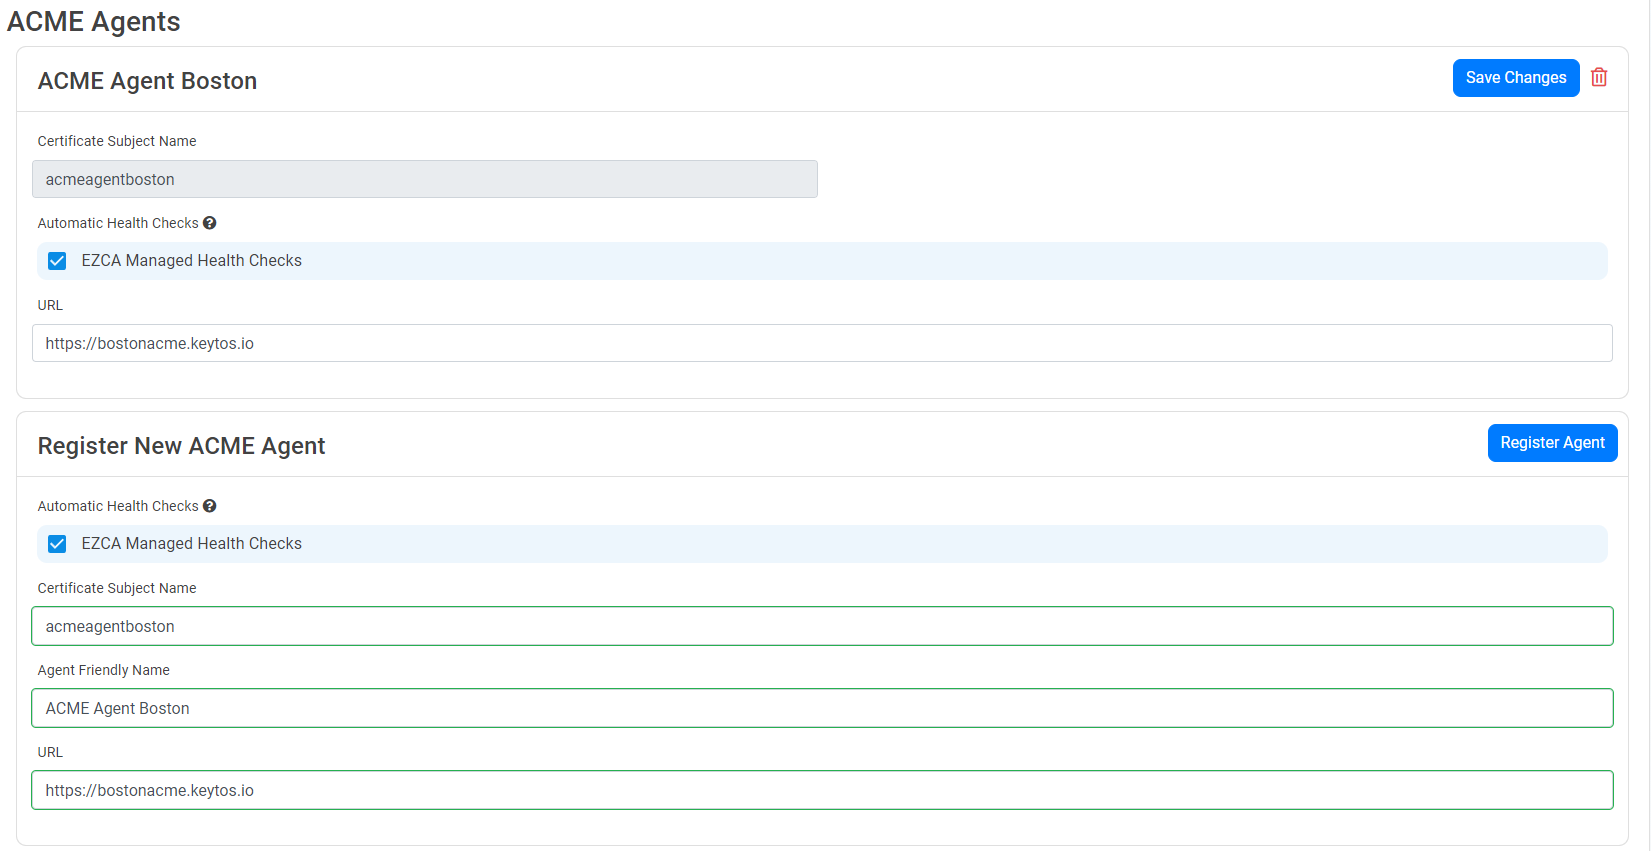
You will now see your registered agent in the list of ACME agents for your CA.
Next Steps - Deploy Your ACME Agent
Now that you have registered your ACME agent in EZCA, the next step is to deploy the agent in your local network. The agent will handle ACME requests and domain validation on behalf of EZCA, allowing you to automate certificate issuance and renewal for your internal applications.
🚀 Deploy the EZCA ACME Agent