How-To: Create a Certificate in Azure Key Vault
Overview to Creating a Certificate in Azure Key Vault with EZCA
Azure Key Vault is the best way to manage certificates in Azure, it allows you to securely distribute your certificates to all your Azure resources. While Azure Key Vault (AKV) has automatic rotation for public certificates it does not work for your private certificate authority. To help you automatically rotate your private certificates (even for your Windows ADCS CA with our ADCS connection) in Key Vault, we have created a seamless integration with Azure Key Vault to enable users to create, request, and manage certificates in a few clicks from a single place.
Let’s explore how to create a certificate in Azure Key Vault with EZCA and how to enable automatic rotation of that certificate to make sure you never have an expired certificate outage again.
How To Create and Automatically Rotate SSL Certificates in AKV - Video Version
How to Create and Automatically Rotate SSL Certificates in AKV - Step By Step Guide
Prerequisites Before You Can Create a Certificate in Azure Key Vault with EZCA
Before you can create a certificate in Azure Key Vault with EZCA, make sure you have the following prerequisites in place:
How to Create a Certificate in Azure Key Vault with EZCA
To create a new certificate or renew an existing certificate in Azure Key Vault with EZCA, follow the steps below:
-
Navigate to https://portal.ezca.io/
-
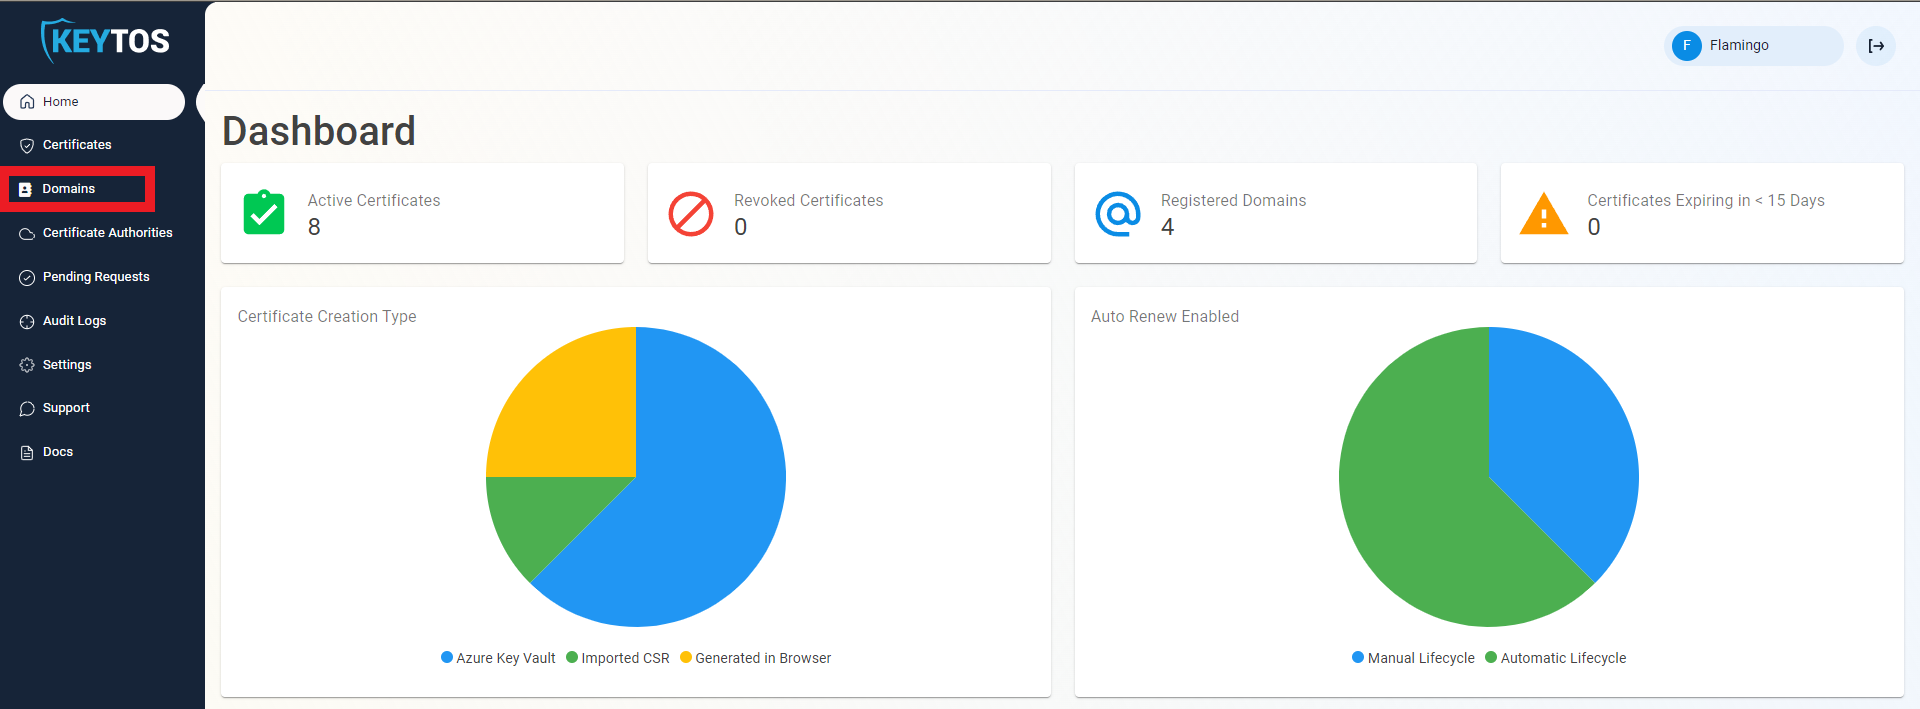
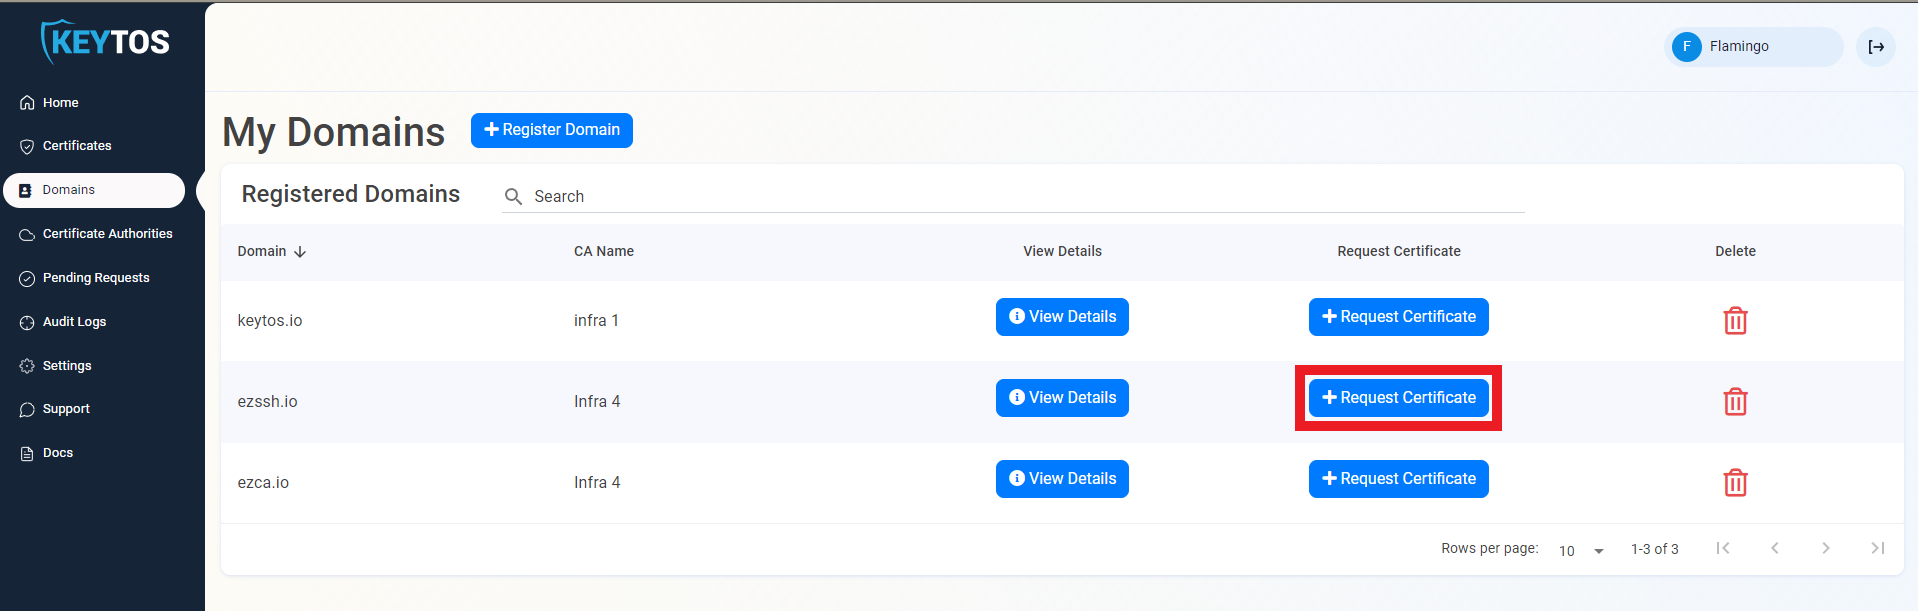
Navigate to Domains.
-
Click the Request Certificate button on the domain you want to request a certificate for.
-
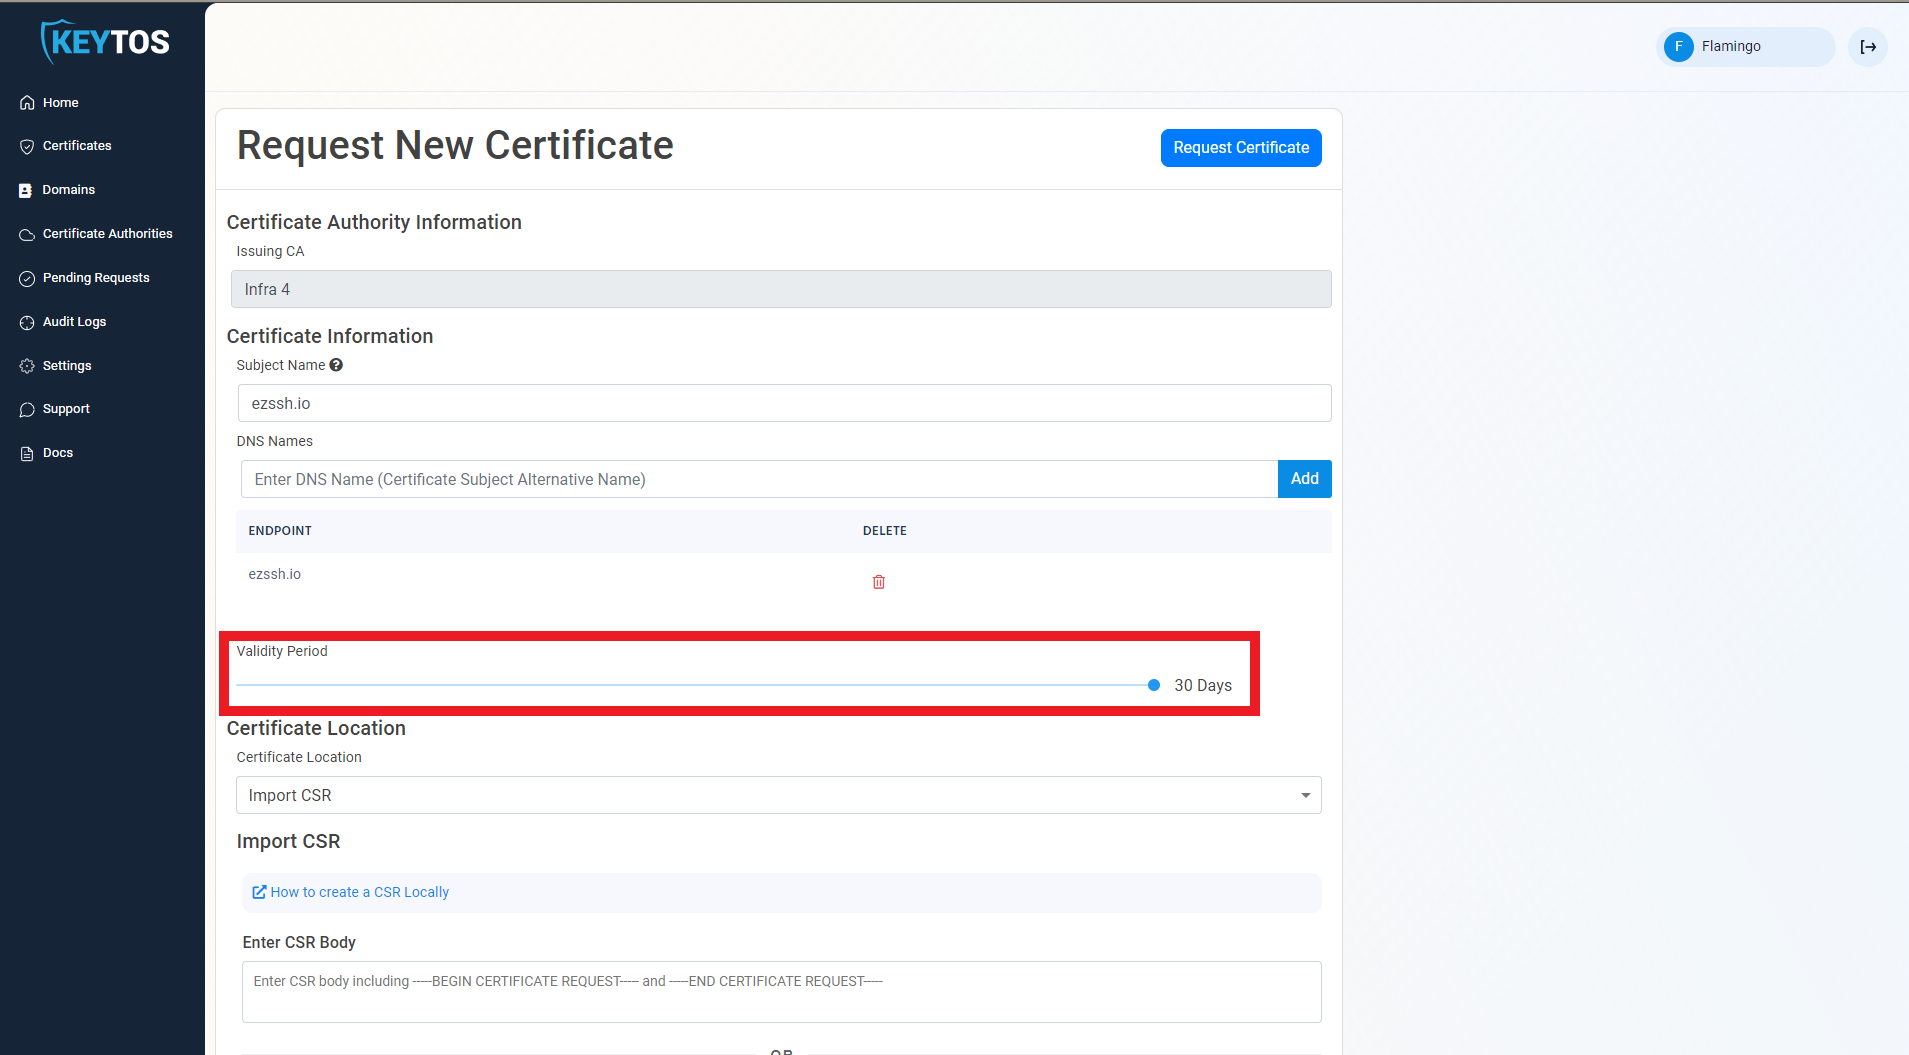
The create certificate form will pre-populate the Subject Name and Subject Alternate Names with the selected domain.

-
If this certificate requires more subject alternate names (usually for other domains that might use this certificate), add them in the DNS Names section.
-
By default, EZCA will request the certificate to be the maximum validity allowed by your administrators. If you want to decrease the lifetime of the certificate, adjust the validity slider.
-
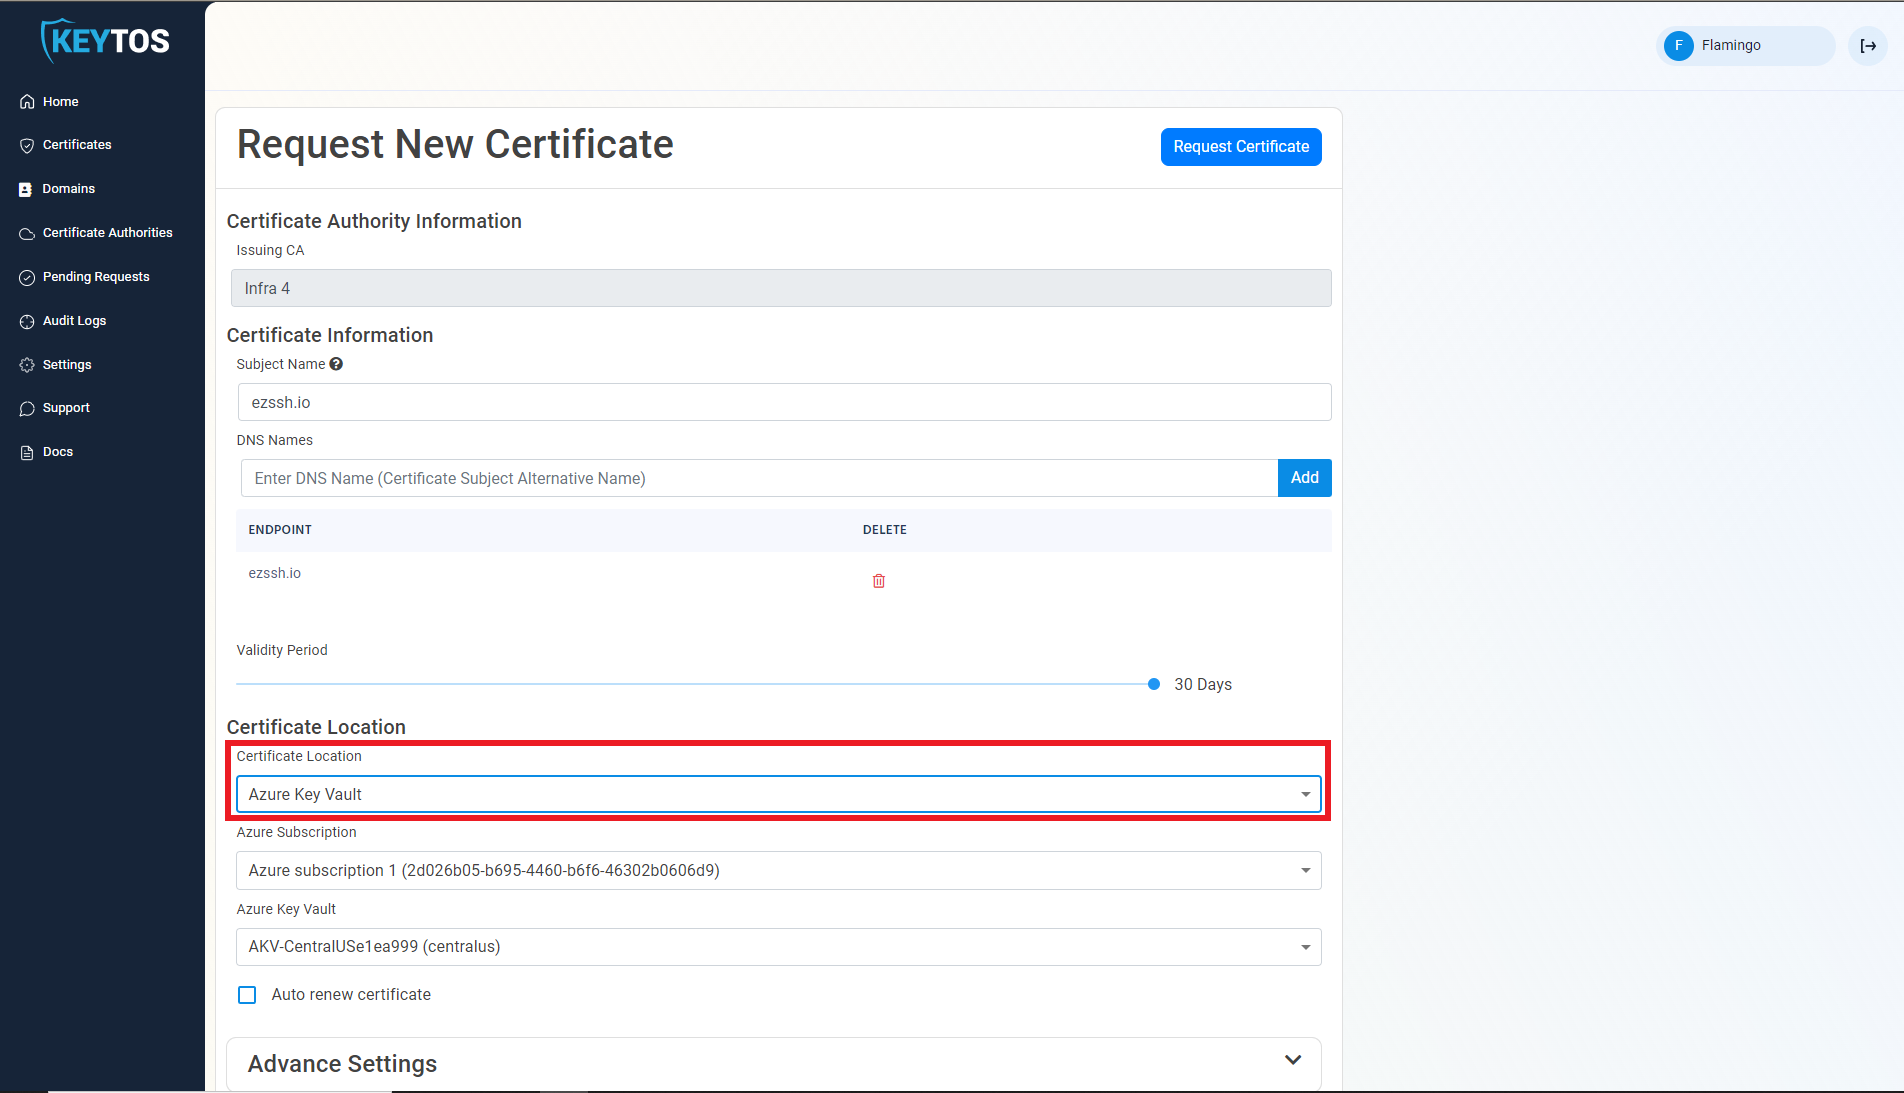
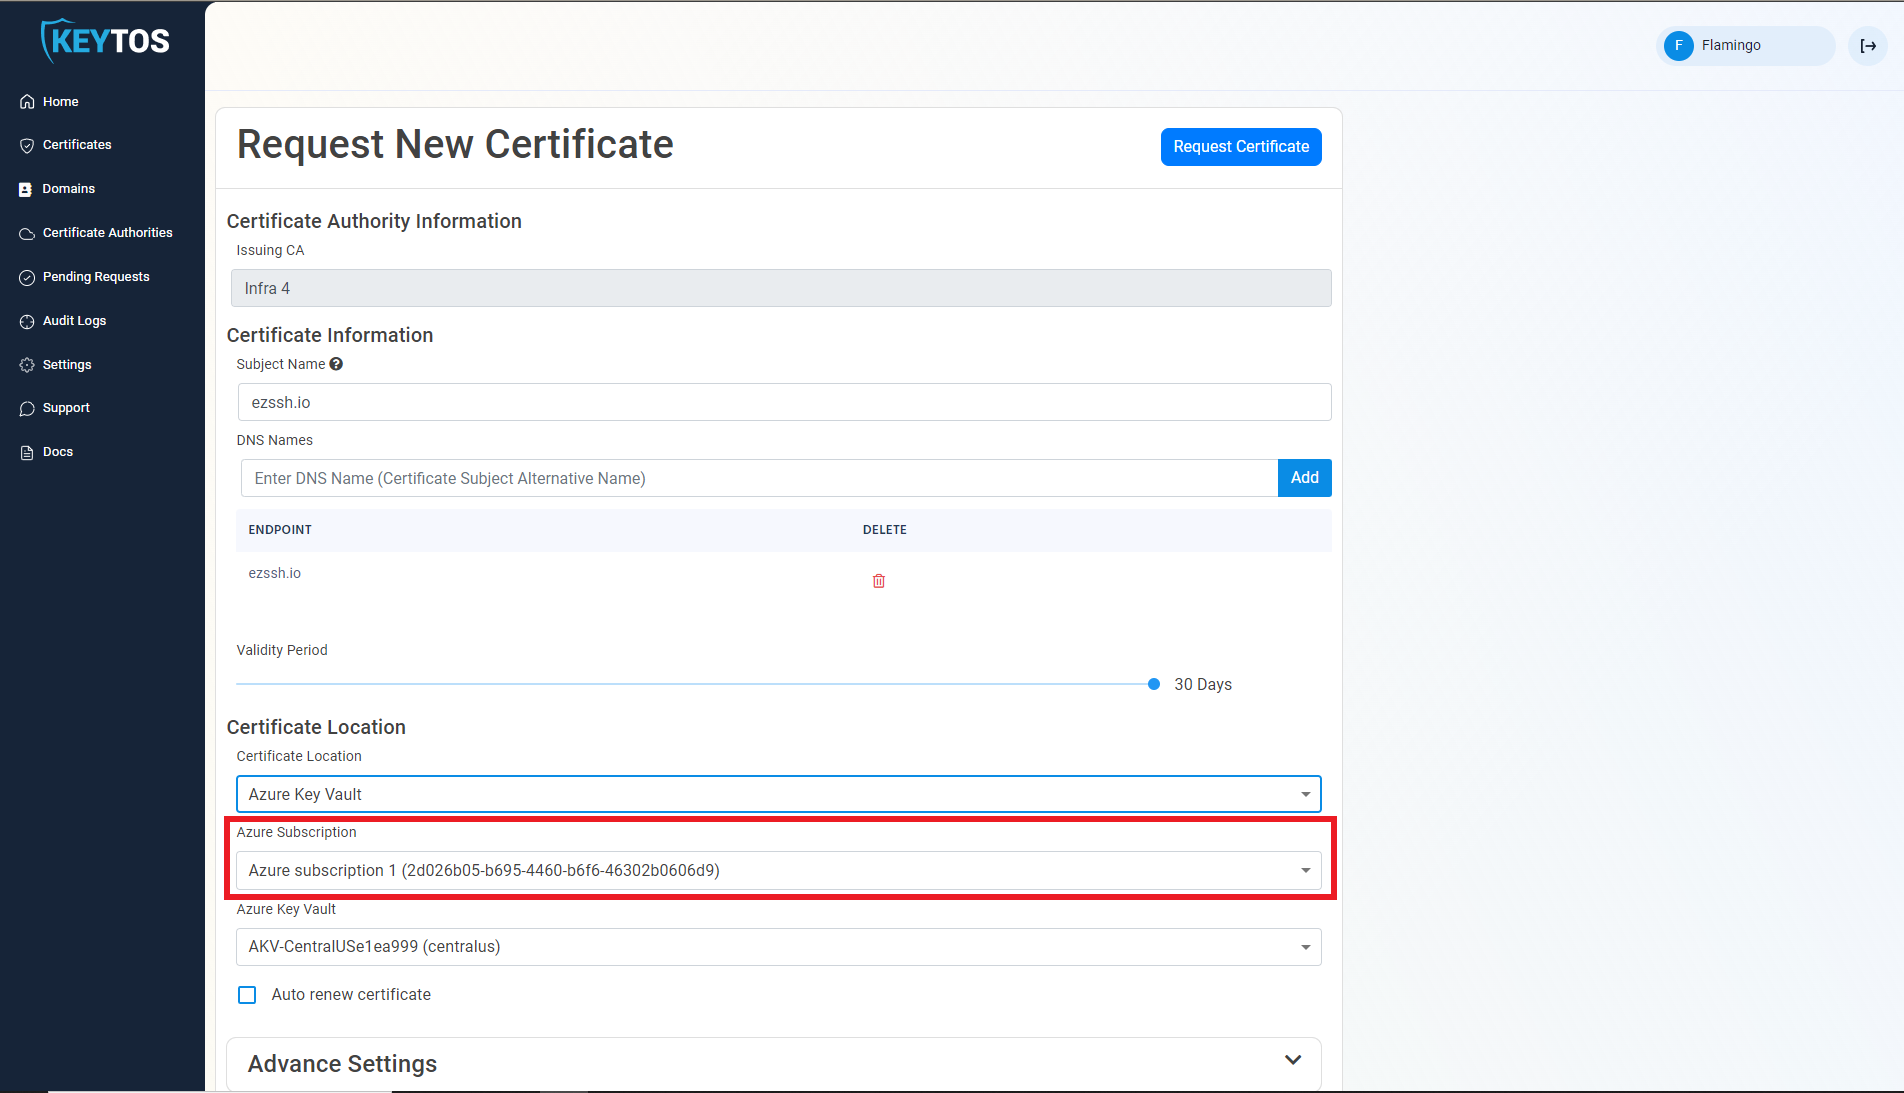
Change the Certificate Location to Azure Key Vault
-
Select the Azure subscription containing the Key Vault
-
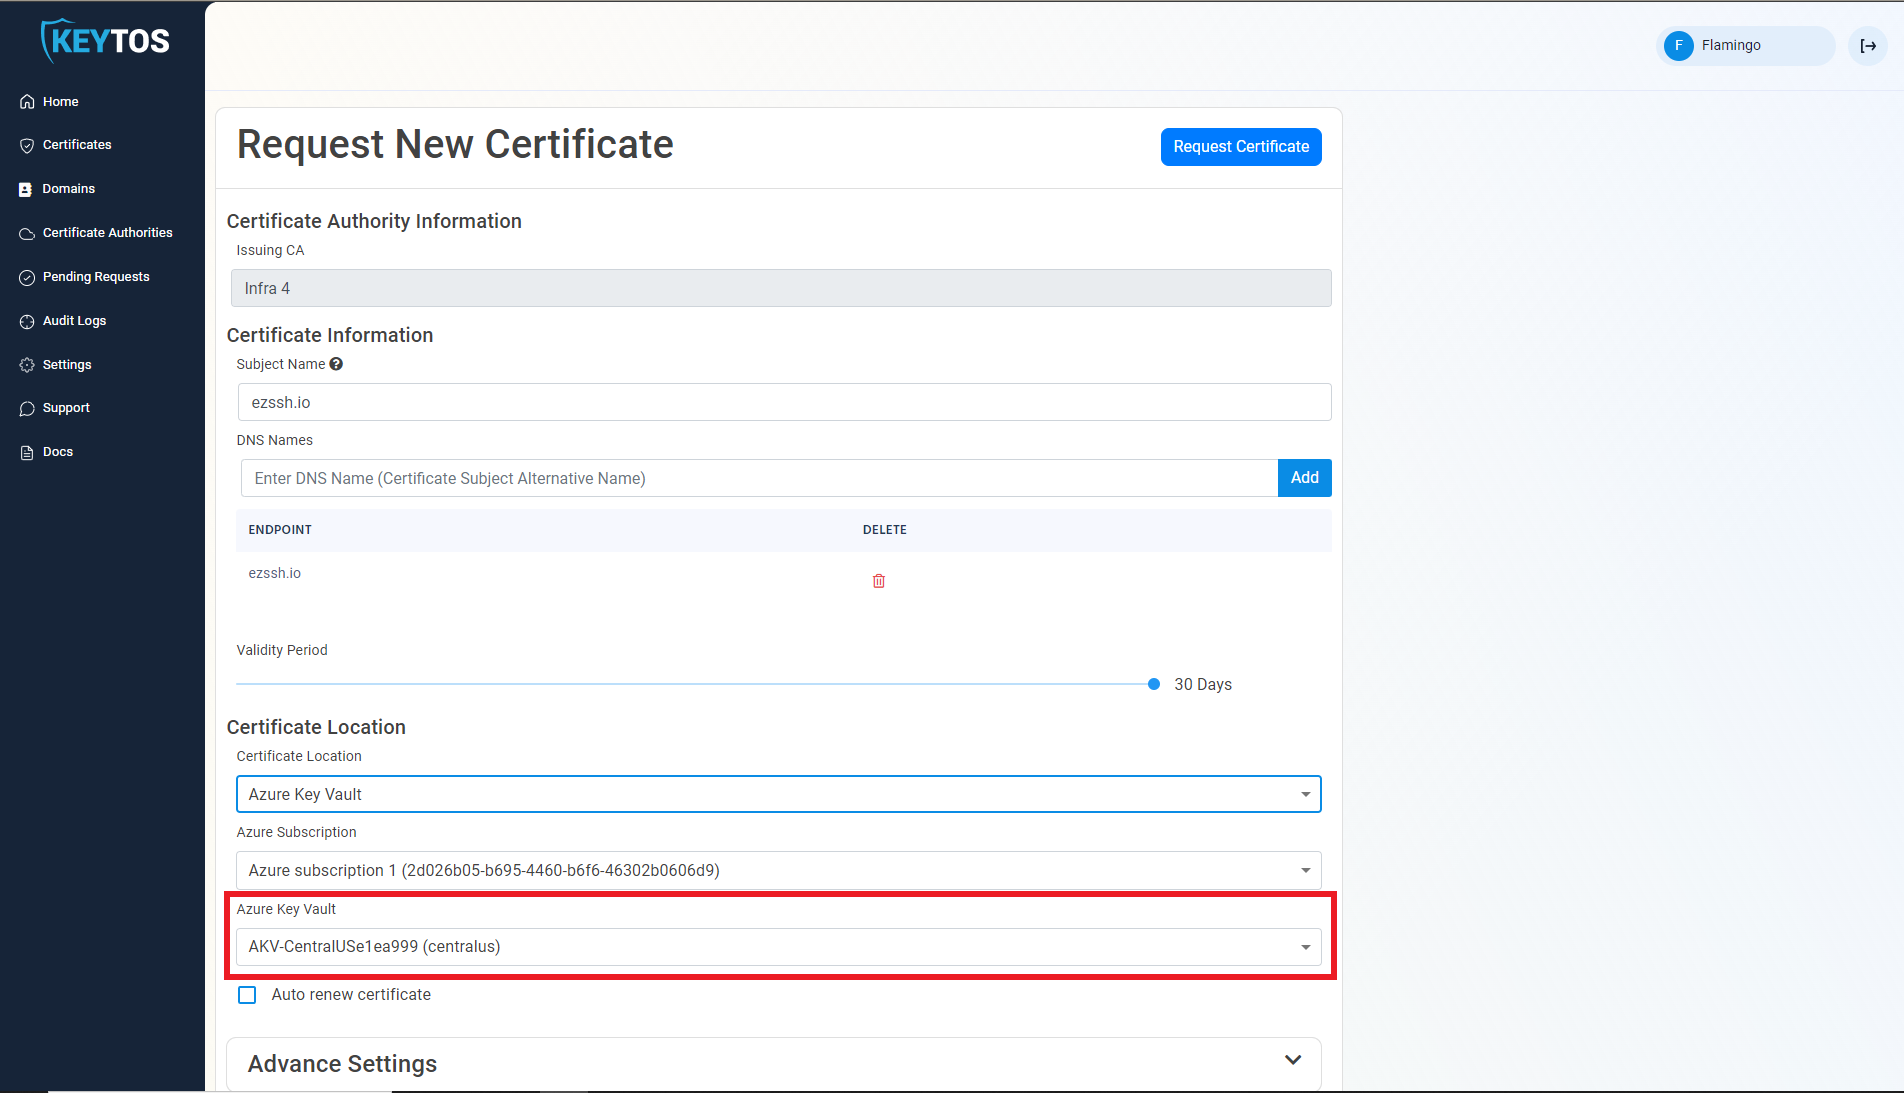
Select the Azure Key Vault where you want to store the certificate.
-
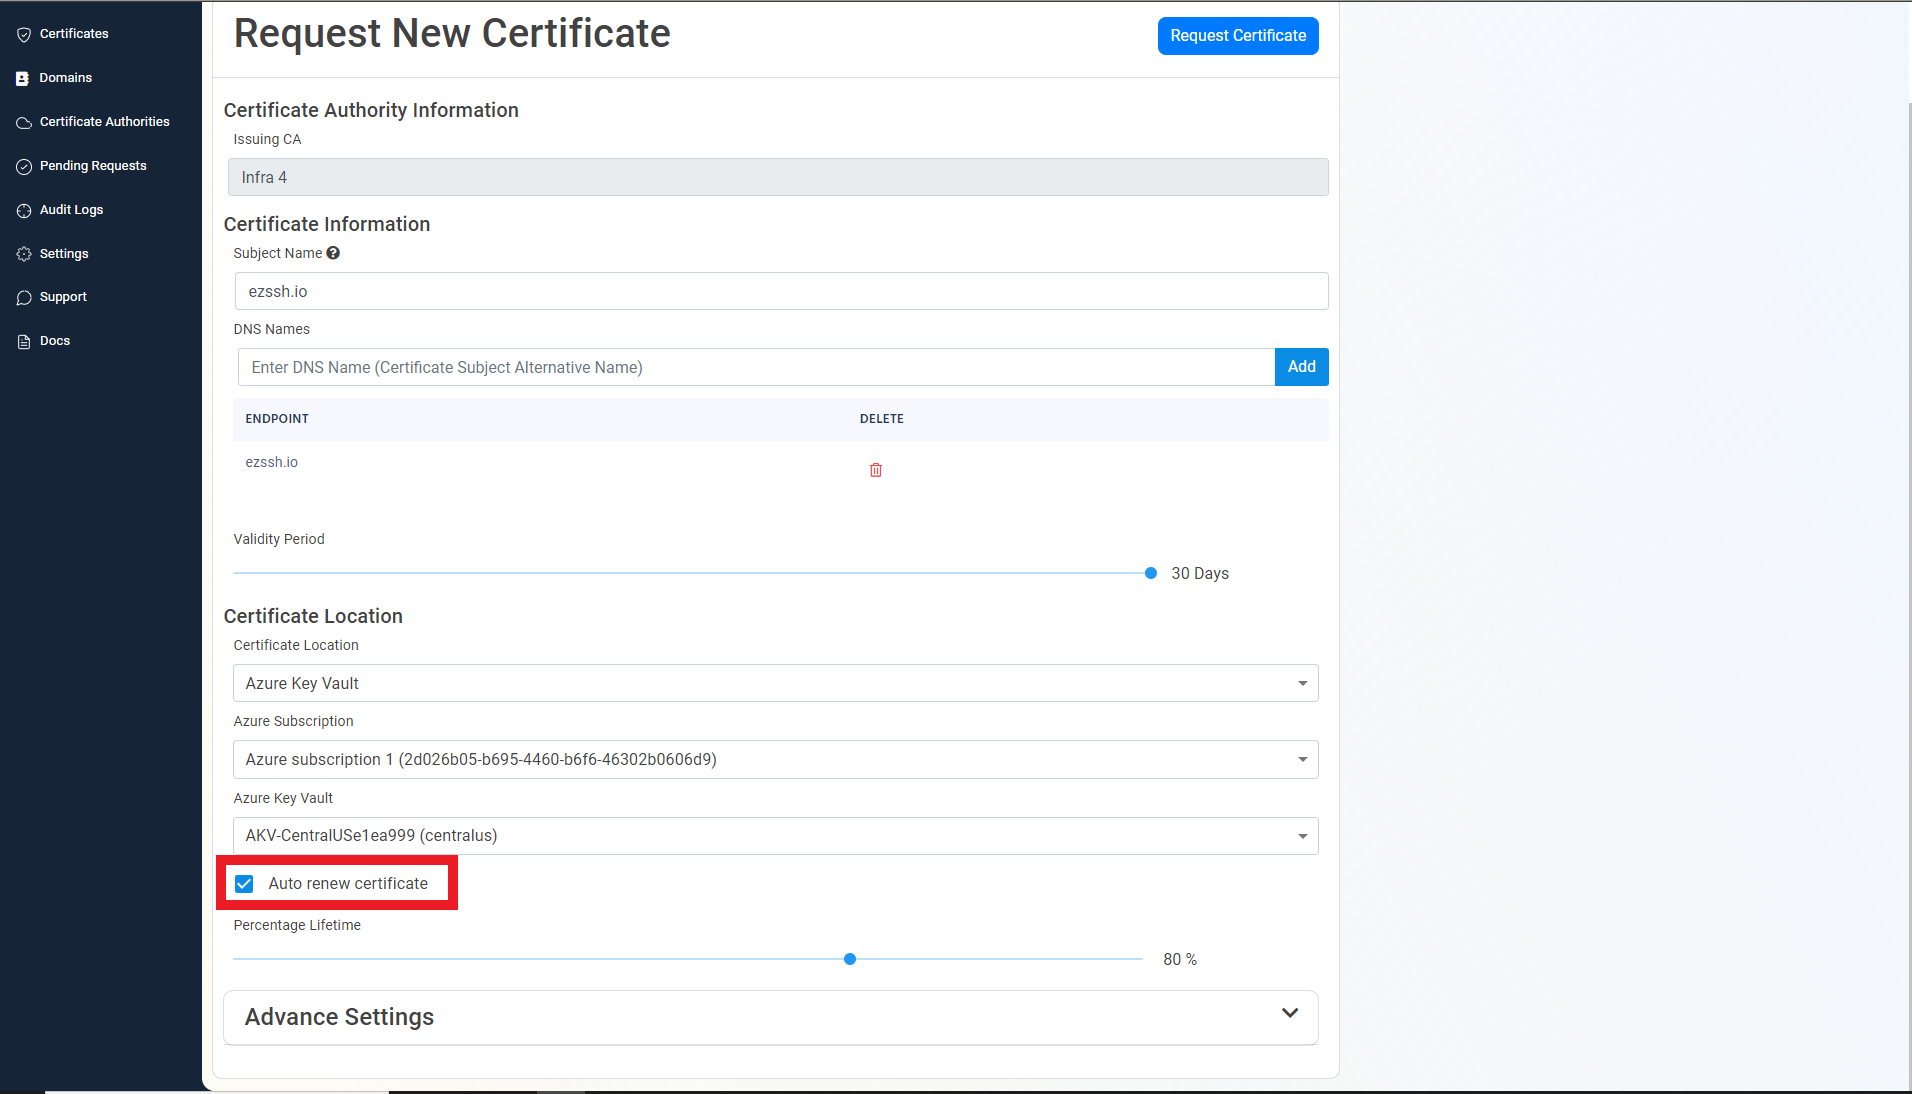
To automatically renew the certificate and upload the latest version to Azure Key Vault, select the Auto renew certificate option.
-
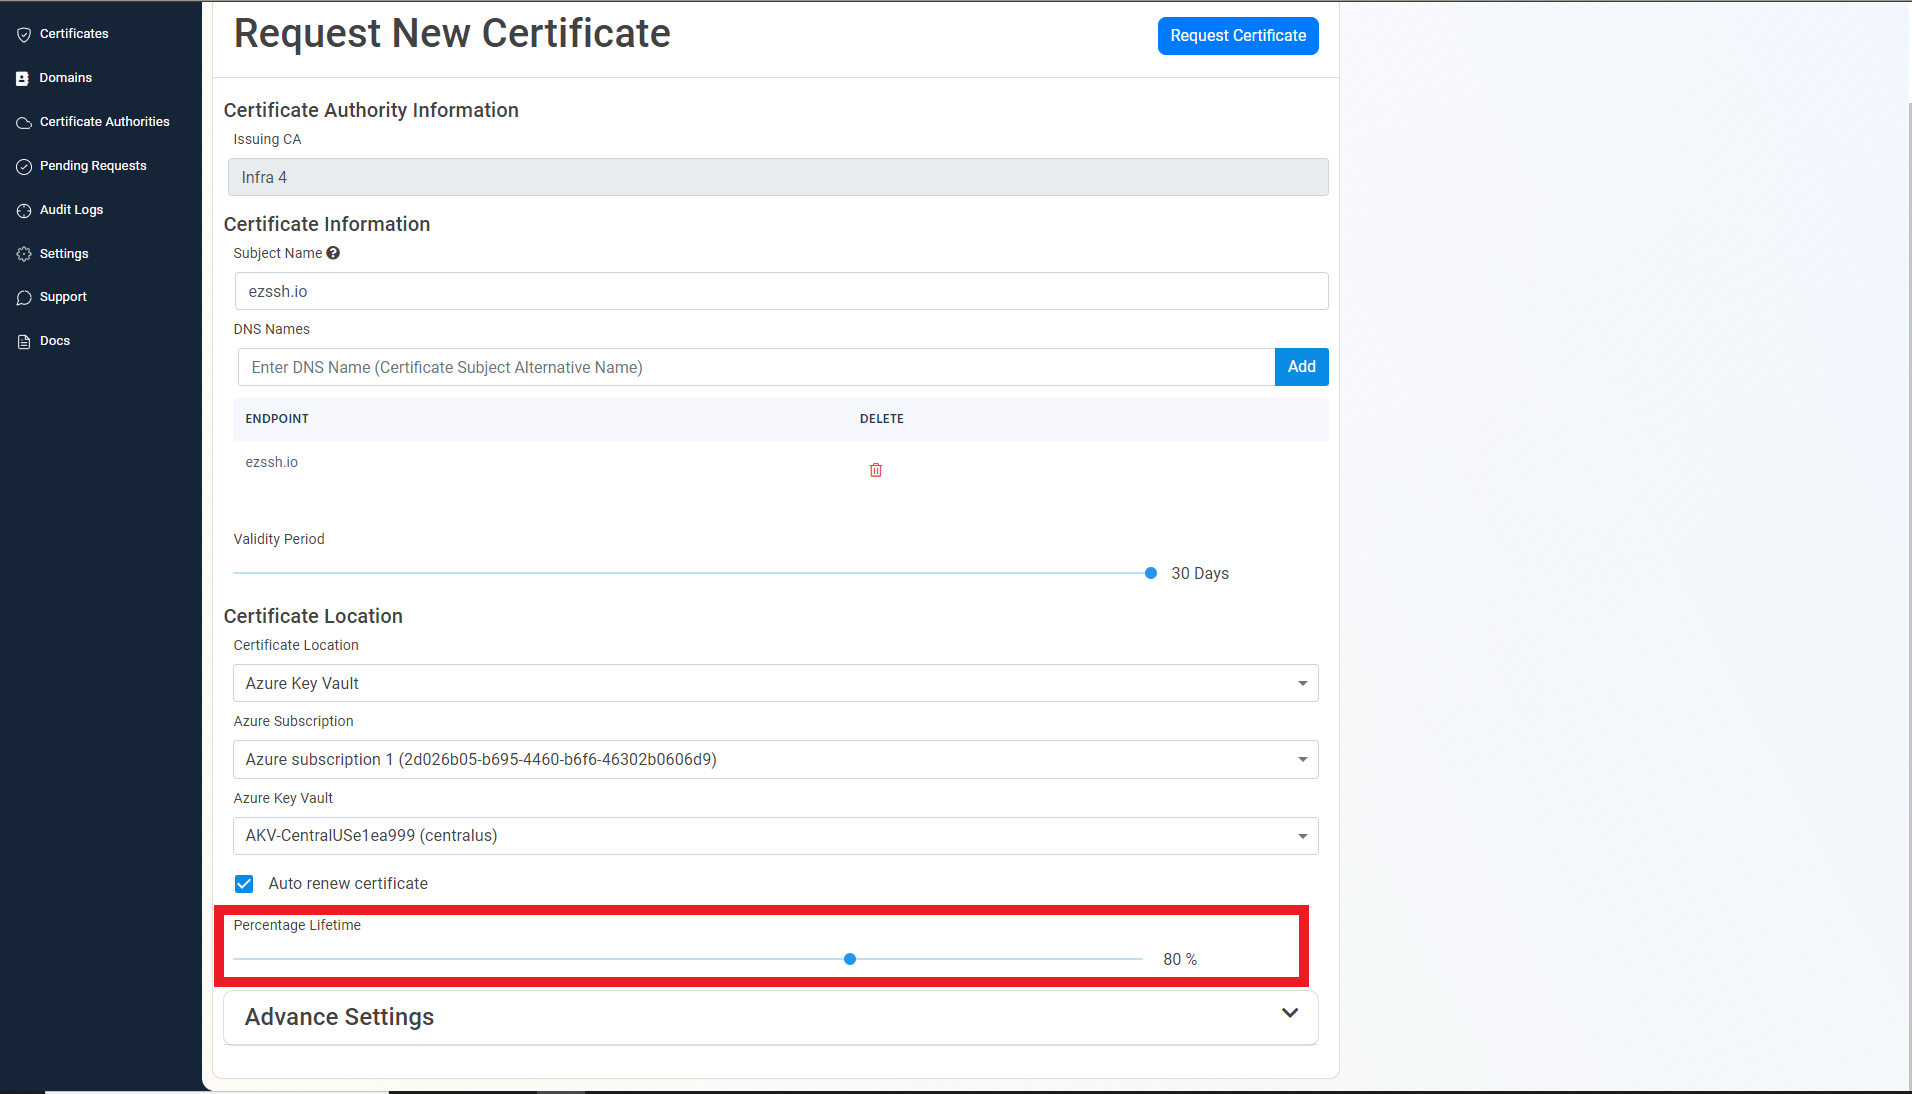
Adjust the slider to select at what percentage of the certificate lifetime do you want EZCA to automatically renew the certificate.
-
By default, EZCA will upload only the leaf certificate to Azure Key Vault. If you want to upload the entire certificate chain, select the Upload full certificate chain option. This will upload the leaf certificate along with all intermediate certificates up to the root CA certificate to Azure Key Vault. Be careful when enabling this option as some Azure services might not be able to use the certificate if the full chain is uploaded.
-
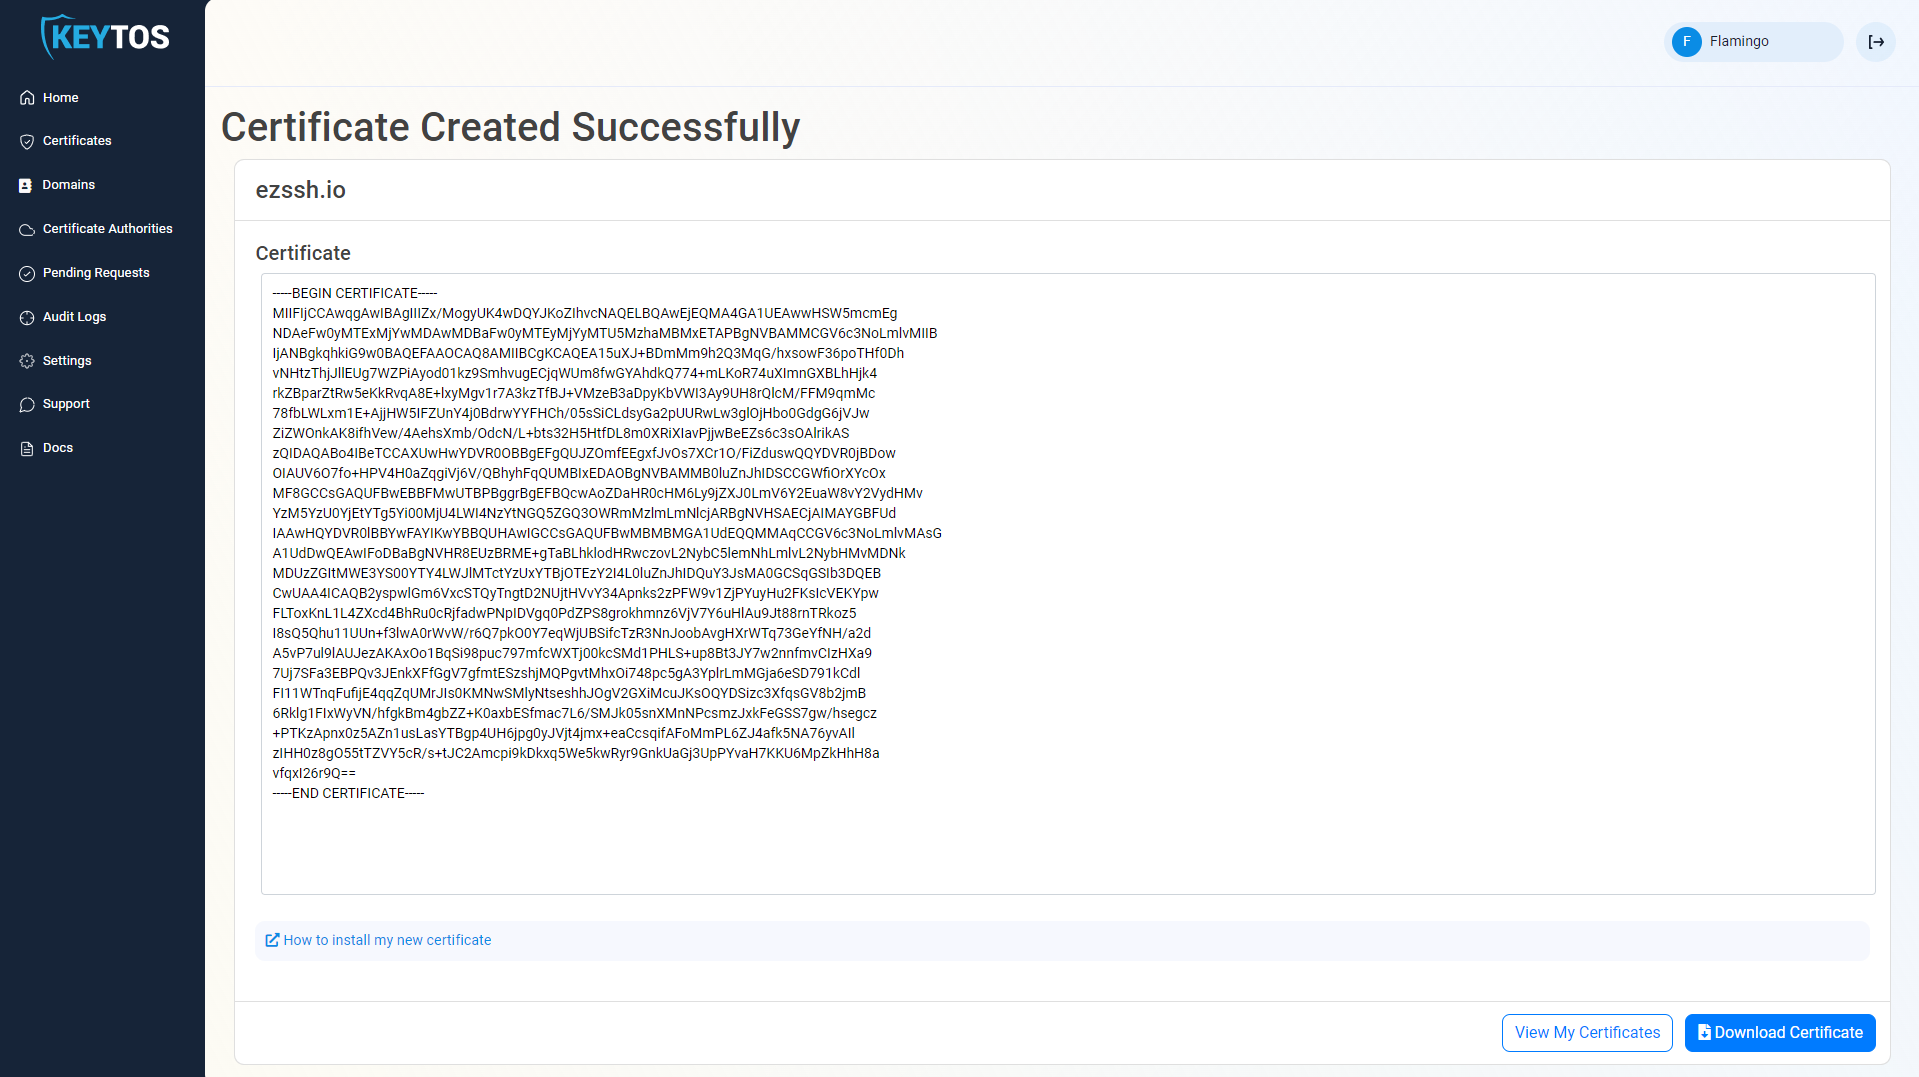
Click the Request Certificate button at the top right of the form.

-
Your certificate will be issued and uploaded to Azure Key Vault.
How To Use an Azure Key Vault Certificate
Now that you have created your certificate in Azure Key Vault, you can use it in your own applications or Azure resources. Azure Key Vault has many integrations with Azure services to allow you to easily use the certificates stored in Key Vault. You can also use the certificate in your own applications by retrieving it from Azure Key Vault using the Azure SDKs or REST API.
How to Retrieve Your Certificate from Azure Key Vault in the Azure Portal
-
Navigate to https://portal.azure.com
-
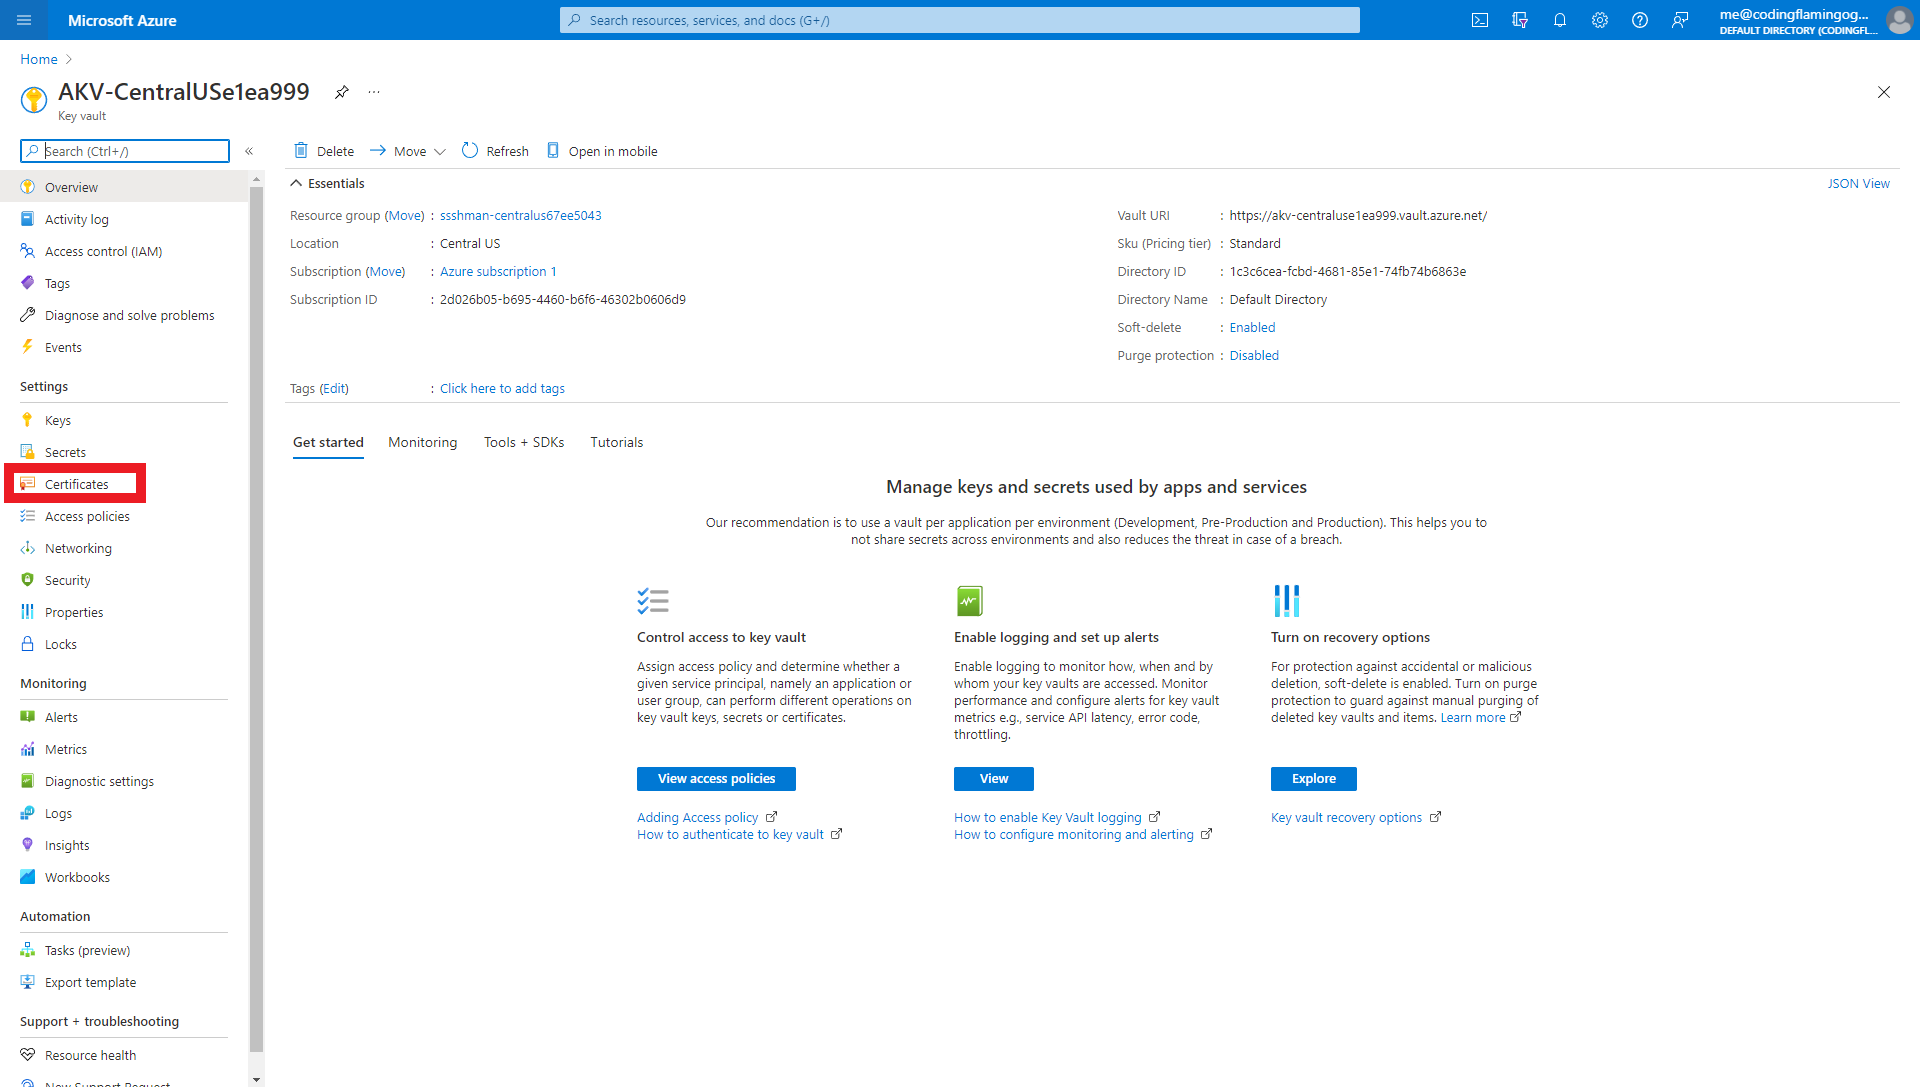
Navigate to the Azure Key Vault you selected to keep this certificate.
-
Click on Certificates
-
You should see a certificate with the following name convention
<CERTIFICATENAME>EZCA<RANDOMNUMBER>where CERTIFICATENAME is the subject name for your certificate and RANDOMNUMBER is a random number created by EZCA to avoid collisions in the Azure Key Vault.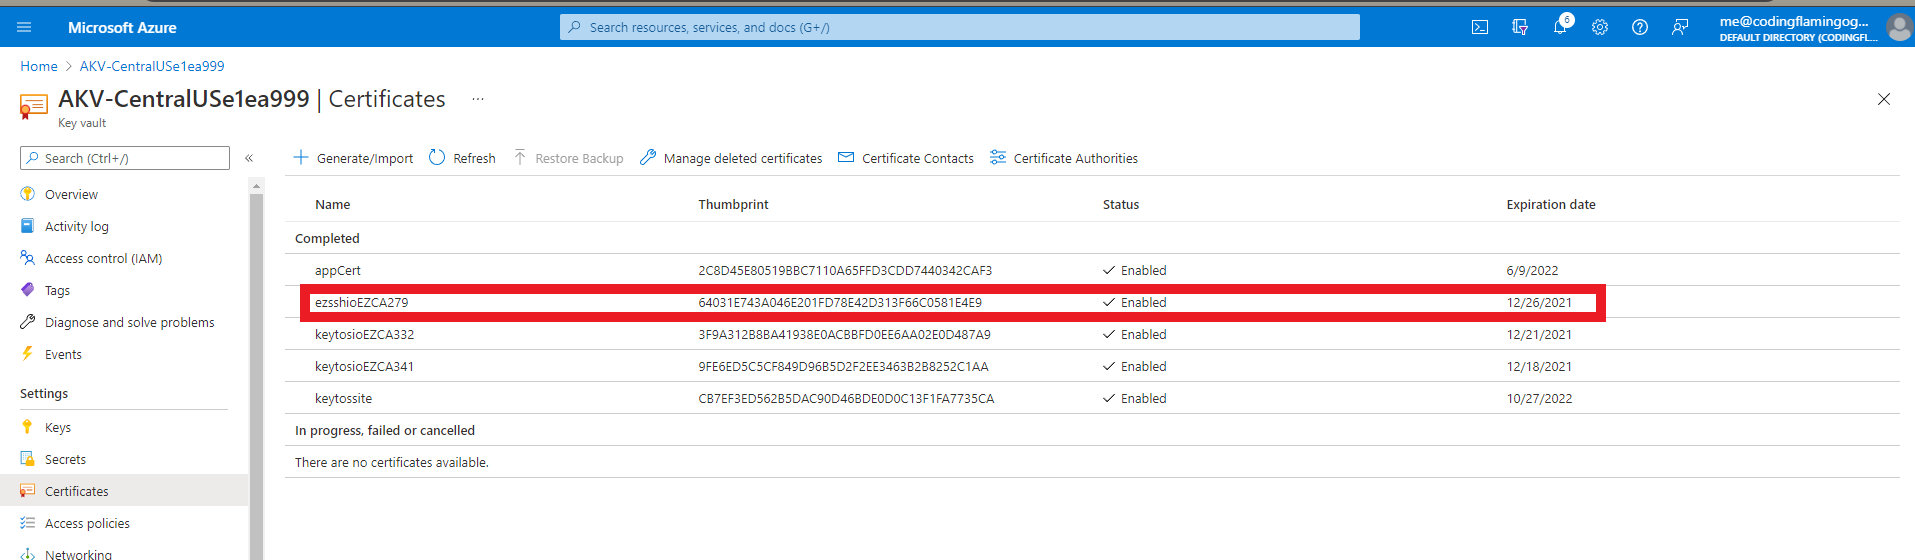
-
Click on the certificate
-
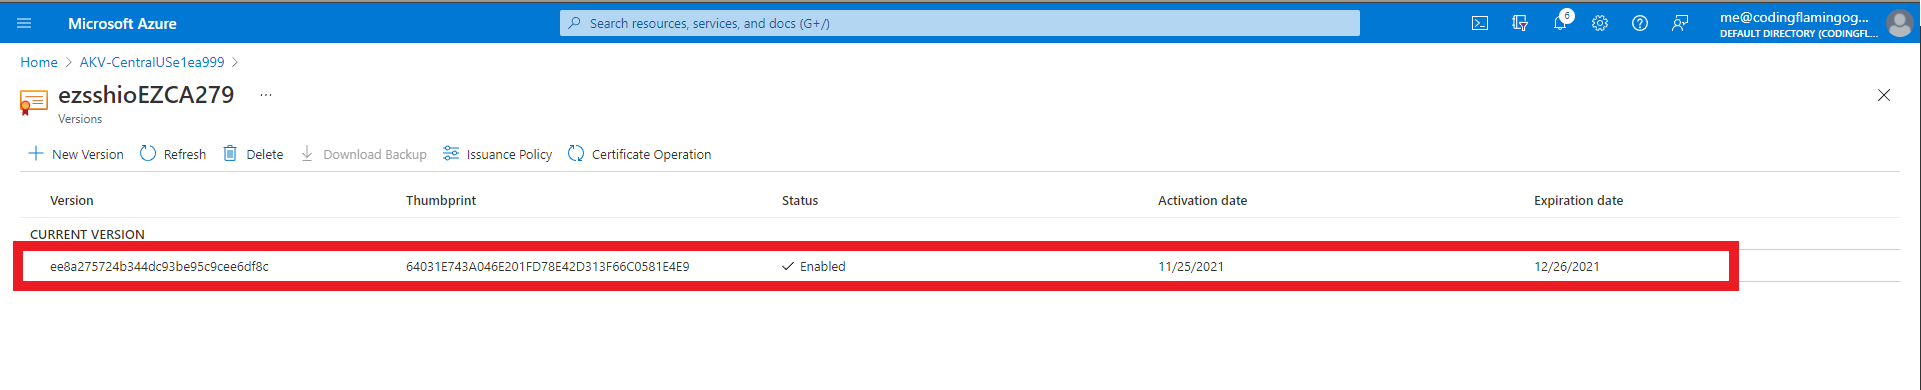
Click on the current version
-
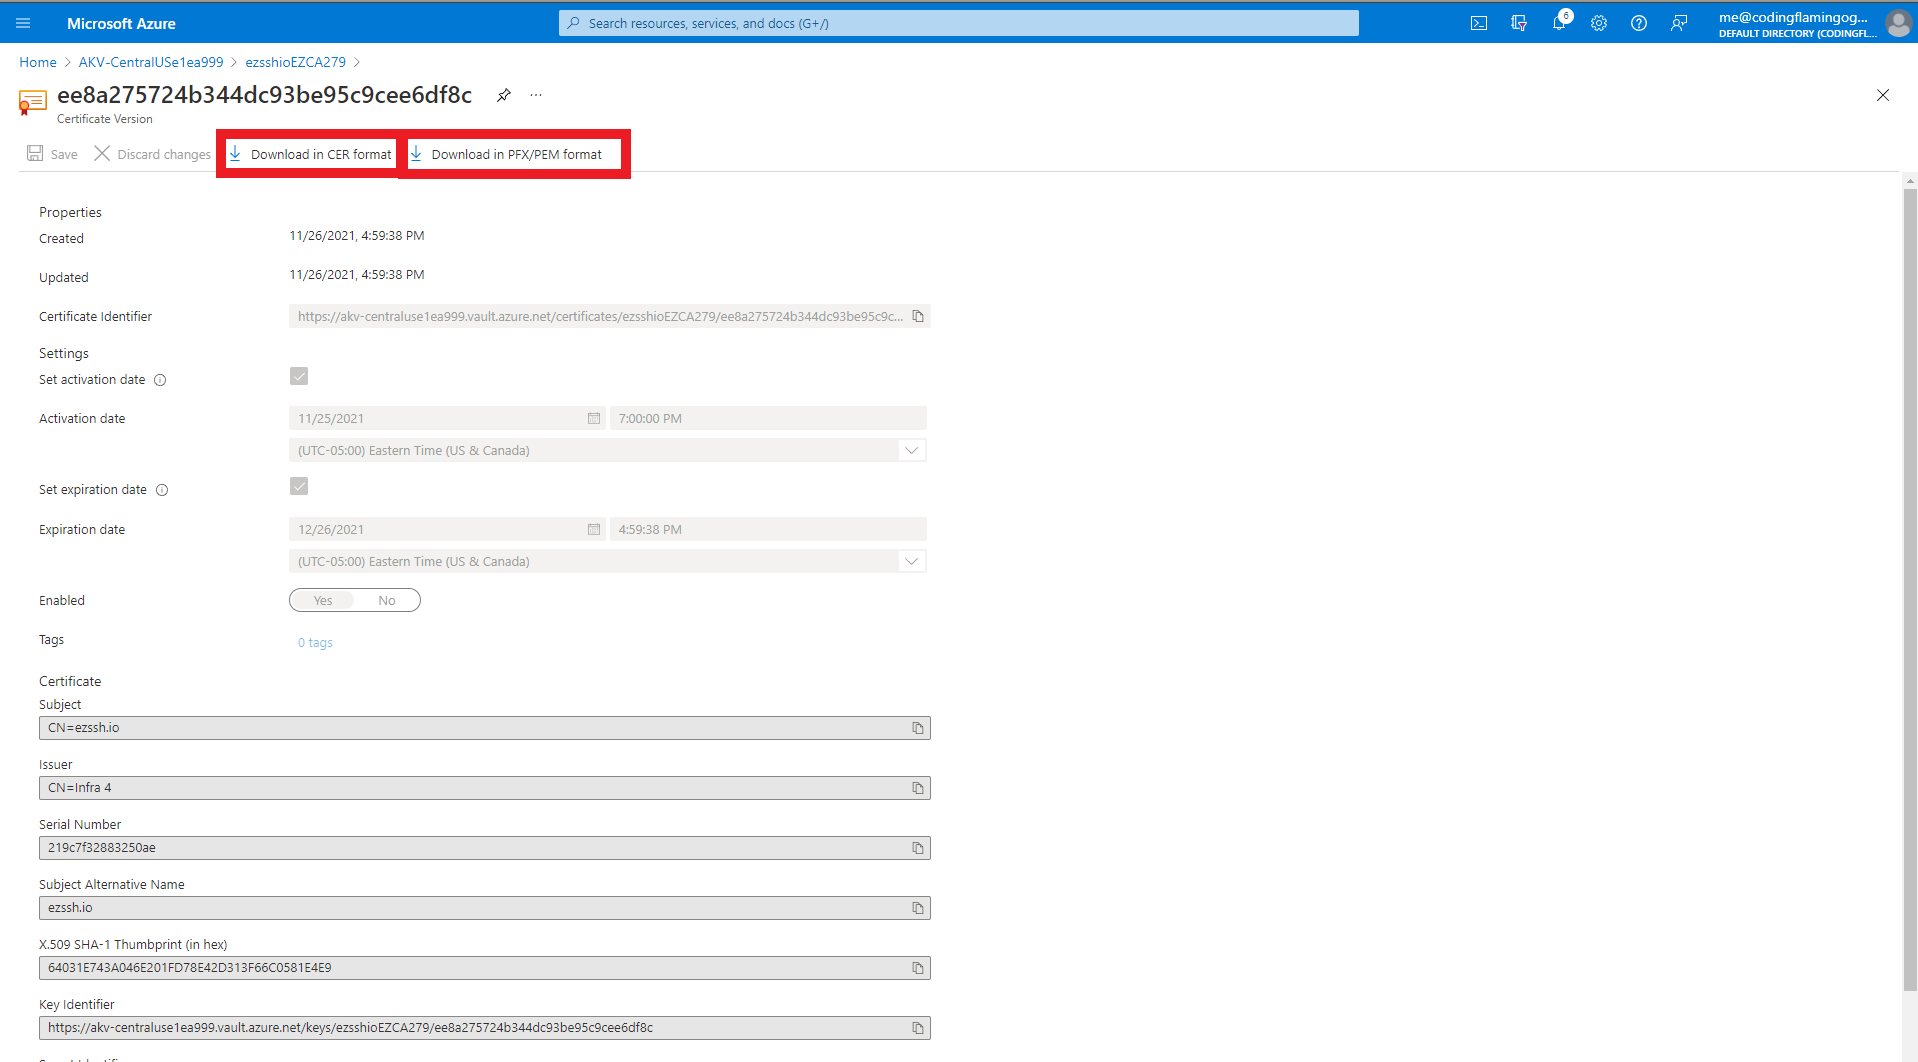
This will open the certificate details page.
-
From the certificate details page you can download the CER formatted certificate (No private key) or the PFX/PEM format that contains the private key.
How to Push Your Certificate from Azure Key Vault to an Azure VM
If you want to use the certificate in an Azure VM, the best way to do that is by using the Azure Key Vault VM extension which allows you to automatically push certificates from Azure Key Vault to your Azure VMs. This way, when EZCA automatically renews the certificate in Azure Key Vault, the latest version of the certificate will be automatically pushed to your Azure VMs without you having to do anything. Check out the links below to learn how to set up the Azure Key Vault VM extension for Windows and Linux VMs:
- Azure Key Vault Extension For Automatically Downloading Certificates to Windows VM
- Azure Key Vault Extension For Automatically Downloading Certificates to Linux VM
How to Retrieve Your Certificate from Azure Key Vault Using C#
If you’re developing an application that needs to use the certificate stored in Azure Key Vault, you can retrieve the certificate using the Azure SDK for .NET. Check out the link below for a step-by-step guide on how to retrieve a certificate from Azure Key Vault using C#: