How-To: Distribute WiFi Profiles to non managed Android devices with EZRADIUS
With EZRADIUS you can send your Android users a EAP-TLS WiFi certificate that will allow them to connect to your WiFi network without having to enter a password.
How to Distribute WiFi Profiles to non managed Android devices with EZRADIUS
If your organization has enabled self-service wifi profiles you can create your own Wi-Fi profile for your Android devices. There are 2 ways to obtain them: EZRADIUS sent you an email with the profile or request an email with your profile from the EZRADIUS portal.
How To Request an Email with your Wifi Profile from the EZRADIUS Portal
if you need access to your Wifi and your administrator has enabled self service profile distribution in EZRADIUS, you can request an email with your certificate from the EZRADIUS portal.
- Go to the EZRADIUS portal (this URL will be provided by your organization) and click on the ‘WiFi Profiles’ button.
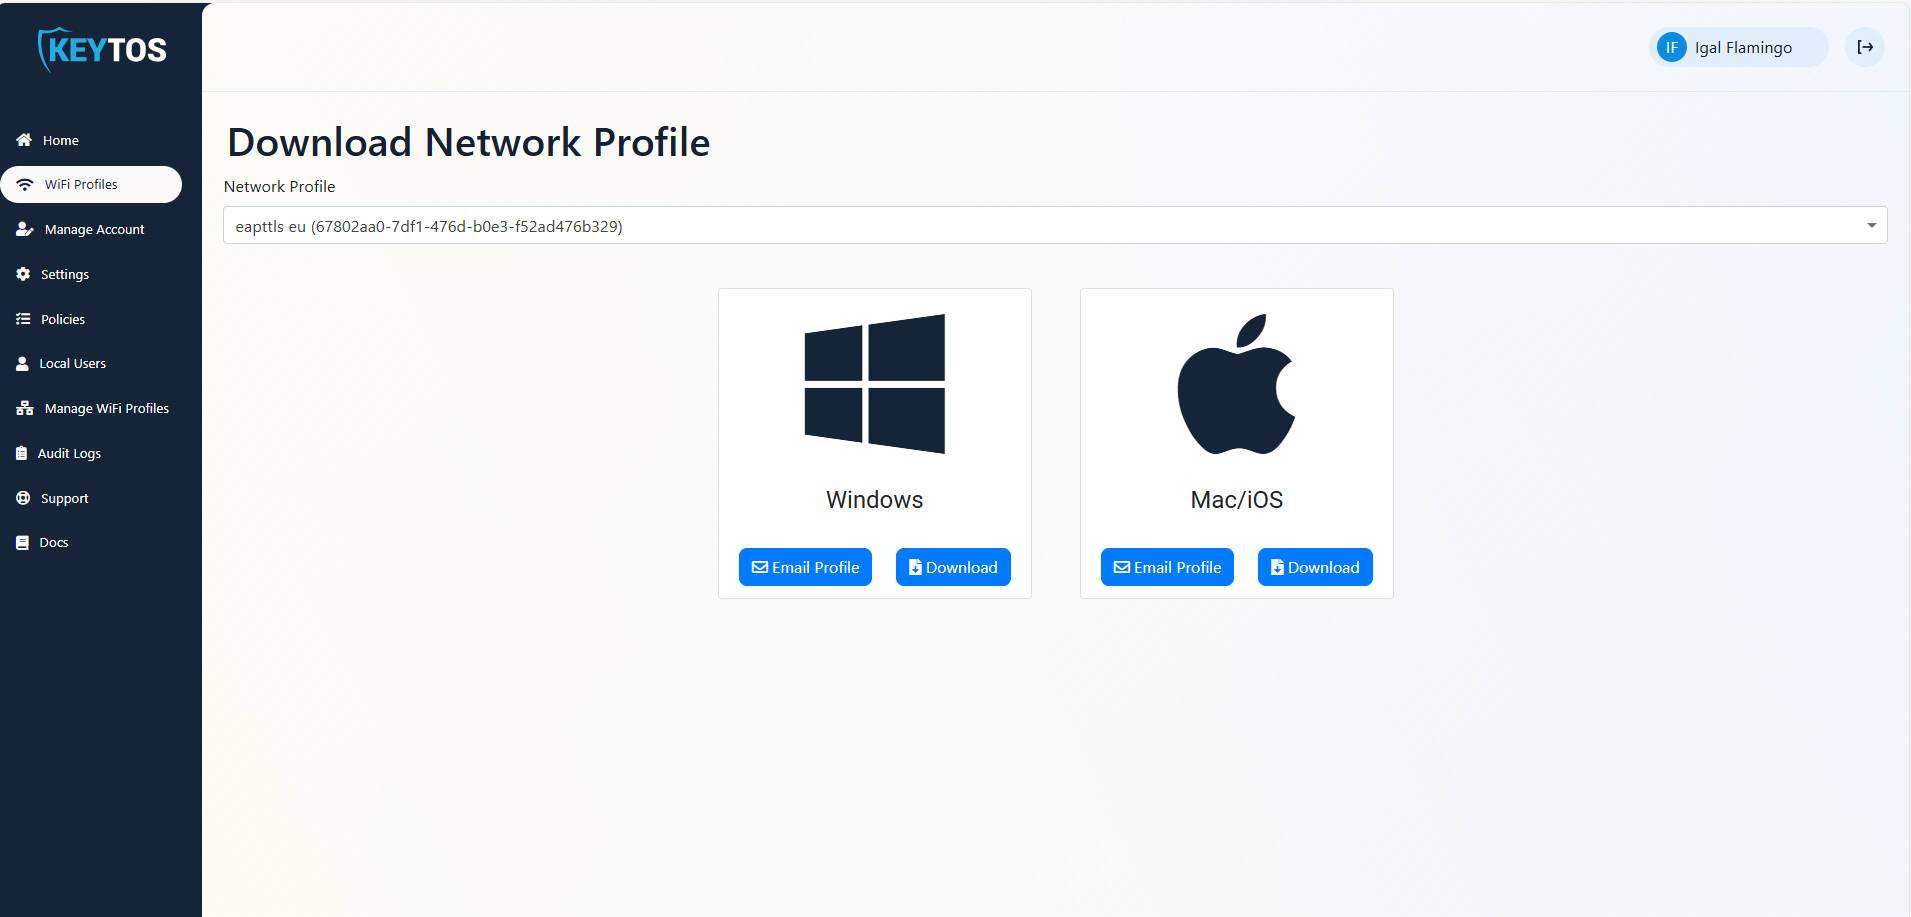
- If your organization has multiple profiles available, select the profile you want to request.
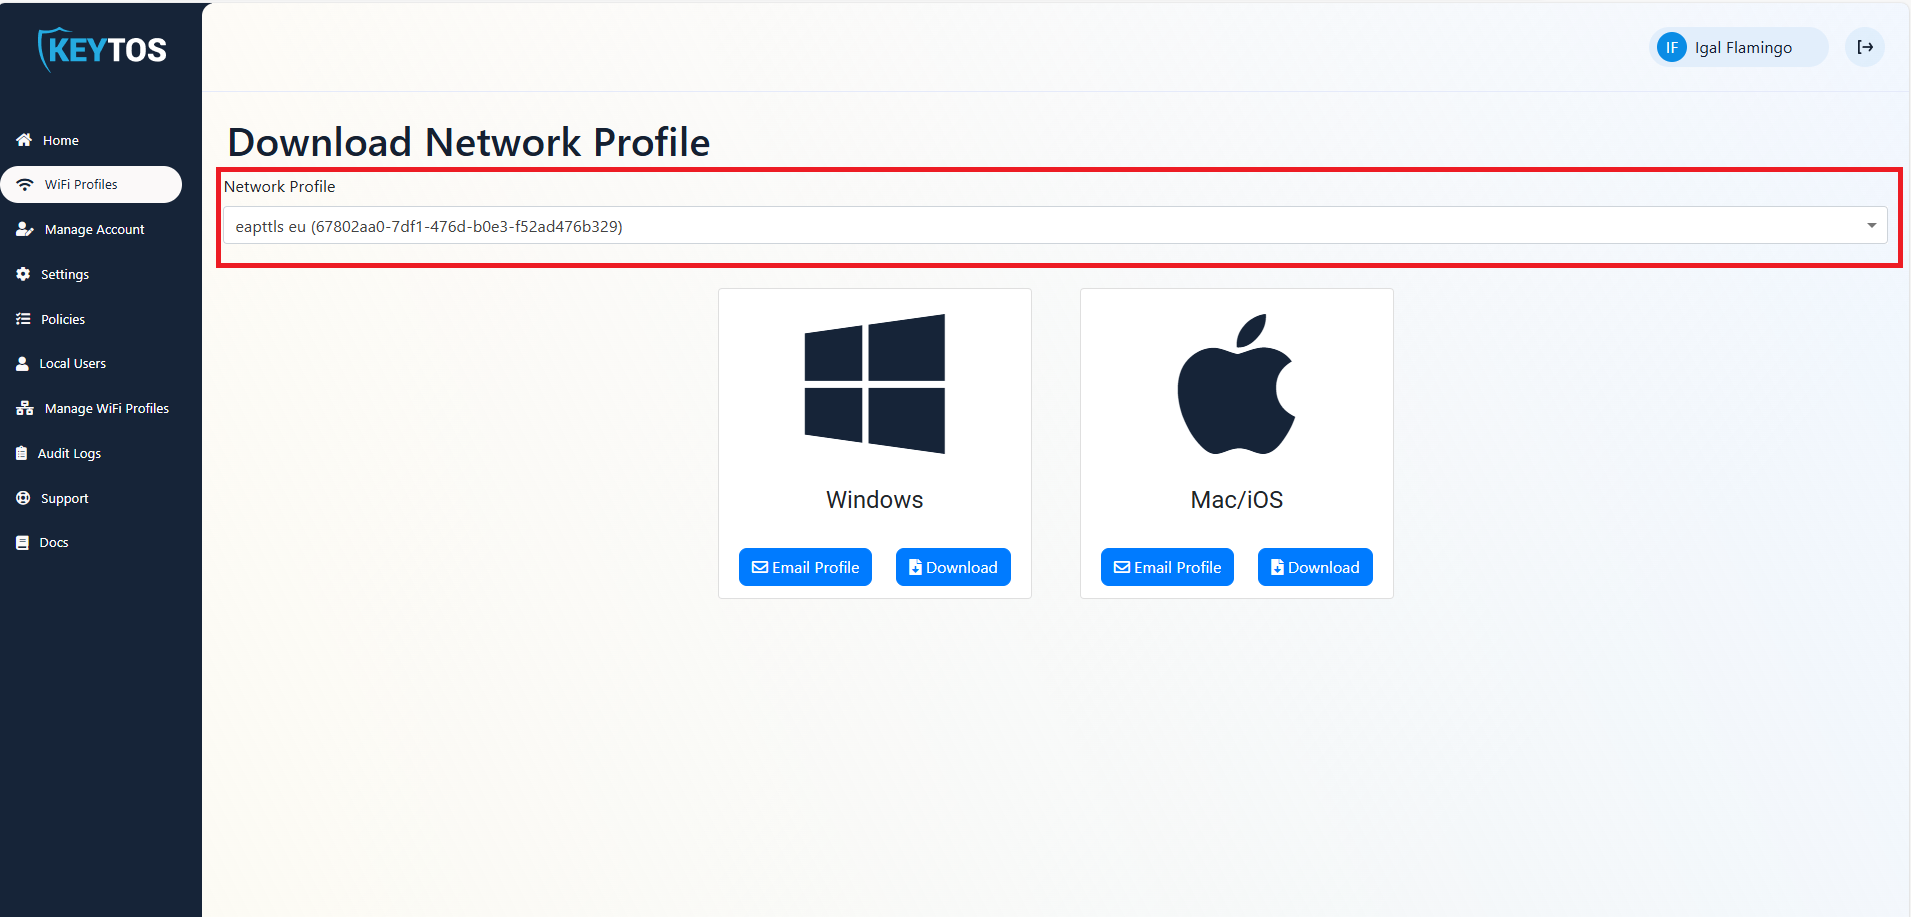
- Click on the ‘Email Profile’ button.

- Open the email from EZRADIUS on your Android device and click on the ‘wifiCertificate.pfx’ attachment.
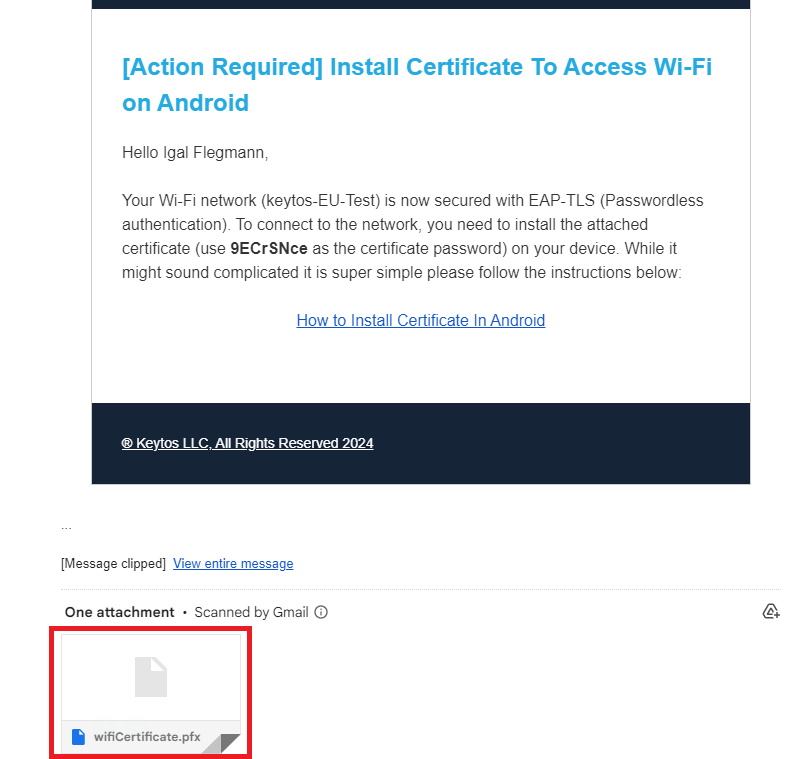
How To Install Wi-Fi Certificate on Android for EAP-TLS
- Open the email from EZRADIUS on your Android device and click on the ‘wifiCertificate.pfx’ attachment.

- Click save the attachment on your device.
- Enter the password provided in the email from EZRADIUS and click OK.
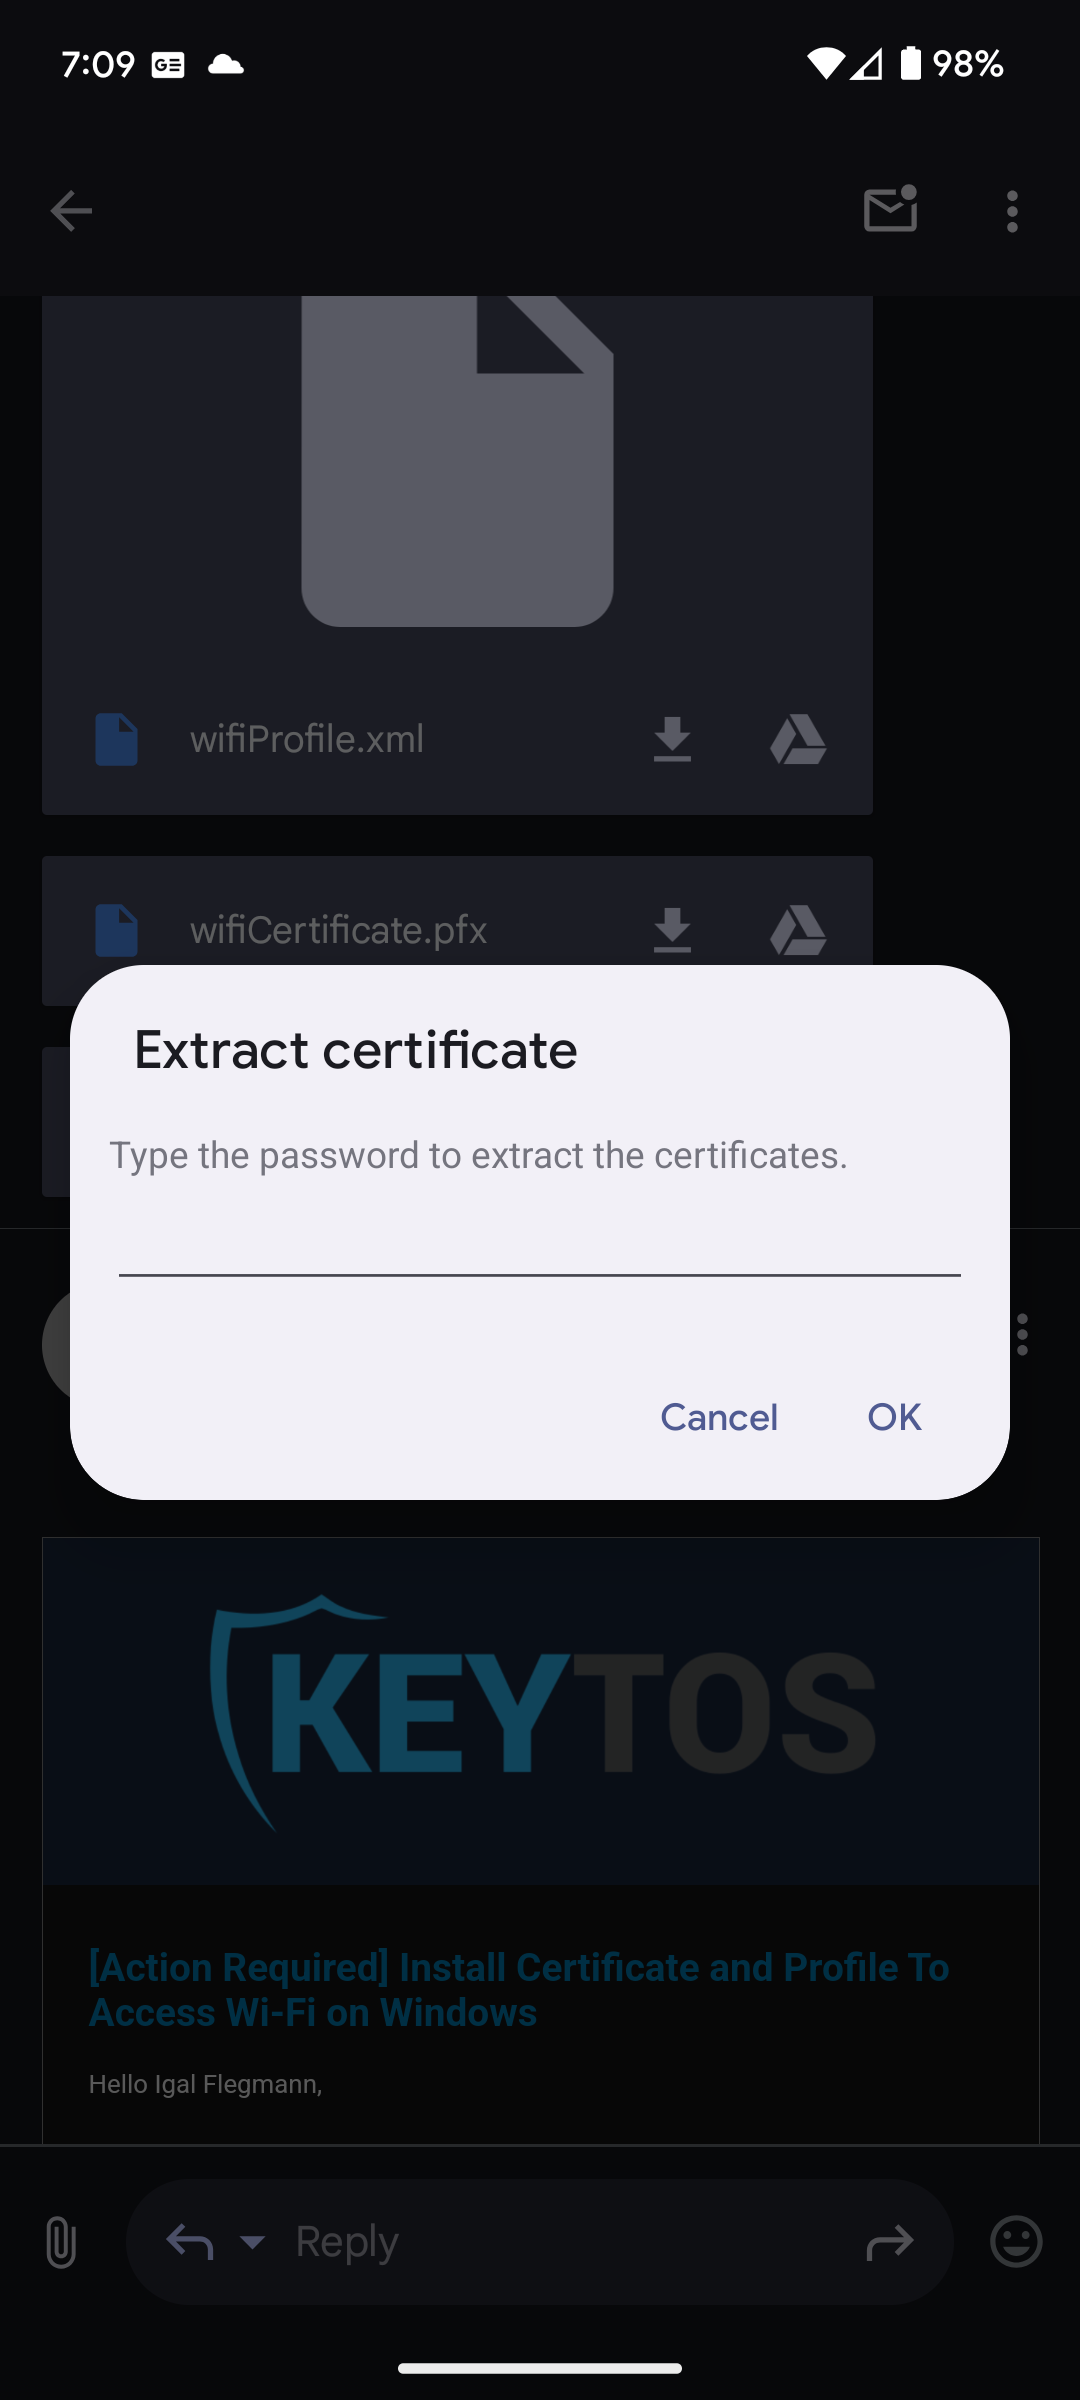
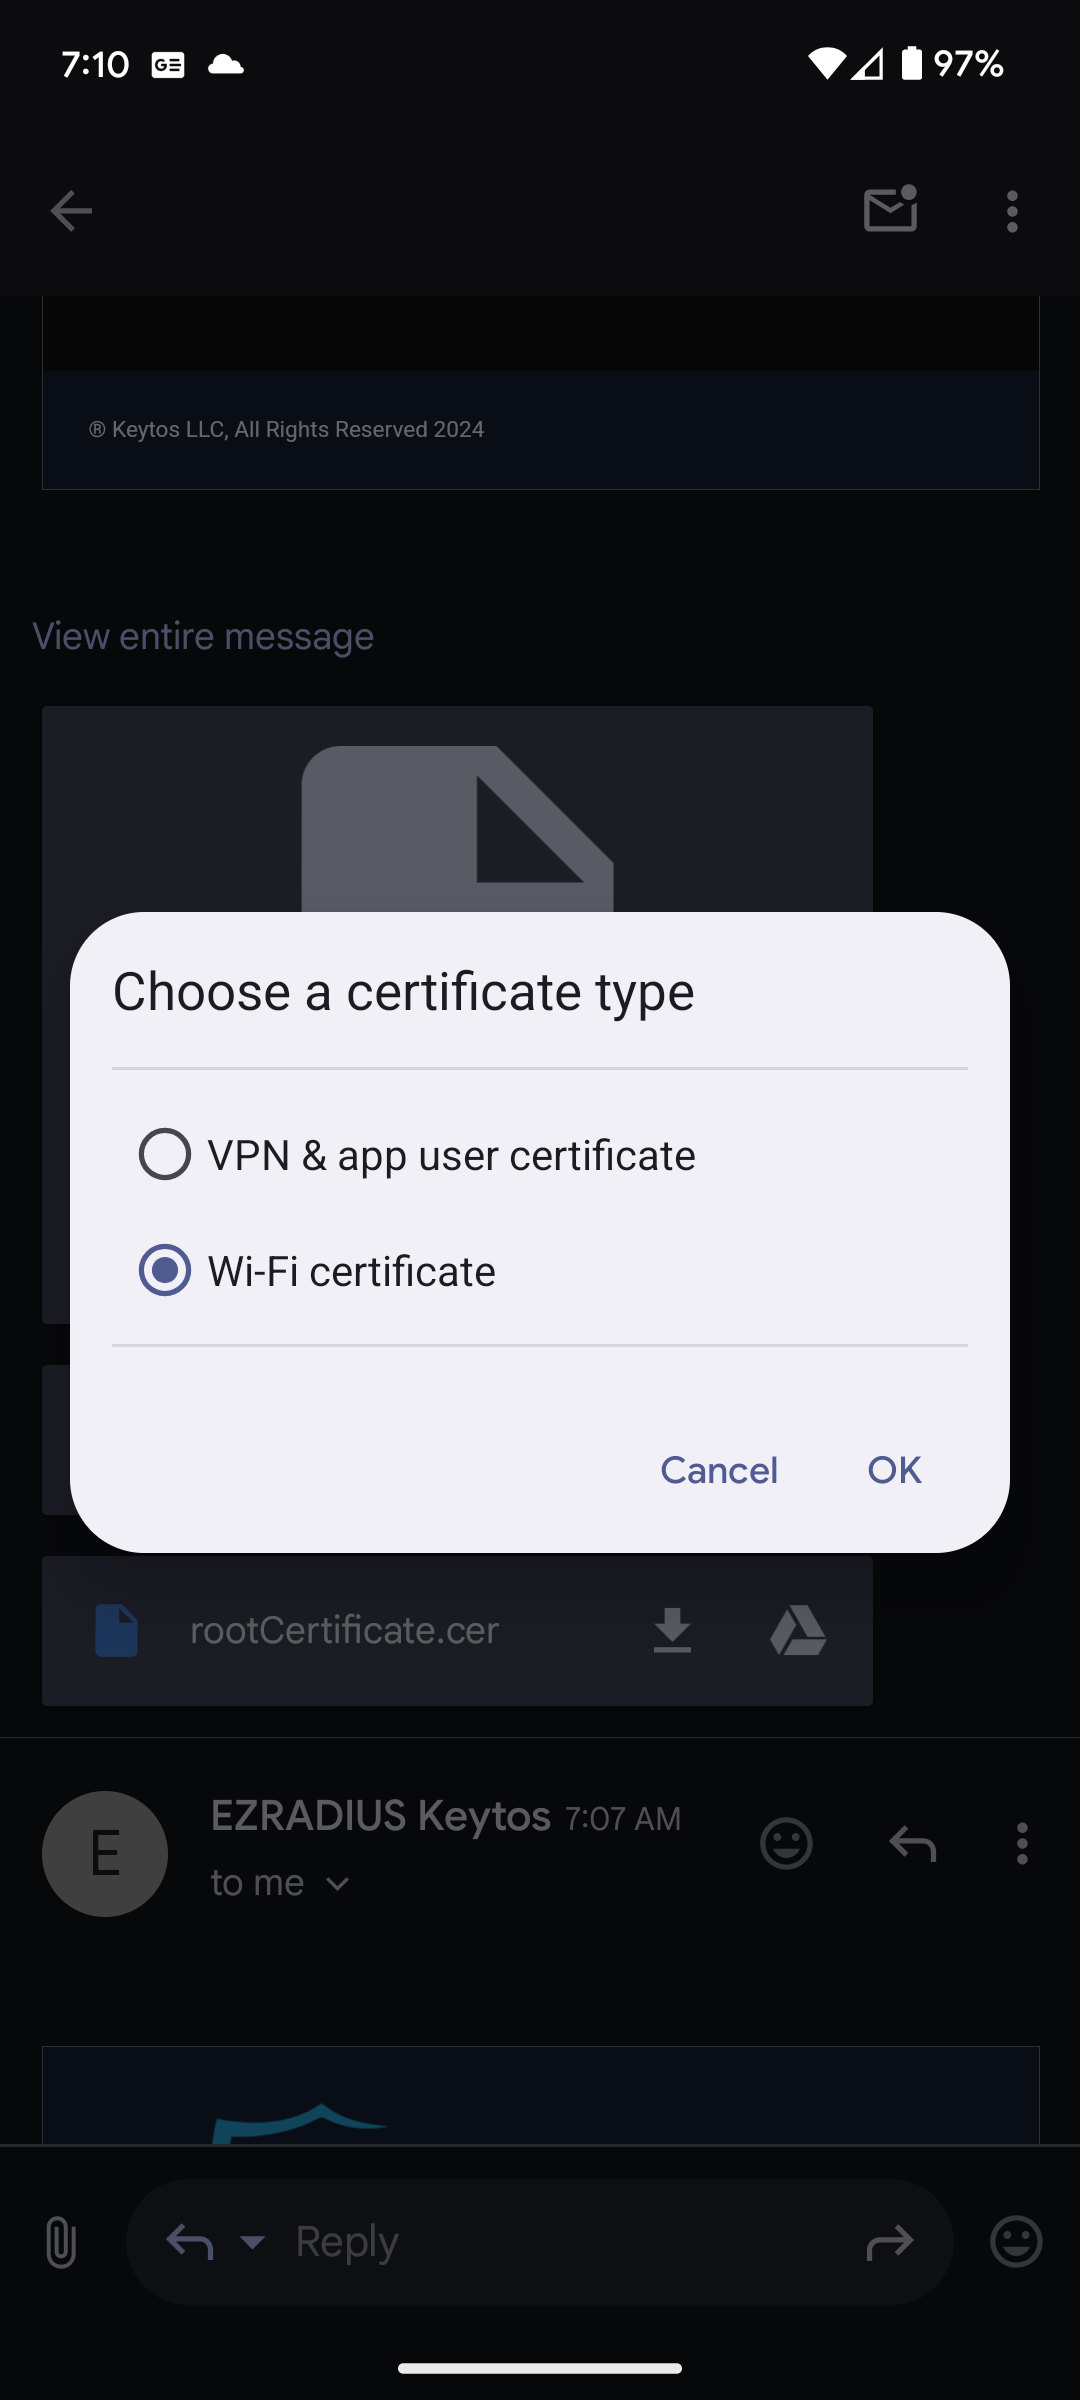
- Save the certificate as a “Wi-Fi Certificate”.
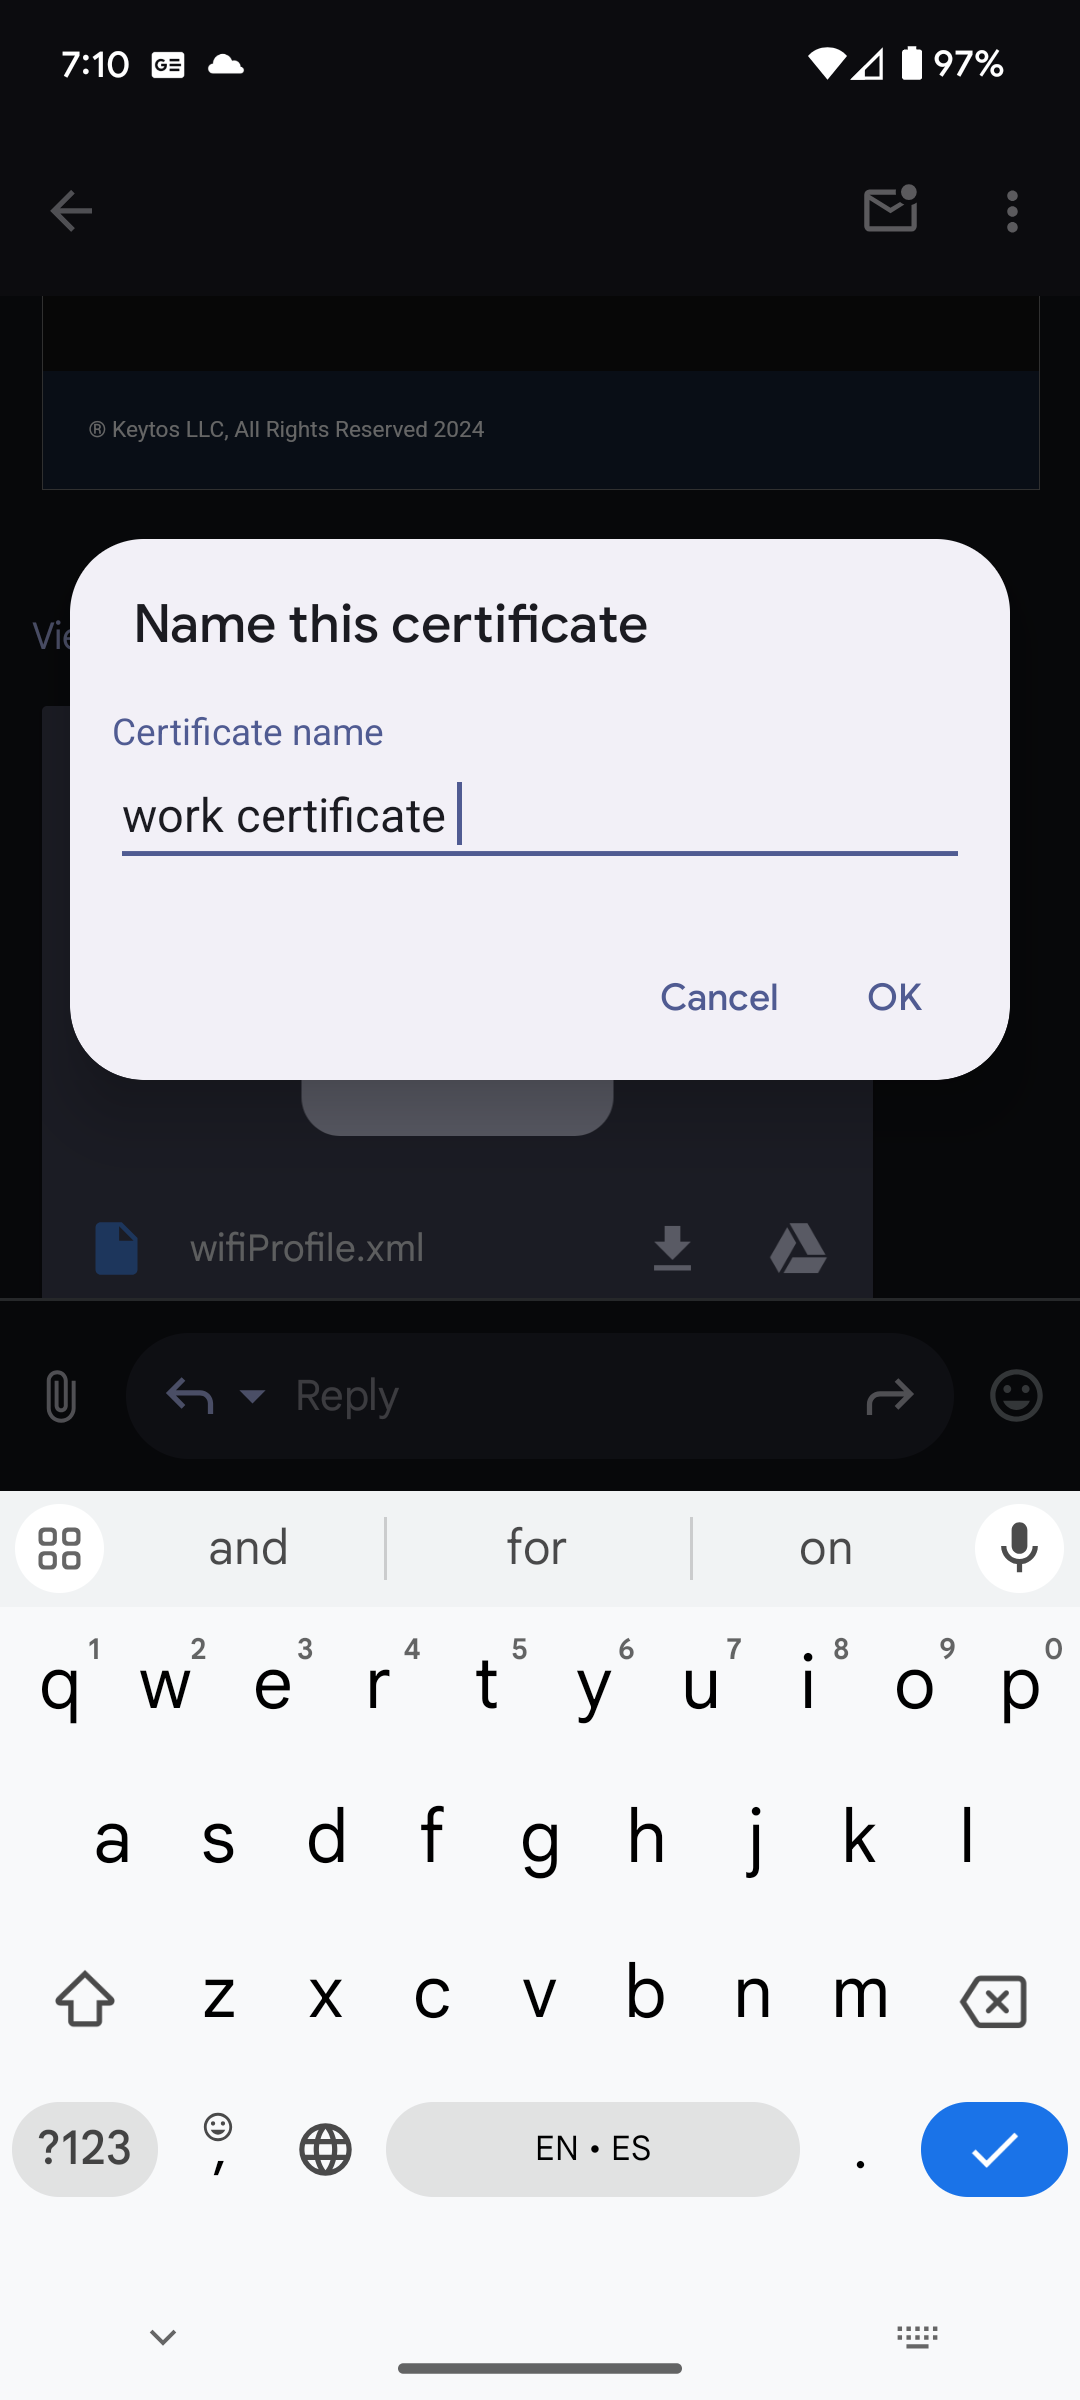
- Name your certificate and click OK.
- Go to your Android device’s settings and click on ‘Wifi’. and click on your your Work Wi-Fi network.
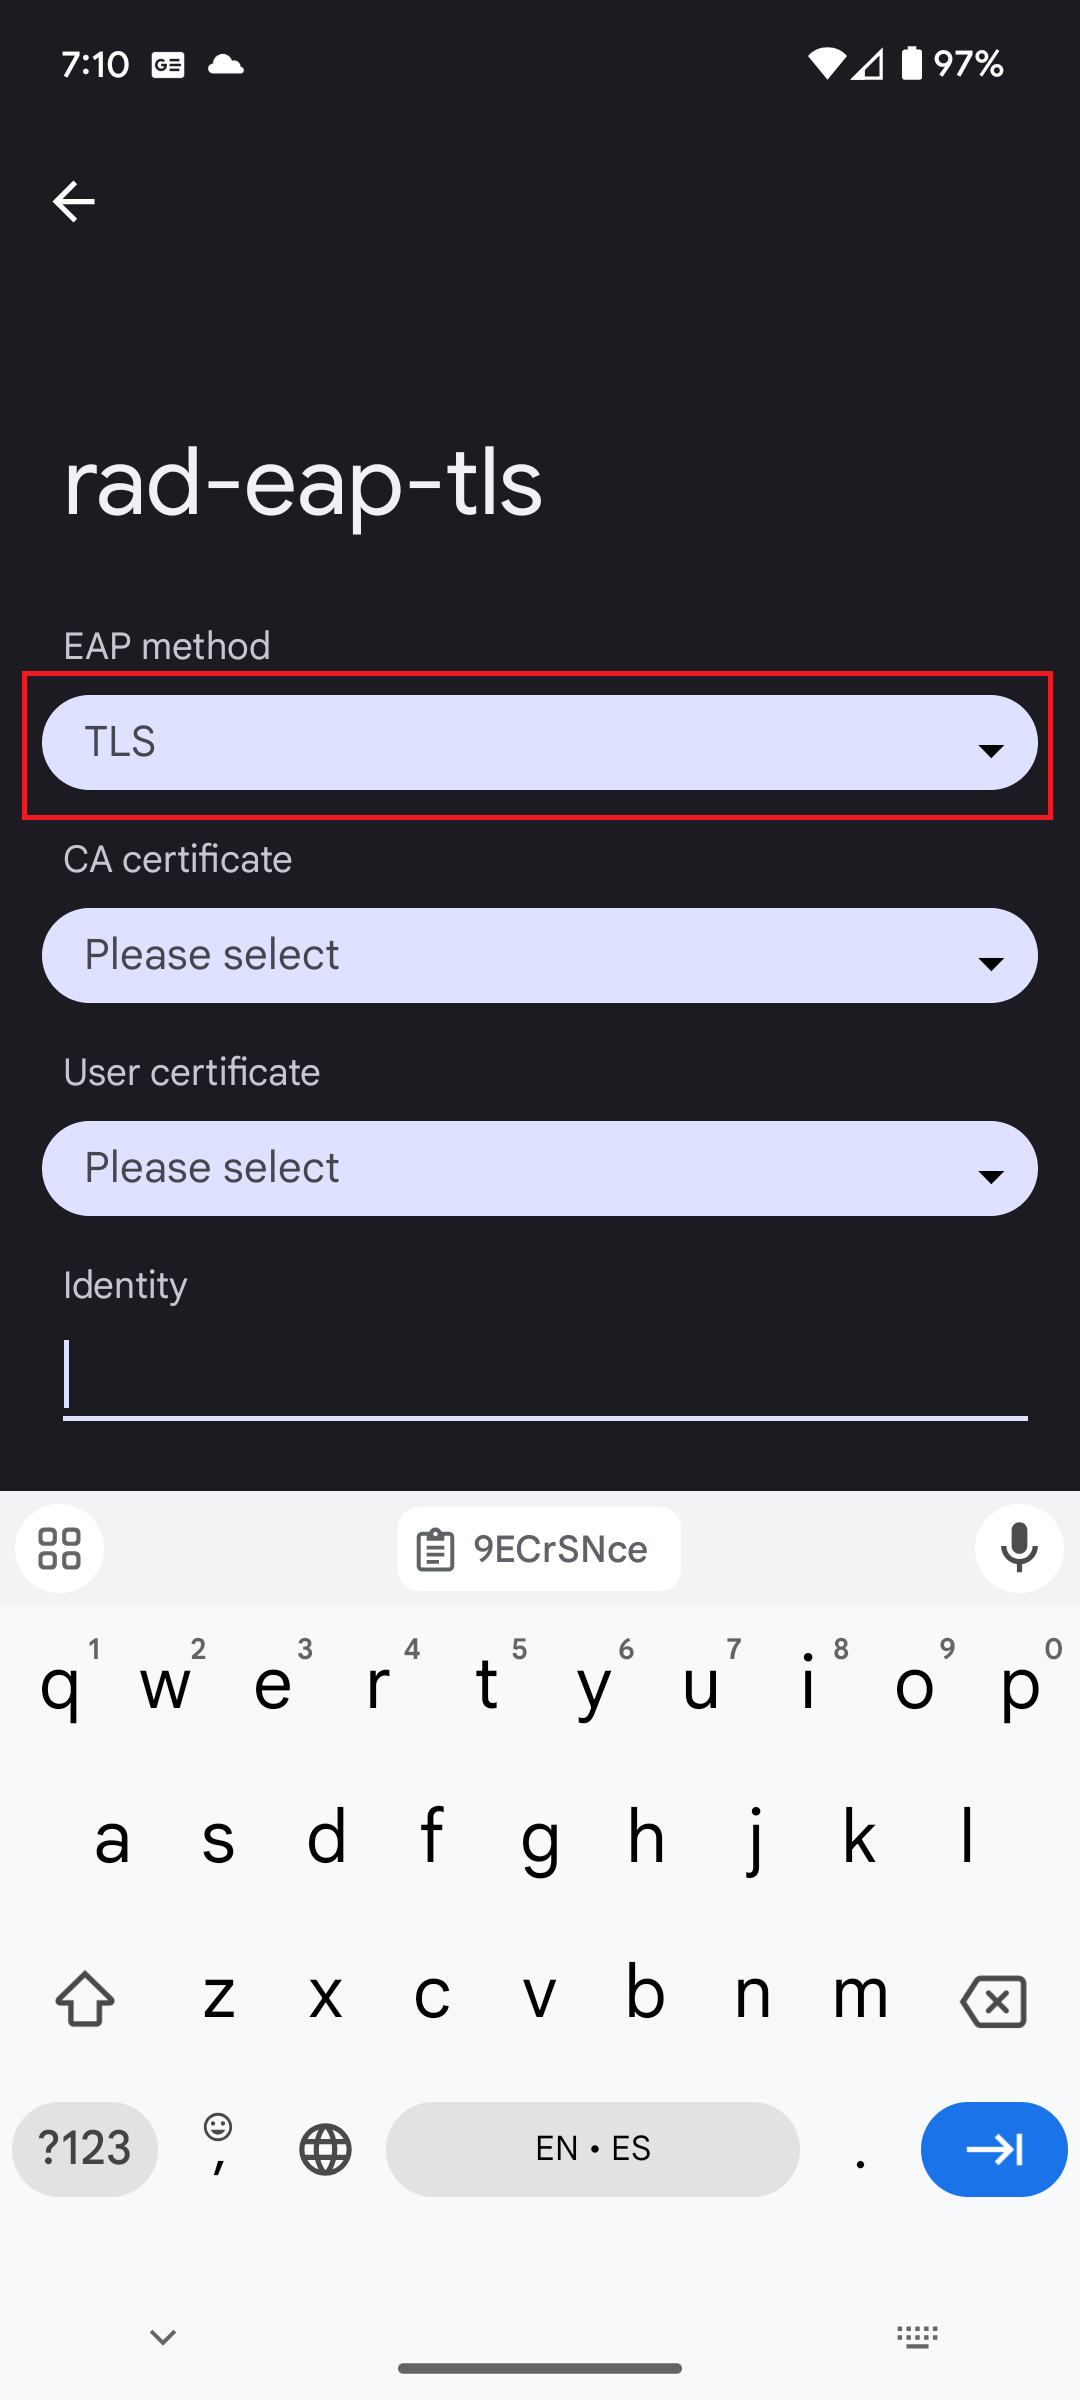
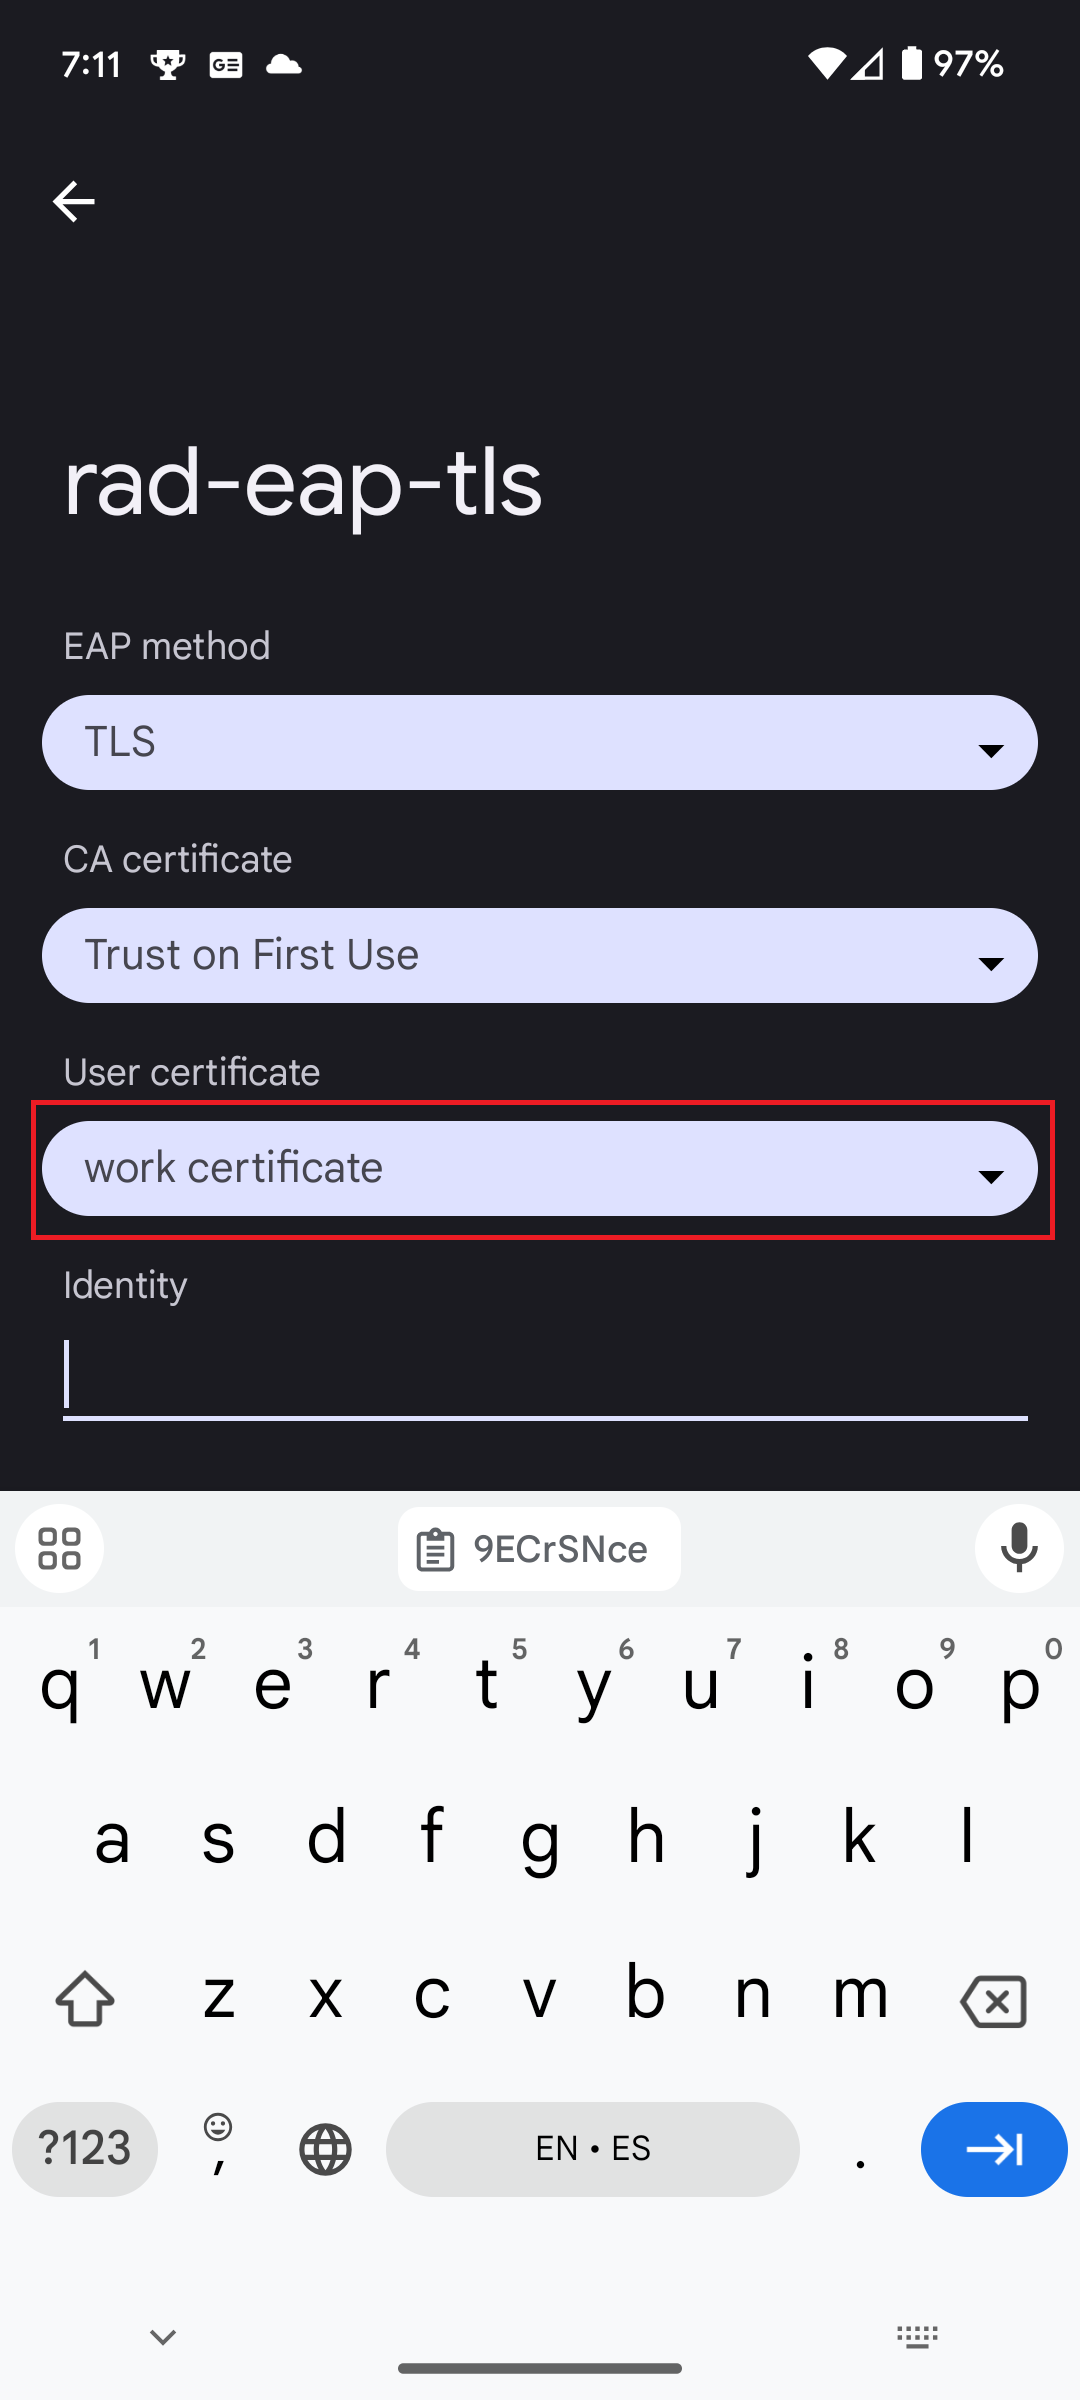
- Select ‘EAP method’ and choose ‘TLS’.
- On the ‘CA certificate’ field, select ‘Trust on First Use’.
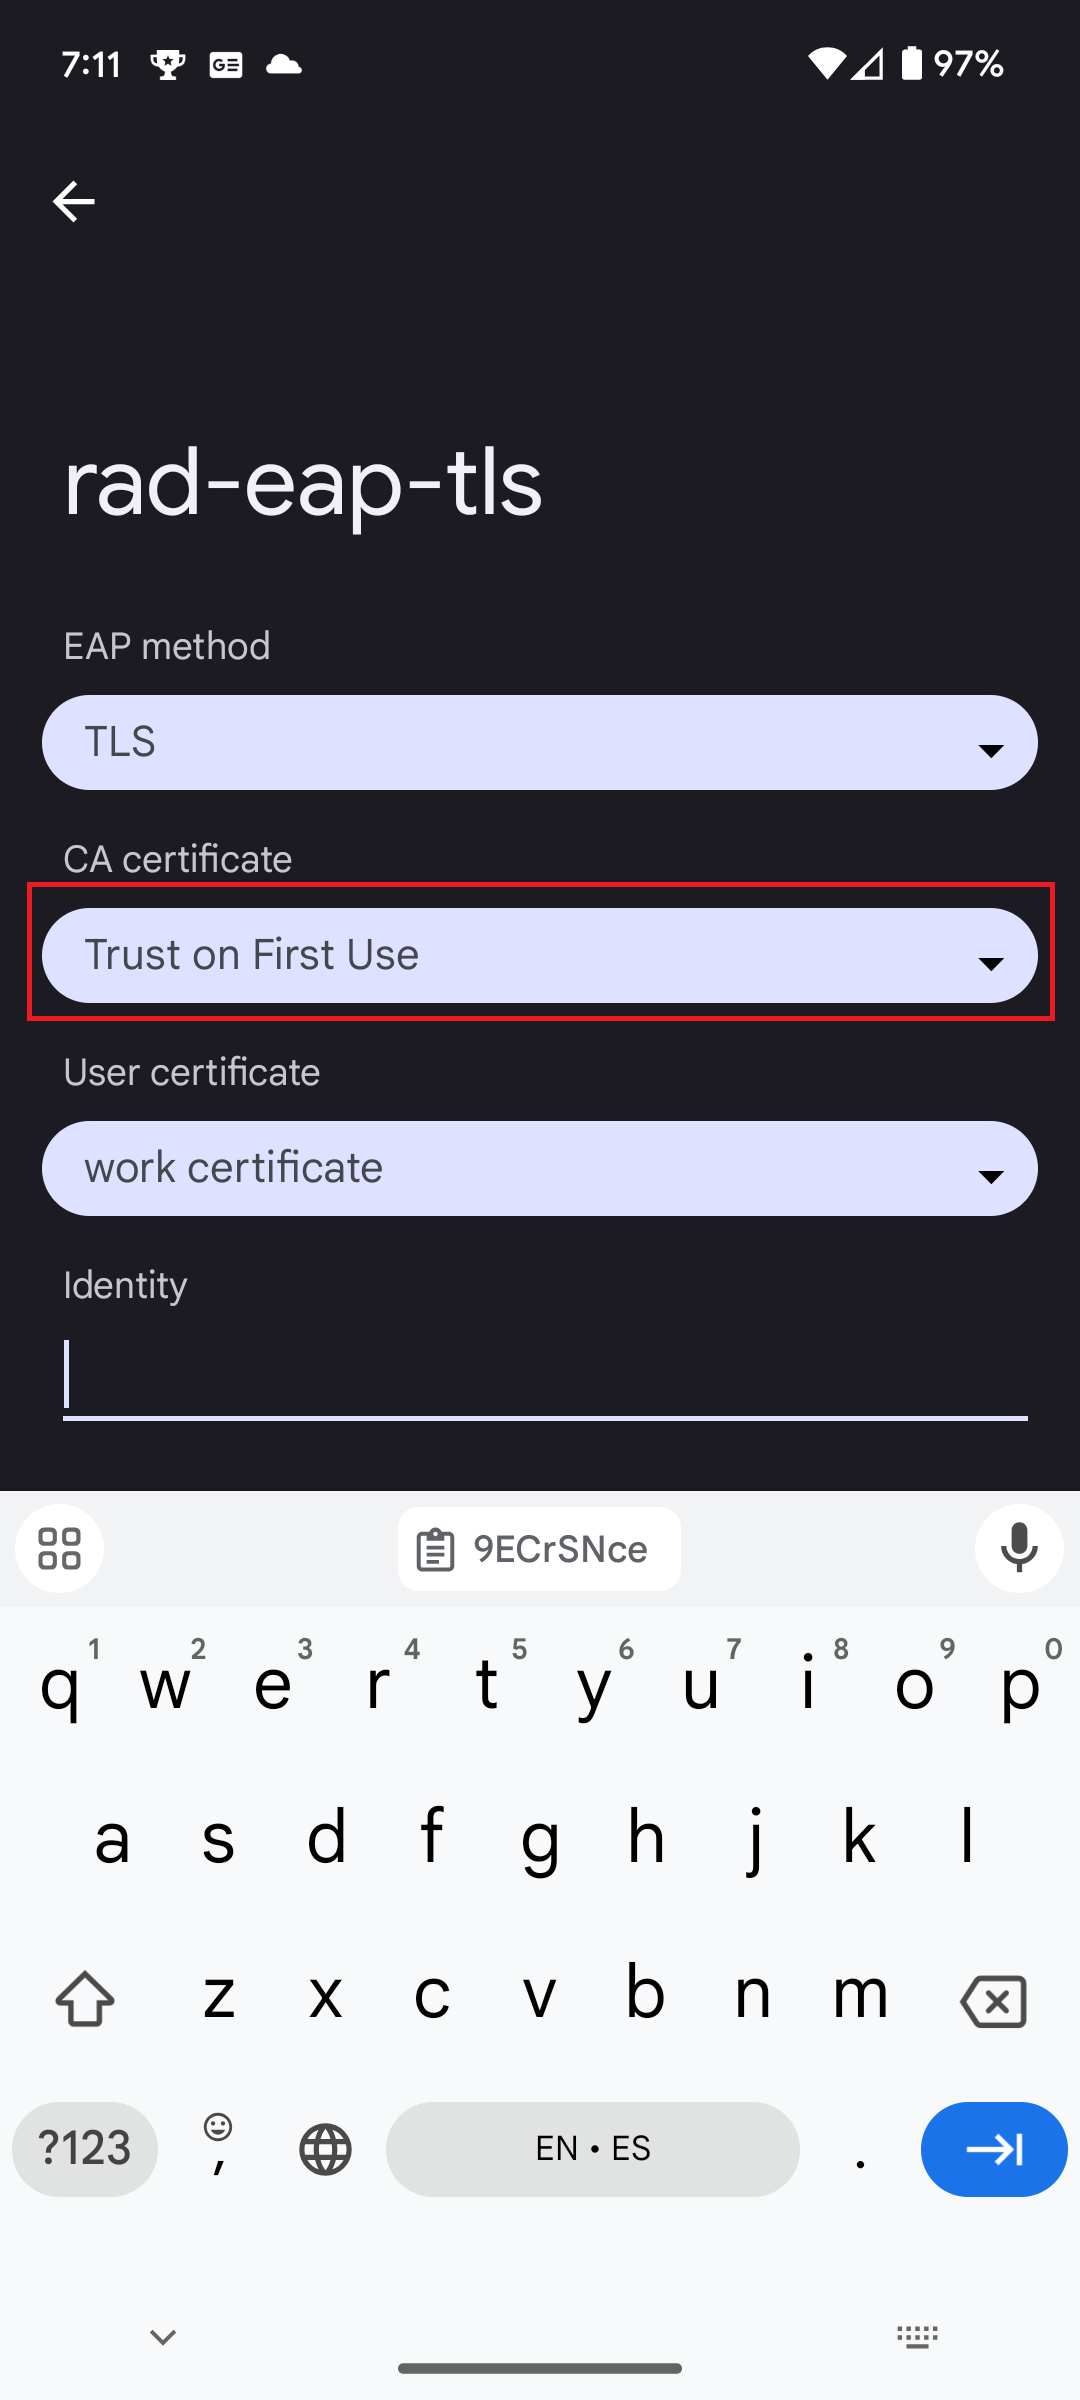
- On the ‘User certificate’ field, select the certificate you just installed.
- Click ‘Connect’ to connect to your Wi-Fi network.