How-To: Create Intune SCEP CA
Prerequisites
- Registering the application in your tenant
- Create EZCA Resource In Azure
- Register Intune Application in Azure Tenant
How To Create Intune SCEP CA - Video Version
In this video we are creating a Root CA that will also be the Issuing CA. This is an easy way for organizations that are getting started as well as to avoid certain issues that might be caused due to certain networking devices not being able to build a CA chain and requiring a single CA hierarchy. To follow PKI hierarchy best practices we recommend Creating a Root CA or chaining to your existing root CA.
How to Create Azure CA for Intune
-
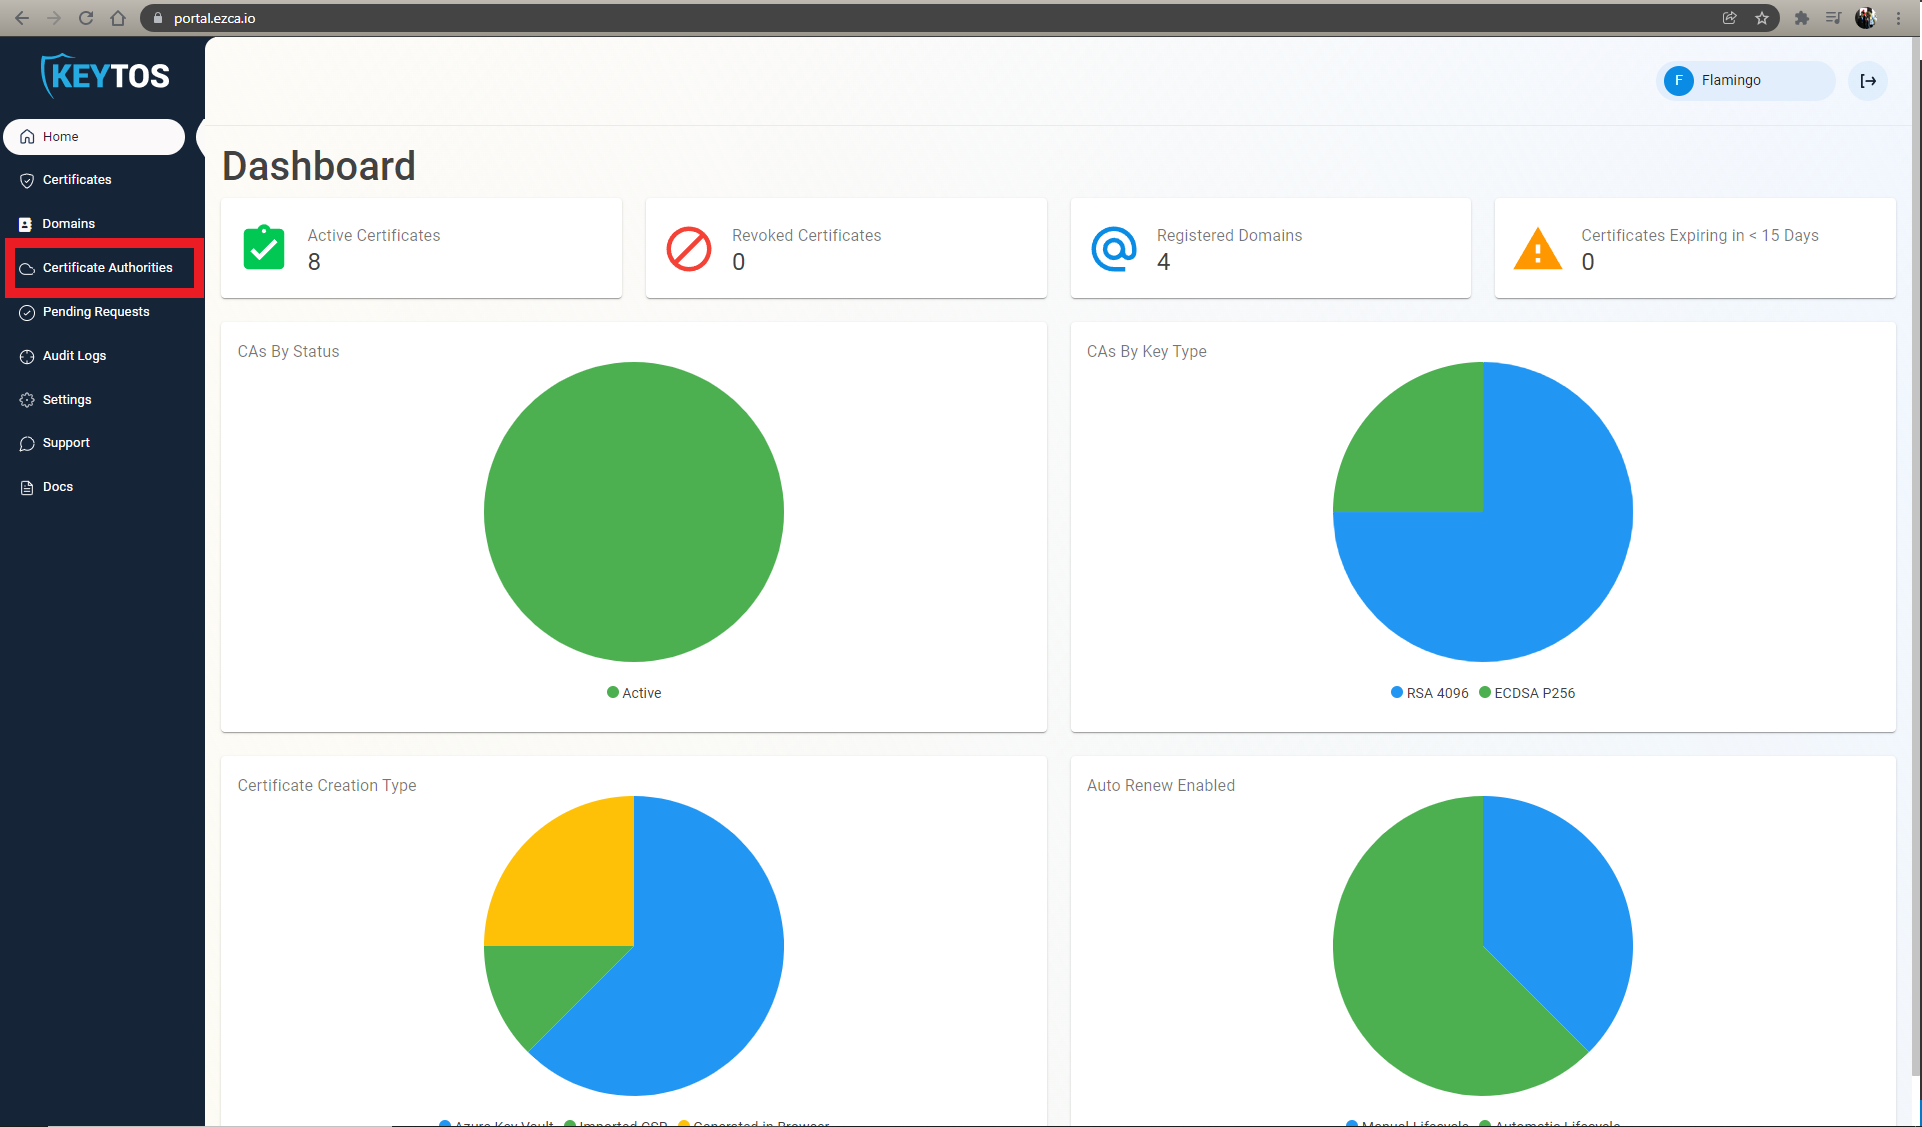
Navigate to your EZCA portal. (If you have a regional or private instance go to that specific portal).
-
Login with an account that is registered as a PKI Admin in EZCA.
-
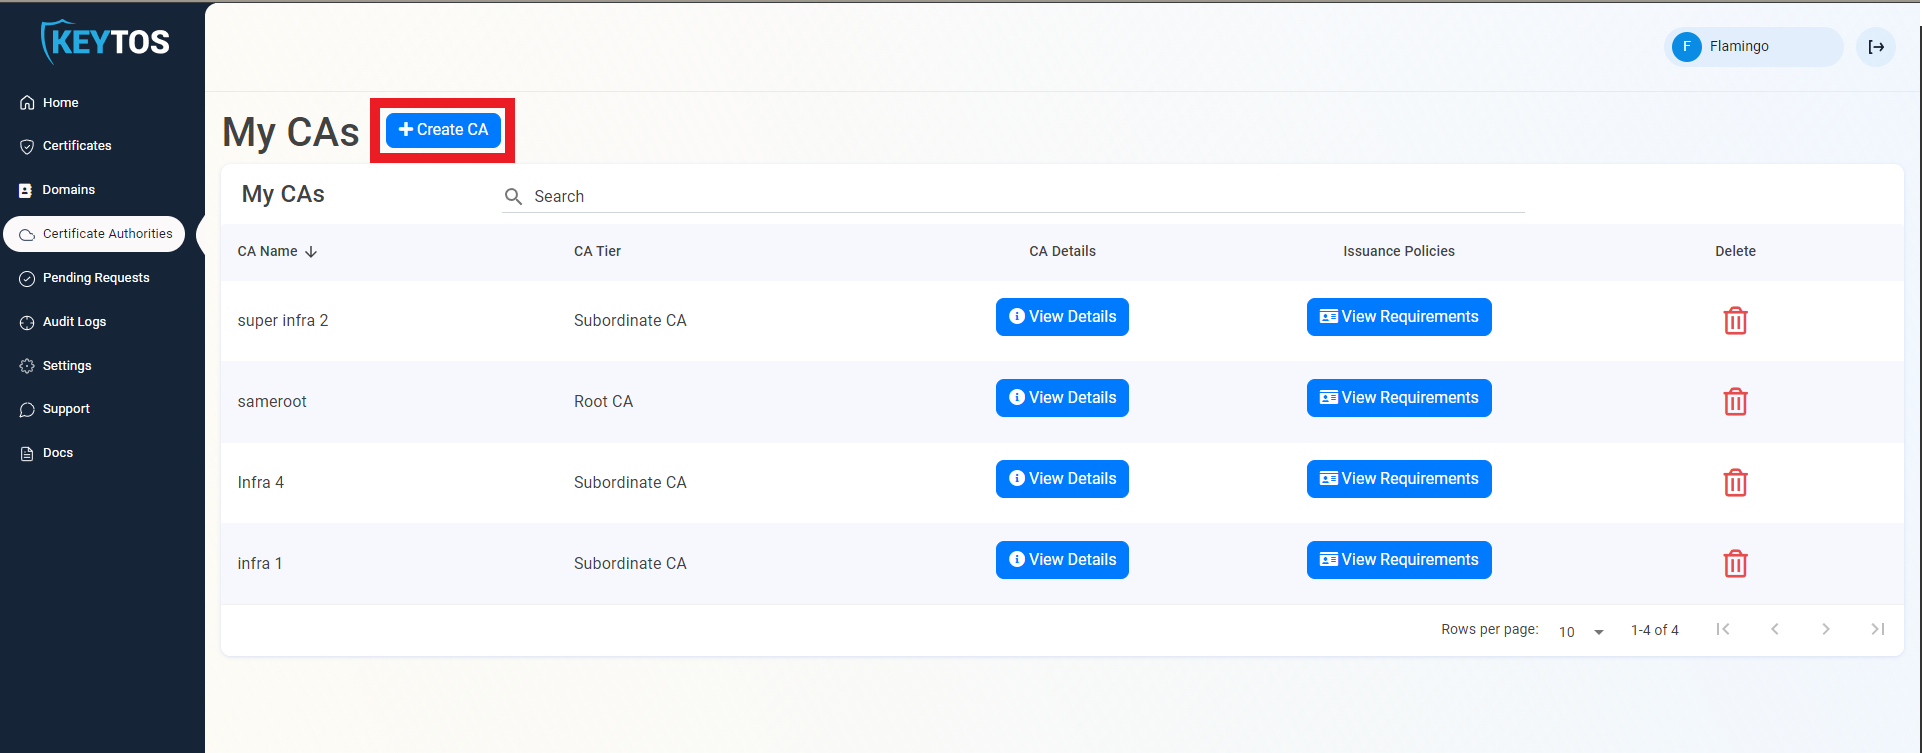
Navigate to the Certificate Authorities page.
-
Click on the Create CA button.
-
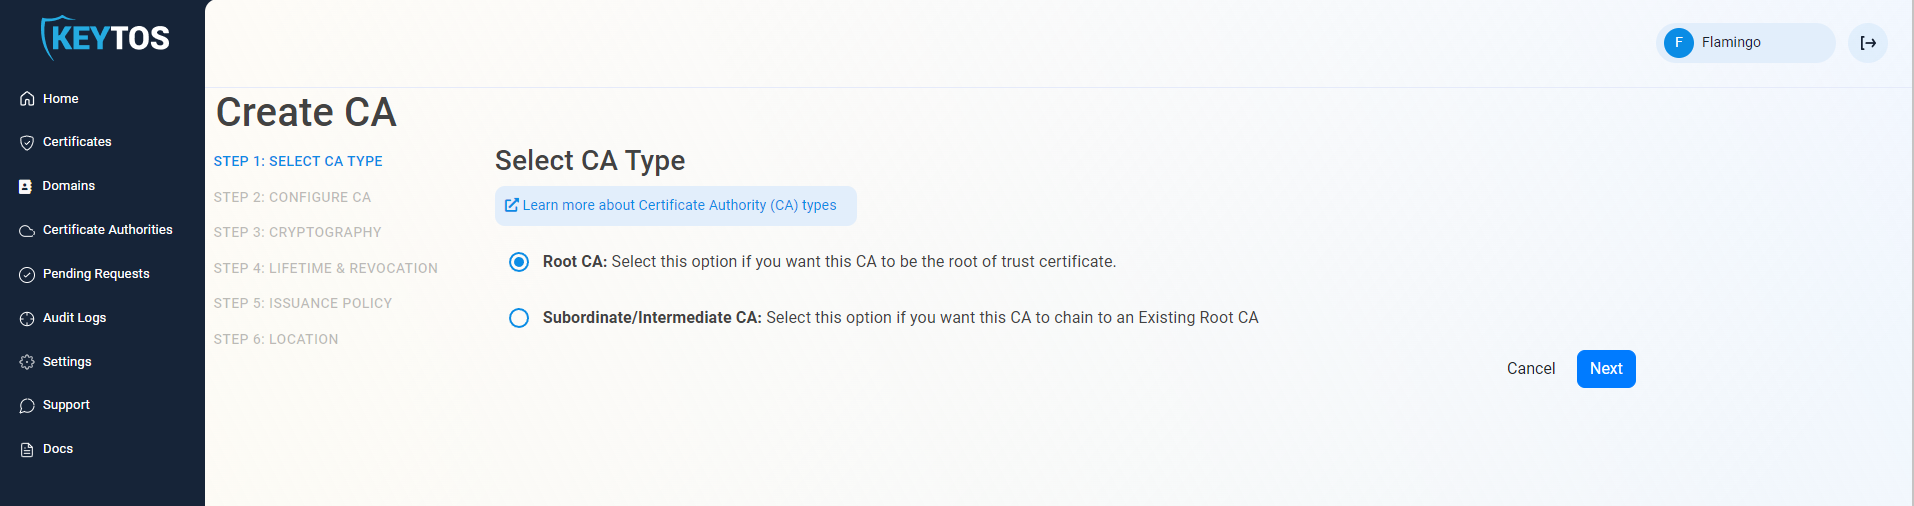
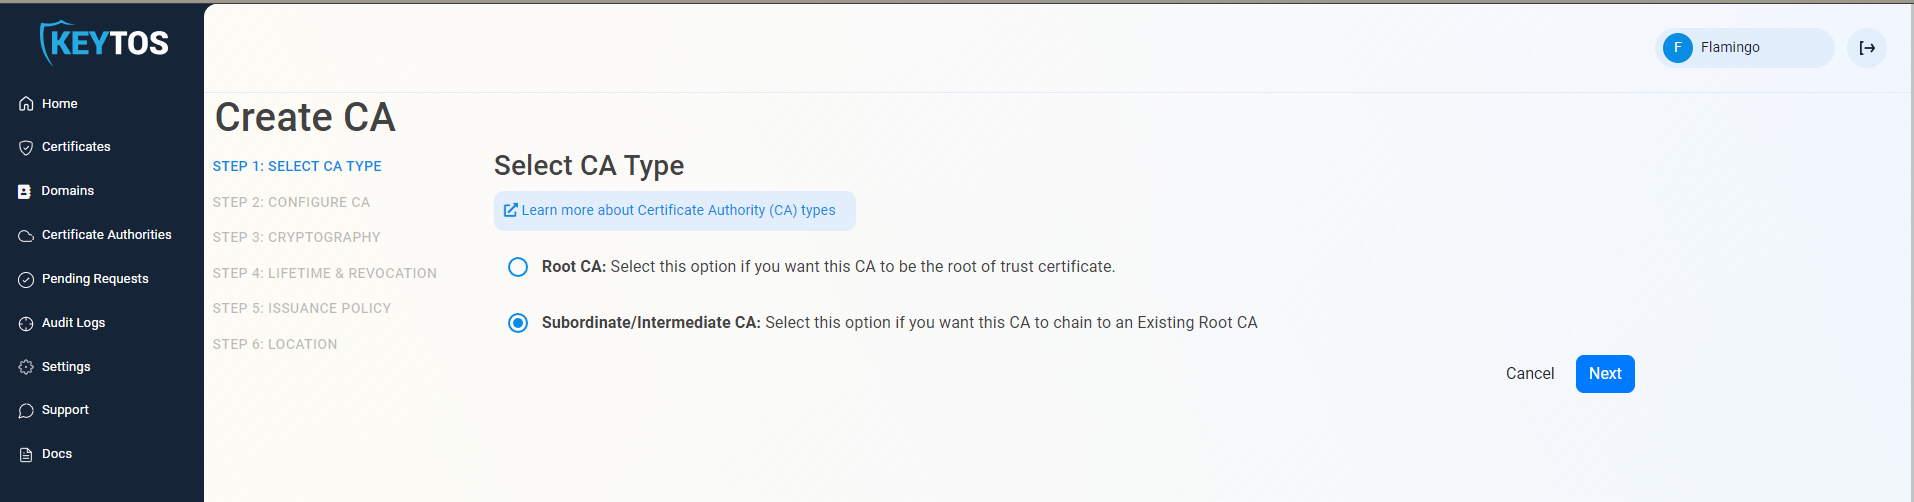
Select Root CA if you don’t have an existing CA and want to create a single-tier CA hierarchy, or select Subordinate/Intermediate CA if you want to chain this CA to an existing Root CA. Then click Next.
 Single vs. Multi-Tier CAs
In this documentation we are creating a Root CA that will also be the Issuing CA. This is an easy way for organizations to get started as well as to avoid certain issues that might be caused due to certain networking devices not being able to build a CA chain and requiring a single CA hierarchy. To follow PKI hierarchy best practices we recommend Creating a Root CA or chaining to your existing root CA. If you are chaining to a Root CA, please select Subordinate CA.
-
Click Next
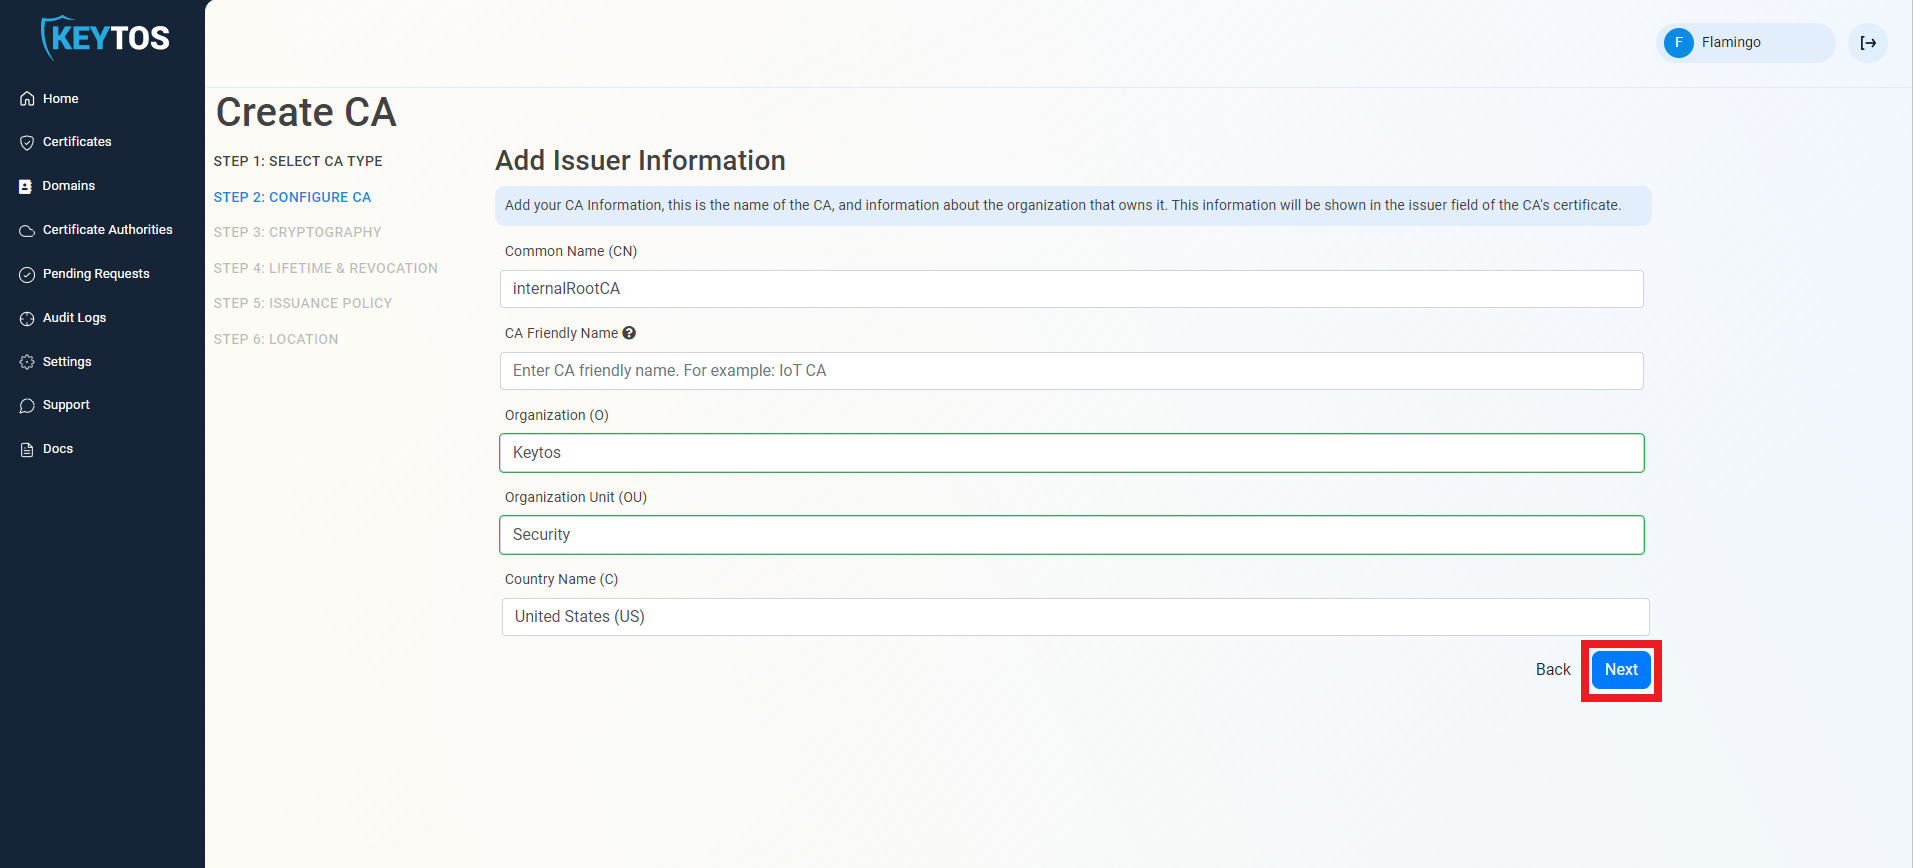
Entering Intune CA Information
- Enter a Common Name: This is the name of the CA how it will appear in the certificate.
- (optional) Enter CA Friendly Name This is the name that will appear in the EZCA portal, by default we will use the Common Name
- (optional) Enter the Organization The Organization field is an optional certificate field that usually has the company name.
- (optional) Enter the Organization Unit The Organization Unit field is an optional certificate field that usually contains the unit that runs this CA (For example: IT or HR).
- (optional) Enter the Country Code The Country Code field is an optional certificate field that identifies the country where this CA is located.
- Click Next.
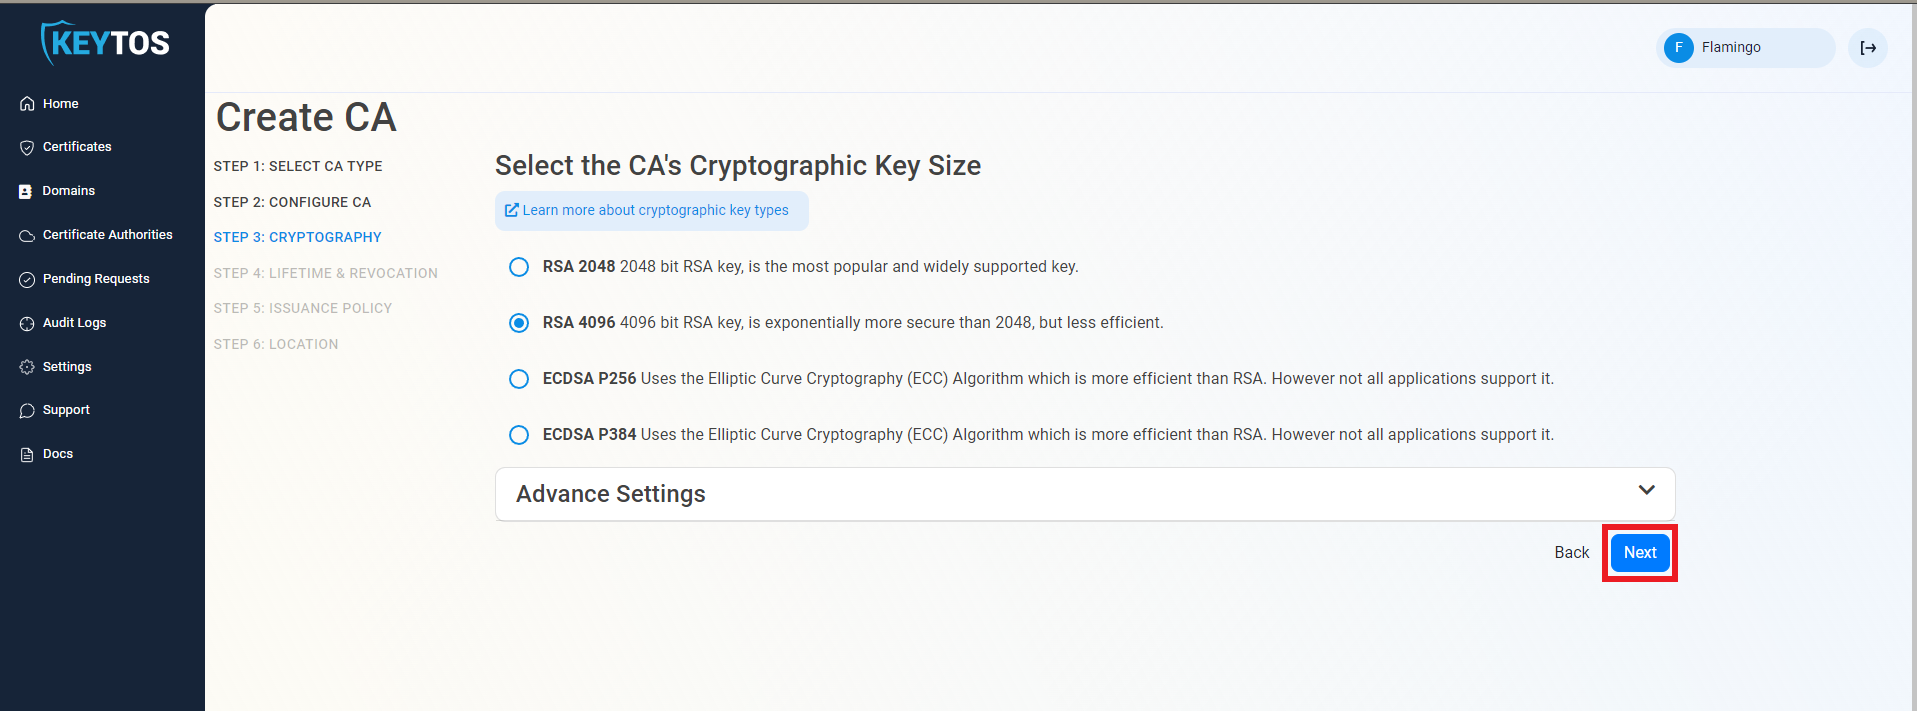
Cryptographic Requirements
Unless you have specific compliance or security requirements, leave the default cryptographic values for best security and compatibility.
Intune SCEP only supports RSA keys for the issuing certificate authority.
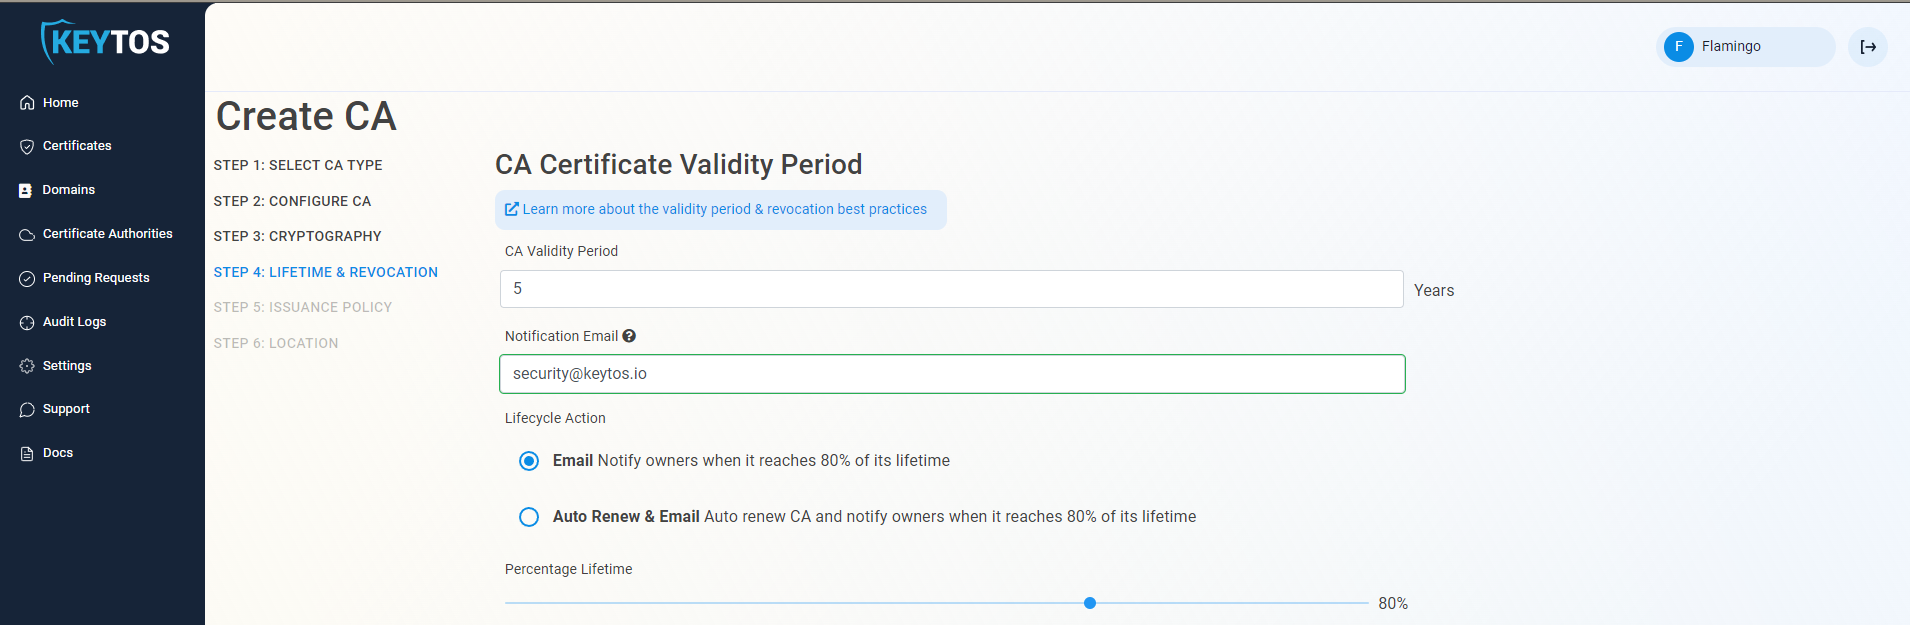
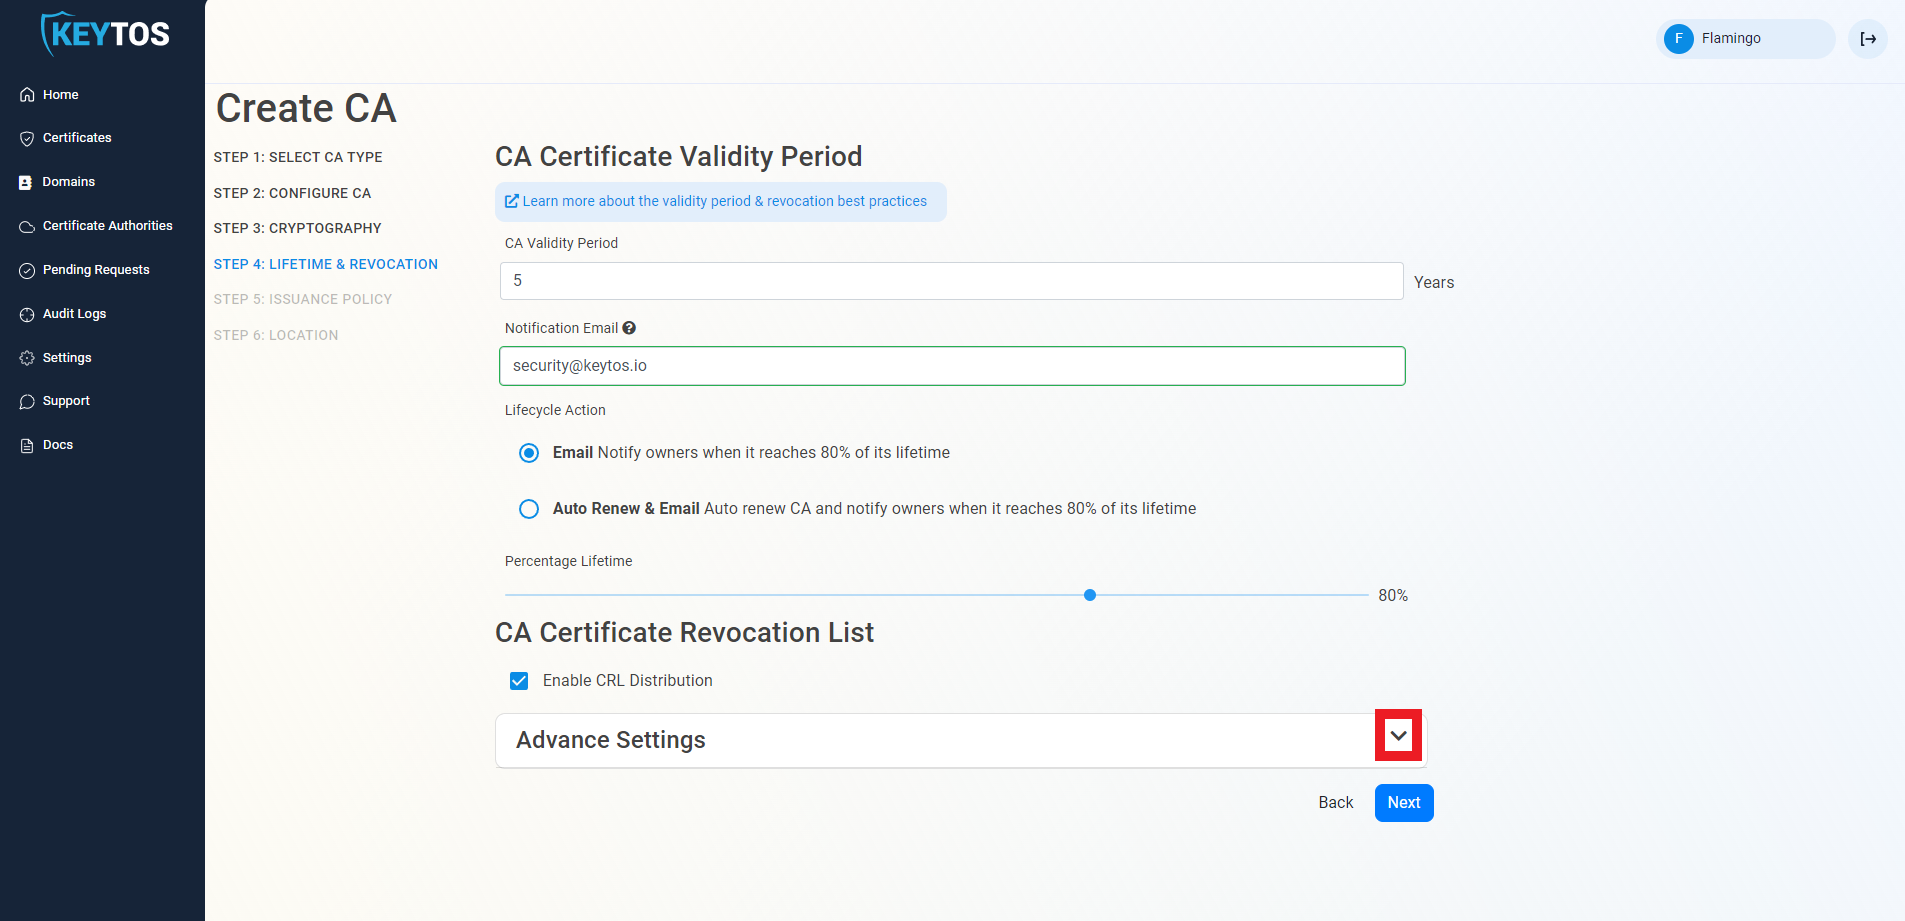
Set the Intune CA Certificate Validity Period
-
Select your Validity Period. Learn more about Validity Period best practices
-
Enter a Notification Email this email address (as well as the PKI Administrators) will get all the notifications for the lifecycle of the CA.
-
Select the lifecycle action you want EZCA to take when expiry of the CA is approaching
NoteFor Root CAs we recommend to have a manual Lifecycle since the new Root will have to be added to the trusted root stores of your clients which requires manual steps from the IT team.
-
Select the percentage of lifetime of the certificate when you want EZCA to start taking Lifecycle actions.
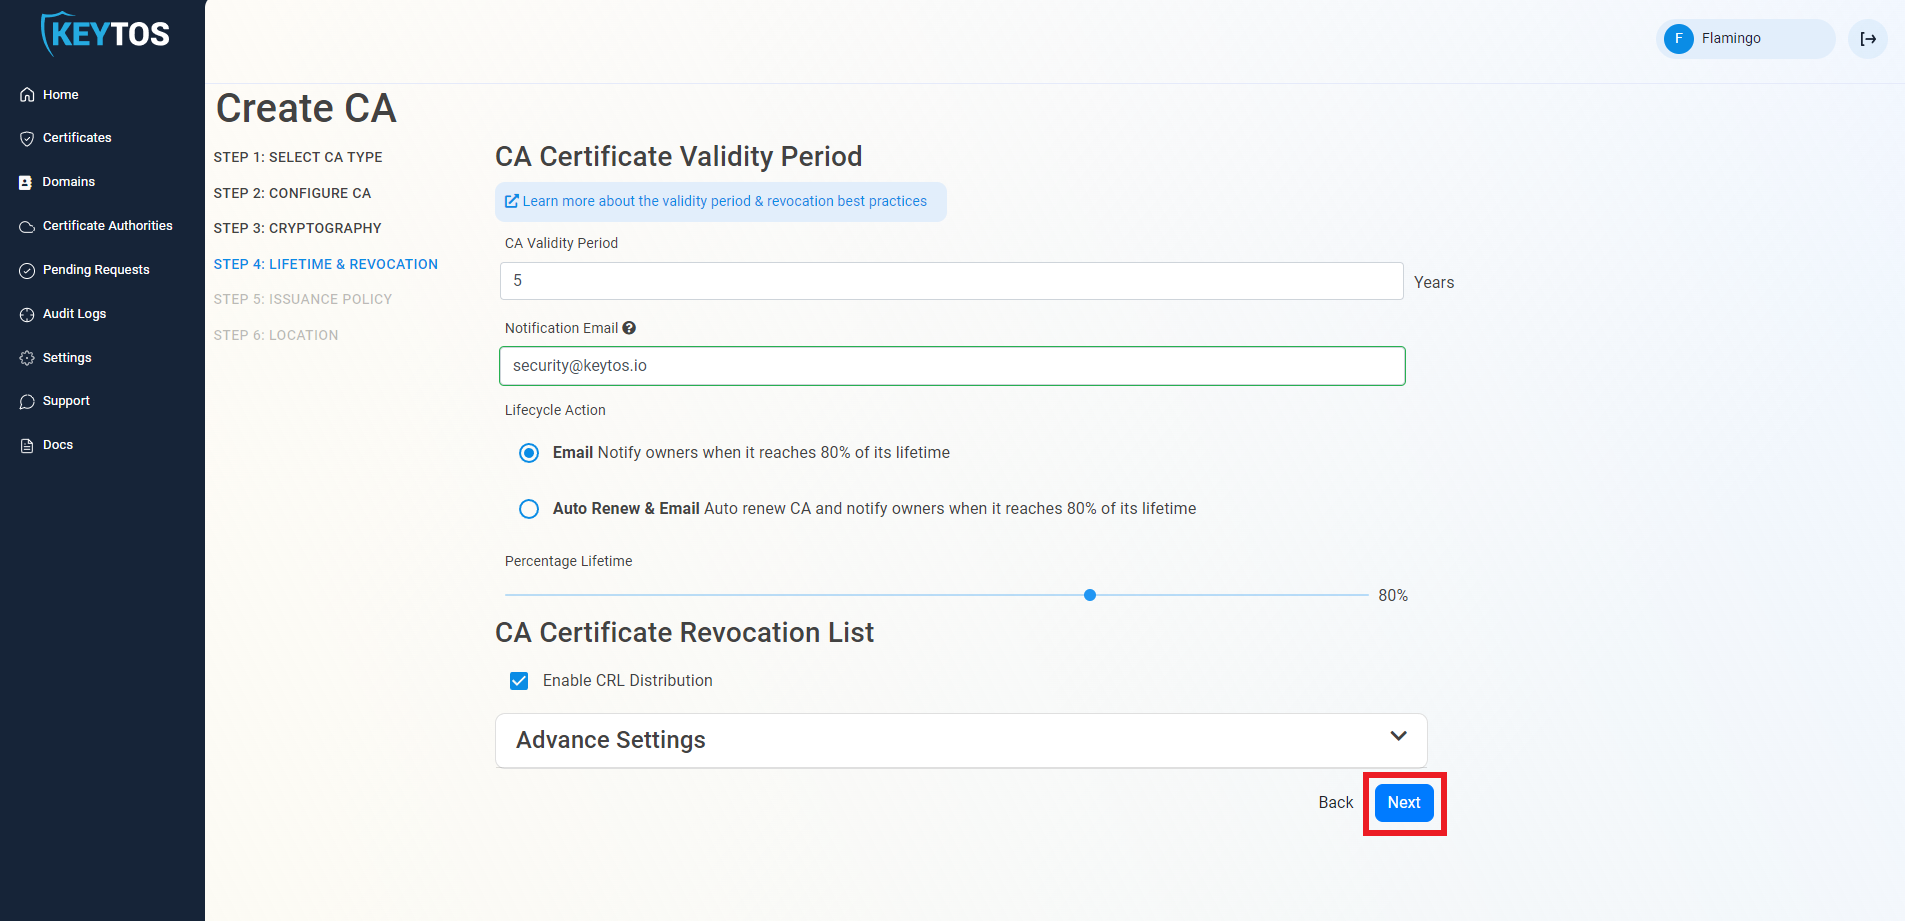
Setup CA Certificate Revocation List
- Select if you want this CA should issue a CRL. (Highly Recommended)
- If you are not changing any CRL details, click Next.
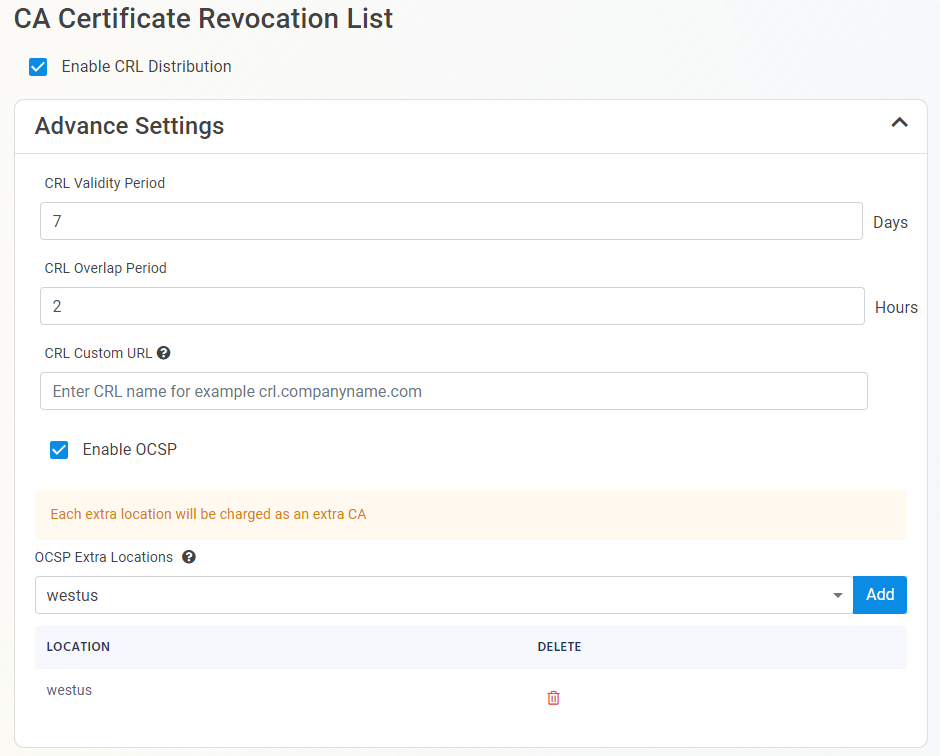
CA Certificate Revocation List Advance Settings (Optional)
Changes to this section are only recommended for PKI experts with specific requirements.
-
Click the expand button
-
Enter the desired CRL Validity Period in days
-
Enter the desired CRL Overlap Period in hours
-
(Optional) Enter the CRL endpoint where you will publish your CRLs
WarningCustom CRL endpoints are supported by EZCA by adding the CRL endpoint as the CRL endpoint in the certificate. However, your PKI admins are responsible from getting the CRL from EZCA and posting it in that specific endpoint.
How To Enable OCSP (Online Certificate Status Protocol) For Your CA
Inside the CA Revocation advanced settings, you can enable OCSP for this CA. OCSP is only recommended if you have specific requirements for OCSP. While OCSP allows quicker revocation it increases the CA the cryptographic load and can limit the scalability of the CA (Basic CA allows 1 cryptographic activity per second, Premium CA 20 cryptographic activities per second, Isolated CA 160 cryptographic activities per second). Learn more about OCSP vs CRL
-
If you want to enable OCSP, select the “Enable OCSP” option.

-
Enabling the OCSP will create an OCSP endpoint for this CA in the same region you select for your OCSP (this is included with the price of your CA). If you require extra scalability you can create multiple OCSPs for your certificate authority in different regions. Note: Each extra OCSP will be charged as an extra Certificate Authority.
-
Once you have setup your certificate revocation, click Next.
-
Click Next.
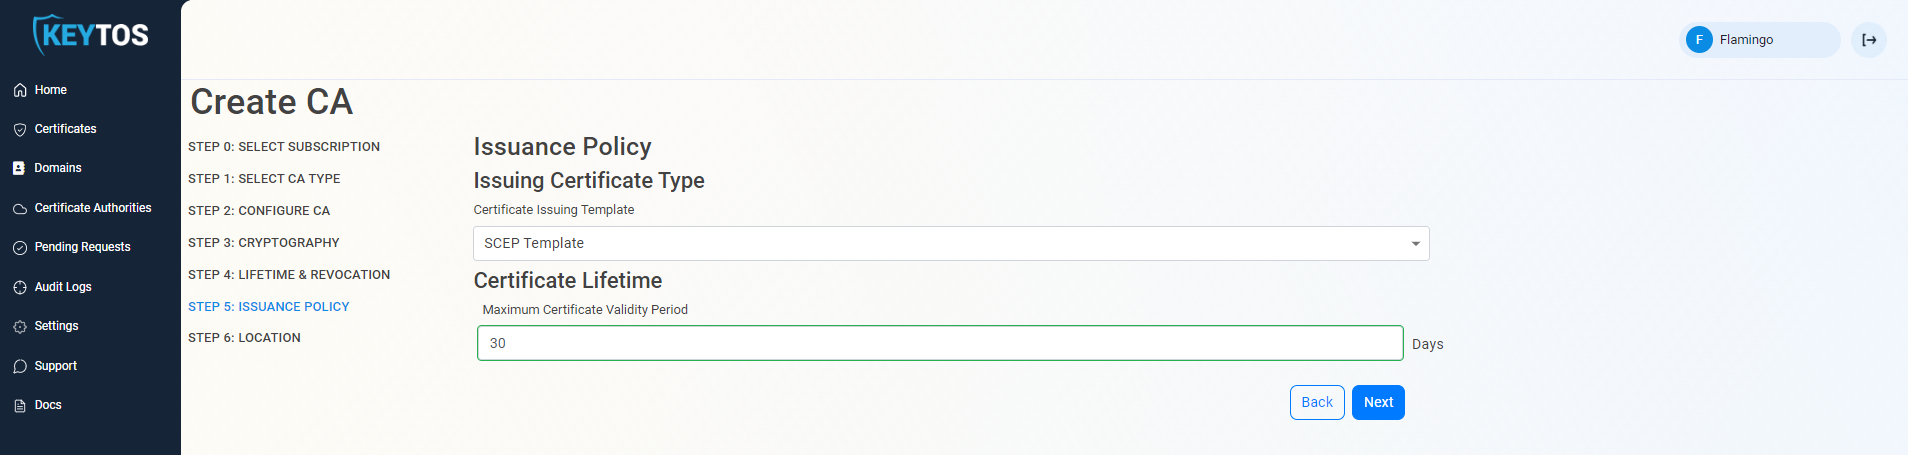
Certificate Issuance Policy
-
Change the Issuing Certificate Type to “SCEP Template”
-
Set the certificate lifetime for the certificate that will be issued.
WarningThis value will override any value that you set in Intune.
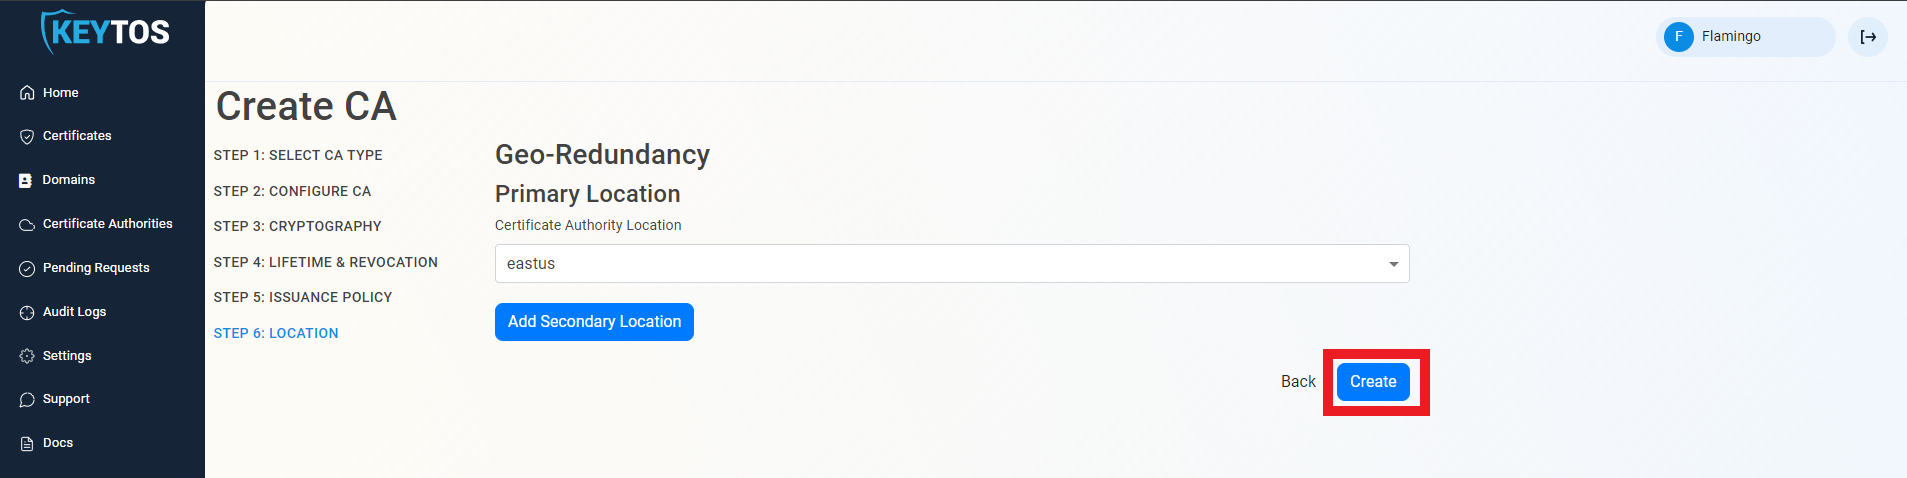
Select Location
-
Select the location where you want your CA to be created.
-
Click Create
Chain to Root CA
If you created a Subordinate/Issuing CA you must chain this certificate to a root CA. Follow these instructions to chain to an offline CA. Or the following steps to chain to an EZCA Root CA.
-
If your desired Root CA is an EZCA CA, Select it from the dropdown and click create CA.
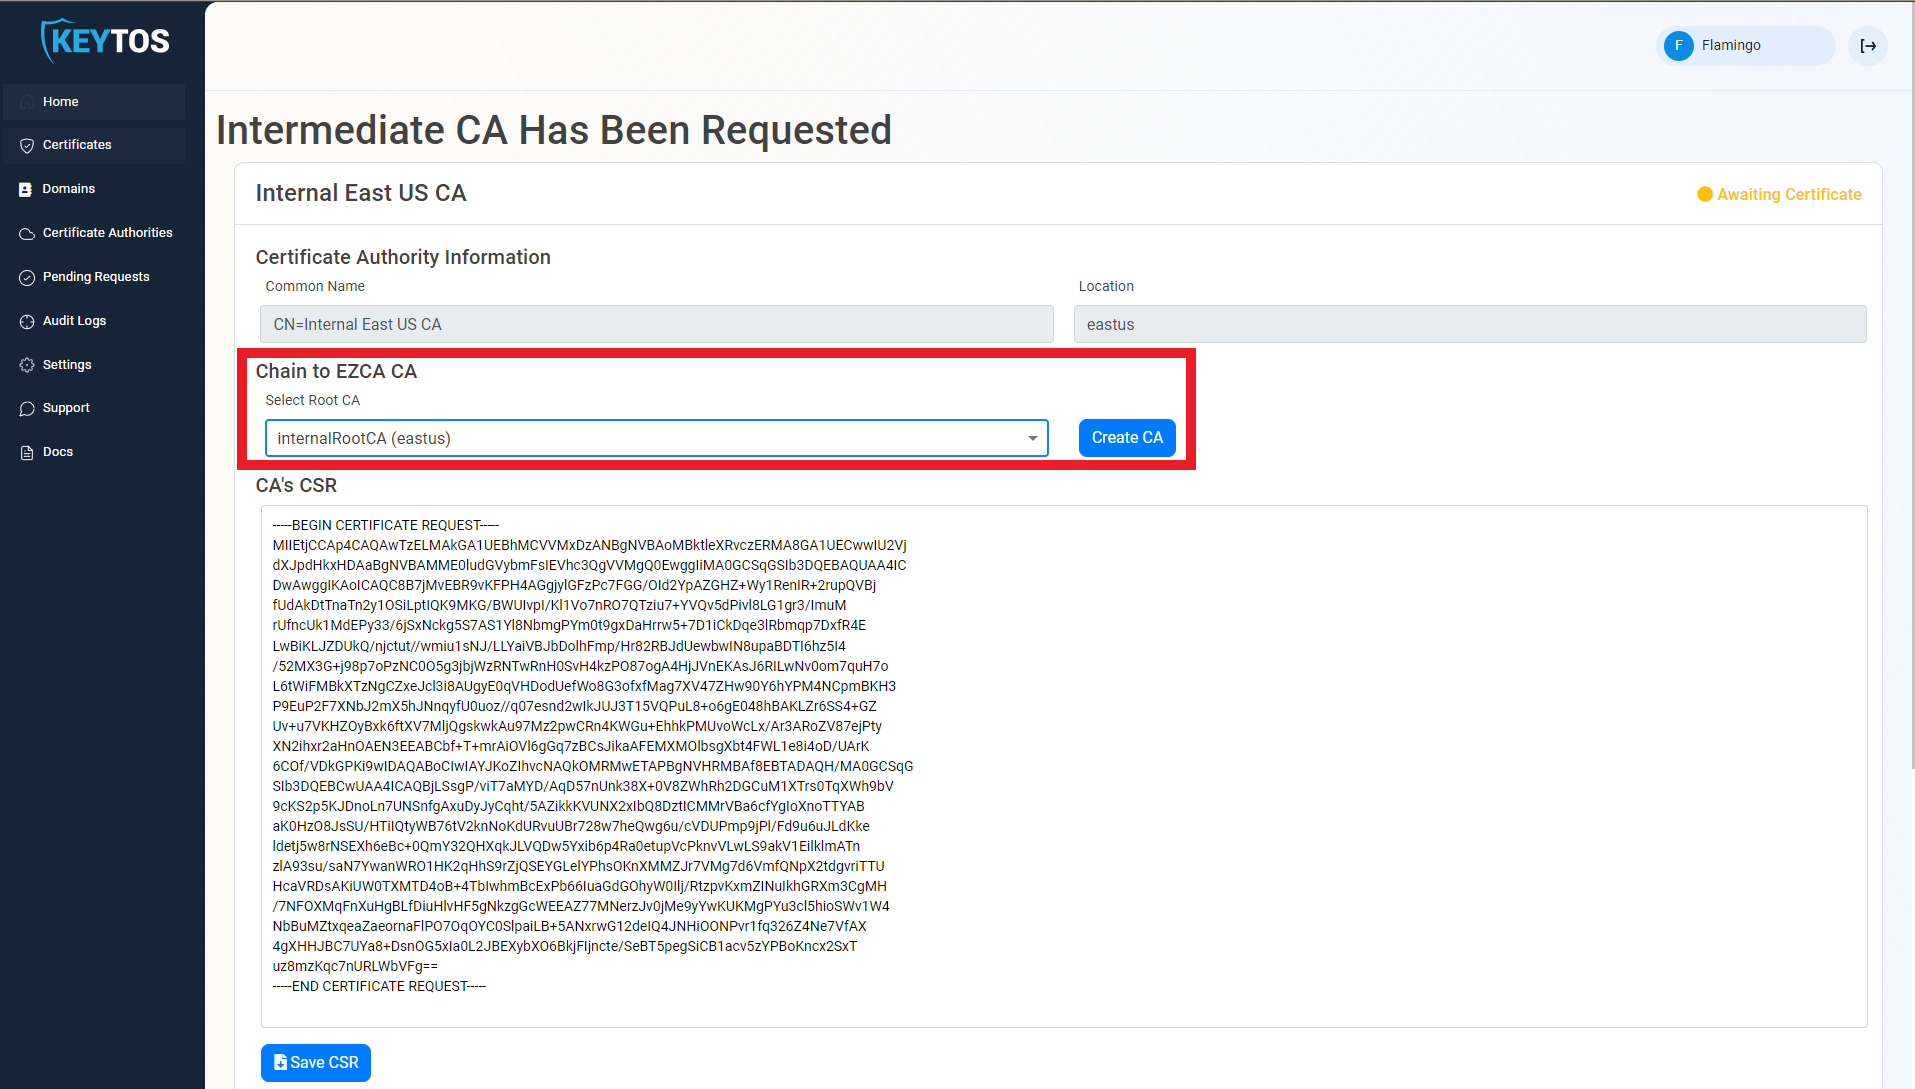
-
Repeat this step for each location.
Download Certificate
-
Once the CA is created download the CA certificate.
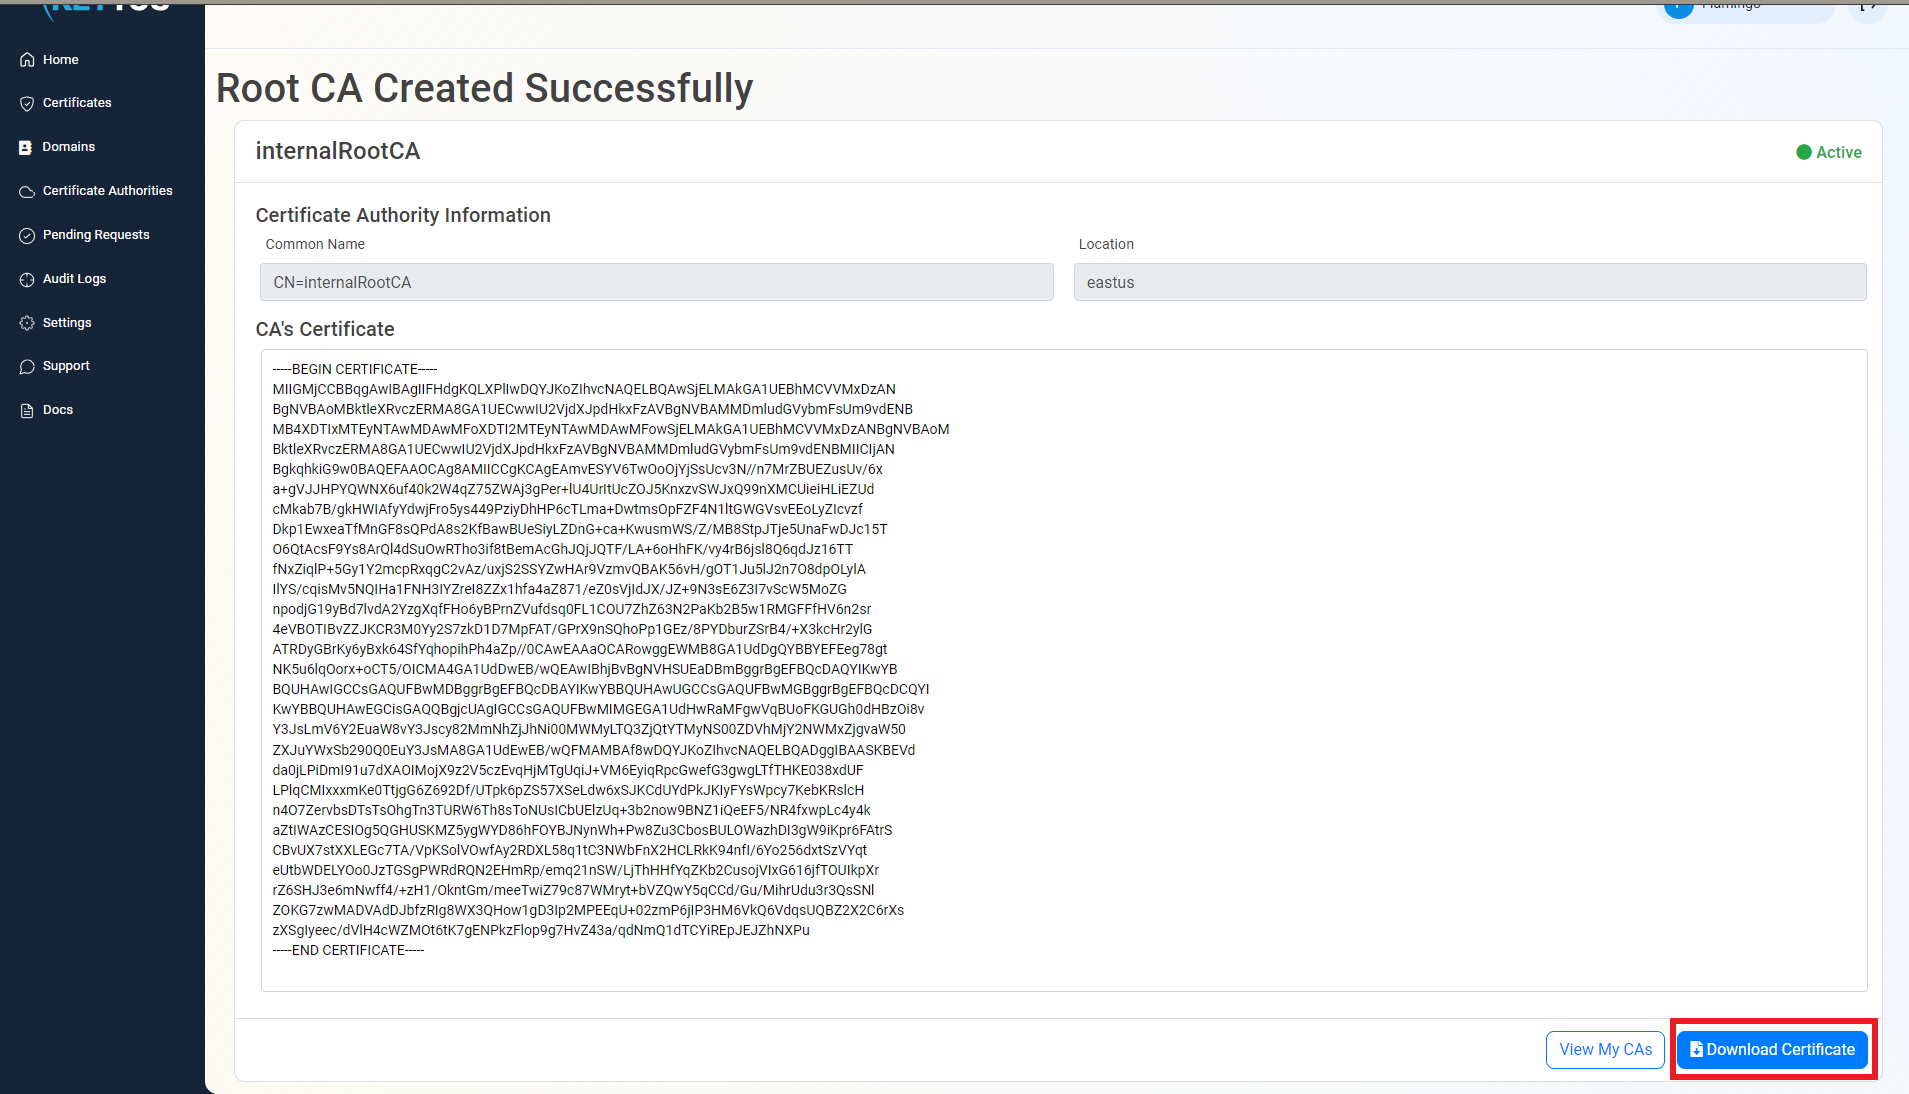
-
Now you are ready to Create your Intune SCEP profiles
NoteIf you created a Subordinate/Issuing CA, you will also need the certificate from the Root CA.