How-To: Select an EZSSH Plan in Azure Portal
If you prefer paying through your Azure consumption select the Azure Market Place option and it will guide you on how to buy it through Azure
Prerequisites
Video Version
Creating the Azure Resource
- Go to https://portal.azure.com/
- Click on “Create a resource”.
- Type “EZSSH” in the search bar.
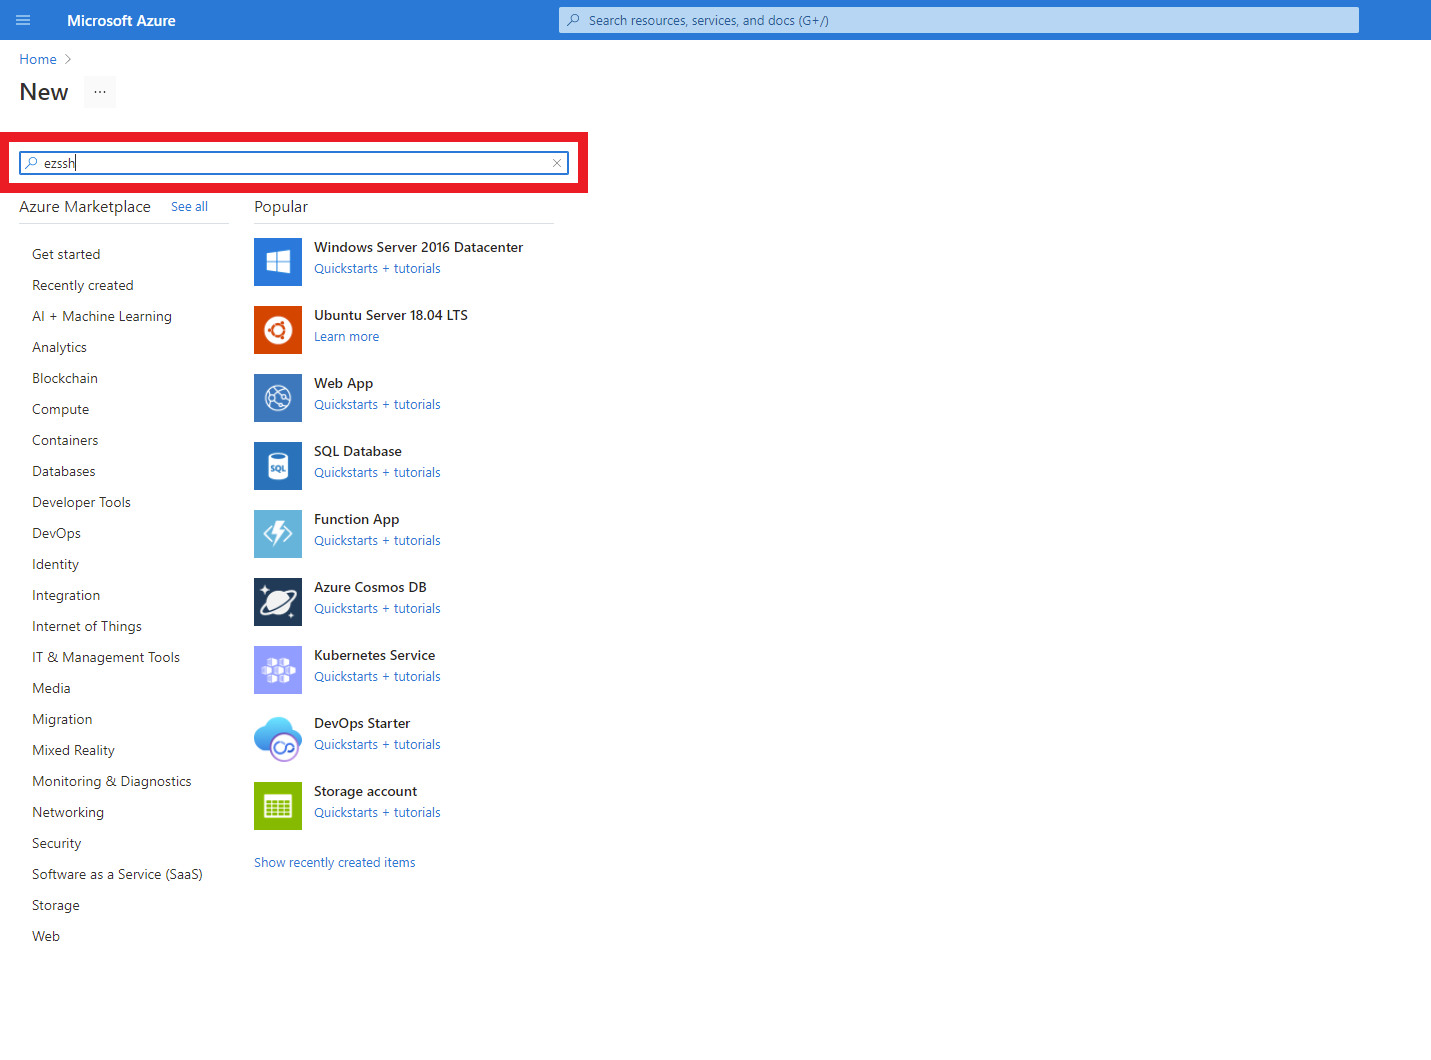
- Press enter.
- Select the EZSSH offering

- Select the plan.
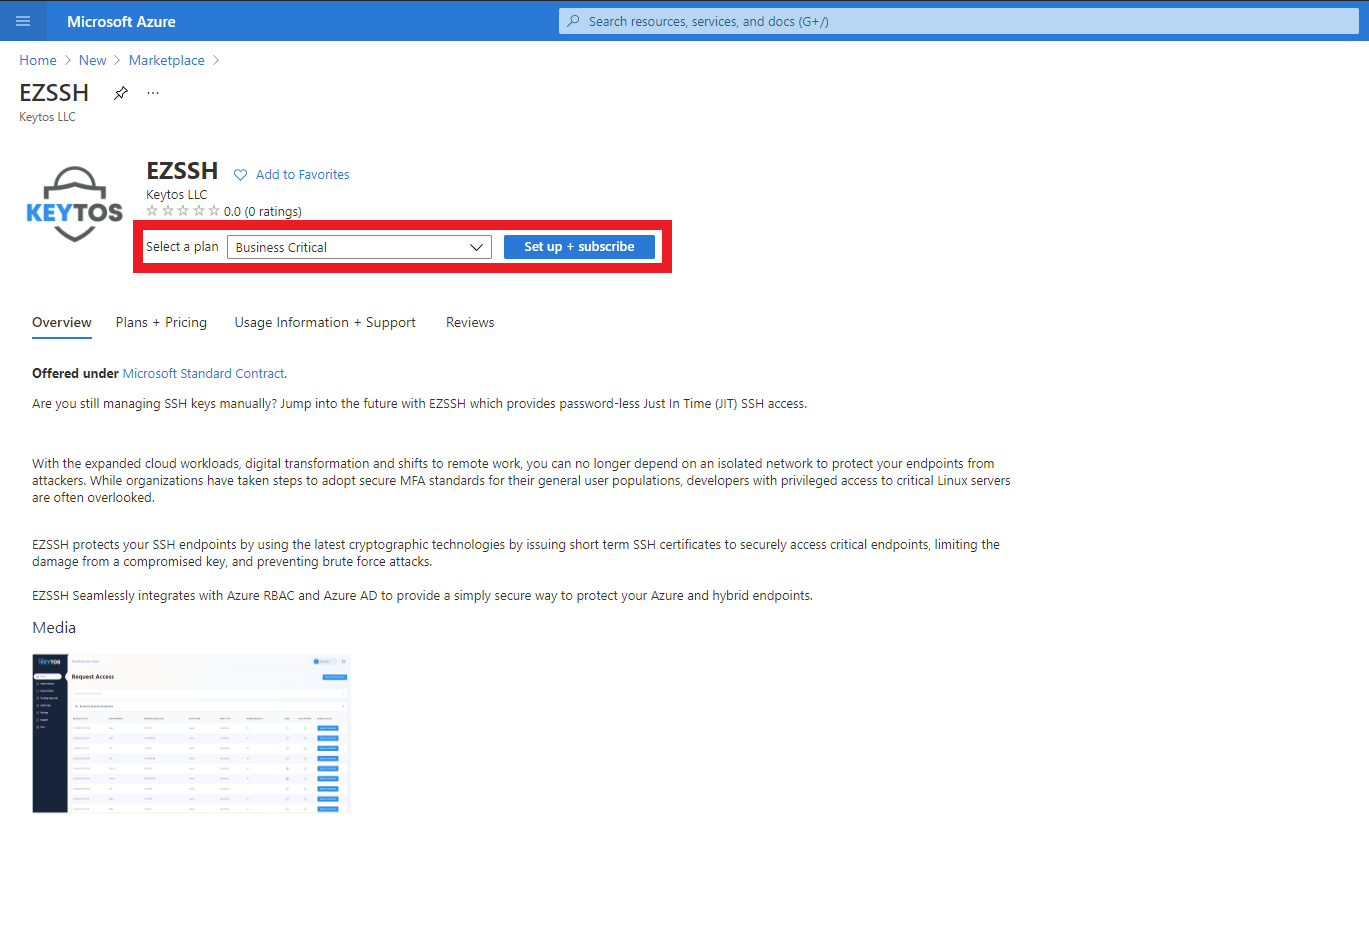
- Click the “Set up + Subscribe” button
- Enter your subscription and resource group information.
- Click the “Review + Subscribe” button
- Enter your email and phone number

- Click the “Subscribe” button
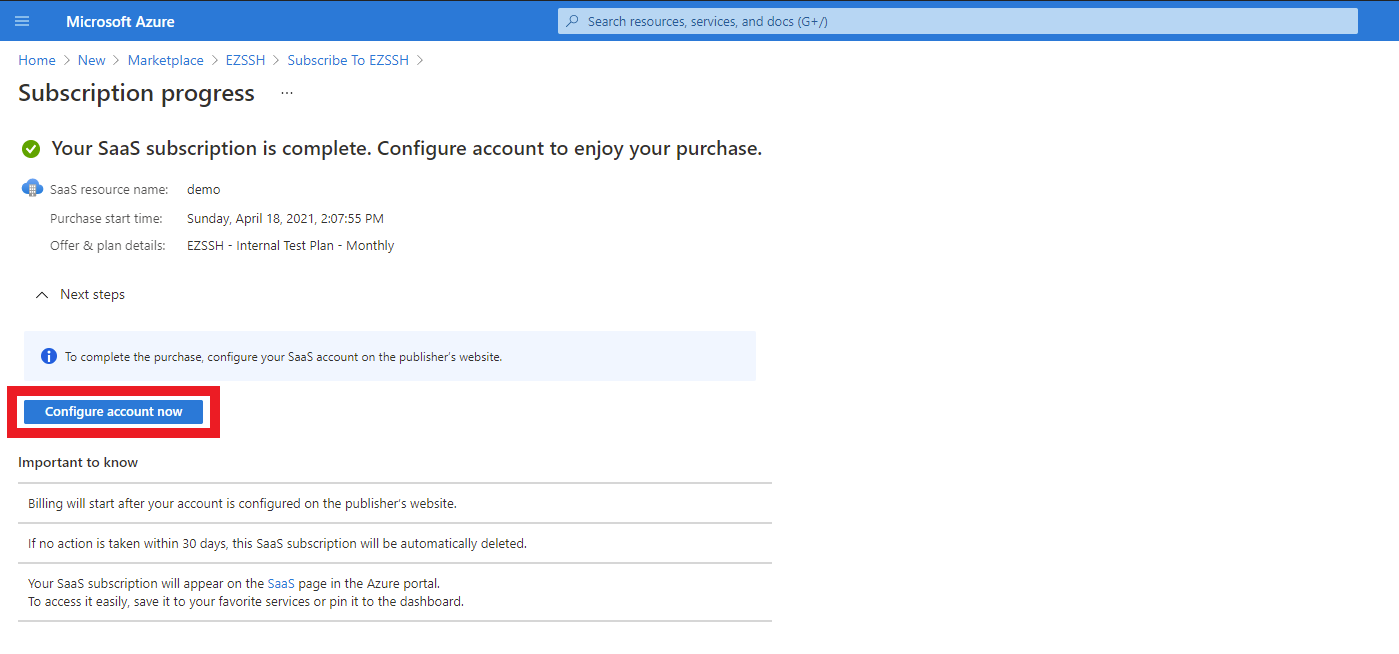
- Once the subscription is complete, click the “Configure account now” button.
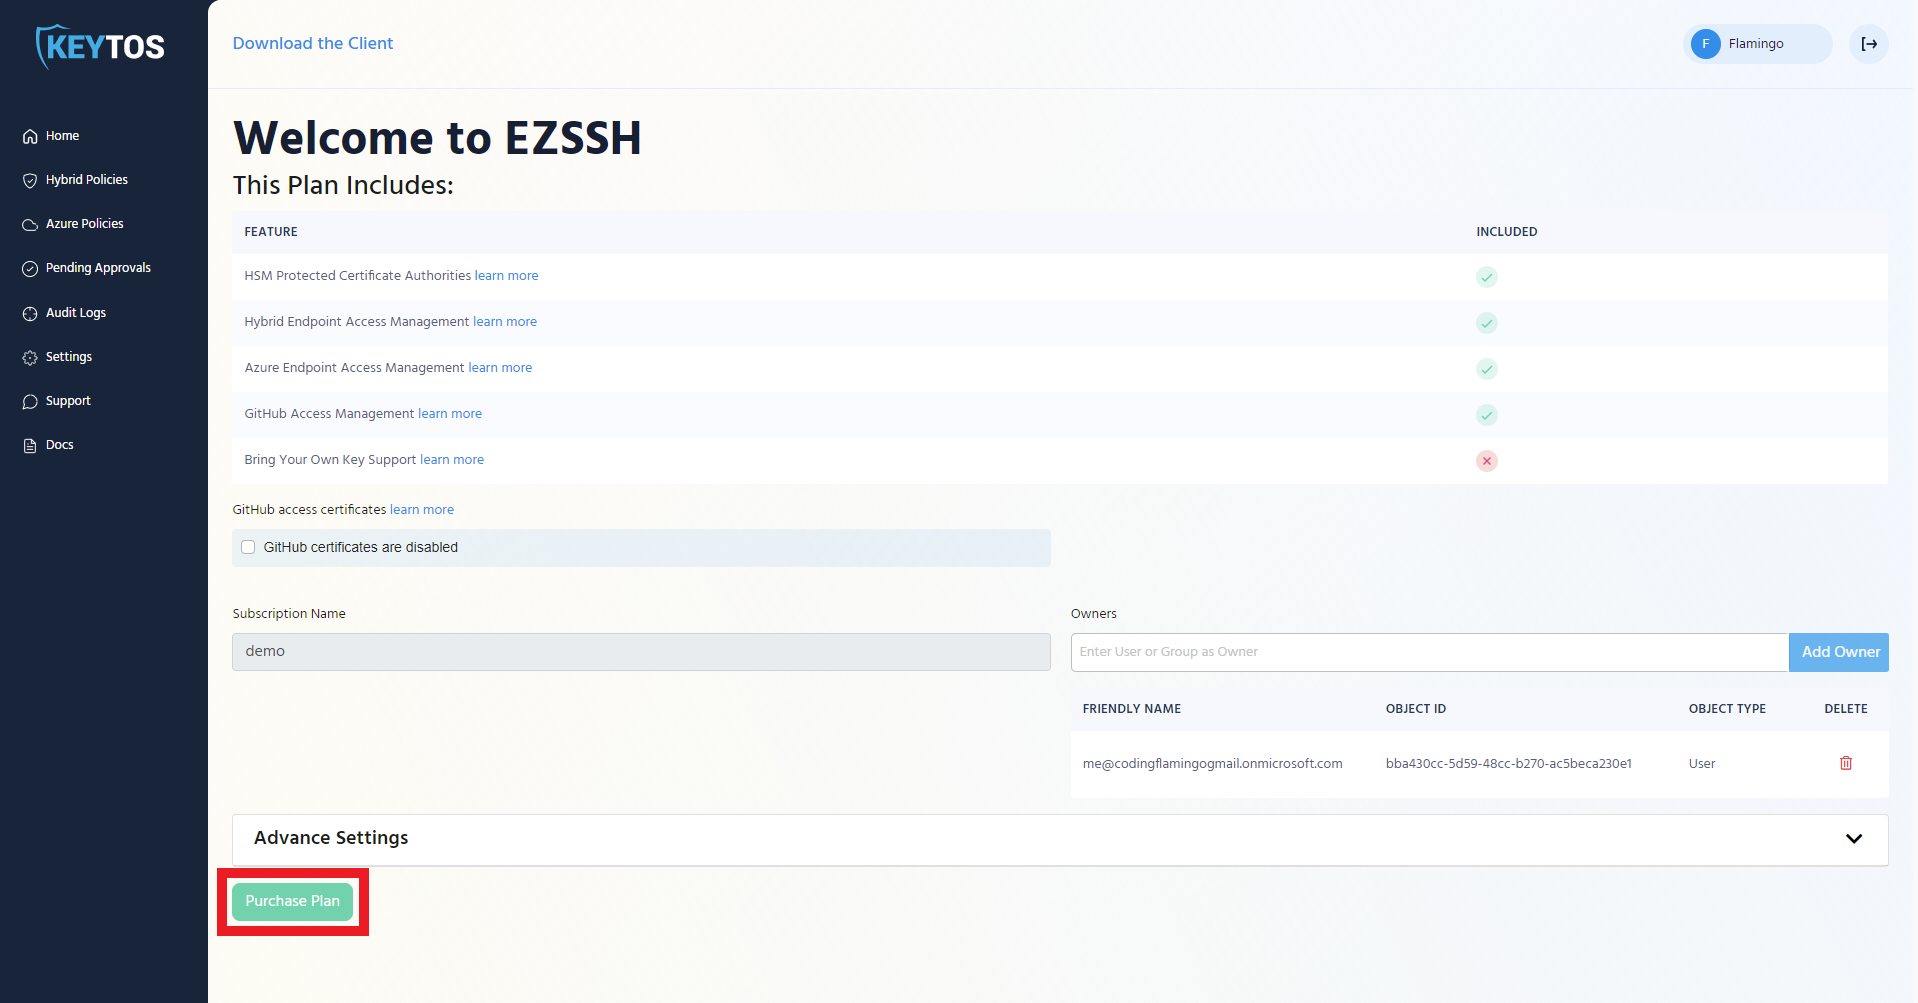
- This will redirect you to our portal (https://portal.ezssh.io/). Sign in with your same Microsoft account.
- EZSSH will now show the features that are included your plan.
- Enable or disable if you want to also issue GitHub certificates. Note: Only one GitHub subscription is allowed per Azure Tenant.
- Once the subscription details are correct, click the “Purchase Plan” button.
- Once you have registered in EZSSH, the status in your Azure resource will change to subscribed.
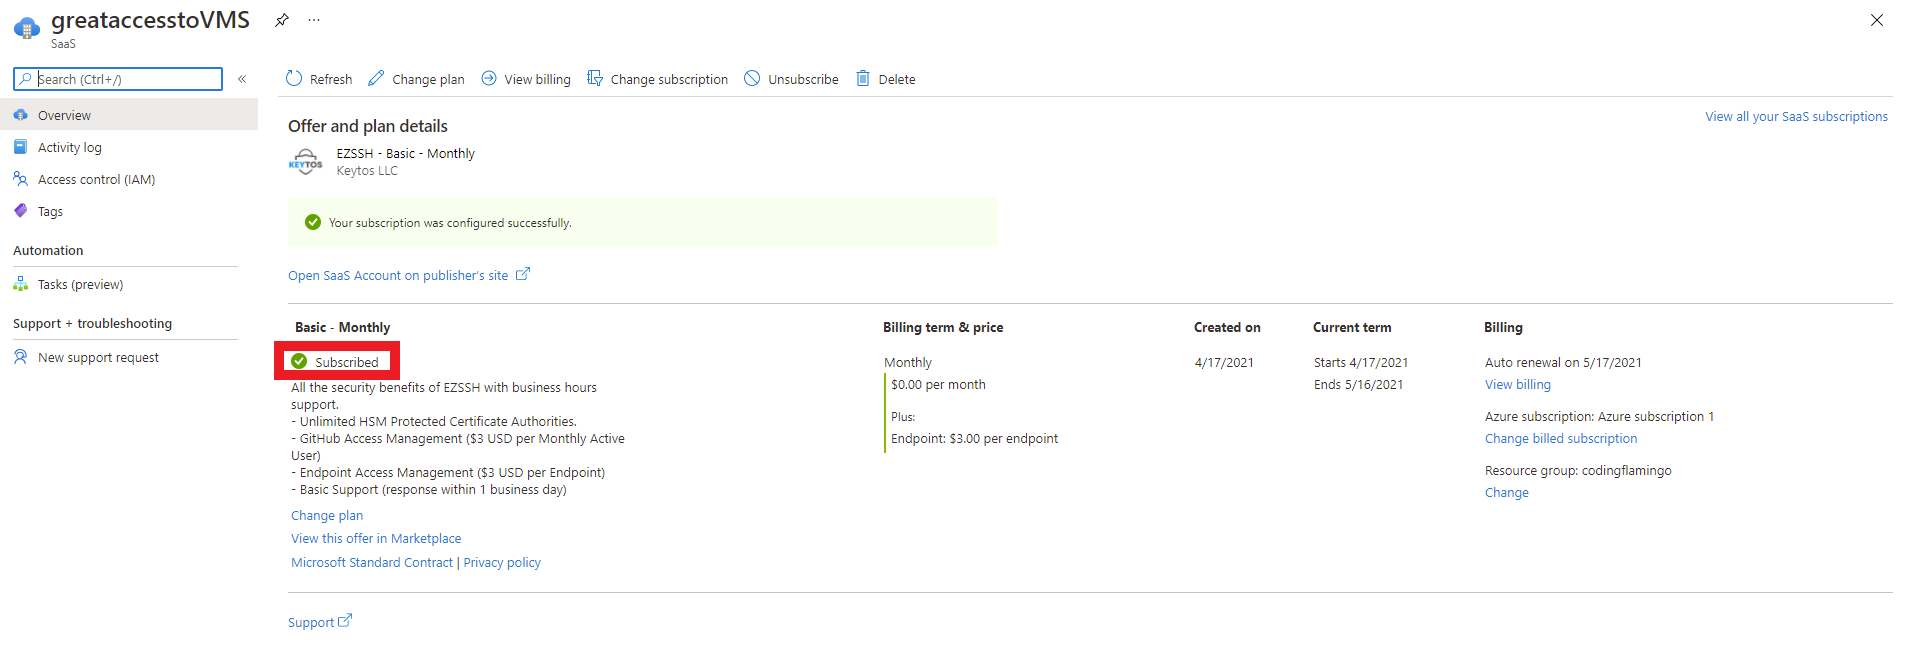
- Once you are registered, you are ready to connect to your Azure Subscriptions and GitHub Instances.