How-To: Create an SSL Certificate in Windows, Mac, or Linux
This page guides you through how to create a certificate signing request (CSR) on your Windows, Mac, or Linux PC and sending it to EZCA to create a TLS Certificate.
Prerequisites
Overview
This page guides you through how to create a certificate signing request (CSR) on your Windows, Mac, or Linux PC and sending it to EZCA to create a TLS Certificate.
How To Request a Certificate
- Navigate to https://portal.ezca.io/
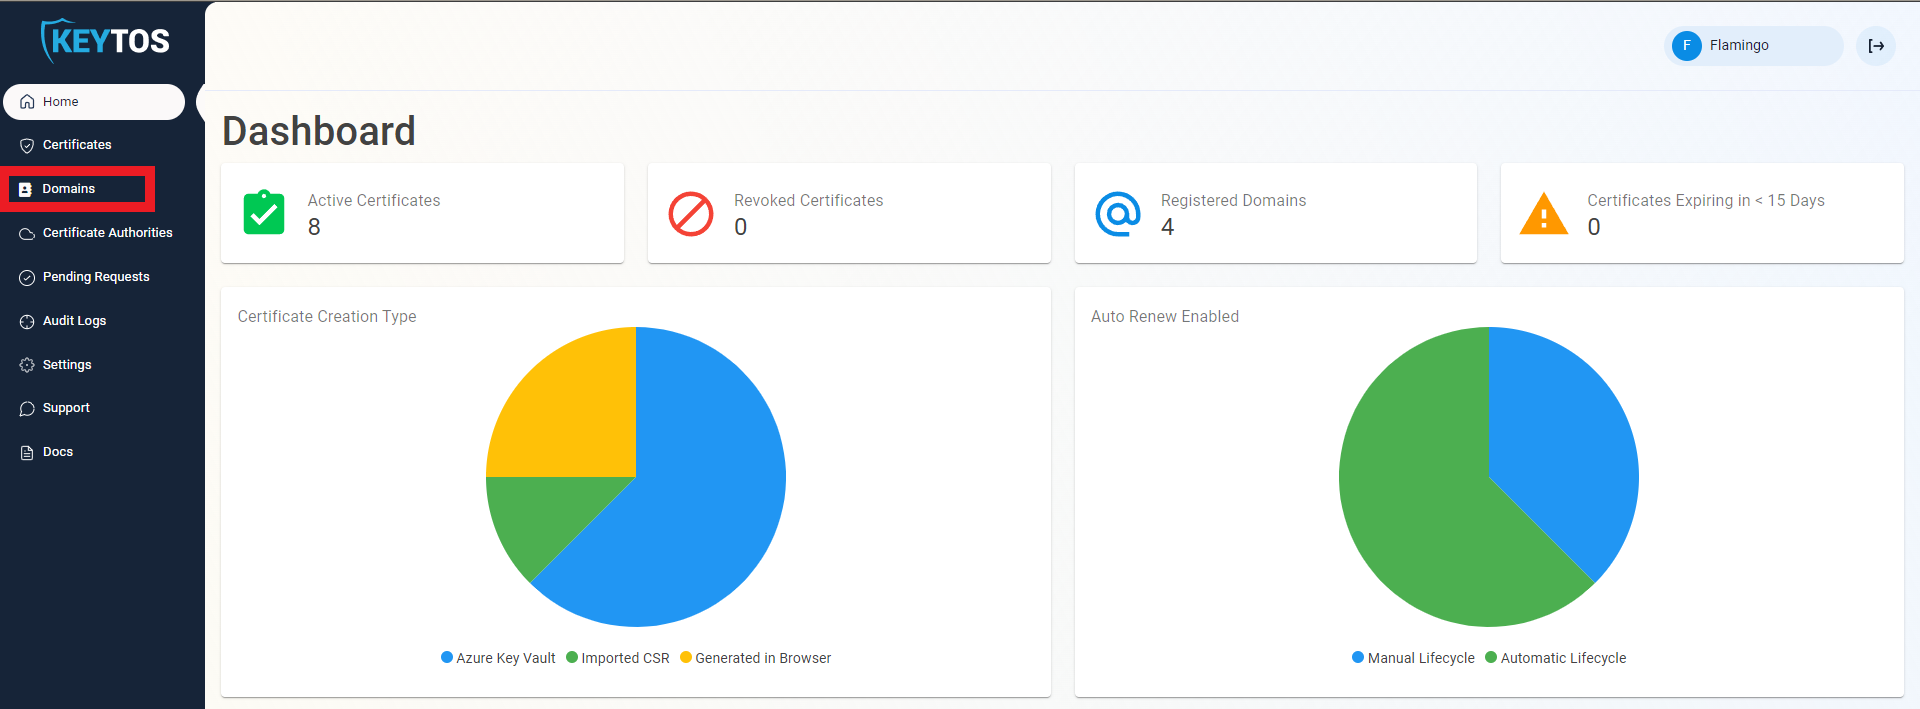
- Navigate to Domains.
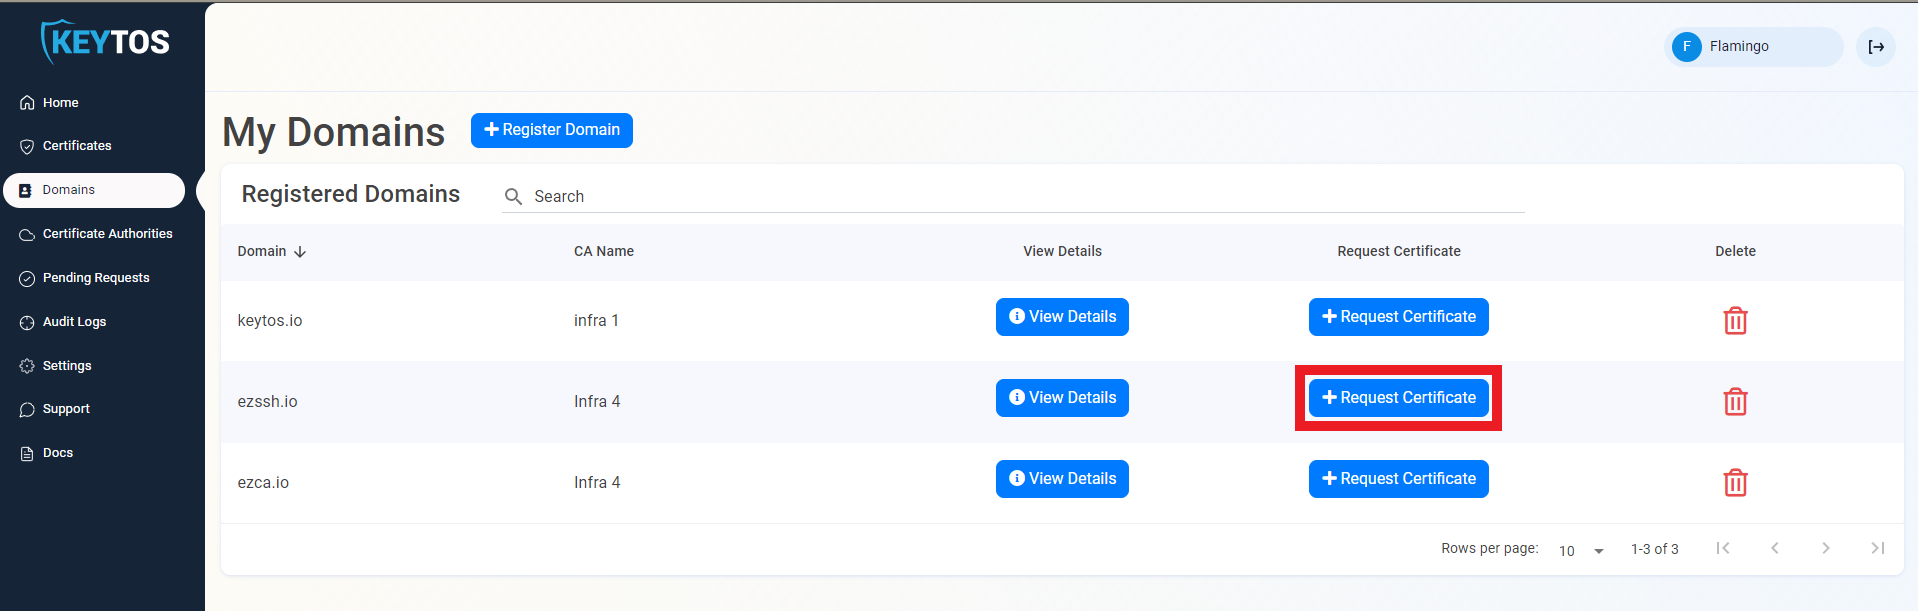
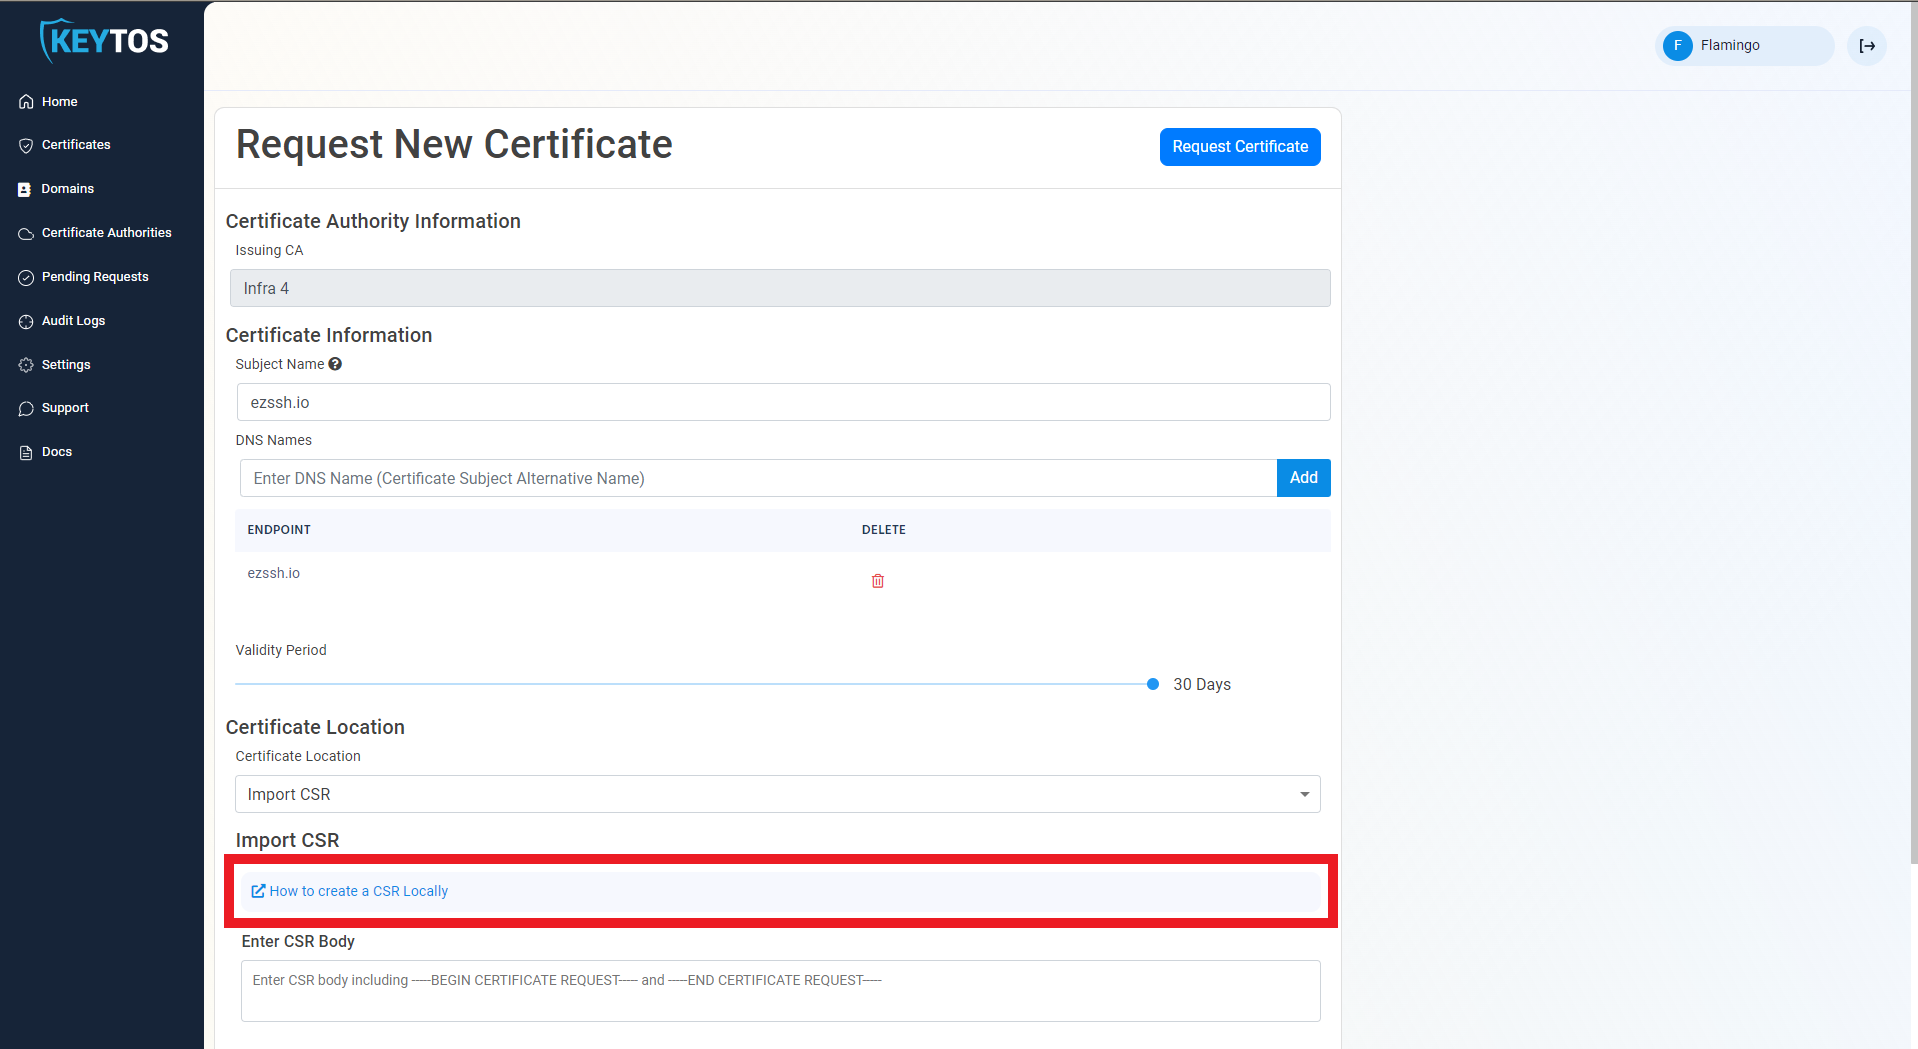
- Click the “Request Certificate” button on the domain you want to request a certificate for.
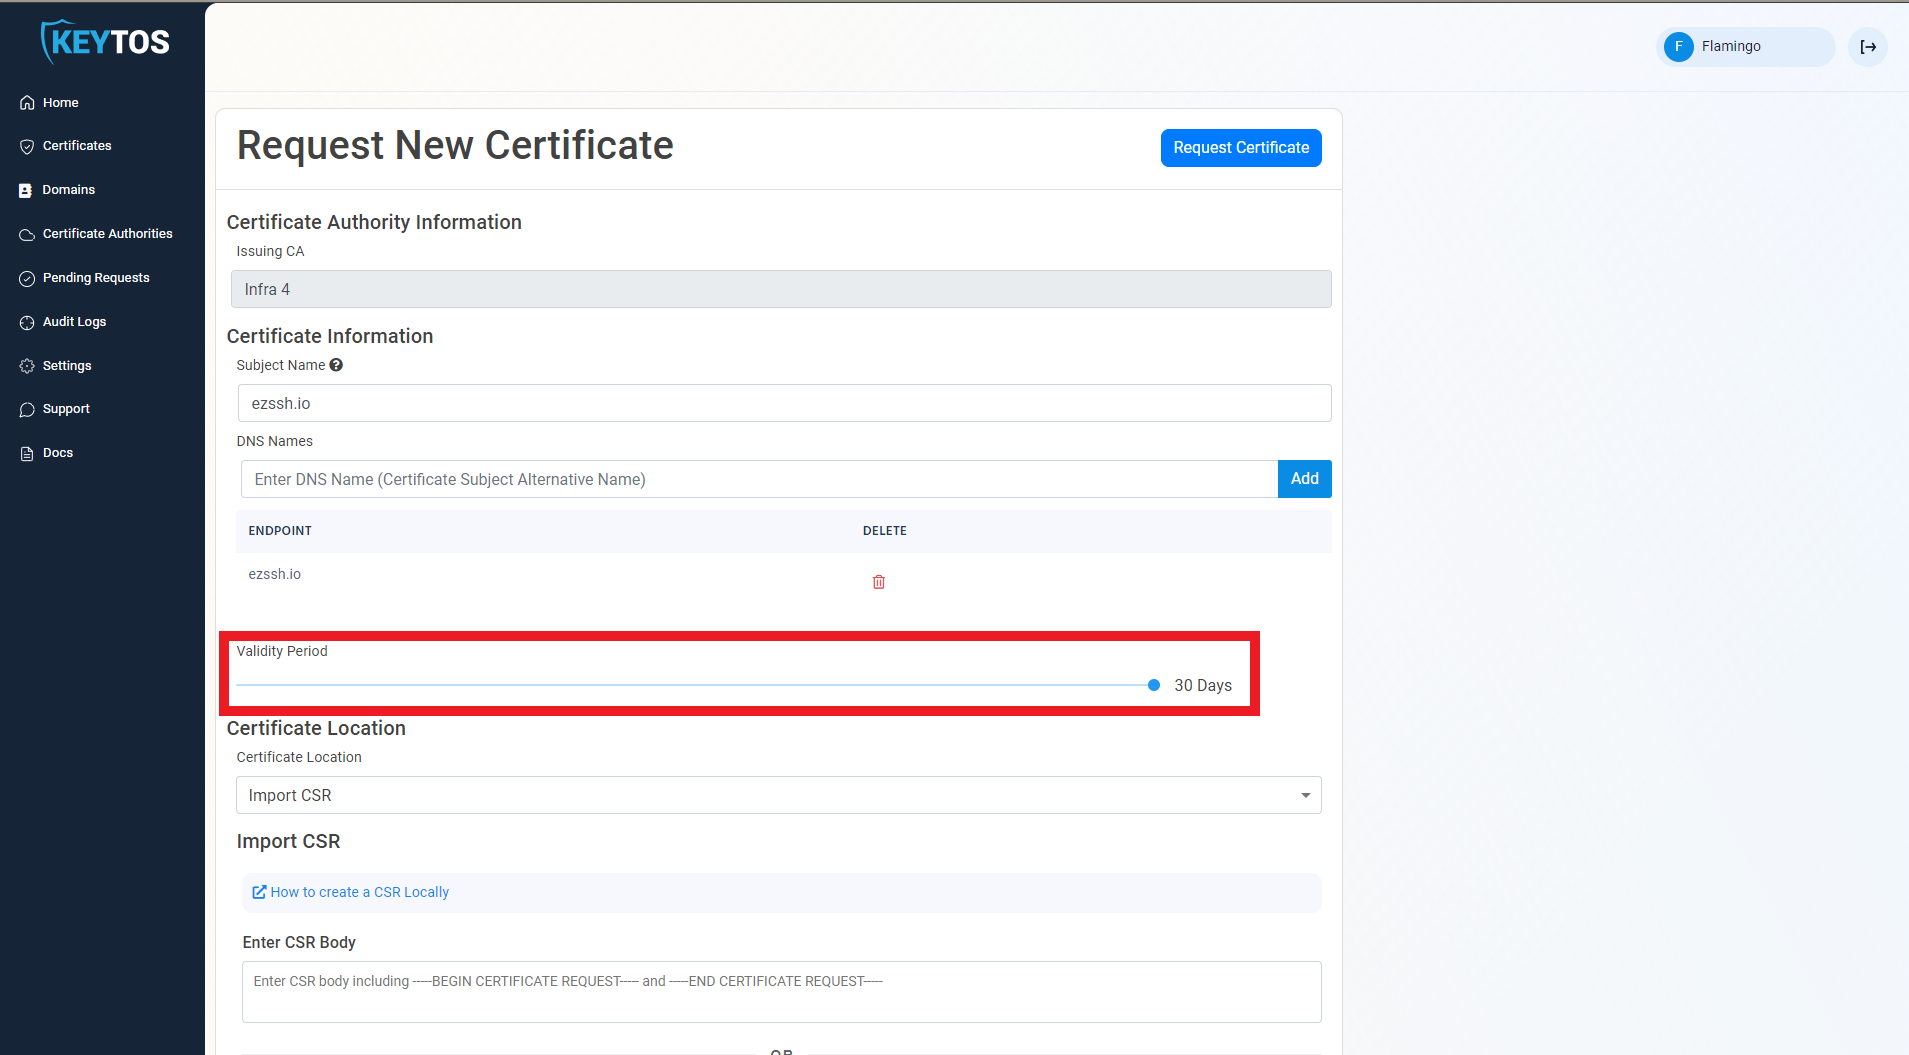
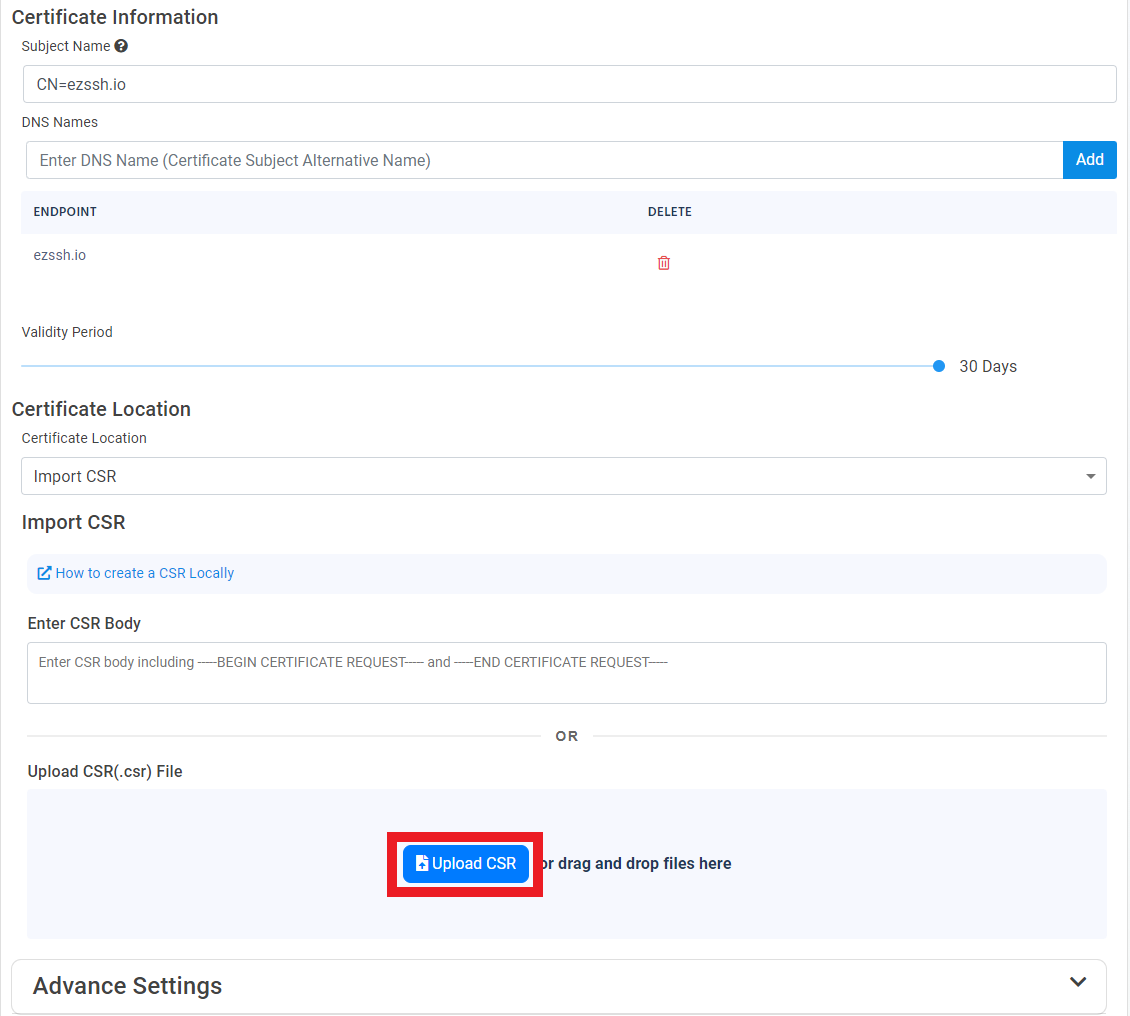
- This will pre-populate the Subject Name and Subject Alternate Names with the selected domain.

- If this certificate requires more subject alternate names (Usually for other domains that might use this certificate), add them in the DNS Names section.
- By Default, EZCA will request the certificate to be the maximum validity allowed by your administrators. If you want to decrease the lifetime of the certificate, adjust the validity slider.
- Make sure the “Import CSR” Option is Selected.
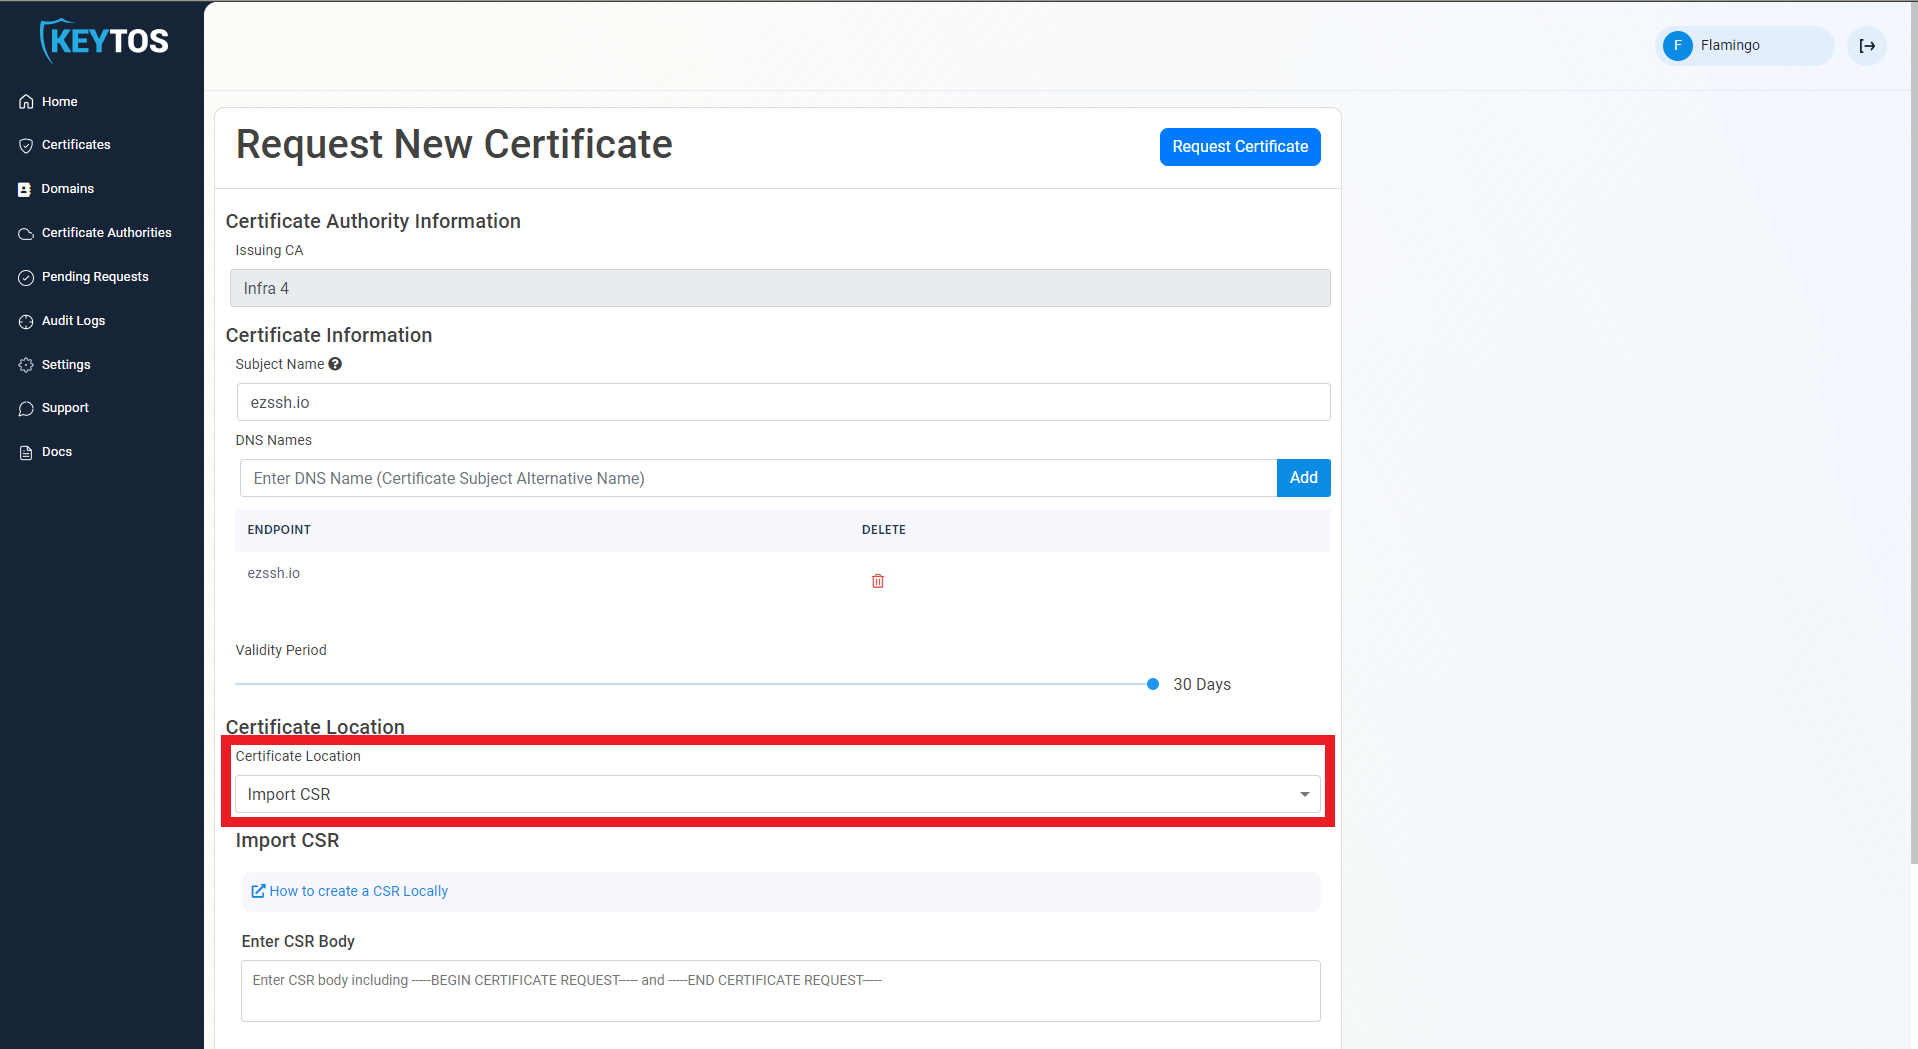
- Click the “How to create a CSR Locally” Link.
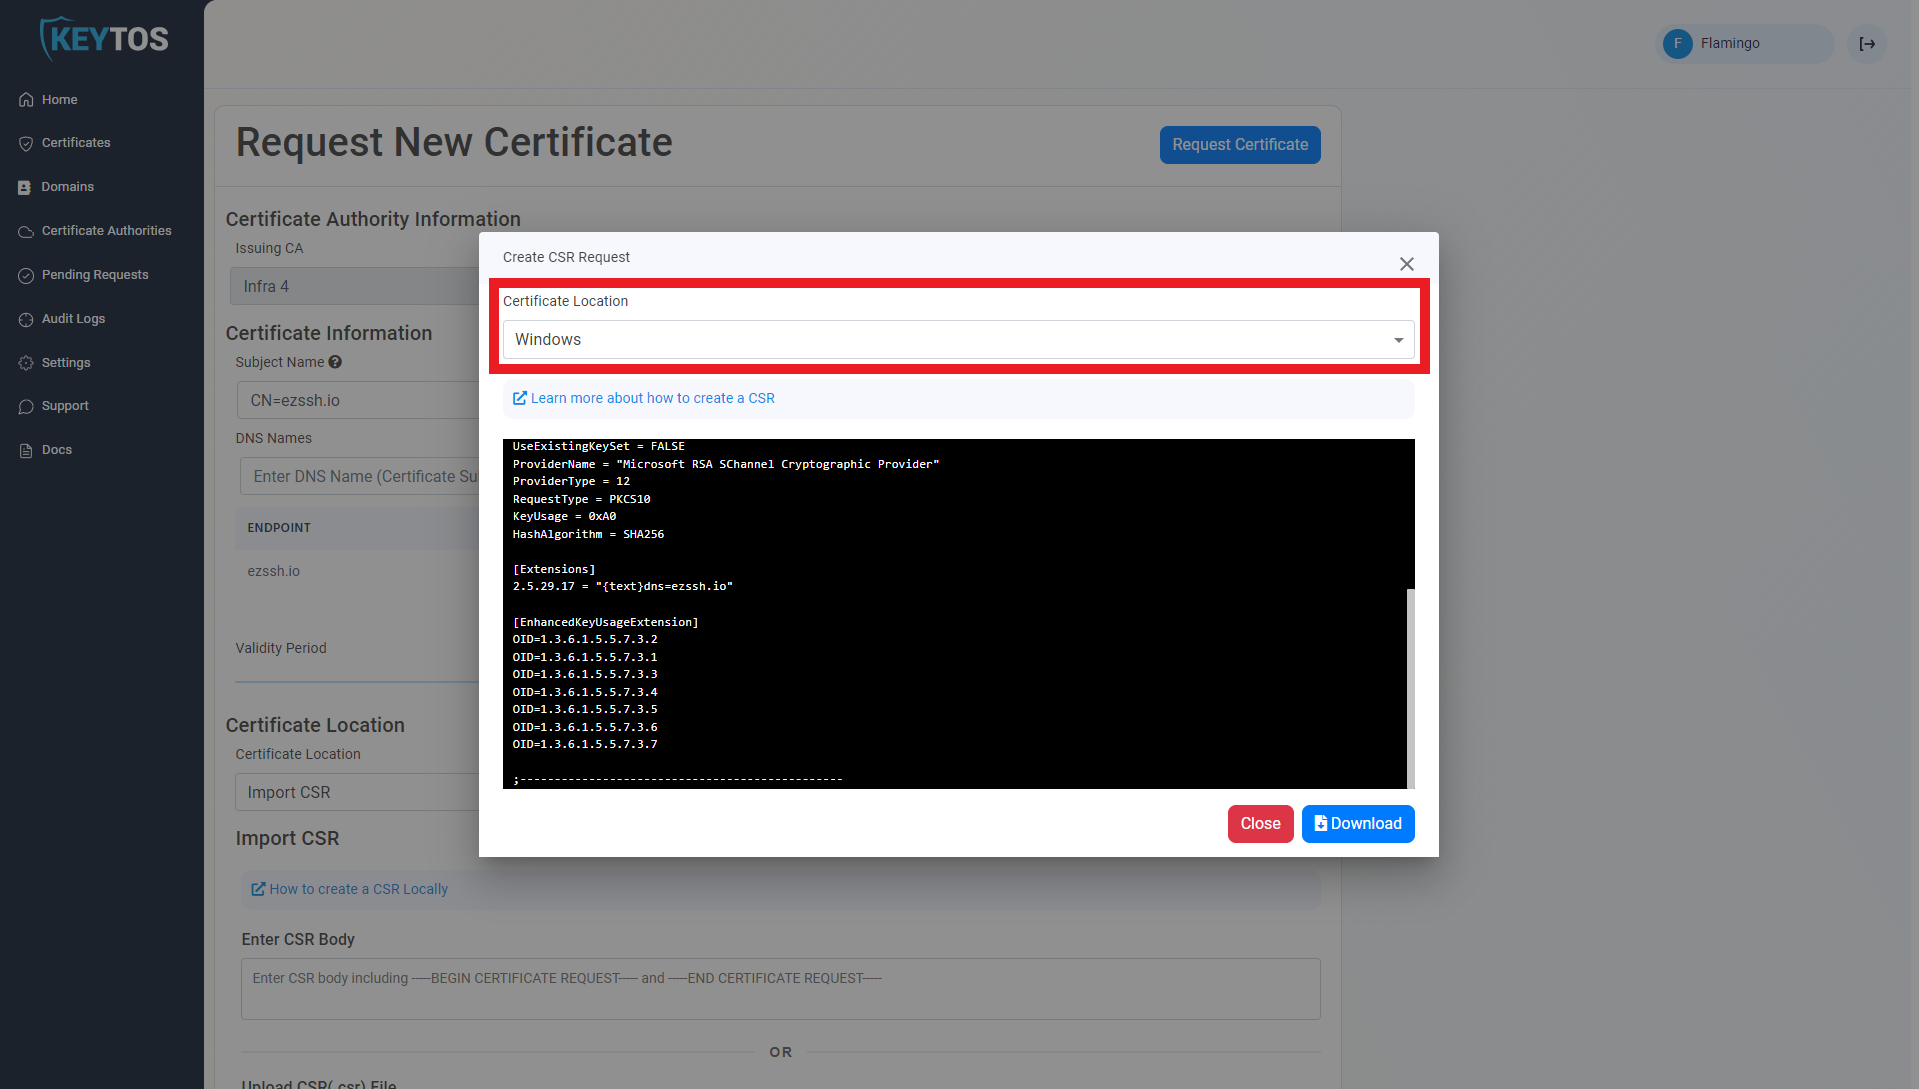
- Select your Operating System
How To Create CSR in Windows
-
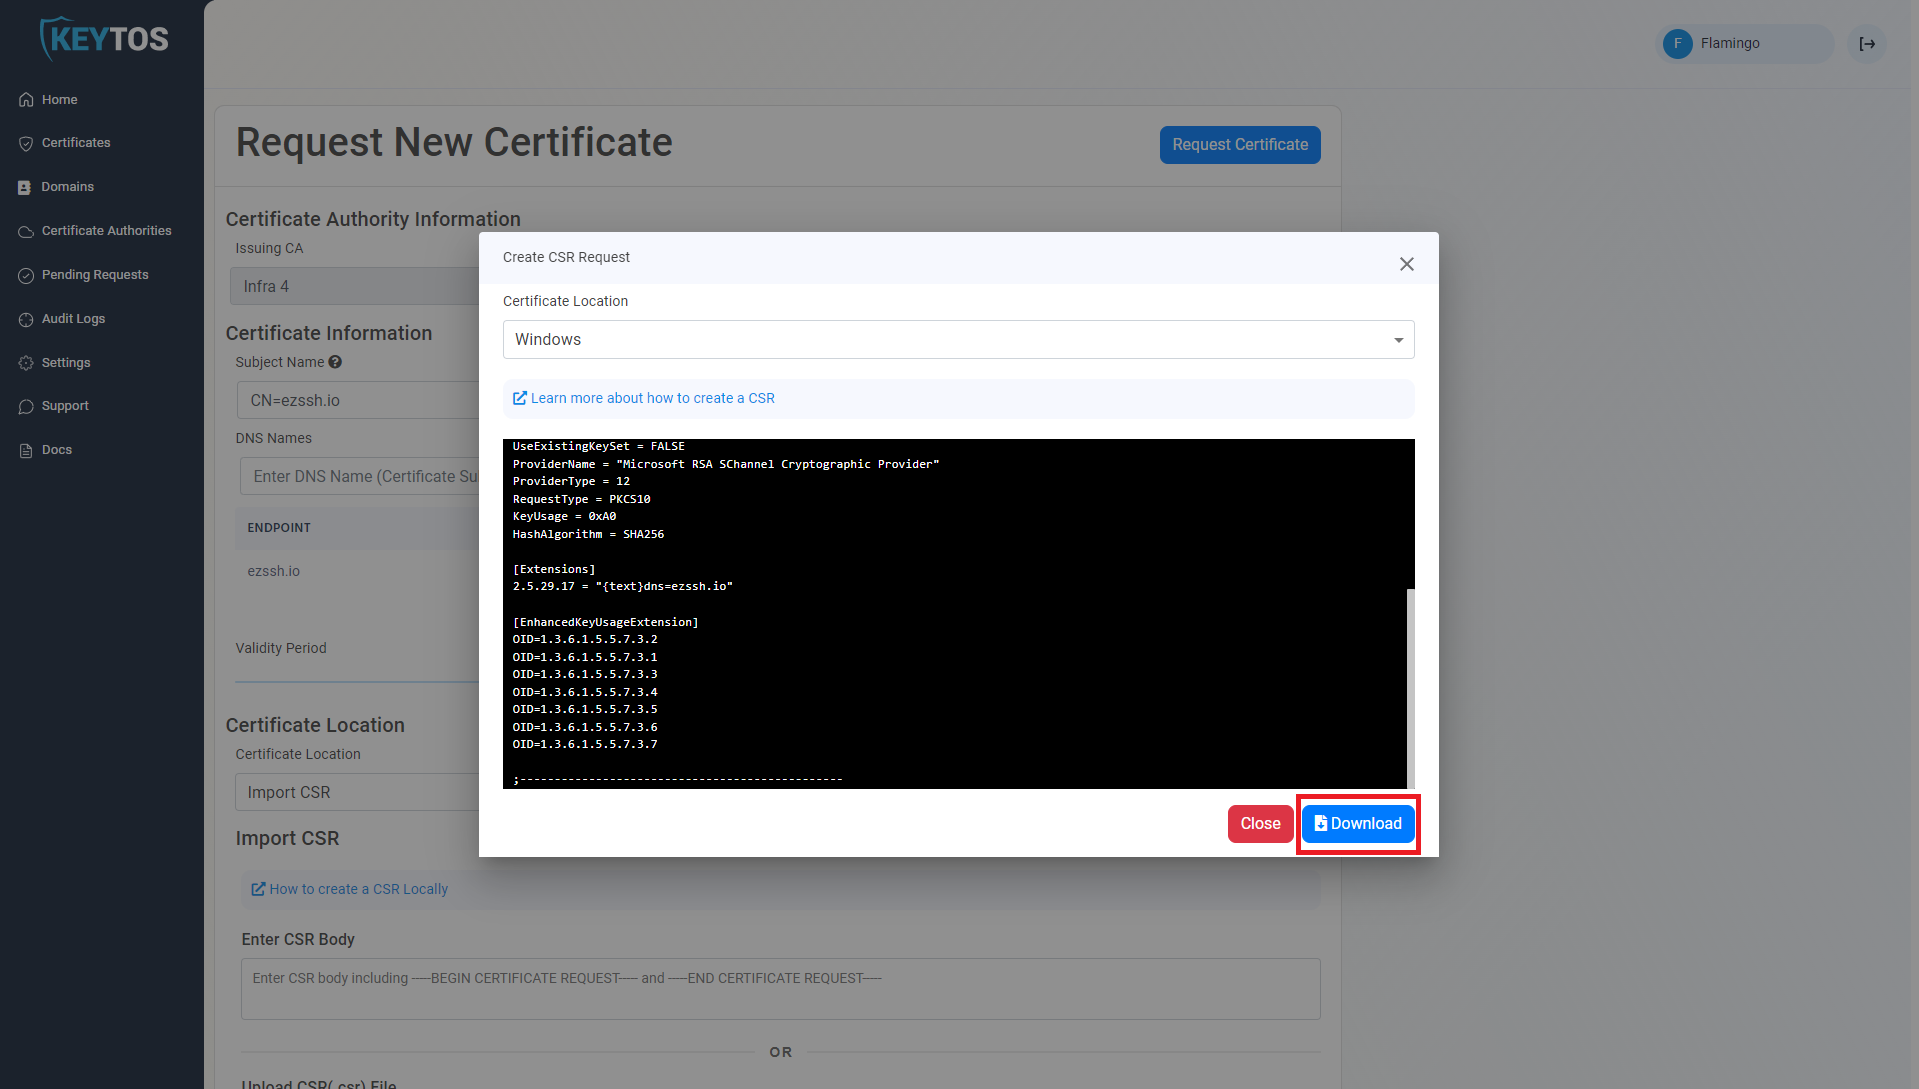
Download the .inf file
-
open cmd.exe
Note
If ‘MachineKeySet’ is set to true (this will save the certificate in the machine store vs the user store), the following steps must be done running as administrator.
- Navigate to your downloads folder and run the following command where
INFFILENAMEis the file name you just downloaded andCSRFILENAMEis the file where you want the certificate signing request to be saved:certreq.exe -new <INFFILENAME>.inf <CSRFILENAME>.csr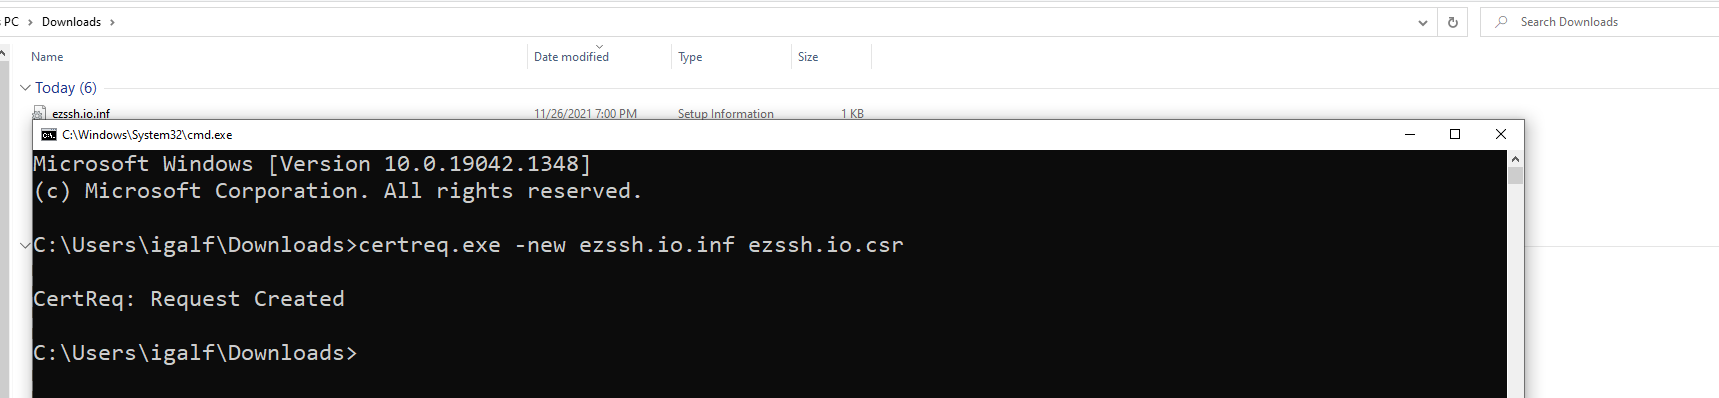
- Go Back to the EZCA portal.
- Close out the instructions dialog.
- Click on the “Upload CSR” button.
- Select the newly created CSR file

- Click the “Request Certificate” button at the top right of the form.

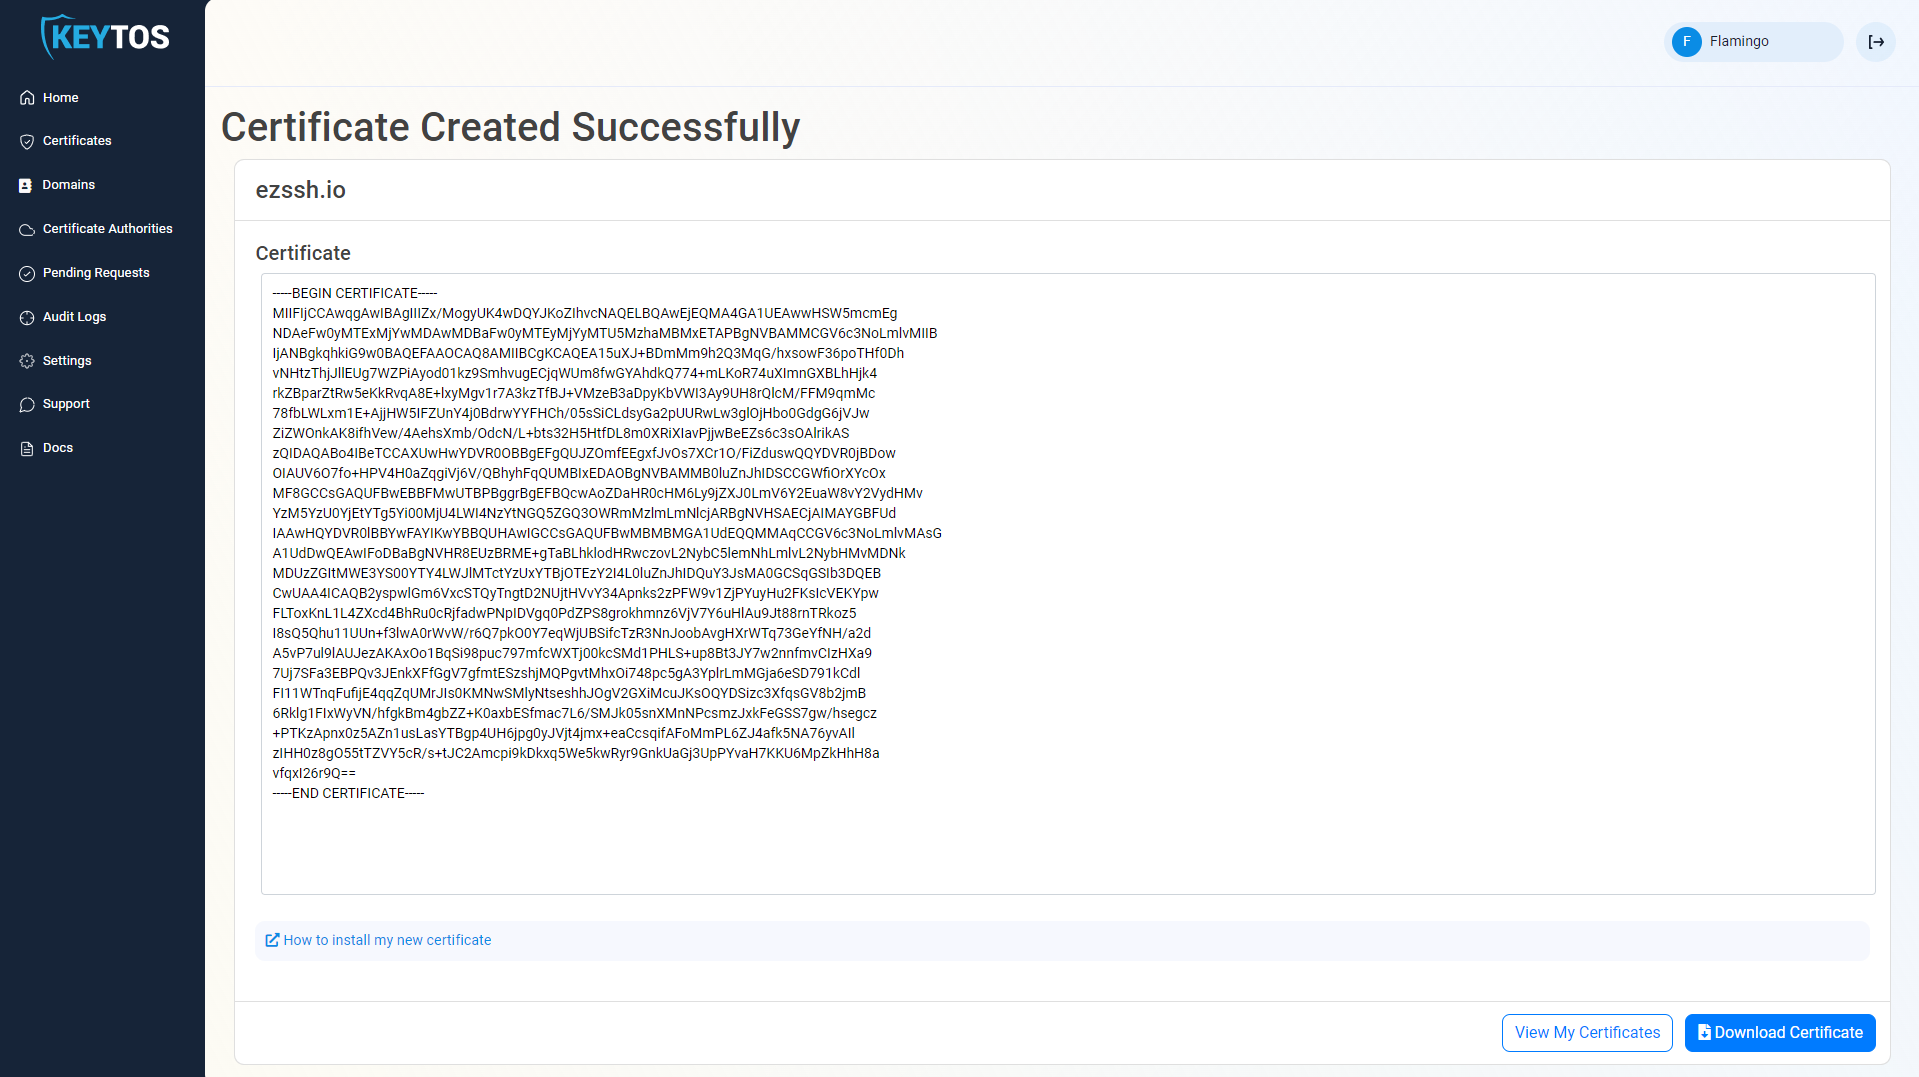
- Your Certificate has been created successfully
How To Create a CSR in Linux/Mac
- Copy the command generated by EZCA.
 Sample command:
openssl req -new -newkey rsa:4096 -keyout certificate.key -out certificate.csr -subj /CN=ezssh.io - Paste the command into Terminal and press enter.
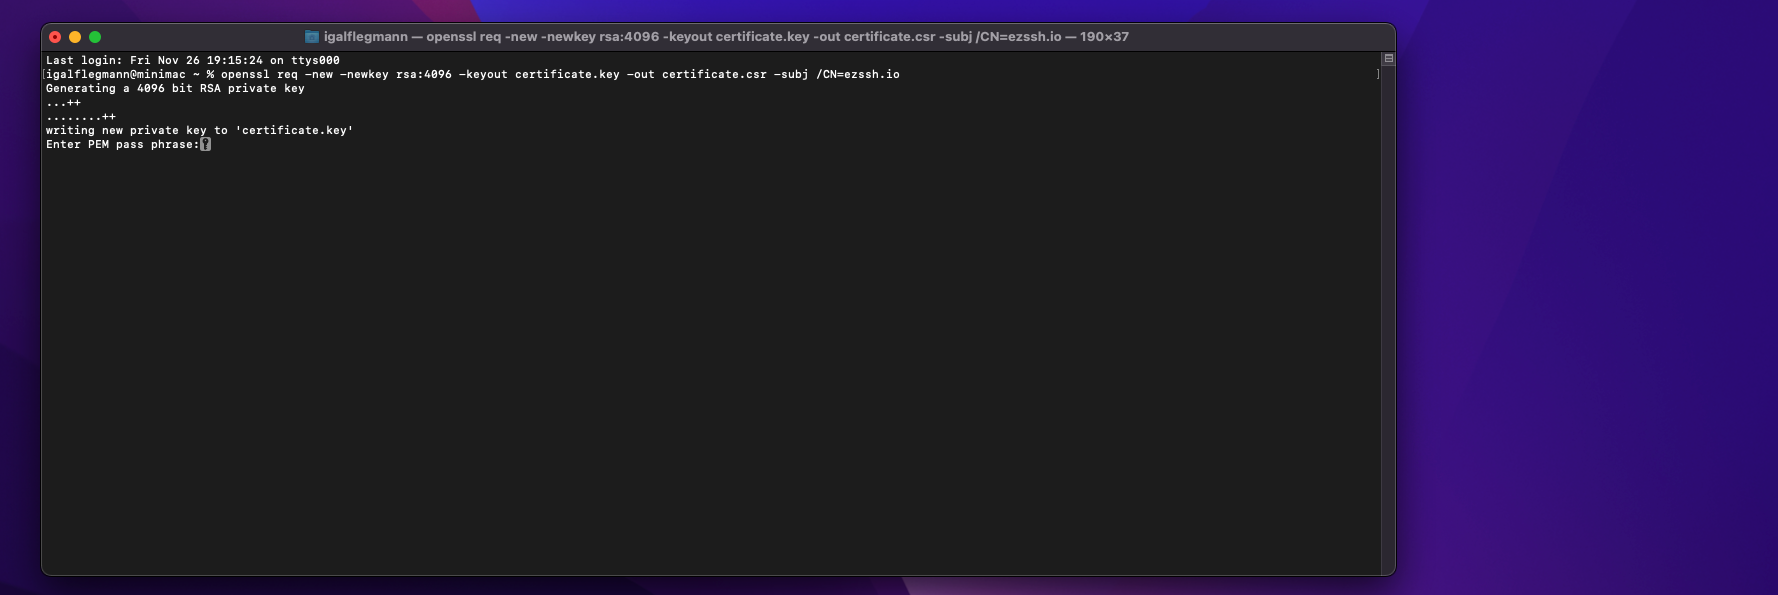
- Enter a strong pass phrase to encrypt the private key that the computer is generating (You will need this pass phrase to use the certificate)
- In the same terminal window enter:
this will print the Certificate Signing Request into the terminal.
cat certificate.csr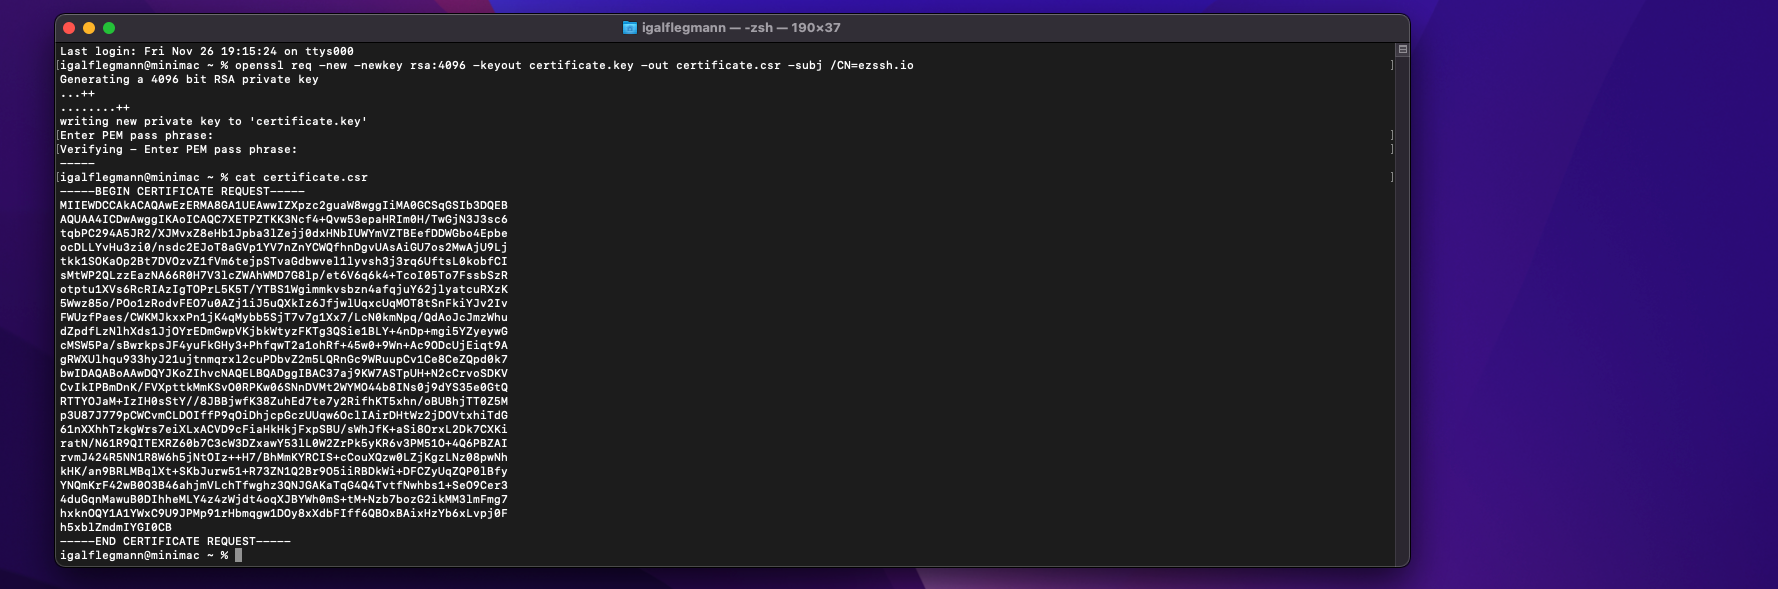
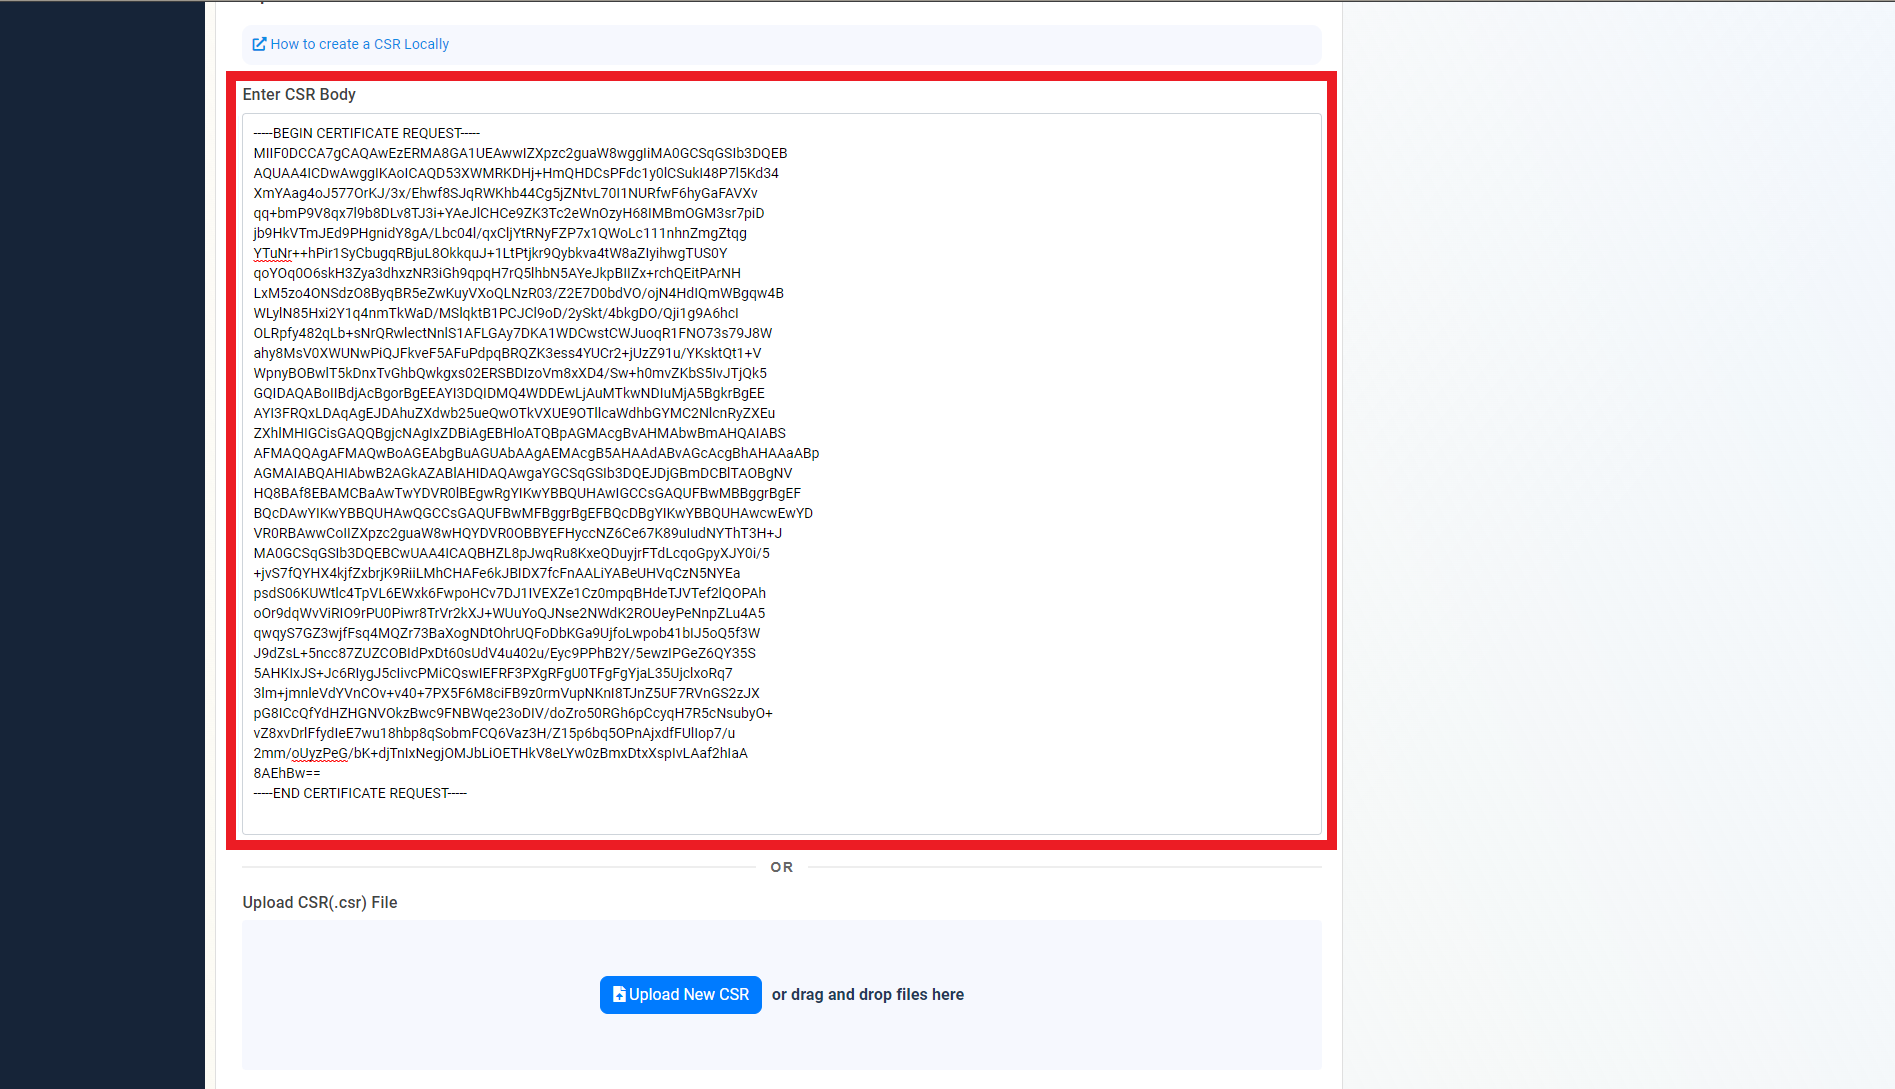
- Copy the output including —–BEGIN CERTIFICATE REQUEST—– and —–END CERTIFICATE REQUEST—–
- Paste it into EZCA under the “Enter CSR Body” section.
- Click the “Request Certificate” button at the top right of the form.
- Your Certificate has been created successfully
- Next Steps: How To Install SSL Certificate