How-To: Export your EZCMS Logs to CloudWatch
Prerequisites
How To Export Your EZCMS Audit Logs To CloudWatch
How To Enable Log Export in EZCMS Portal
-
Go to your EZCMS portal.
-
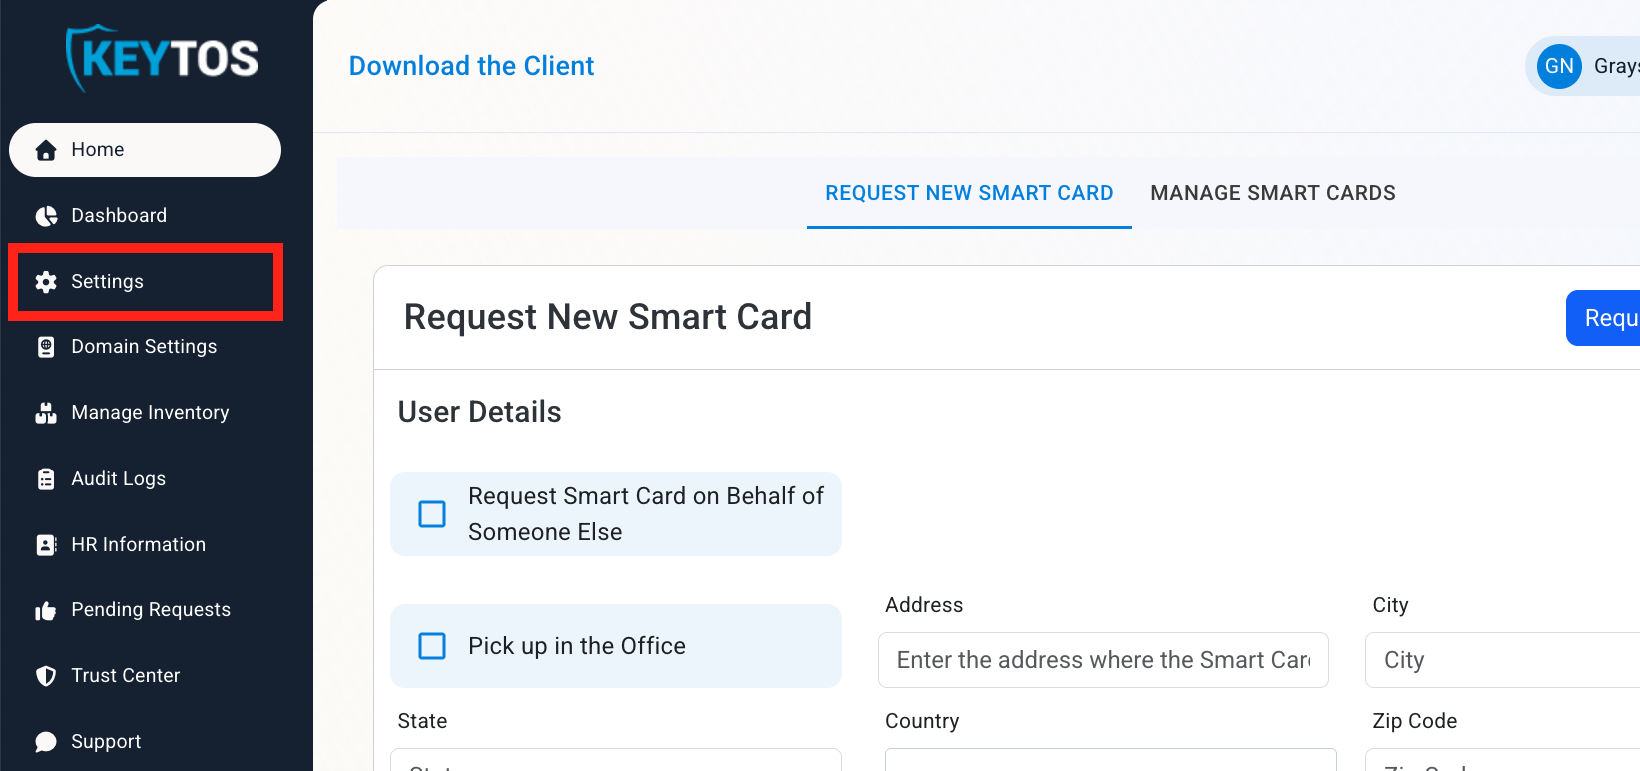
Click on Settings.
-
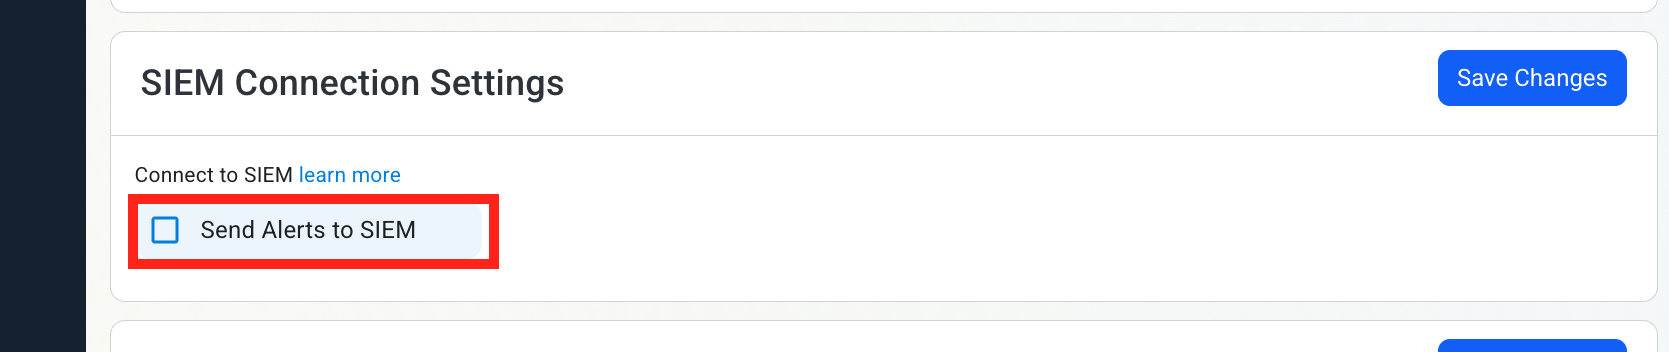
Scroll down to SIEM Connection Settings and enable the Send Alerts to SIEM option.
How To Configure CloudWatch Logs in the CloudWatch Portal
-
Open your CloudWatch Portal in a new browser tab.
-
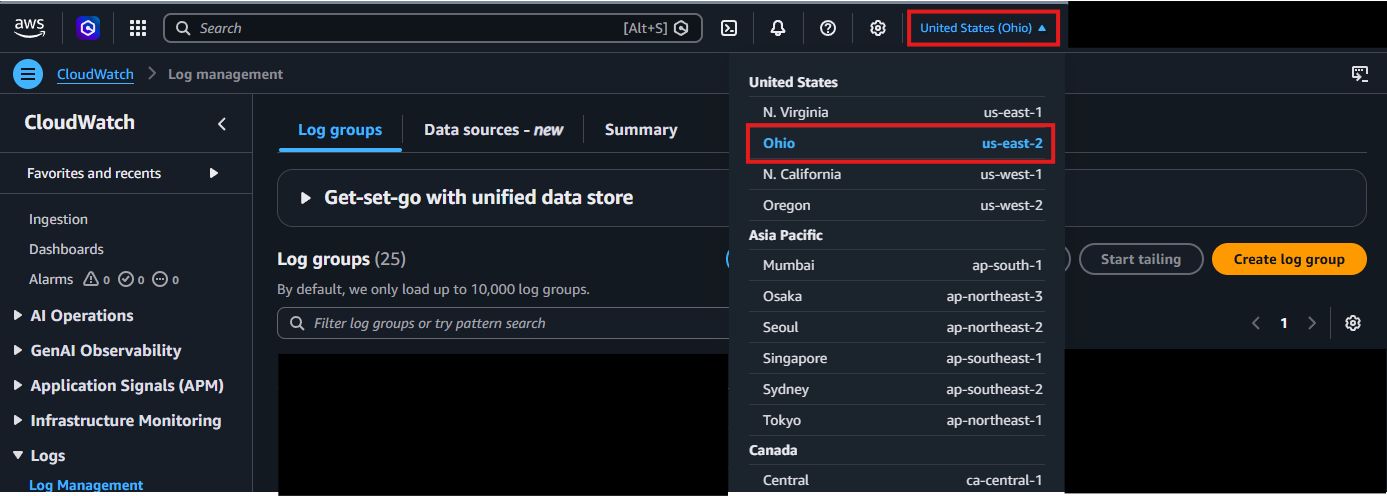
In the top right corner, locate your AWS Region and make a note of it.
-
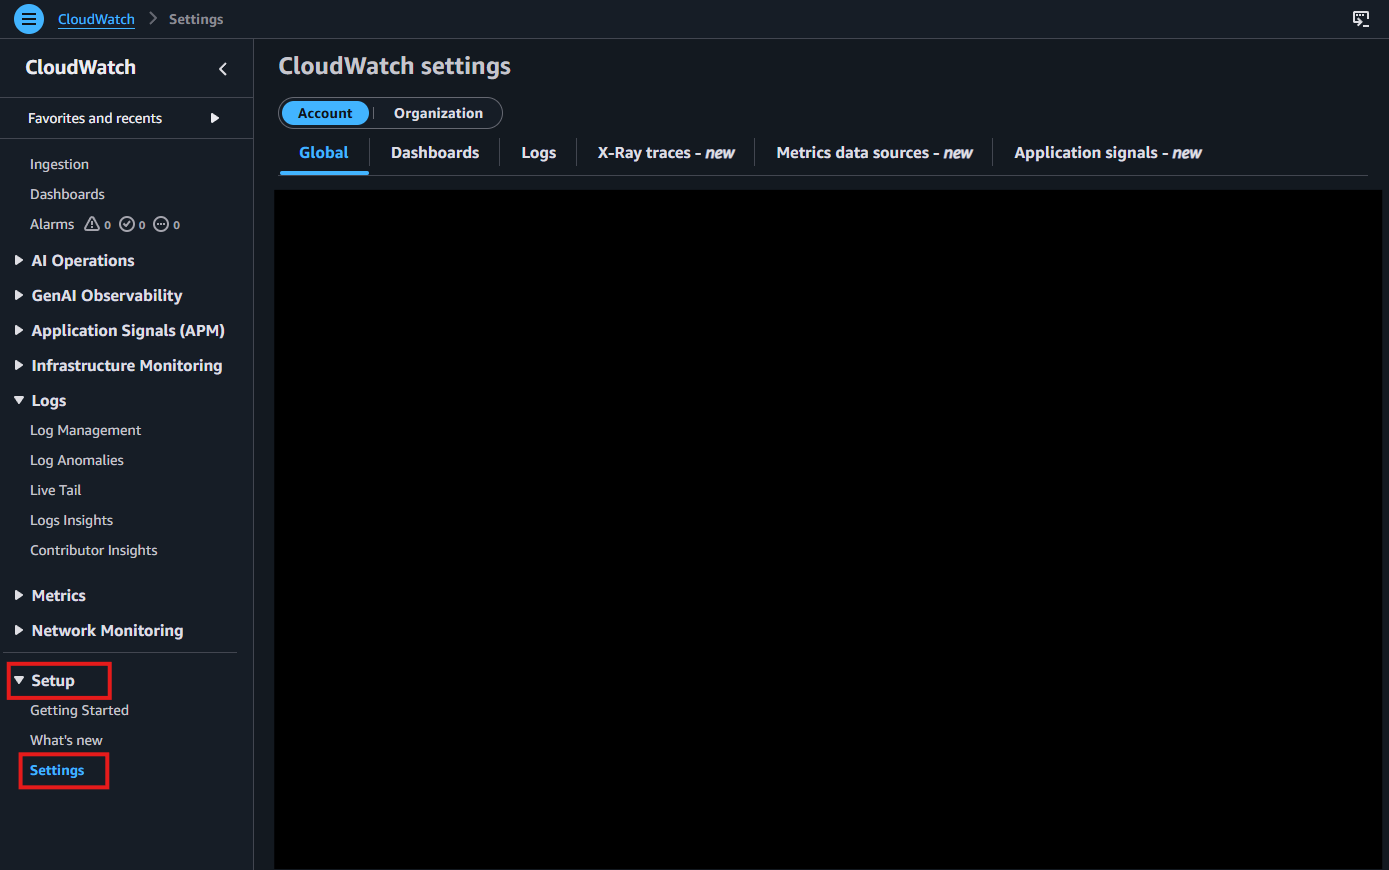
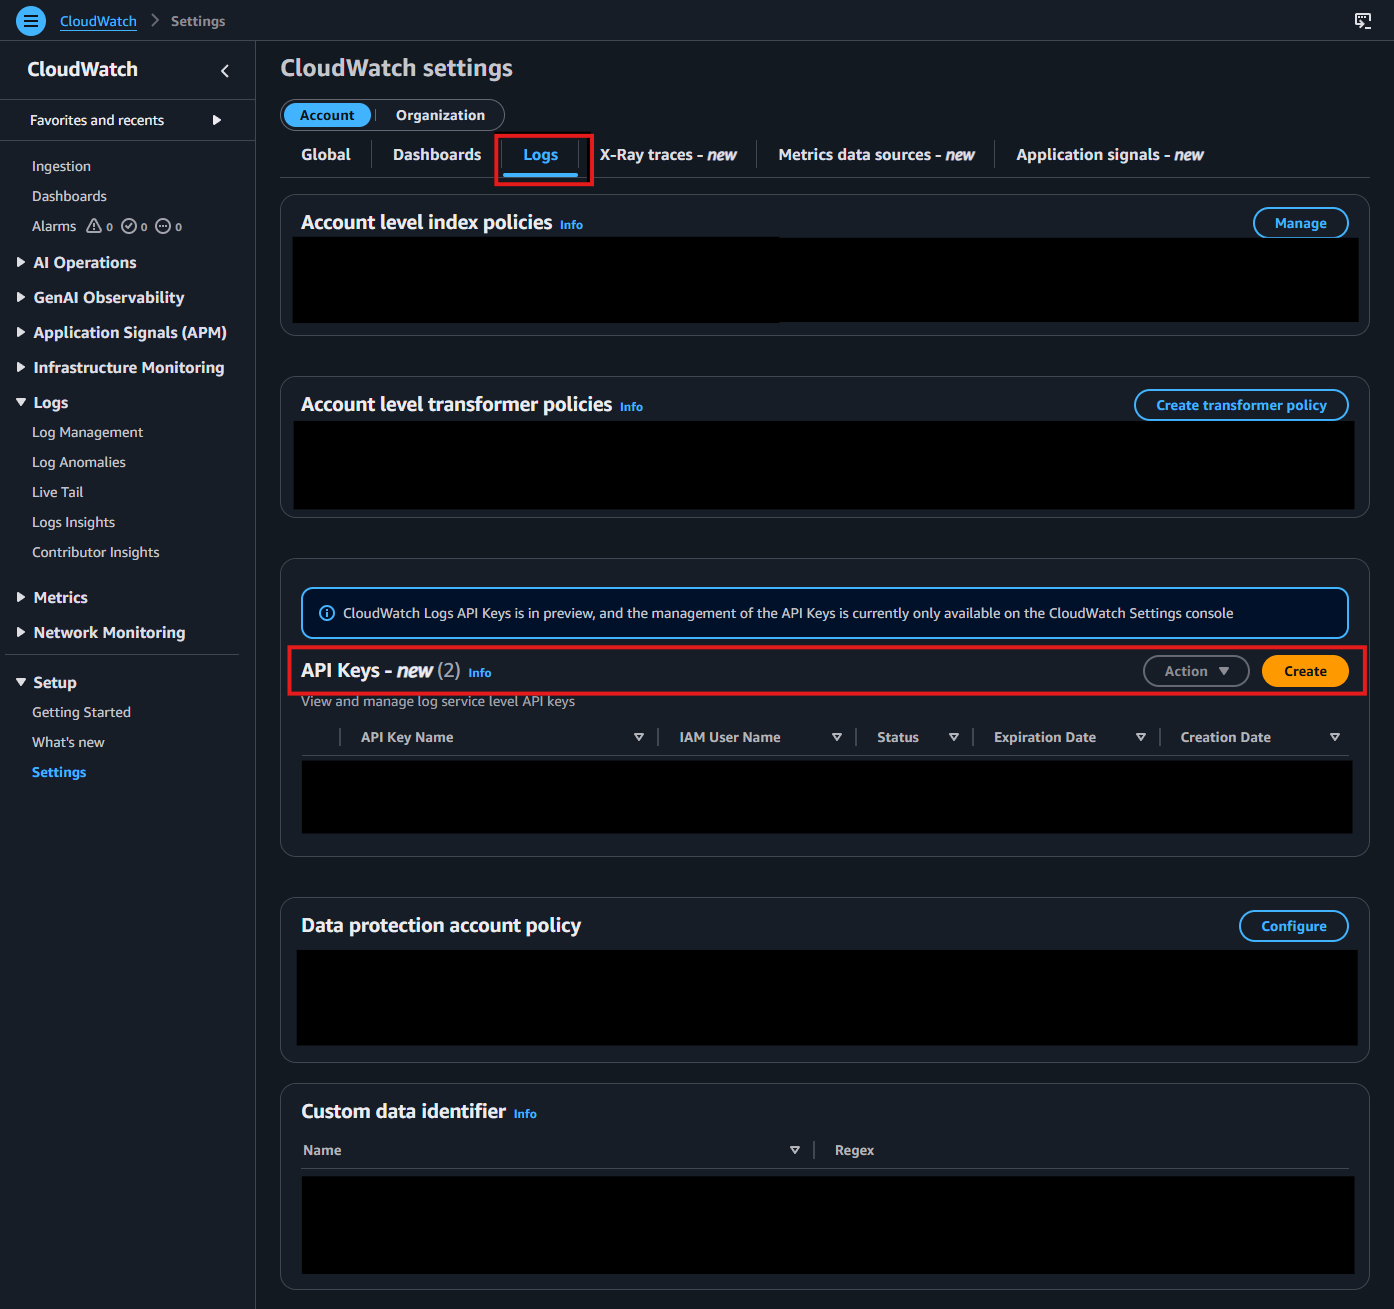
From the left-hand menu, under Setup, click on Settings.
-
Go to the Logs tab. In the API Keys section, click Create.
-
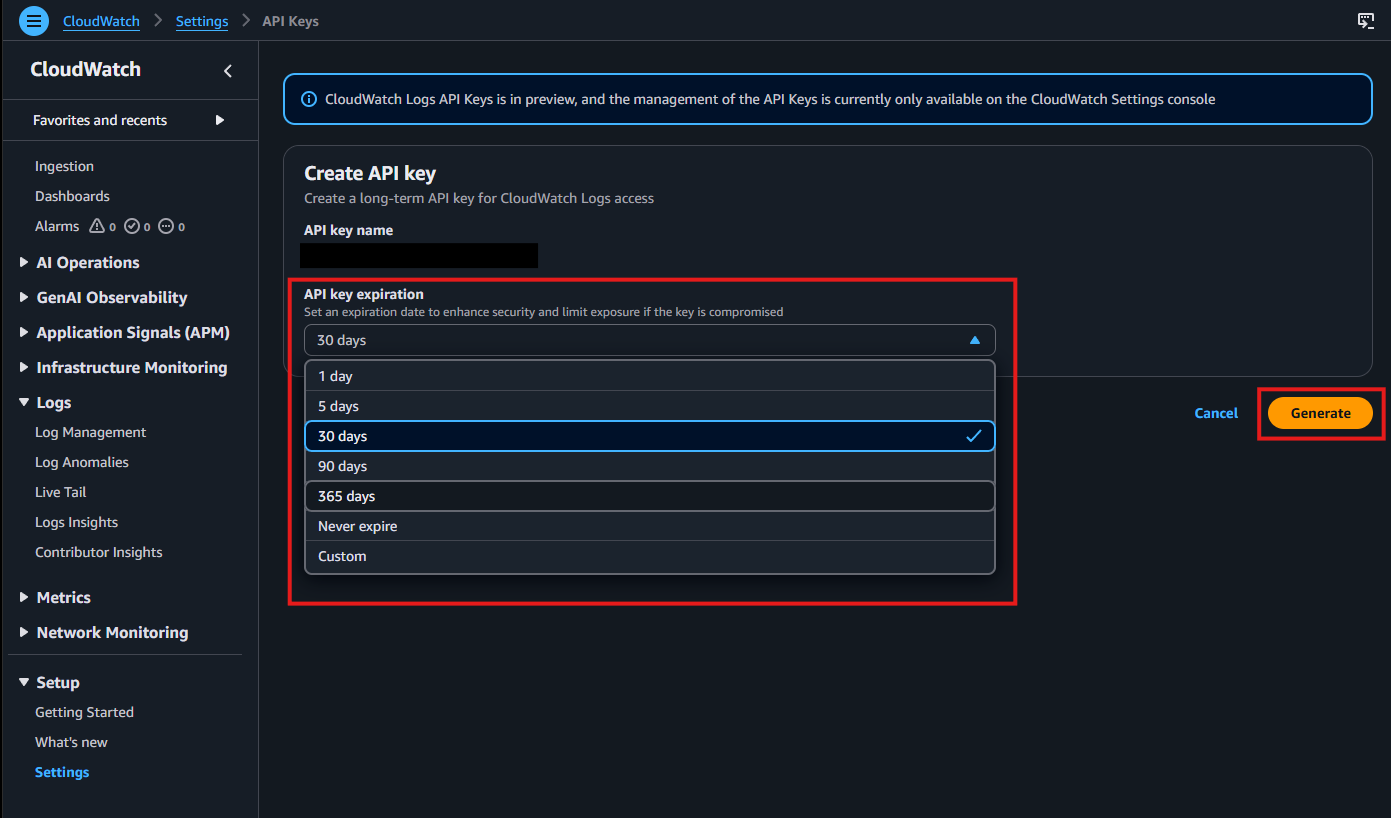
Choose your preferred API key expiration, then click Generate.
-
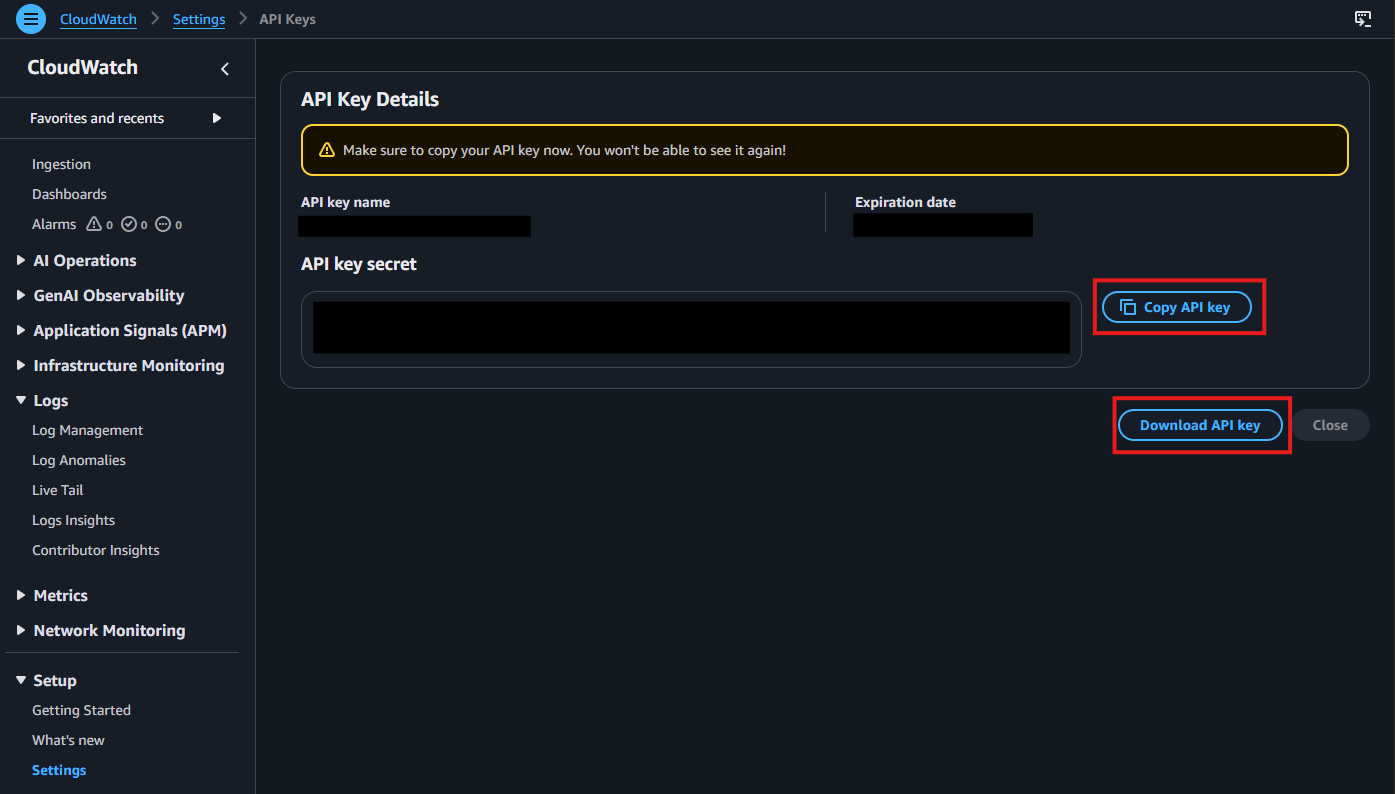
After the key is generated, copy and save it immediately. You will not be able to view it again after leaving this page.
-
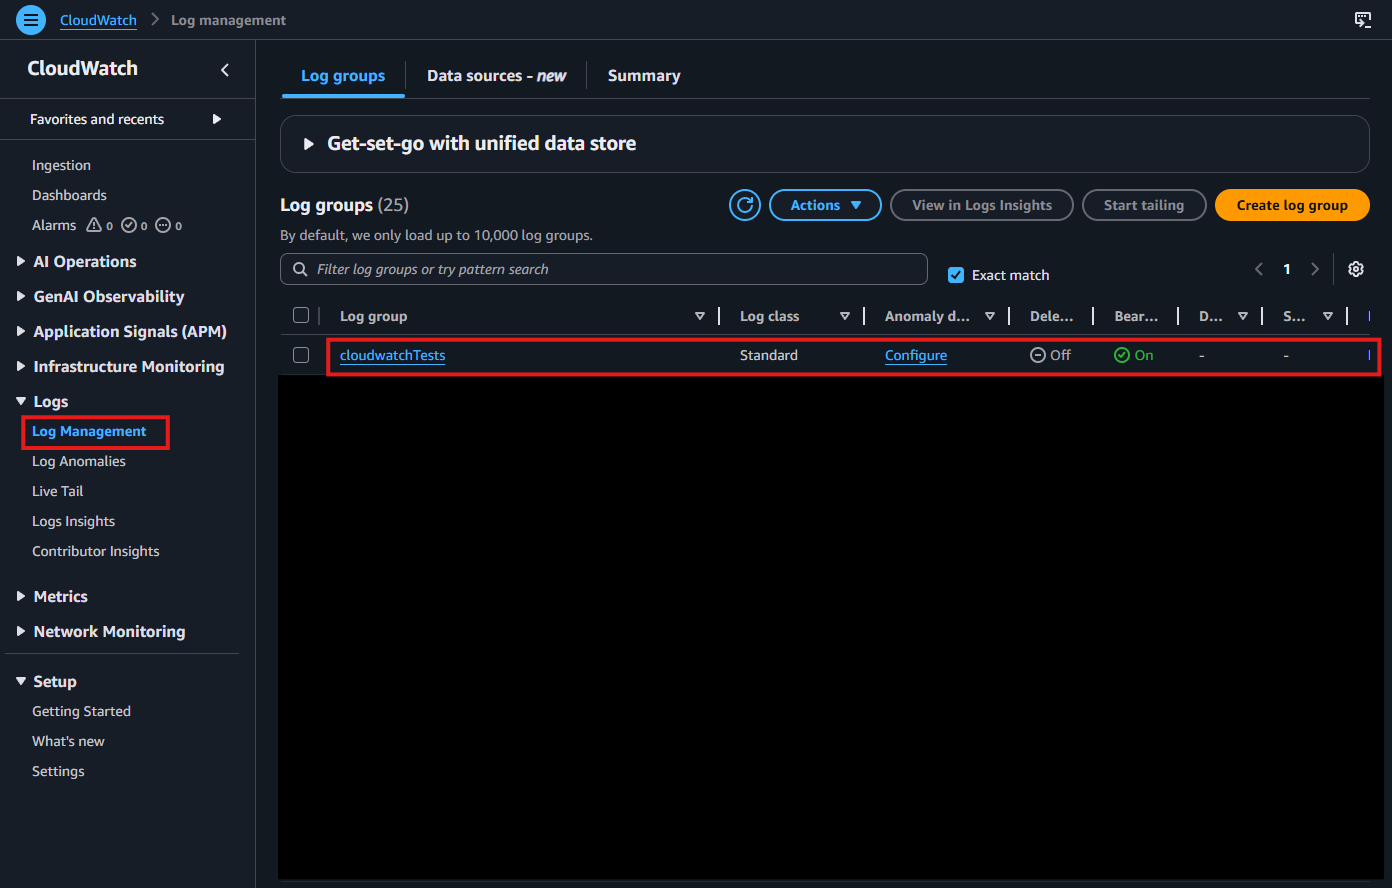
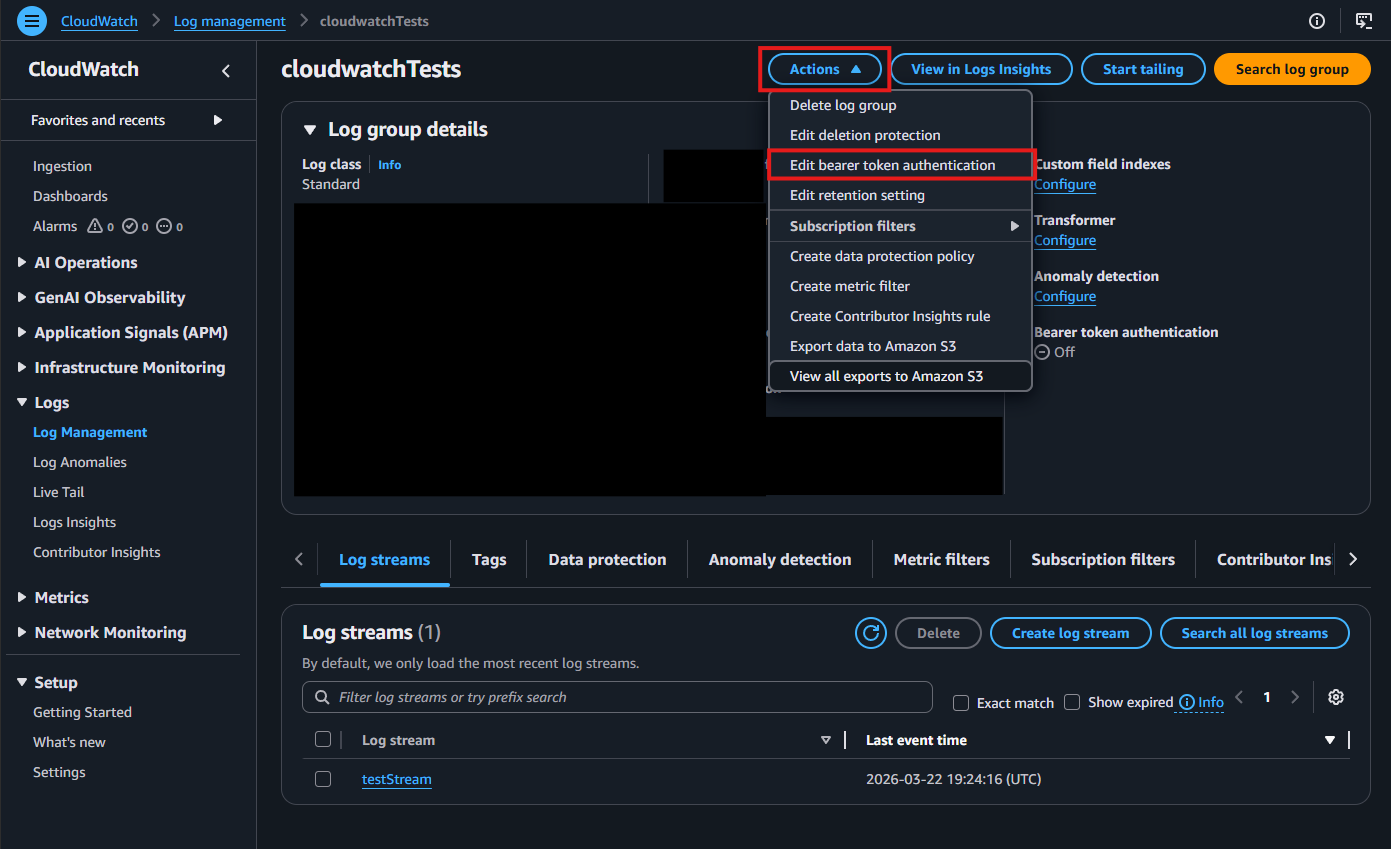
Navigate to Log Management under Logs in the left-hand menu. Select the Log Group where you want to deliver your logs.
-
Click the Actions dropdown, then select Edit bearer token authentication.
-
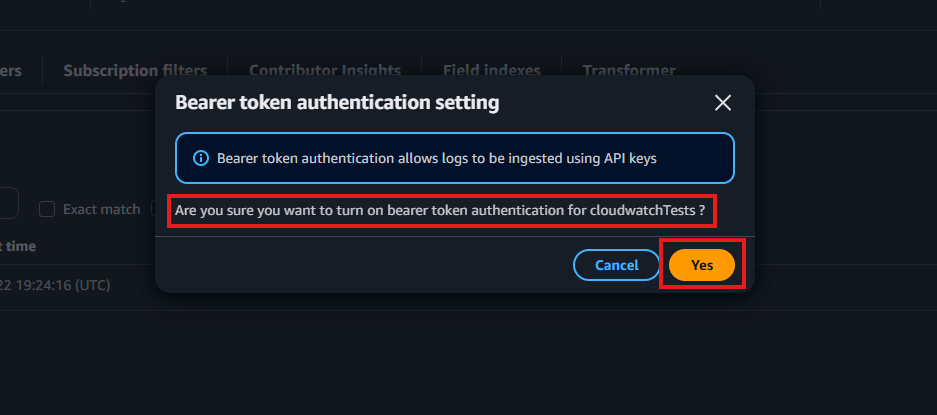
When prompted, enable bearer token authentication by selecting Yes.
-
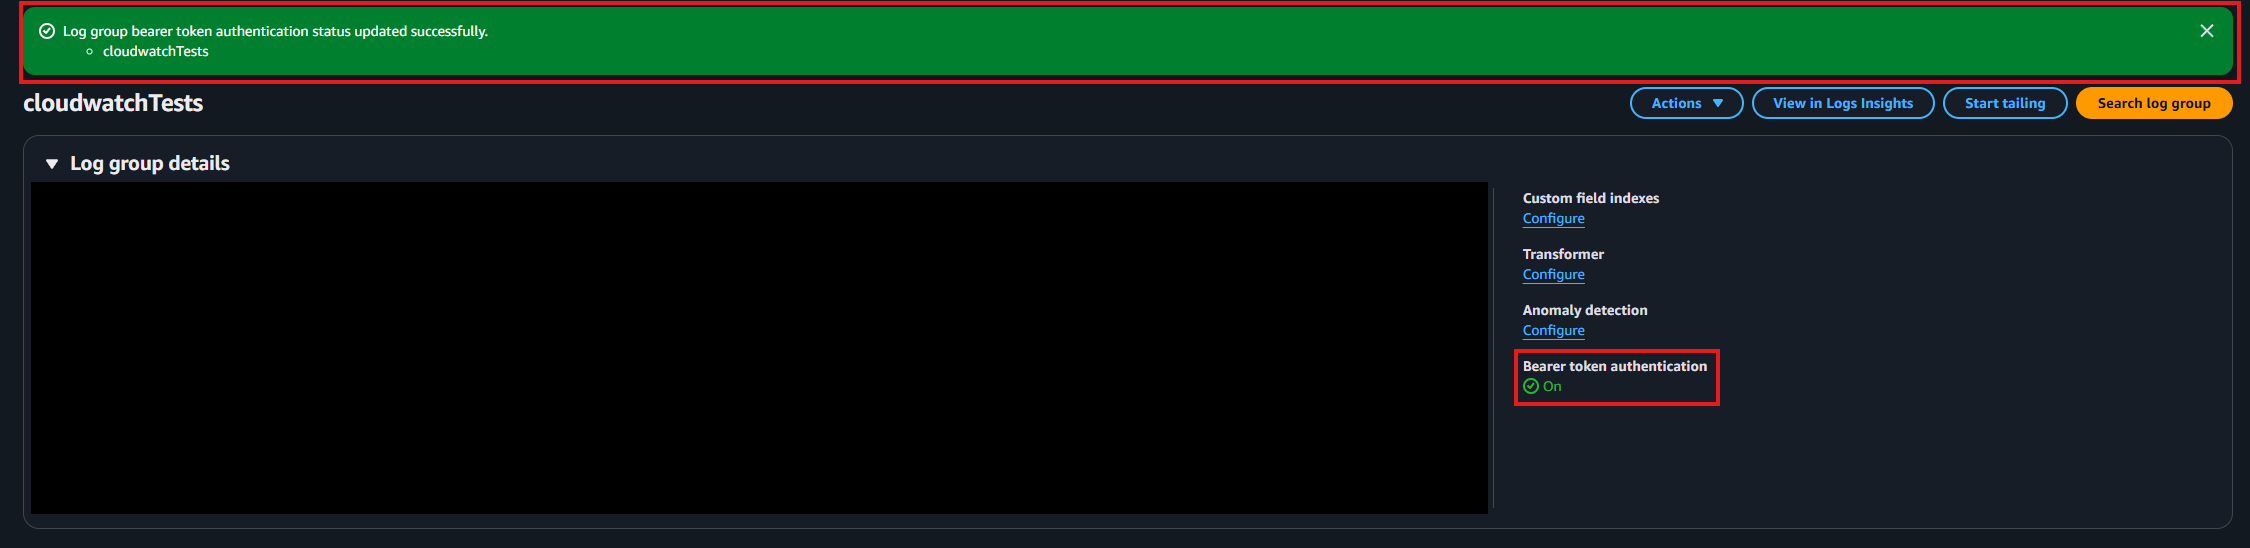
Confirm that bearer token authentication is enabled.
-
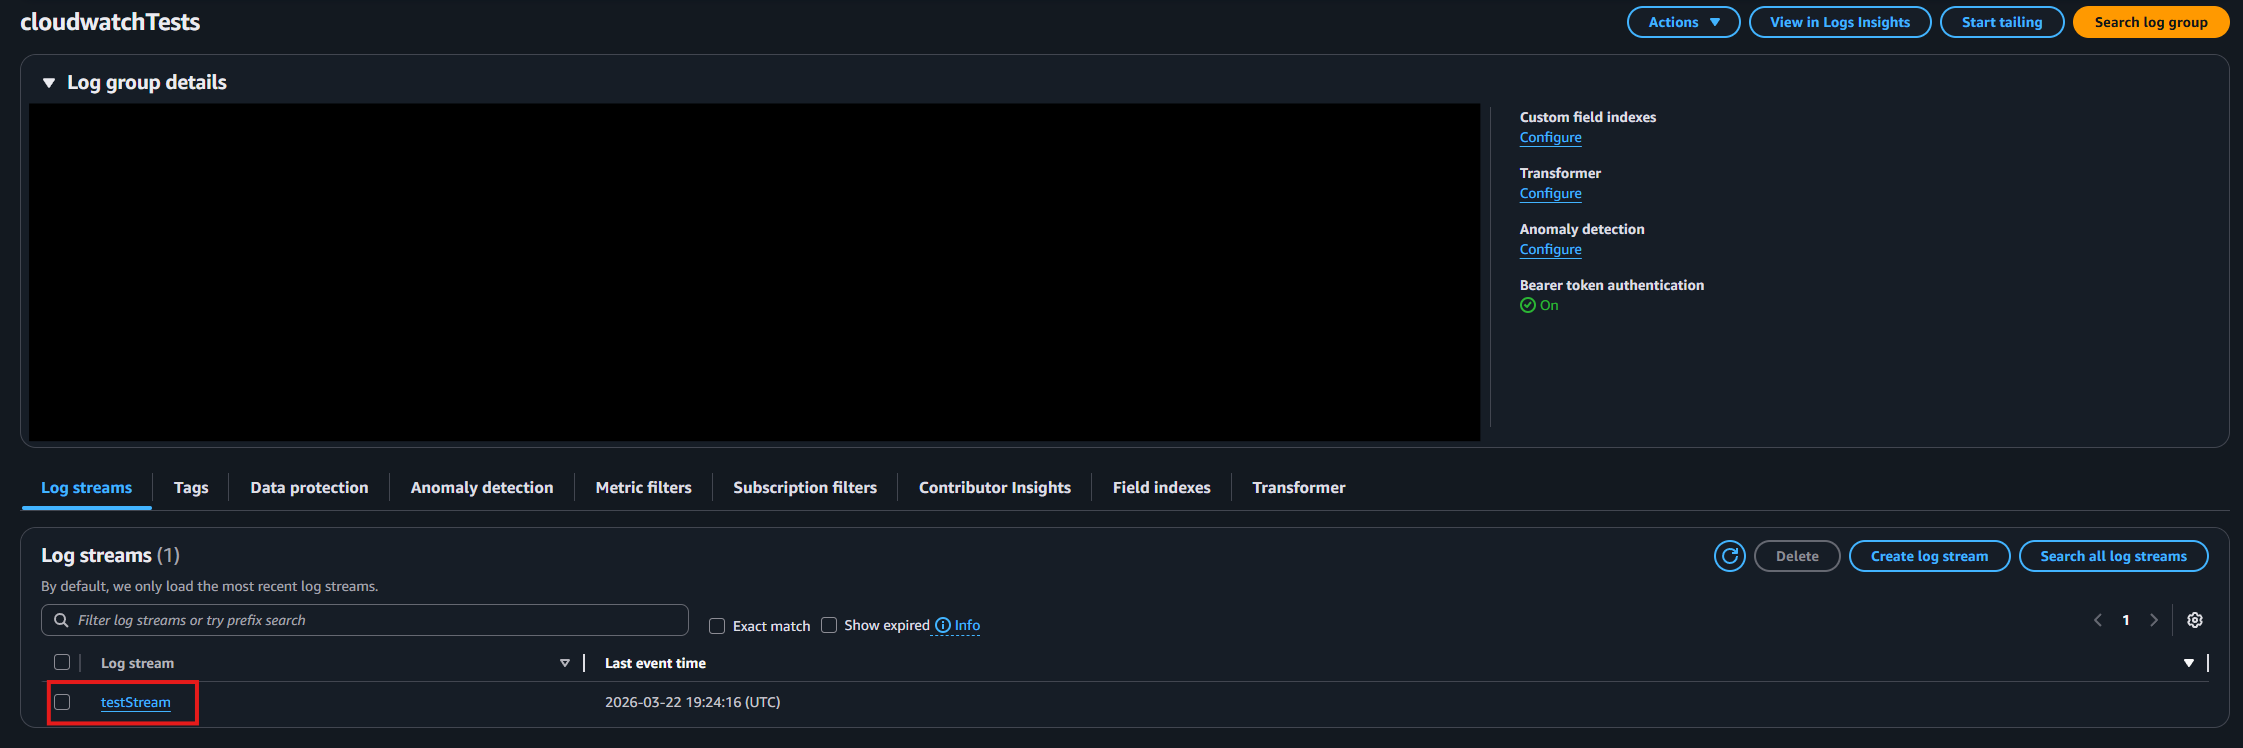
Identify and note the log stream where you want your logs delivered.
How To Configure the CloudWatch SIEM in EZCMS Portal
-
Now go back to the EZCMS Portal.
-
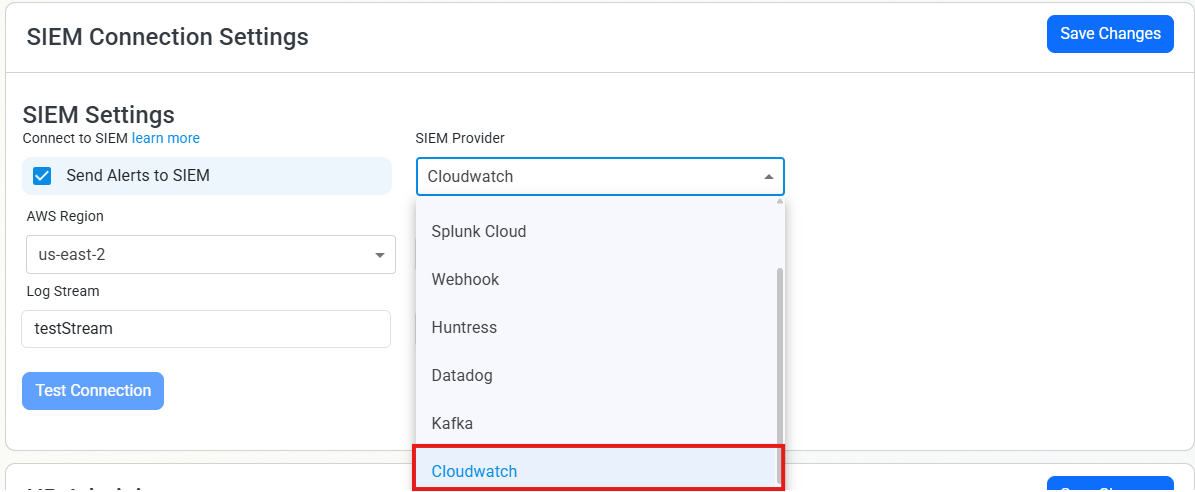
Select CloudWatch as the SIEM Provider.
-
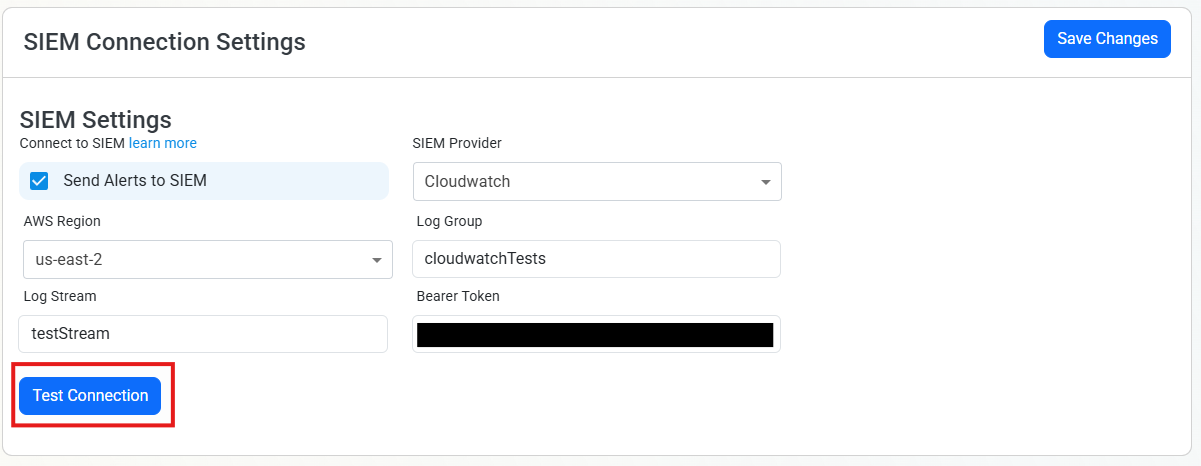
Input the values that you copied from the CloudWatch portal. Then, click Test Connection. This will create a test log in your CloudWatch SIEM (please allow a few minutes for the log to show up in the CloudWatch portal).
-
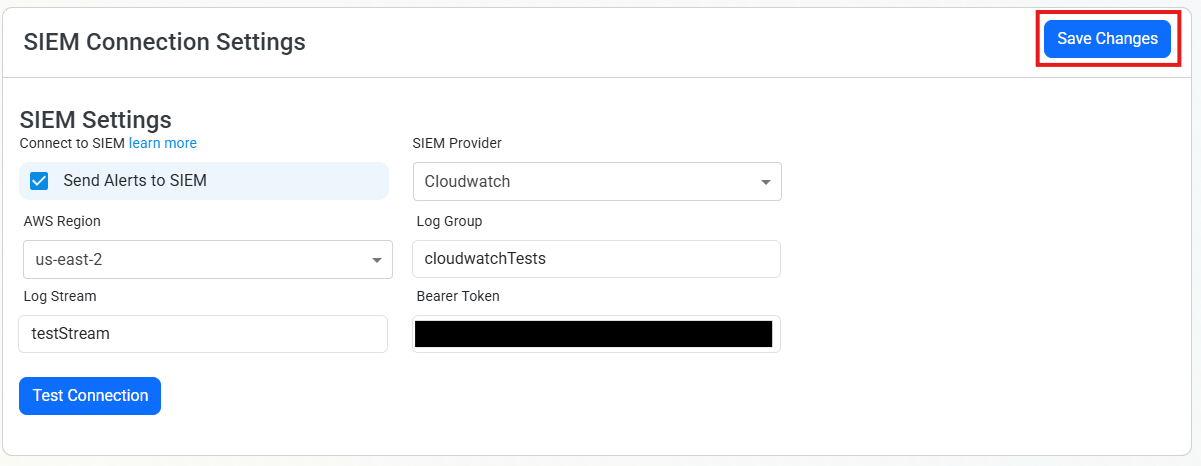
If the connection test is successful, click Save Changes.
-
EZCMS will now send your security alerts to your SIEM. If an error occurs it will email your subscription administrators.