How-To: Migrate Your X.509 Certificates from an Existing CA to EZCA Cloud PKI
Overview - How to Migrate Your Existing Certificates to EZCA
Moving from your existing certificate authority to EZCA doesn’t mean you have to leave all your existing certificates behind. EZCA provides a seamless way to import your existing certificates into the platform, allowing you to manage and renew them alongside any new certificates you create in EZCA. This guide will walk you through the process of migrating your existing X.509 certificates from your current CA to EZCA, ensuring a smooth transition without any disruption to your services.
Migration Frequently Asked Questions
Will I Lose My Existing Certificates If I Migrate to EZCA?
No, migrating to EZCA does not mean you have to lose your existing certificates. When you migrate to EZCA, new certificates will be issued by EZCA alongside your existing certificates. This means that your existing certificates will continue to work as they do today, and you can choose to migrate them to EZCA at your own pace. You can have both your existing CA and EZCA running simultaneously during the migration process, allowing for a seamless transition without any downtime or disruption to your services.
What Existing Certificate Authorities Are Supported for Migration to EZCA?
EZCA supports migrating certificates from any existing certificate authority, including on-premises CAs and other cloud-based CAs. This is possible because the EZCA Certificate Manager tool runs directly on your Windows, Linux, and macOS clients to scan their local certificate stores and securely issue new certificates from EZCA with the same properties as the existing certificates. This means that regardless of which CA you are currently using, you can migrate your certificates to EZCA without any compatibility issues.
Will My New Certificates Have the Same Private Key as My Existing Certificates After Migration?
No, when you migrate your existing certificates to EZCA, new certificates will be issued with new private keys. This is because the migration process involves creating new certificates in EZCA that have the same properties (such as subject name and SANs) as your existing certificates, but they will be signed by EZCA and will have their own unique private keys. This ensures that your new certificates are secure and properly managed within the EZCA platform while still allowing you to maintain the same certificate properties as your existing certificates.
Can I Undo the Migration if I Change My Mind?
Yes, if you decide that you want to undo the migration, you can simply stop using the new certificates issued by EZCA and continue using your existing certificates from your current CA. Since the migration process does not delete or invalidate your existing certificates, you can choose to revert back to using them at any time without any issues. However, keep in mind that if you have already started using the new certificates from EZCA, you will need to update your applications and services to point back to the existing certificates if you decide to undo the migration.
Prerequisites for Migrating Your Existing Certificates to EZCA
- You have an active EZCA billing subscription/plan
- You have create an EZCA Certificate Authority (CA) with an SSL certificate template
- You have an existing certificate authority (CA) with certificates that you want to migrate to EZCA
How To Migrate Your Existing Certificates to EZCA - Step by Step Guide
Follow these steps to migrate your existing certificates from your current CA to EZCA.
Step 1: Upload Your Existing CA Certificate to Migrate to EZCA
For EZCA to know which certificates to migrate, you need to upload the certificate of your existing issuing CA to EZCA. This allows EZCA to identify which certificates in your environment were issued by that CA and automatically issue new certificates from EZCA with the same properties as those existing certificates, ensuring a seamless migration process.
-
Navigate to your EZCA portal.
-
From the left-hand menu, select Certificate Authorities.
-
Select the View Requirements button for your CA

-
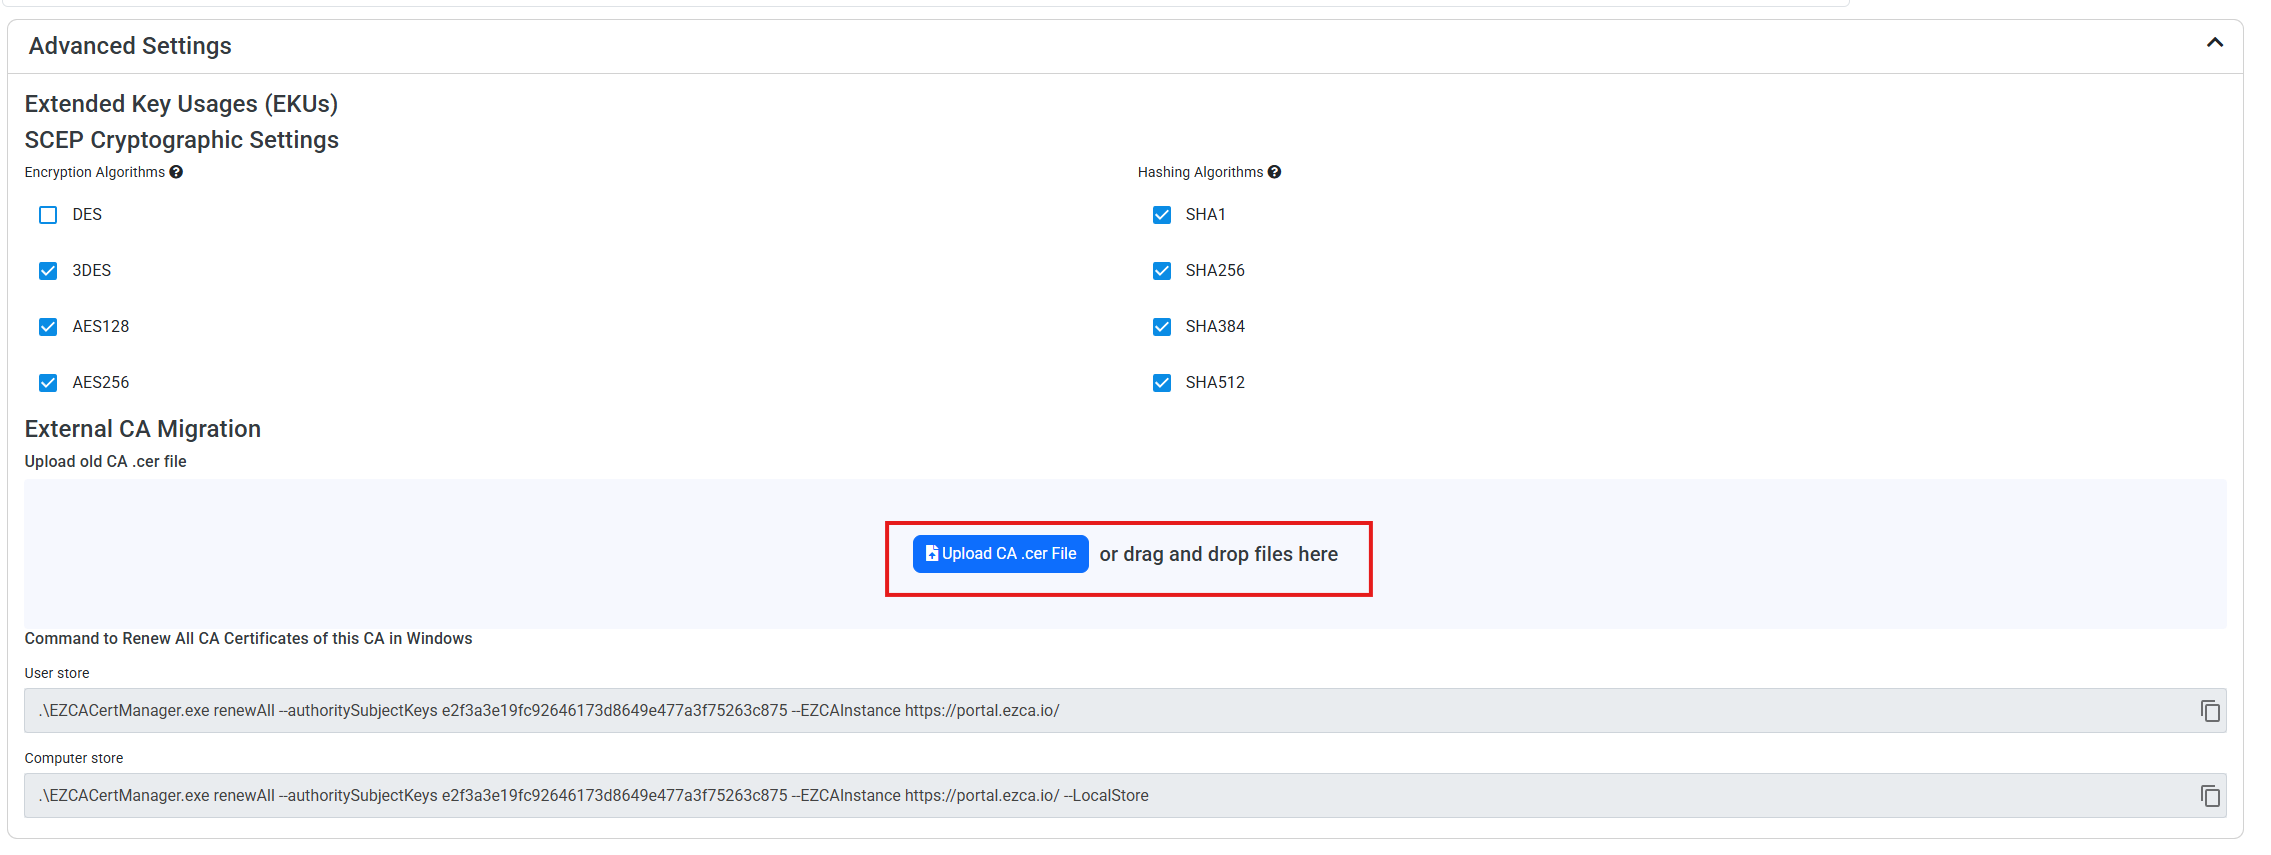
Scroll down to the bottom and extend the Advanced Settings card.

-
Under External CA Migration, upload your existing issuing certificate authority (CA) certificate.
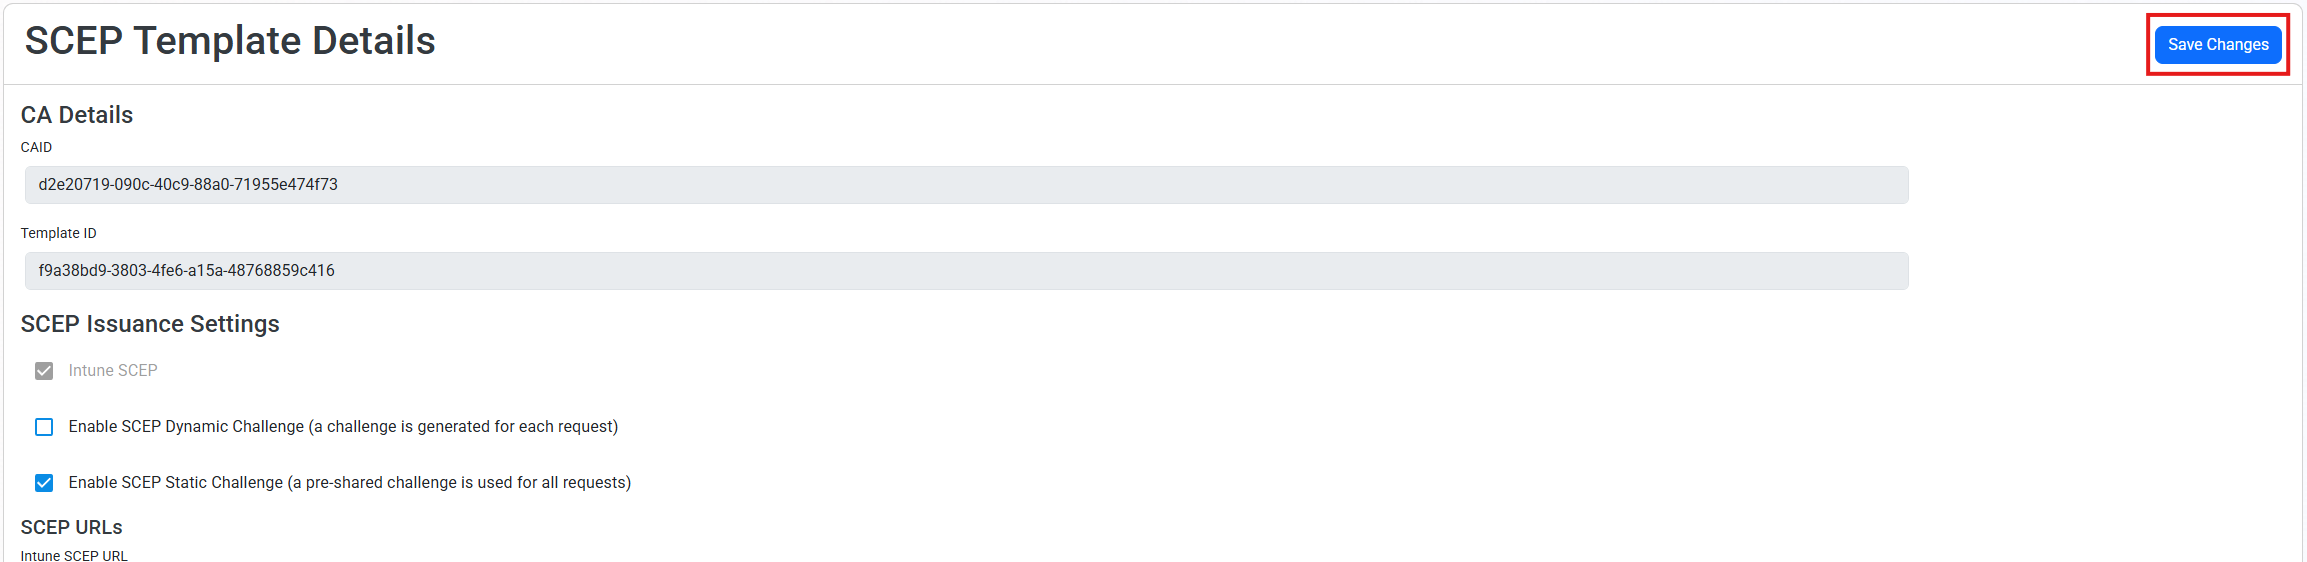
-
Scroll all the way to the top and click the Save Changes button to save the changes to your CA.
-
You will now see the commands to renew all the certificates issued by that CA with your EZCA SCEP CA.
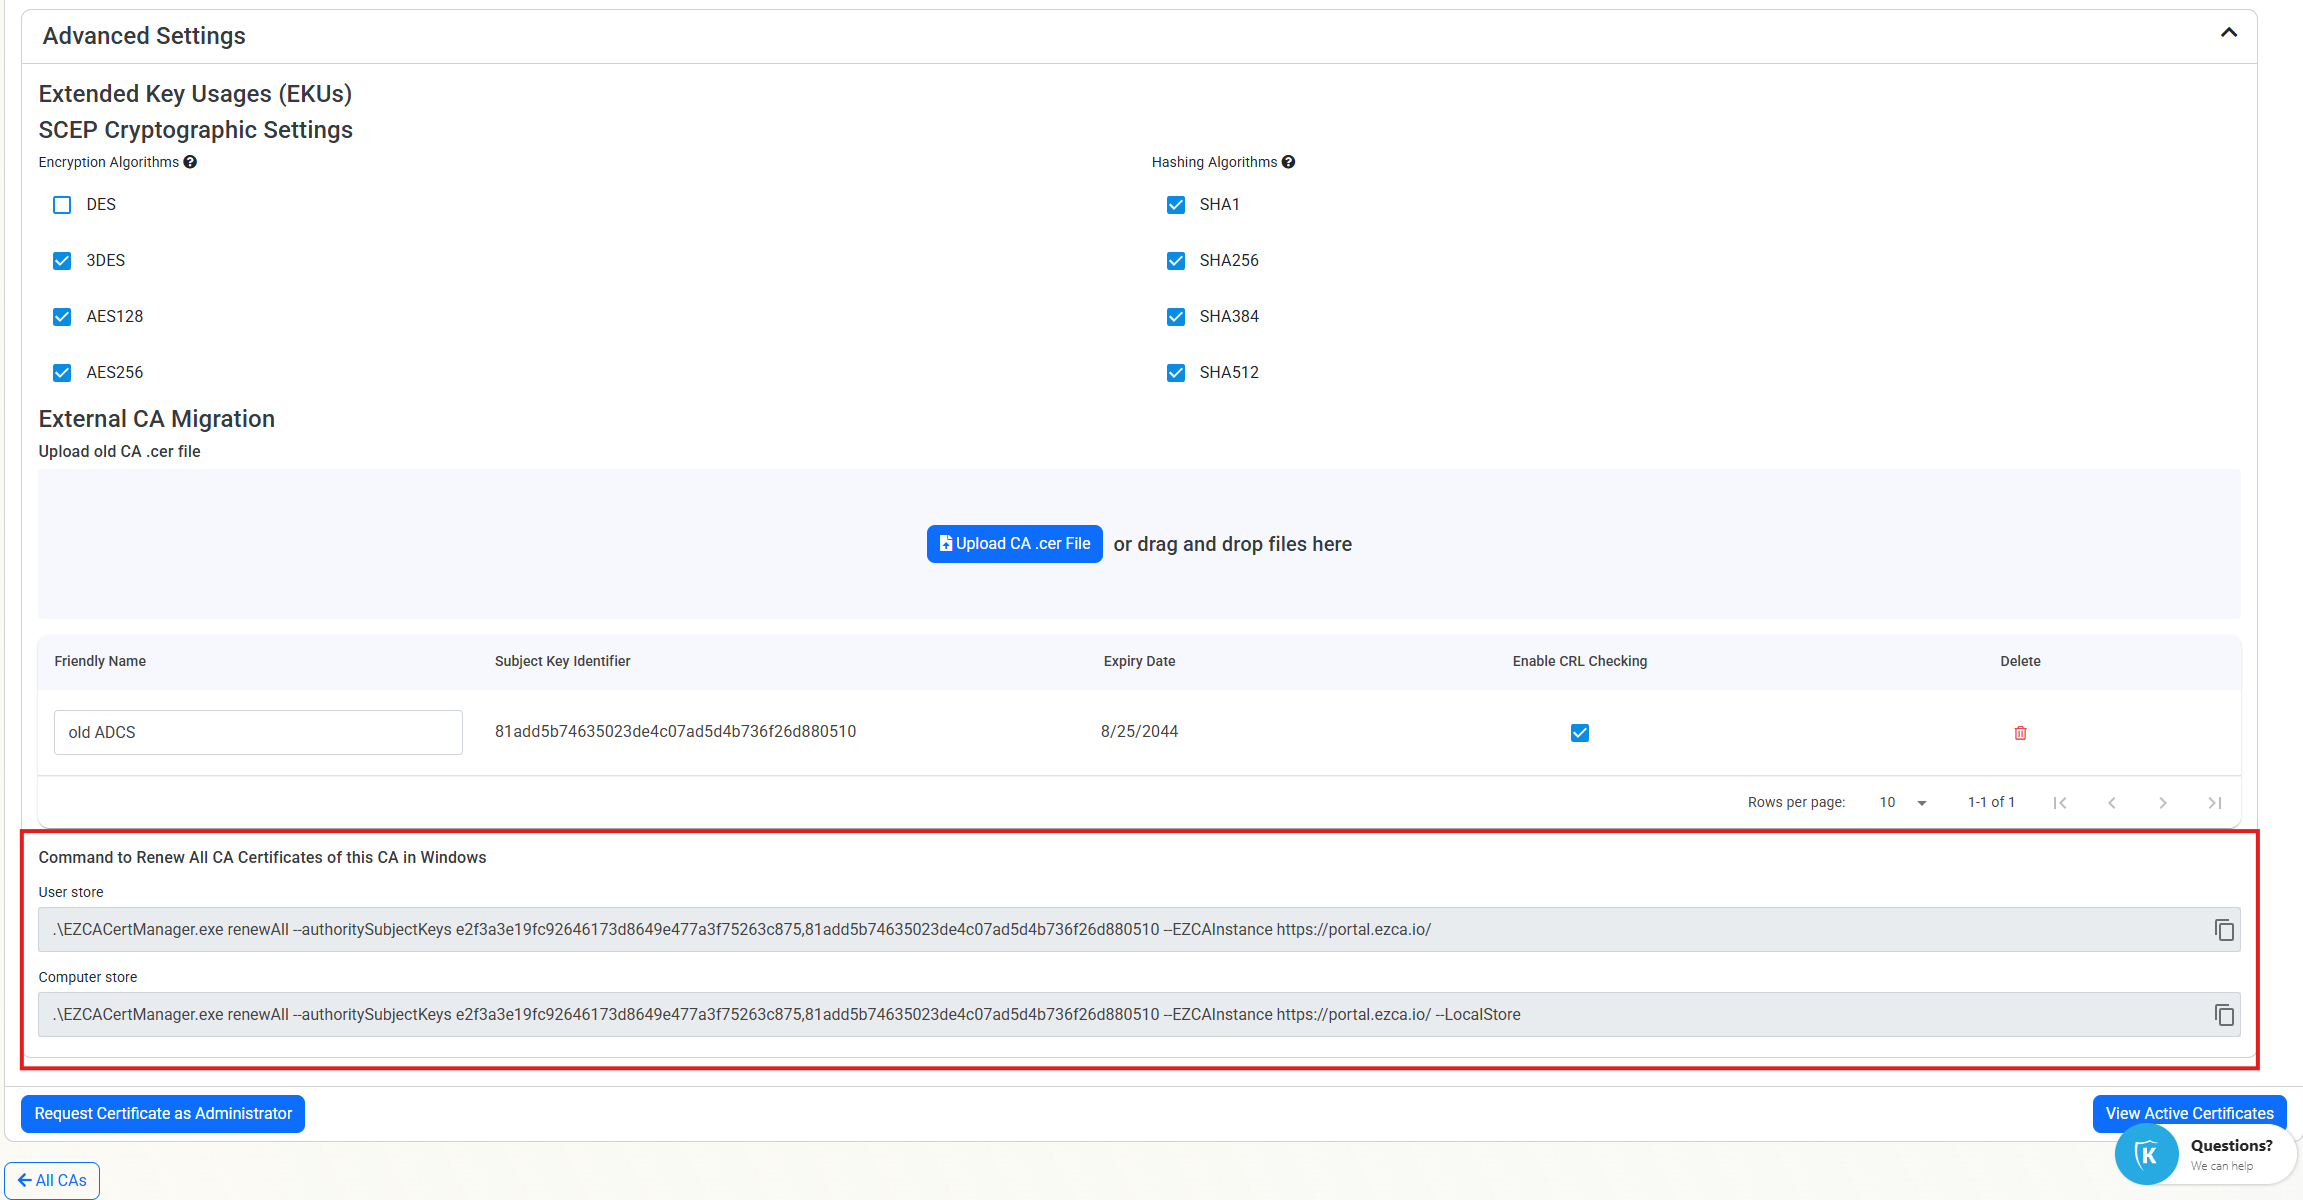
Step 2: Use the EZCA Certificate Manager Tool to Renew Your Existing Certificates with EZCA
Now that your EZCA Certificate Authority (CA) is set up, you can run the generated commands on any machine that has certificates issued by that CA to renew them with your EZCA SCEP CA.
- Download the EZCA Certificate Manager tool on any machine that has certificates issued by your existing CA that you want to migrate to EZCA.
- Run the
reneworrenewAllcommands provided in the previous step to automatically renew your existing certificates with your EZCA SCEP CA. Make sure to specify the-authoritySubjectKeyslike in the generated command to ensure that only the certificates issued by your existing CA are renewed with EZCA. - New certificates will be issued from your EZCA SCEP CA with the same properties as your existing certificates. Your applications and services can now start using the new certificates from EZCA while still keeping the old certificates from your existing CA until you are ready to fully transition to using the new certificates.
- Automate the renewal process by setting up a scheduled task or cron job to run the
reneworrenewAllcommands on a regular basis, ensuring that all your certificates are always up to date.