How To Set Up Keytos Connect for Your Workplace or School BYOD Wi-Fi
Overview - Set Up Keytos Connect for Your Workplace or School BYOD Wi-Fi
Keytos Connect is a mobile and desktop application that allows users to easily connect to their workplace or school Wi-Fi network on their personal devices. If your workplace or school allows personal and bring-your-own-devices (BYOD) to connect to their Wi-Fi network, Keytos Connect simplifies the process and makes it as easy as just a few clicks to get connected, without the need for IT to manually configure each device via MDM or other device management solution.
Learn more about Keytos Connect in our Keytos Connect User Guide.
Learn About Keytos ConnectHow to Set Up Keytos Connect for Your Workplace or School BYOD Wi-Fi - Step by Step Guide
The following steps will walk you through how to set up Keytos Connect for your workplace or school BYOD Wi-Fi:
Prerequisites for Setting Up Keytos Connect for Your Workplace or School BYOD Wi-Fi
Before you can set up Keytos Connect for your workplace or school BYOD Wi-Fi, make sure you have the following prerequisites in place:
- You have an active EZCA Subscription.
- You have created an EZCA SCEP CA.
- You have an active EZRADIUS Subscription.
- Your have an EZRADIUS Access Policy created which trusts your SCEP CA.
Step 1: How to Set Up a Self-Service Certificate Profile in EZCA for Keytos Connect
Keytos Connect automatically issues and renews user certificates for your BYOD devices. To begin, set up a new self-service certificate profile in EZCA which defines the certificate Subject and Subject Alternative Name (SAN) formats for the user certificates that will be issued to your users’ devices.
-
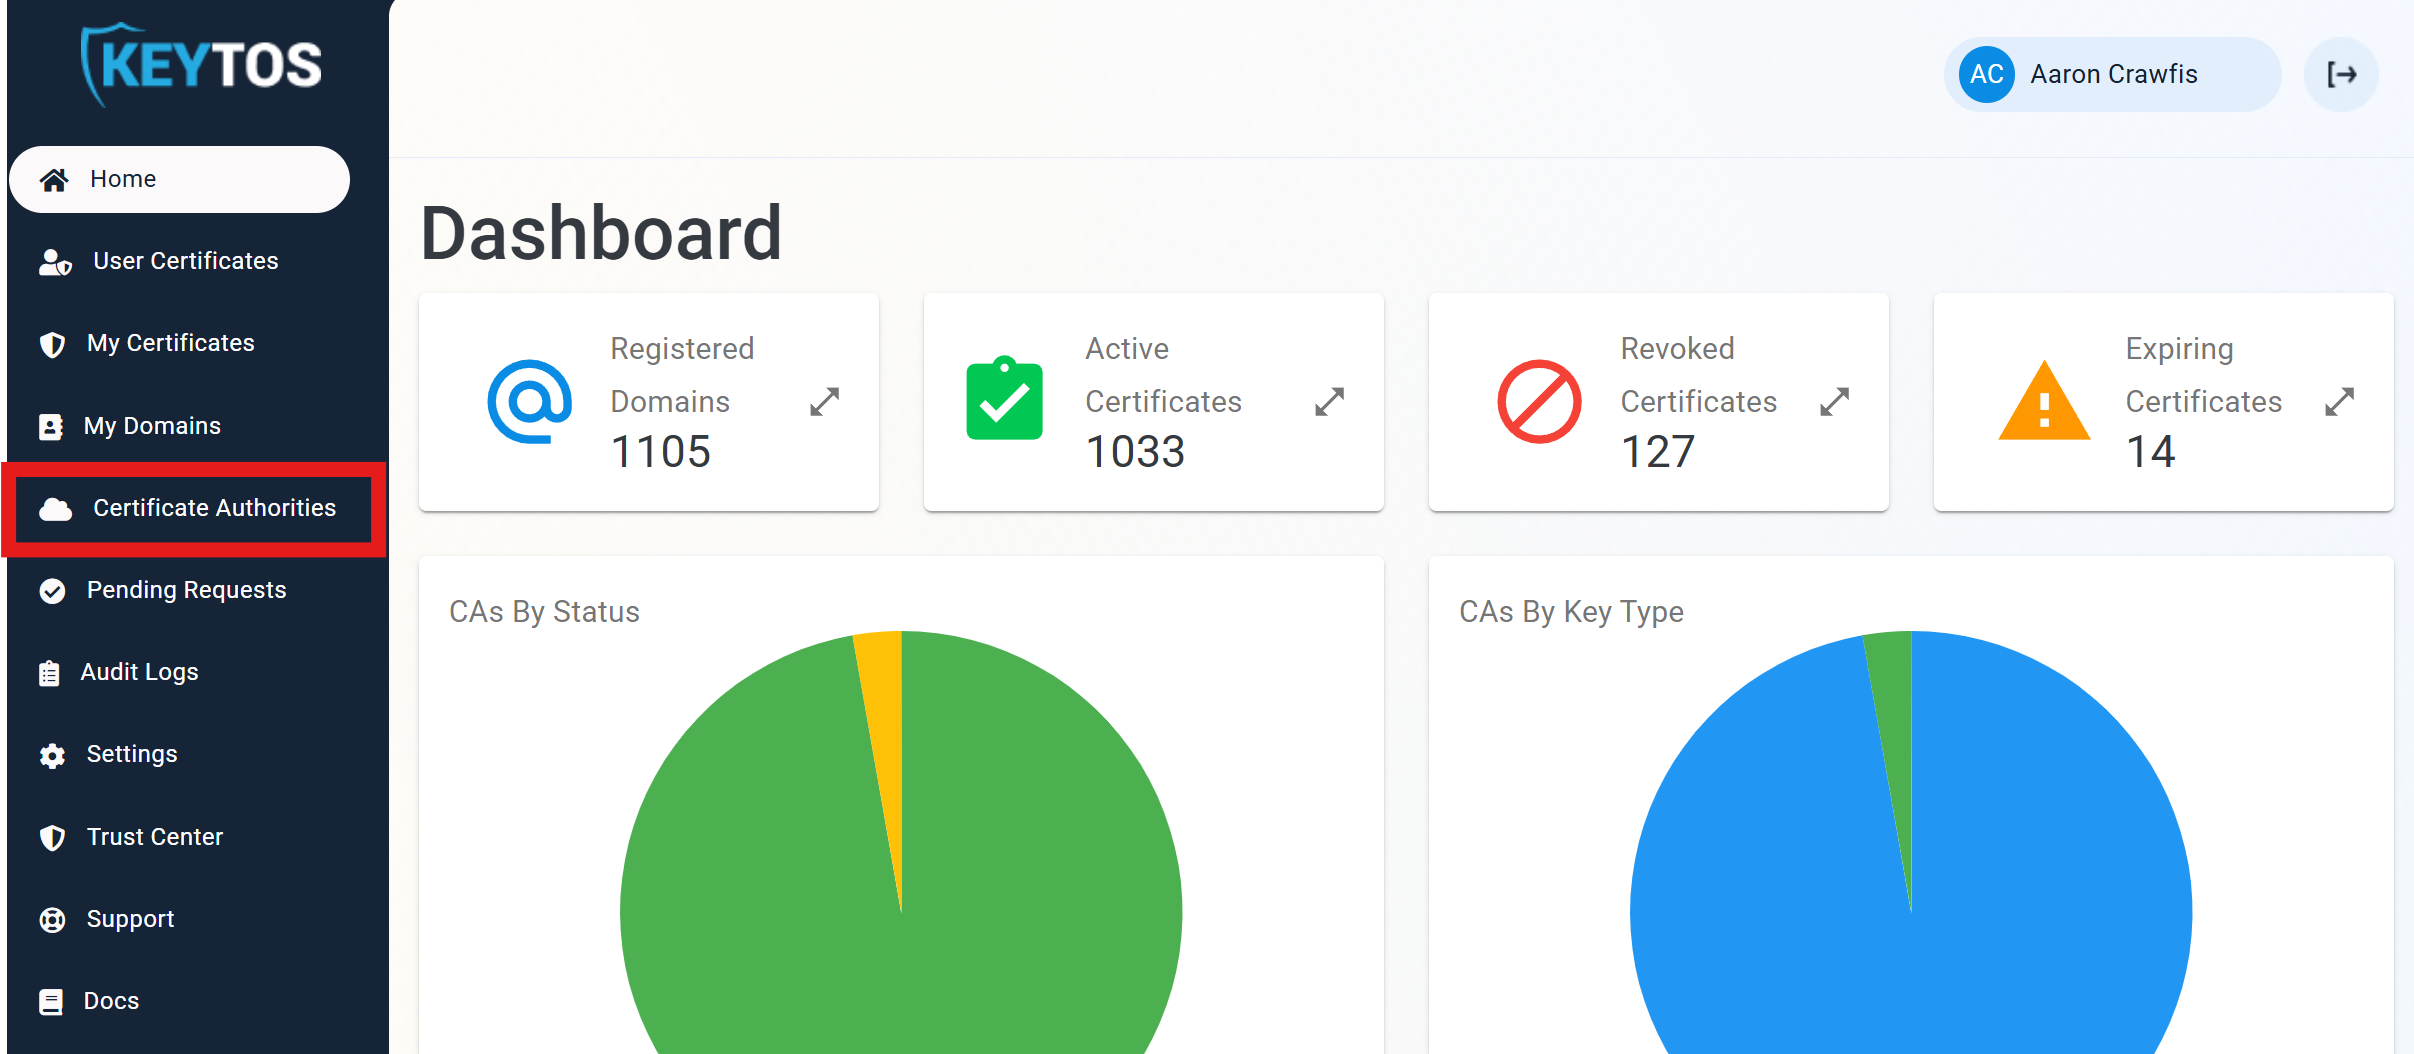
Navigate to your EZCA portal and sign-in with your PKI Administrator account.
-
From the left-hand menu, click on the Certificate Authorities page.
-
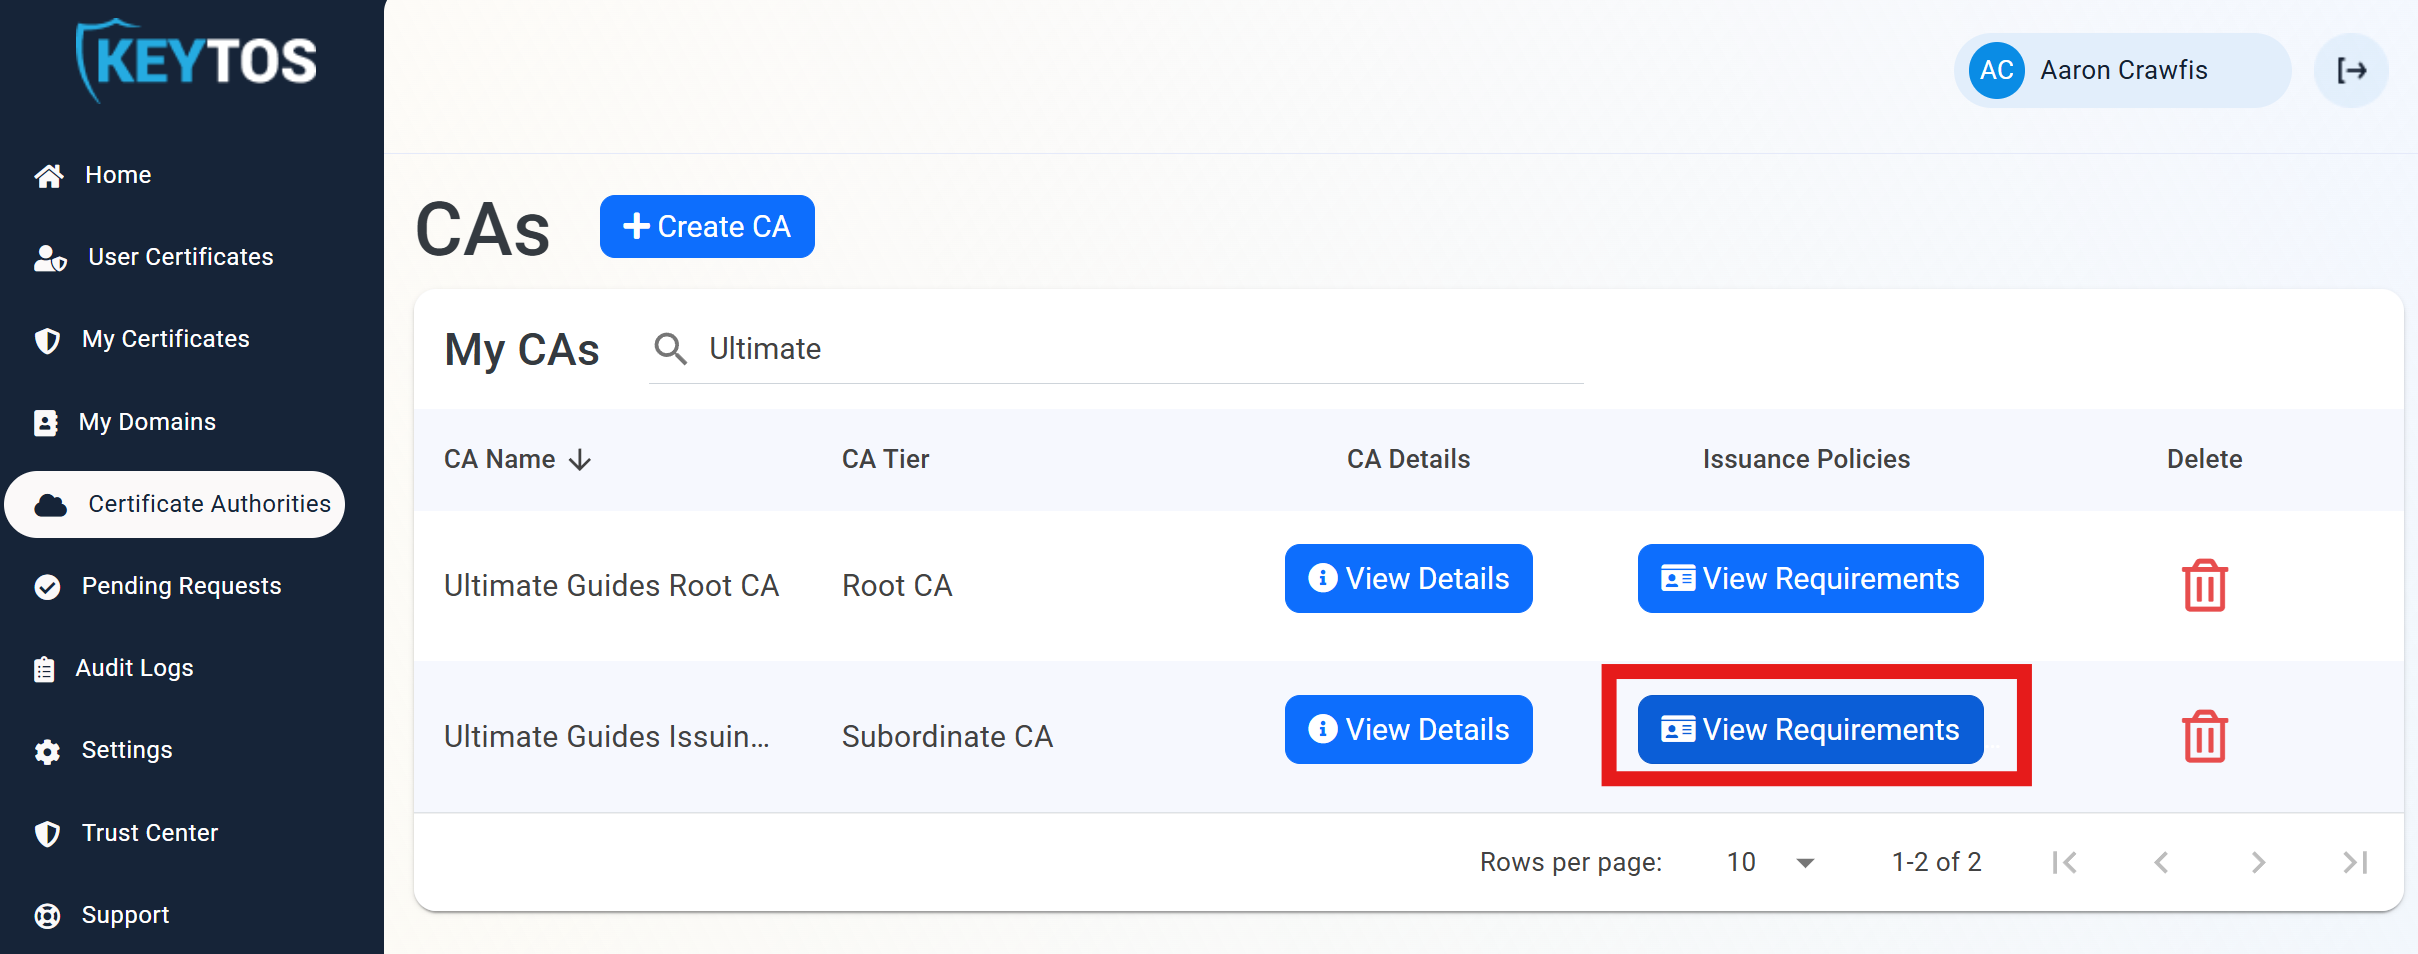
For your SCEP CA that you want to use for Keytos Connect, click the View Requirements button.
-
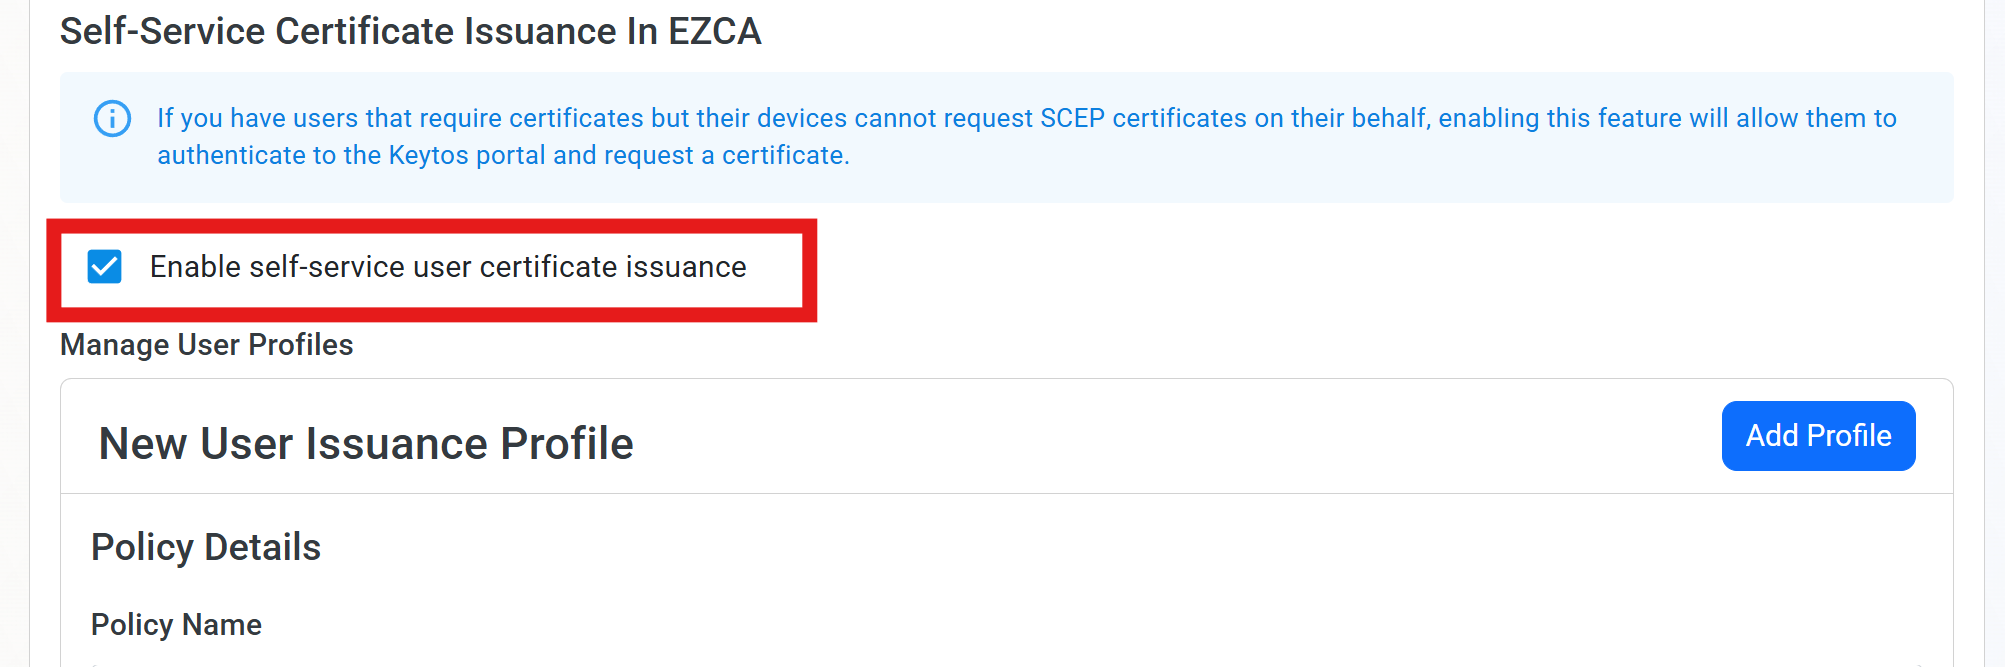
Under Self-Service Certificate Issuance In EZCA, click Enable self-service user certificate issuance.
-
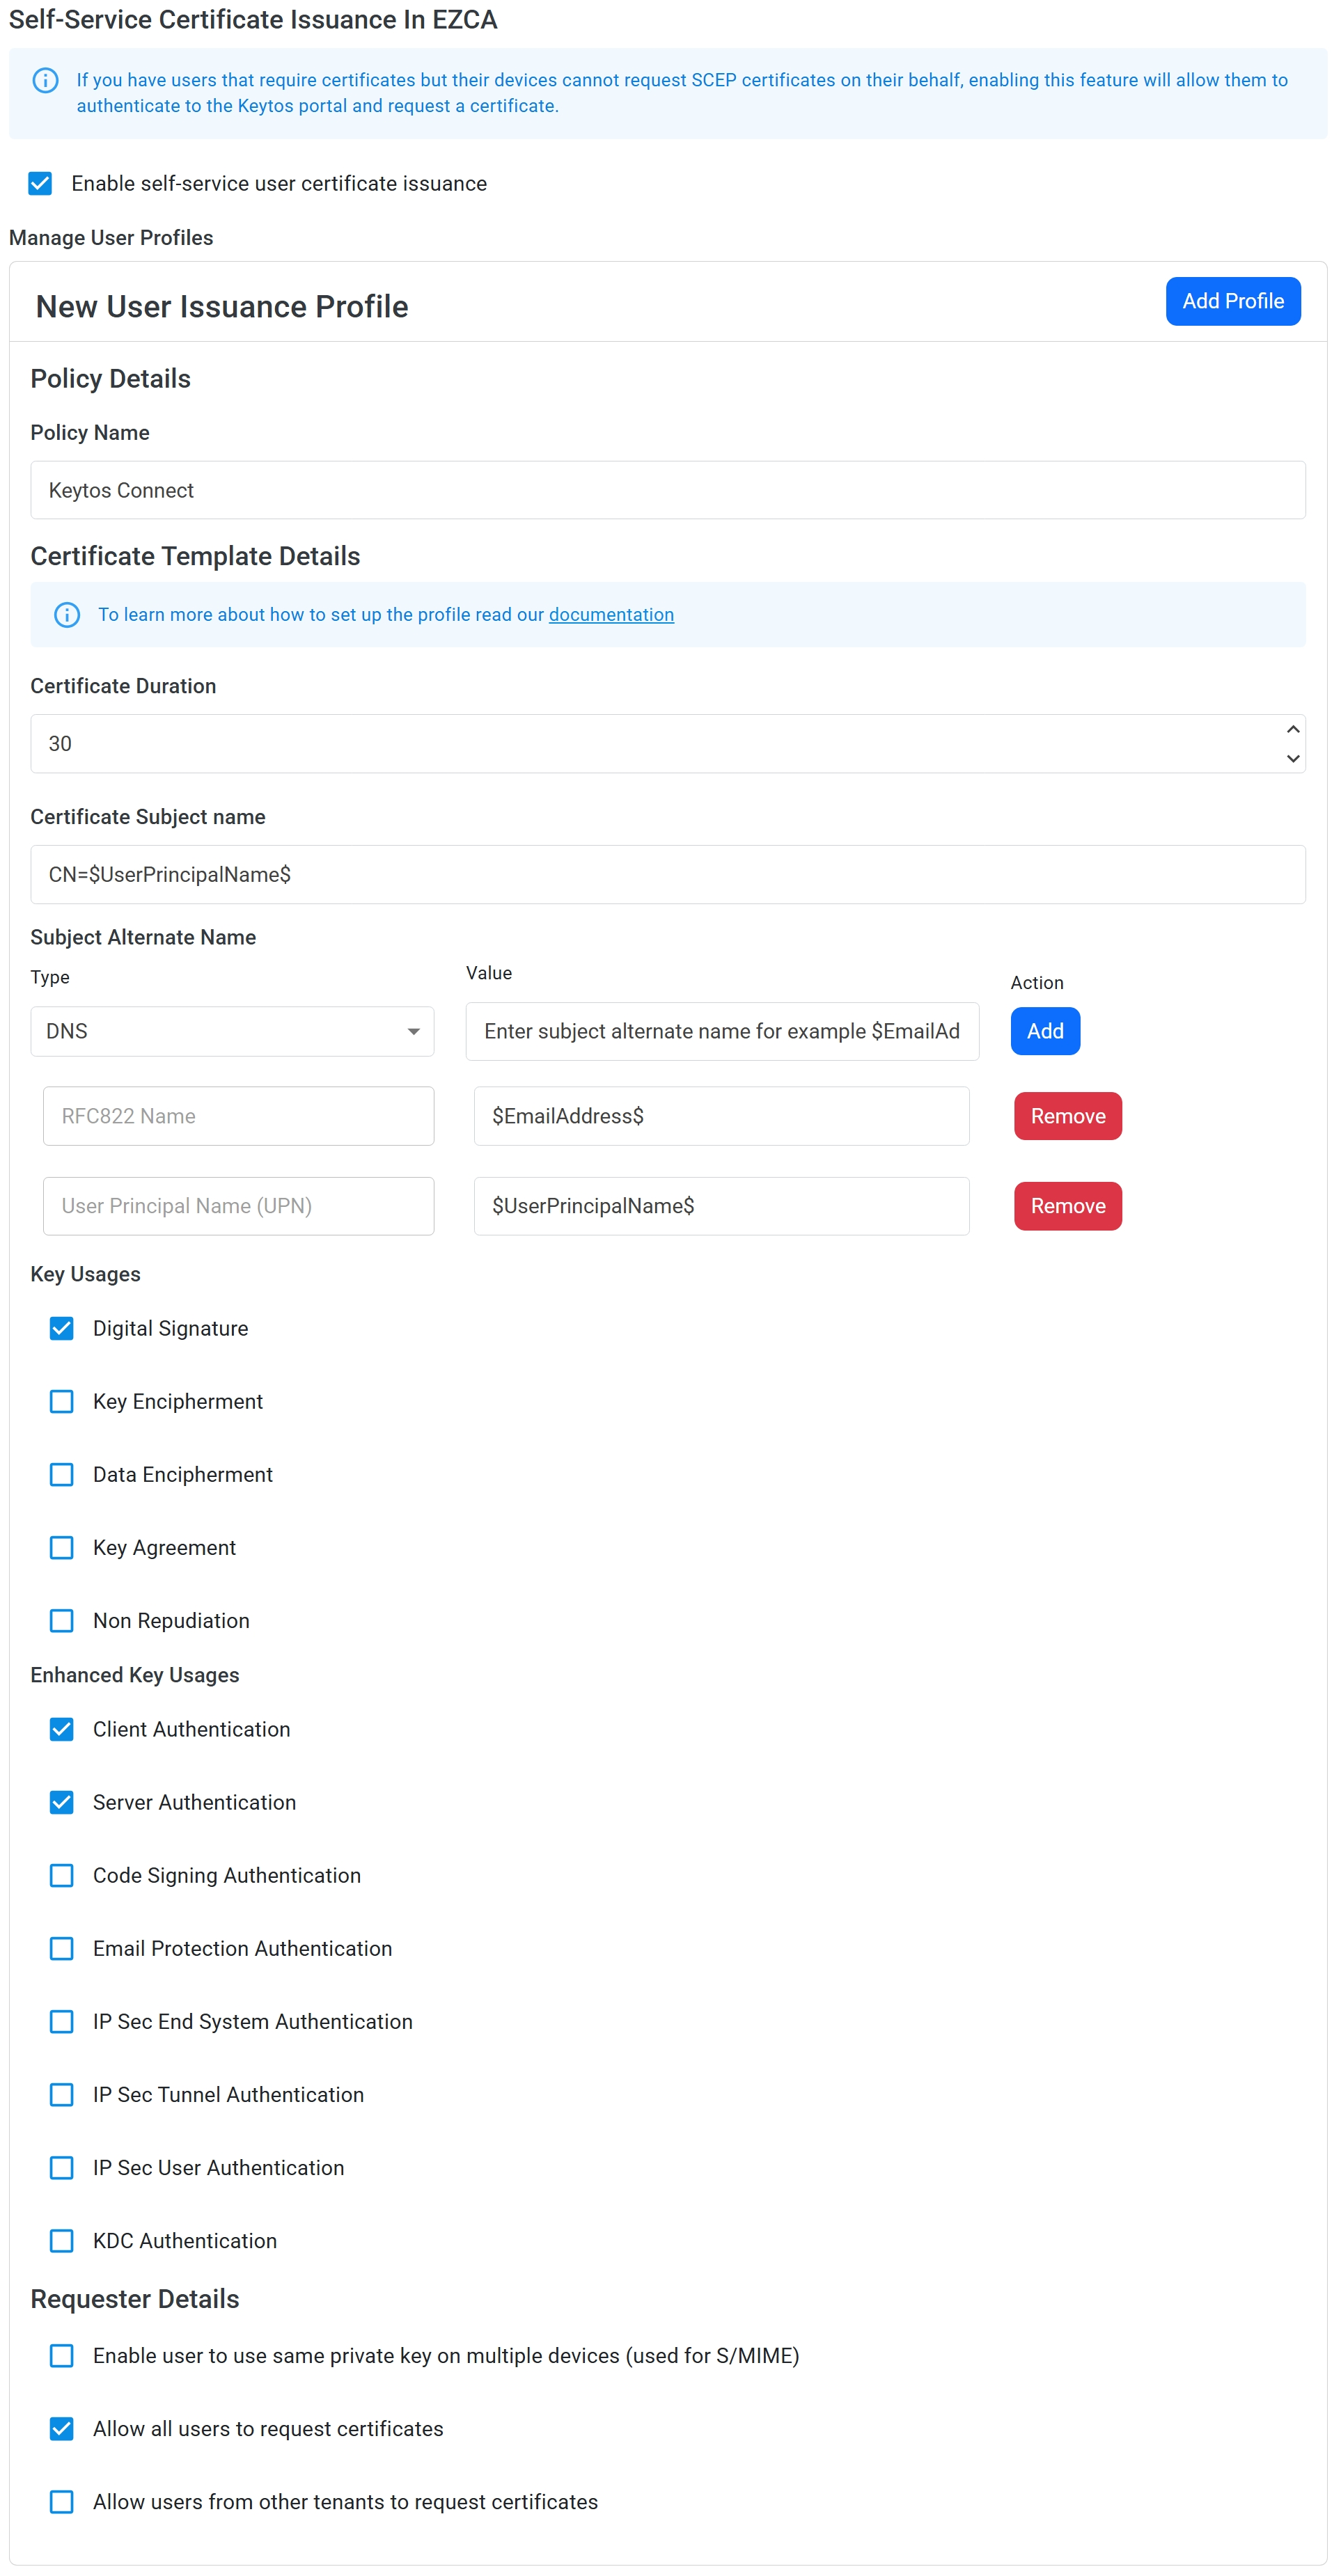
Under New User Issuance Profile, enter the following details:
- Policy Name: Enter a name for your certificate profile, such as “Keytos Connect”.
- Certificate Duration: Select the desired certificate duration (e.g. 30 days).
- Certificate Subject Name: Enter a Subject Name for newly issued certificates, such as
CN=$UserPrincipalName$. You can use the following variables to create a dynamic Subject Name that includes user attributes from Entra ID:$UserName$: The full name of the user, such as Jared Dunn.$UserPrincipalName$: The user principal name (UPN) of the user, such as jared@pidepiper.com.$Alias$: The alias of the user, which is the part of the UPN before the @ symbol, such as jared.$EmailAddress$: The email address of the user, from the mail attribute in Entra ID. If this is empty, the UPN will be used instead.$OnPremisesSamAccountName$: The on-premises SAM account name of the user. If this is empty, the UPN will be used instead.$OnPremisesDistinguishedName$: The on-premises distinguished name of the user. If this is empty, the UPN will be used instead.$OnPremisesUPN$: The on-premises user principal name (UPN) of the user. If this is empty, the UPN will be used instead.$OnPremisesSid$: The on-premises security identifier (SID) of the user. If this is empty, the UPN will be used instead.$OnPremisesDomainName$: The on-premises domain name of the user.$OnPremisesSamAndDomainName$: This field combines the on-premises SAM account name and domain name in the format username@DOMAIN. If this is empty, the UPN will be used instead.
- Subject Alternative Name: Enter a UPN or RFC822 Name SAN using the same format and variables as the Subject Name. For example, you could enter
UPN=$UserPrincipalName$to include a UPN SAN in the certificate. - Key Usages: Keep this set to “Digital Signature” unless you have a specific reason to change it.
- Extended Key Usages: Keep this set to “Client Authentication” and “Server Authentication” unless you have a specific reason to change it.
- Requester Details: Optionally uncheck Allow all users to request certificates if you want to limit certificate issuance to specific users or groups. Leave the other settings under Requester Details as they are.
-
You should now have a profile that looks like the following:
-
Click Add Profile to save your new certificate profile.
-
Scroll back up to the top of the page and click Save Changes to apply your new profile settings.
Step 2: How to Set Up a Self-Service Wi-Fi Profile in EZRADIUS for Keytos Connect
Now that you have a certificate profile set up in EZCA, the next step is to set up a new self-service Wi-Fi profile in EZRADIUS which defines the Wi-Fi network settings that will be pushed to your users’ devices along with their certificates.
-
Navigate to your EZRADIUS portal and sign-in with your RADIUS Administrator account.
-
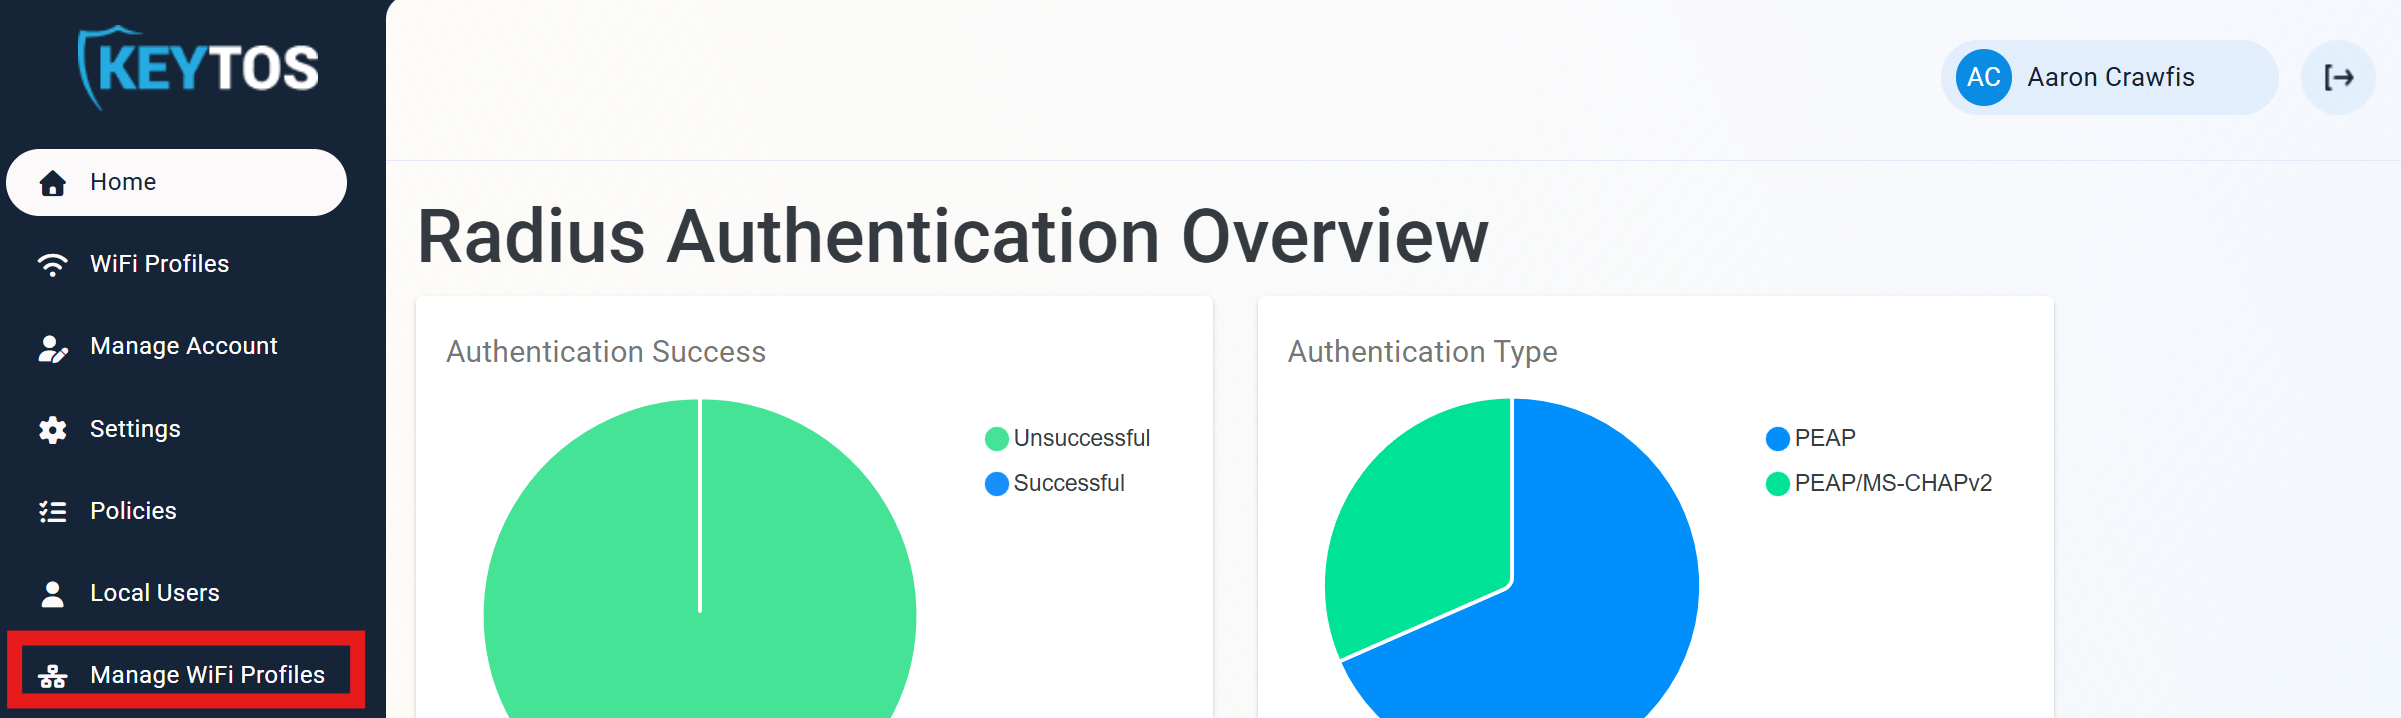
From the left-hand menu, click on the Manage Wi-Fi Profiles page.
-
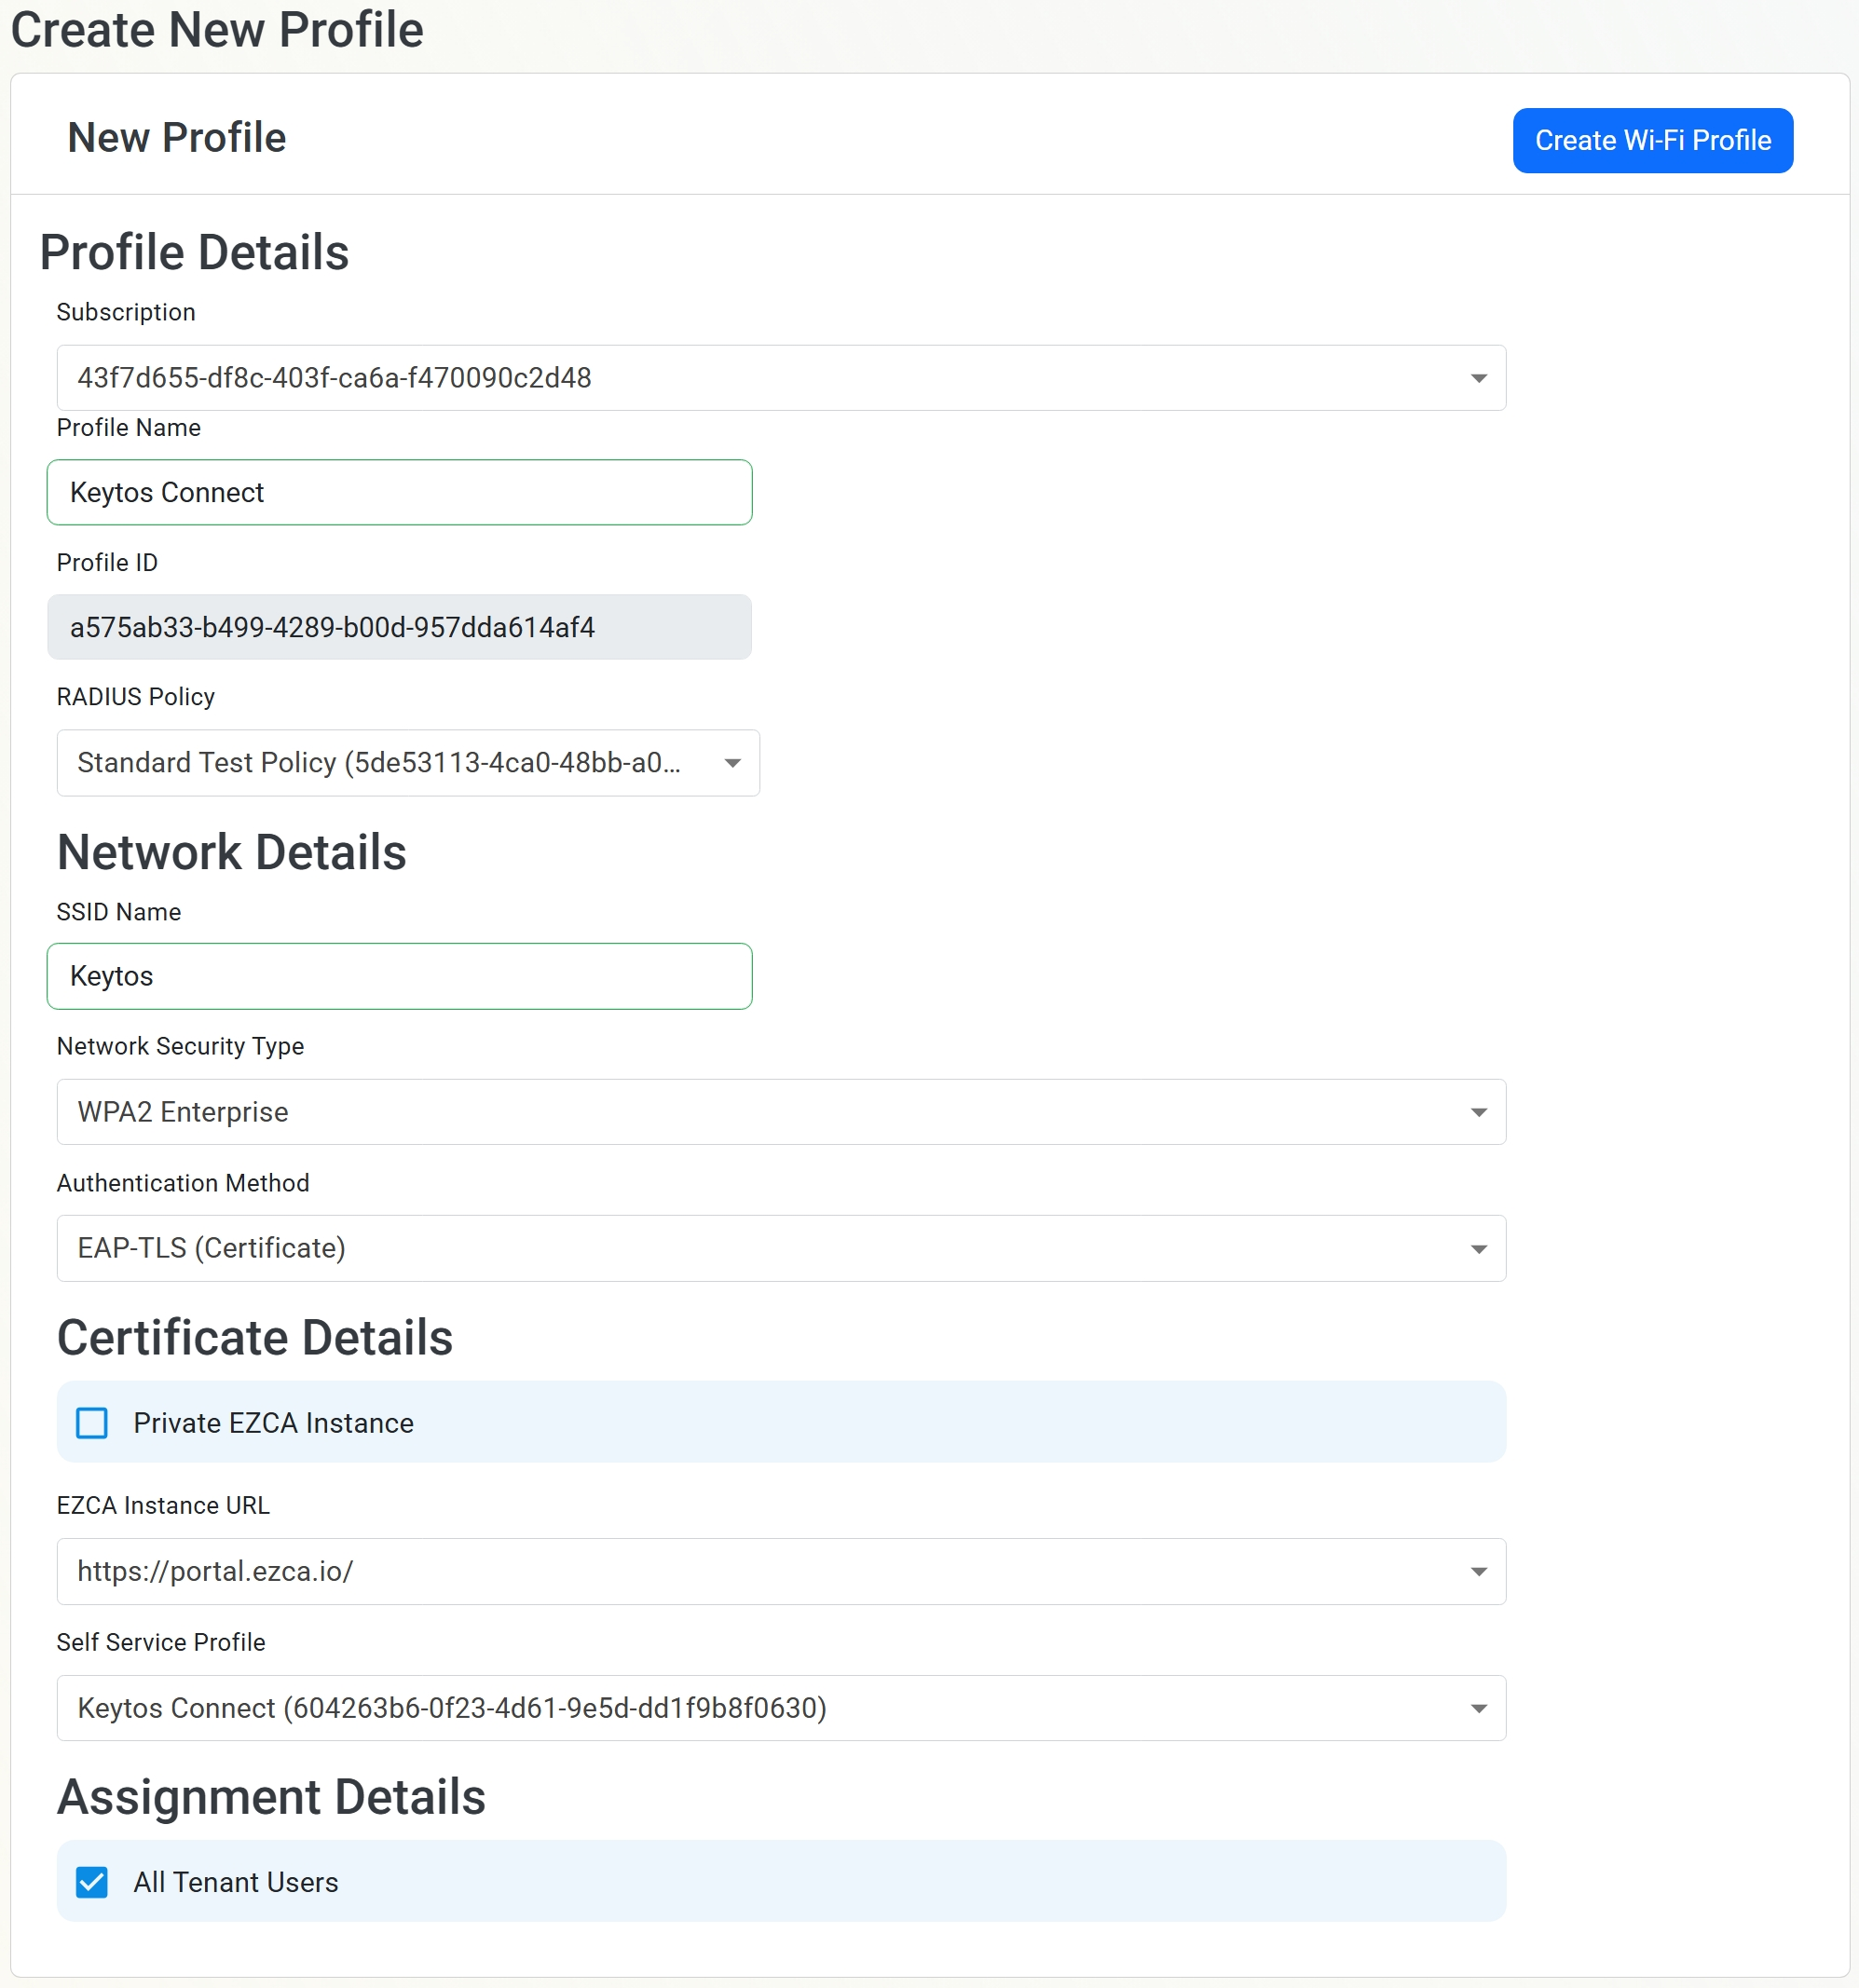
Under Create New Profile > New Profile, enter the following details:
- Subscription: Select your EZRADIUS subscription.
- Profile Name: Enter a name for your Wi-Fi profile, such as “Keytos Connect”.
- RADIUS Policy: Select the RADIUS policy you want to use for this Wi-Fi profile. Refer to this guide for help setting up a RADIUS policy in EZRADIUS if you don’t have one already.\
- SSID Name: Enter the SSID of your workplace or school Wi-Fi network that you want your users to connect to.
- Network Security Type: Select the security type of your Wi-Fi network (e.g. WPA2 Enterprise).
- Authentication Method: Select “EAP-TLS (Certificate)” as the authentication method. EAP-TTLS is not currently supported by Keytos Connect.
- EZCA Instance URL: Select your EZCA instance URL from the dropdown.
- Self Service Profile: Select the self-service certificate profile you created in the previous step.
- All Tenant Users: Uncheck this box to limit this Wi-Fi profile to specific users or groups. If left checked, all users in your Entra ID tenant will be able to see and use this Wi-Fi profile in Keytos Connect.
-
You should now have a form that looks like the following:
-
Click Create Wi-Fi Profile to save your new Wi-Fi profile.
-
Done! Your staff and students can now use Keytos Connect to sign in with their Microsoft workplace or school accounts, receive their certificates, and connect to your workplace or school Wi-Fi network with ease.
How to Distribute Keytos Connect to Your Users
Now that you have Keytos Connect set up and configured for your workplace or school Wi-Fi, the next step is to distribute the Keytos Connect application to your users so they can get connected. Keytos Connect is available on all major desktop and mobile operating systems including Windows, macOS, Android, iOS, iPadOS, and Linux. You can choose to distribute the app via your existing MDM solution such as Microsoft Intune or Jamf, or you can simply share the download links with your users and have them install it themselves.


View our Keytos Connect User Guide for detailed instructions you can share with your users on how to install Keytos Connect and connect to your workplace or school Wi-Fi network.