















How-To: Set Up Your Security Key with Keytos Connect
Overview - How Do I Set Up My Security Key?
When you get a new security key from your workplace or school, such as a YubiKey, you set it up in Keytos Connect. Keytos Connect puts your work or school credentials on the key so you can use it to sign in.
You can prove who you are in one of two ways, depending on what your organization allows:
- Entra ID: Sign in with your existing work or school account. Use this if you can already sign in.
- Government ID: Verify your identity with a government-issued ID and your phone. Use this if you’re new and don’t have a working account yet, or if you’re locked out.
If you can sign in to Keytos Connect, you can request a security key. If you can’t sign in, contact your workplace or school’s IT team so they can securely issue a key for you.
Before You Begin
- Install Keytos Connect on your computer.
- Have your new security key ready.
- If you’re using a government ID, have your ID and a smartphone with a camera ready.
Step-by-Step Guide - How to Onboard Your Security Key in Keytos Connect
Use the tabs below to follow the steps for how you’re verifying your identity.
If you’re onboarding for the first time, or you need to do a full recovery because you can’t sign in, use the Government ID tab instead.
How to Sign In with Your Work or School Account
-
Open Keytos Connect, enter your work or school email under Enter your email to begin, and click Begin.
-
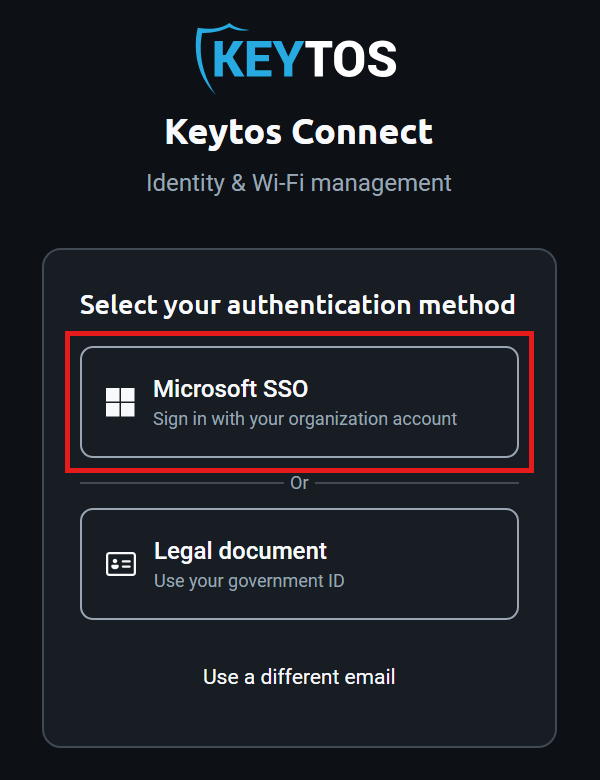
Under Select your authentication method, click Microsoft SSO, and complete the sign-in in the browser window that opens.
How to Install Your Identity on Your Security Key
-
Plug your security key into your computer.
-
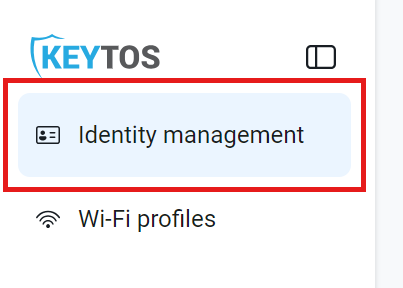
In the left-hand menu, click Identity management.
-
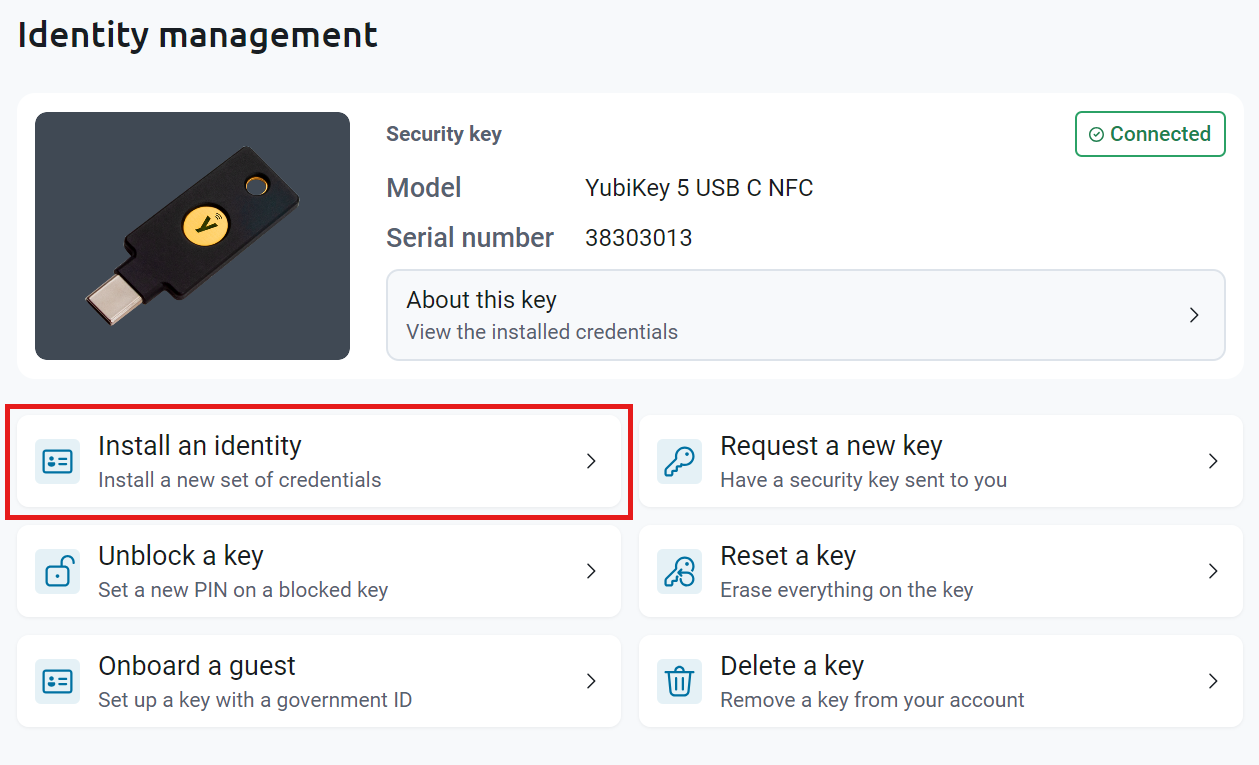
Click Install an identity.
-
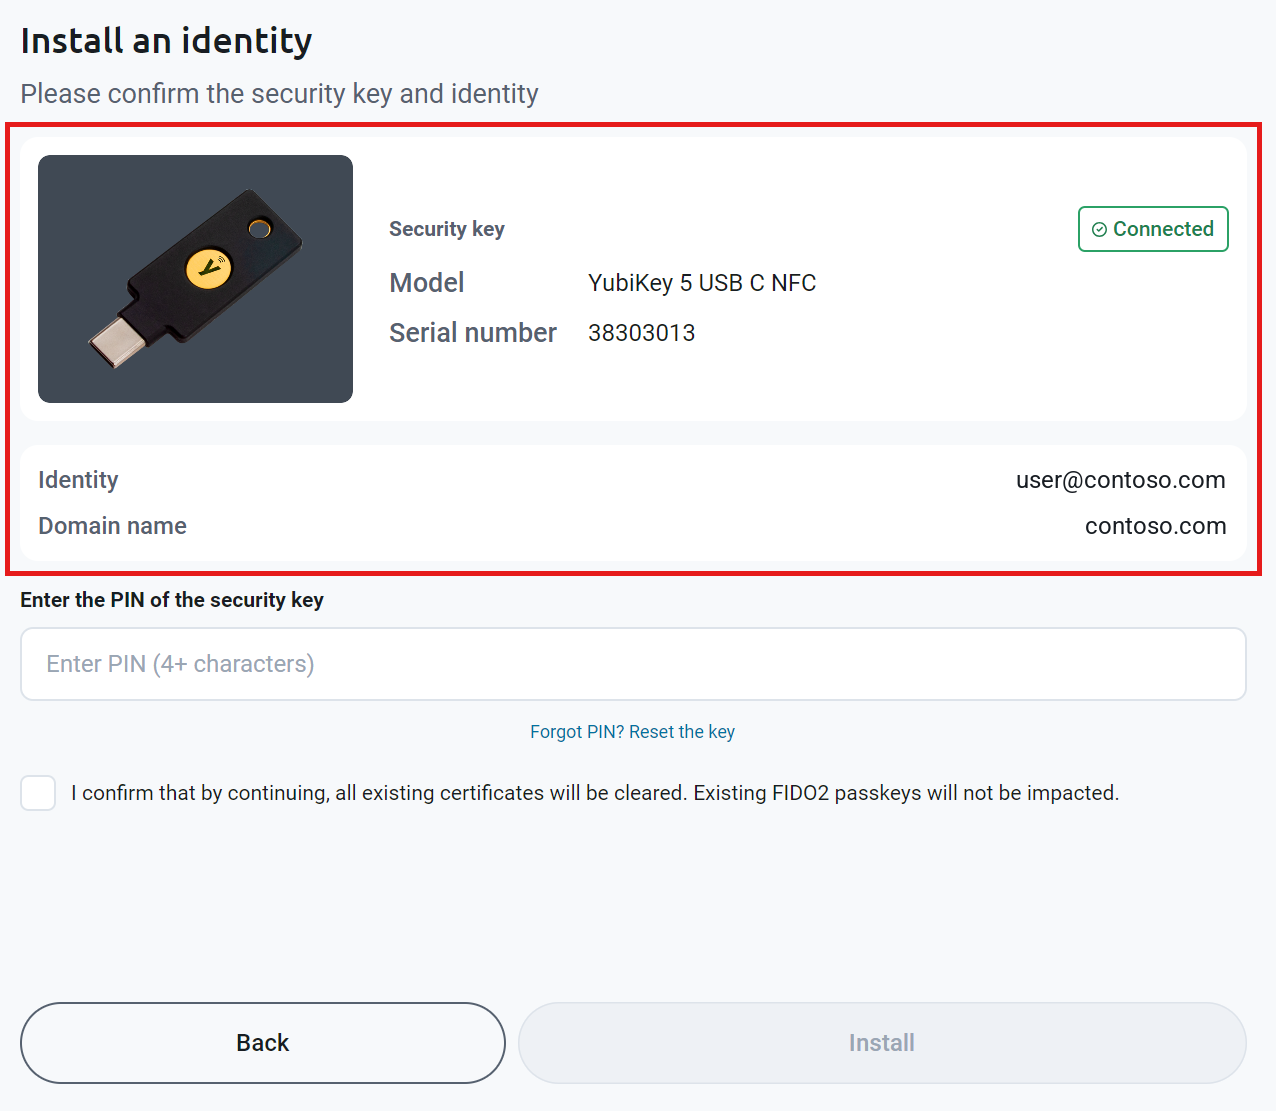
Under Please confirm the security key and identity, check that the Model and Serial number match your key, and that Identity shows your work or school account.
-
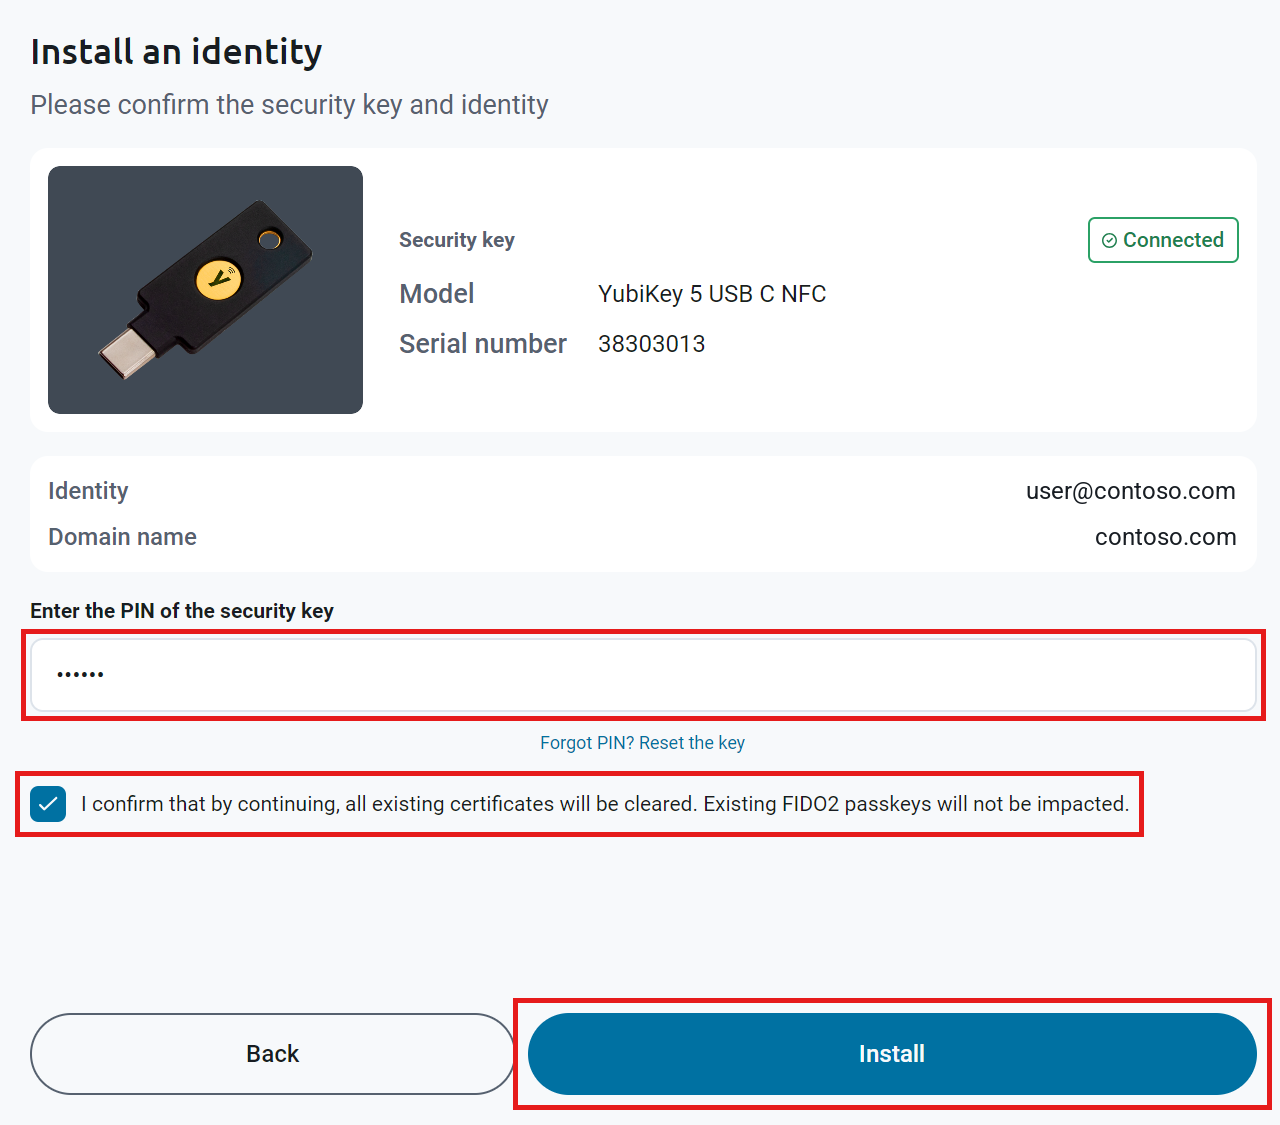
Under Enter the PIN of the security key, enter your key’s PIN. If you don’t know it, click Forgot PIN? Reset the key. Then check the box to confirm that all existing certificates on the key will be cleared, and click Install. Existing FIDO2 passkeys on the key aren’t affected.
-
Keep your security key plugged in, and touch it each time it blinks until Keytos Connect finishes installing your credentials.
-
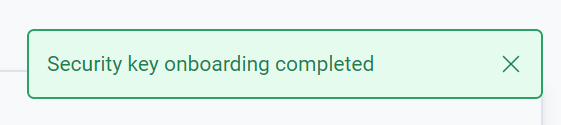
Keytos Connect shows Security key onboarding completed.
-
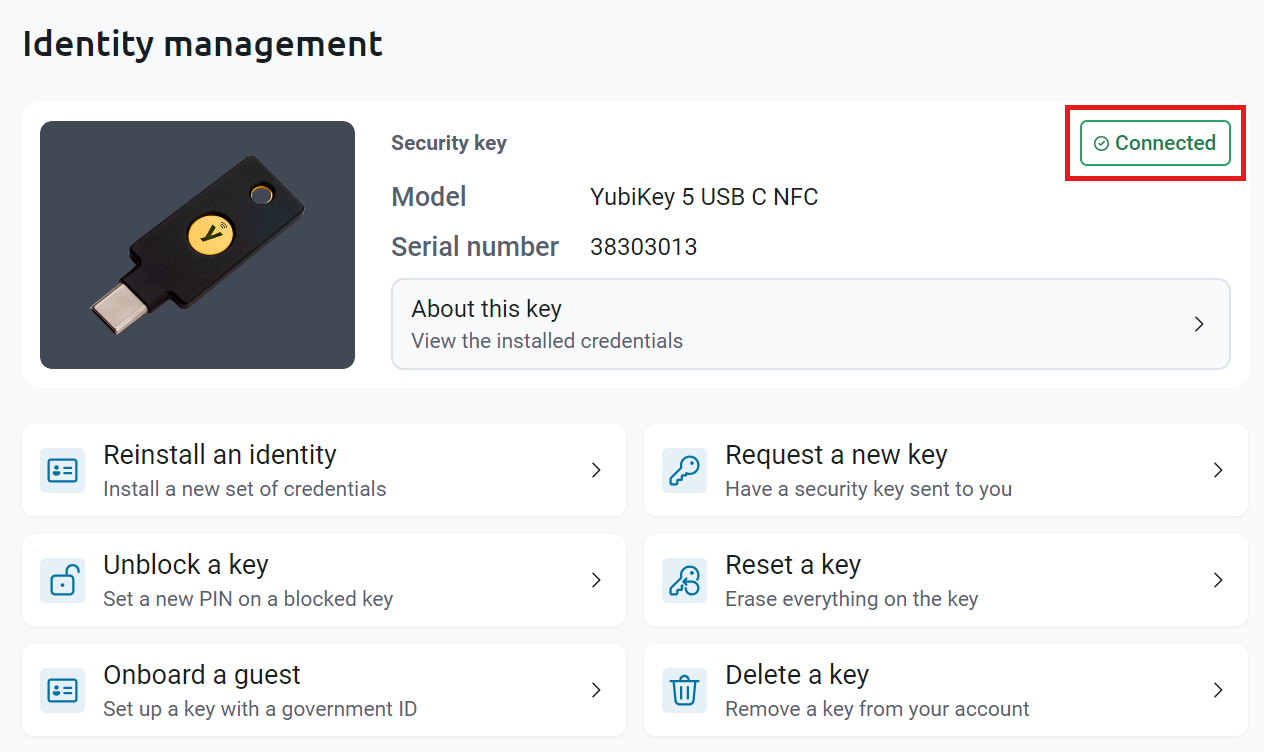
On the Identity management page, your security key shows as Connected, with its Model and Serial number. To see what’s on it, click About this key.
If you don’t see Legal document when you sign in, your IT team hasn’t turned on government ID verification for your organization. Contact your IT team for help.
How to Choose Government ID Verification
-
Open Keytos Connect, enter your work or school email under Enter your email to begin, and click Begin.
-
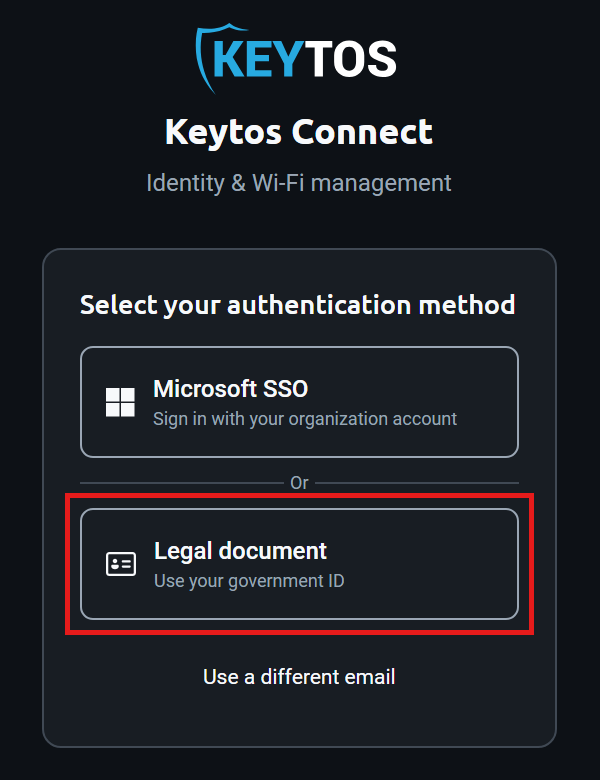
Under Select your authentication method, click Legal document.
How to Verify Your Identity with Your Phone
-
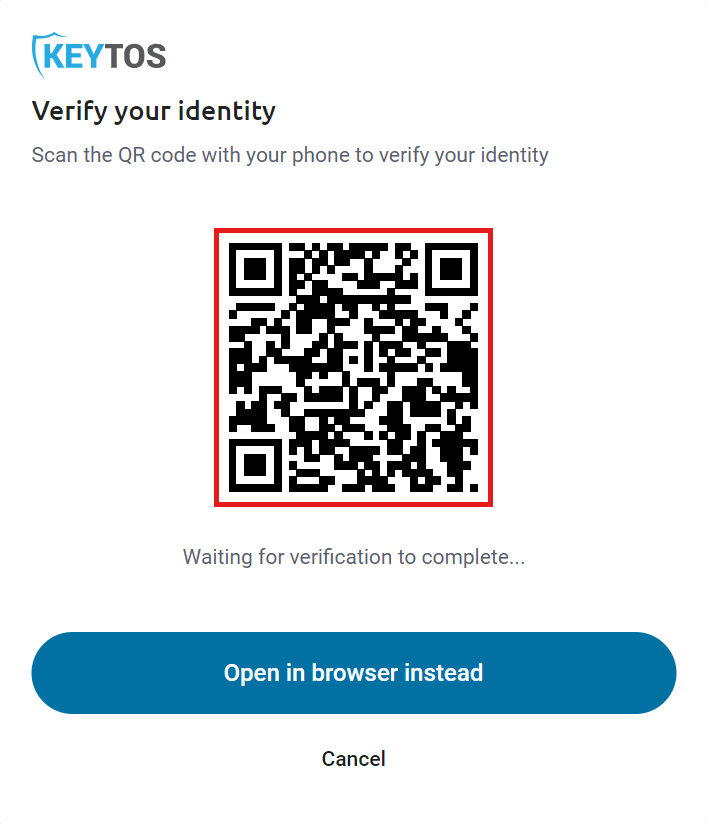
Keytos Connect shows a QR code. Scan it with your phone’s camera to open the identity verification page on your phone. To verify on this computer instead, click Open in browser instead.
-
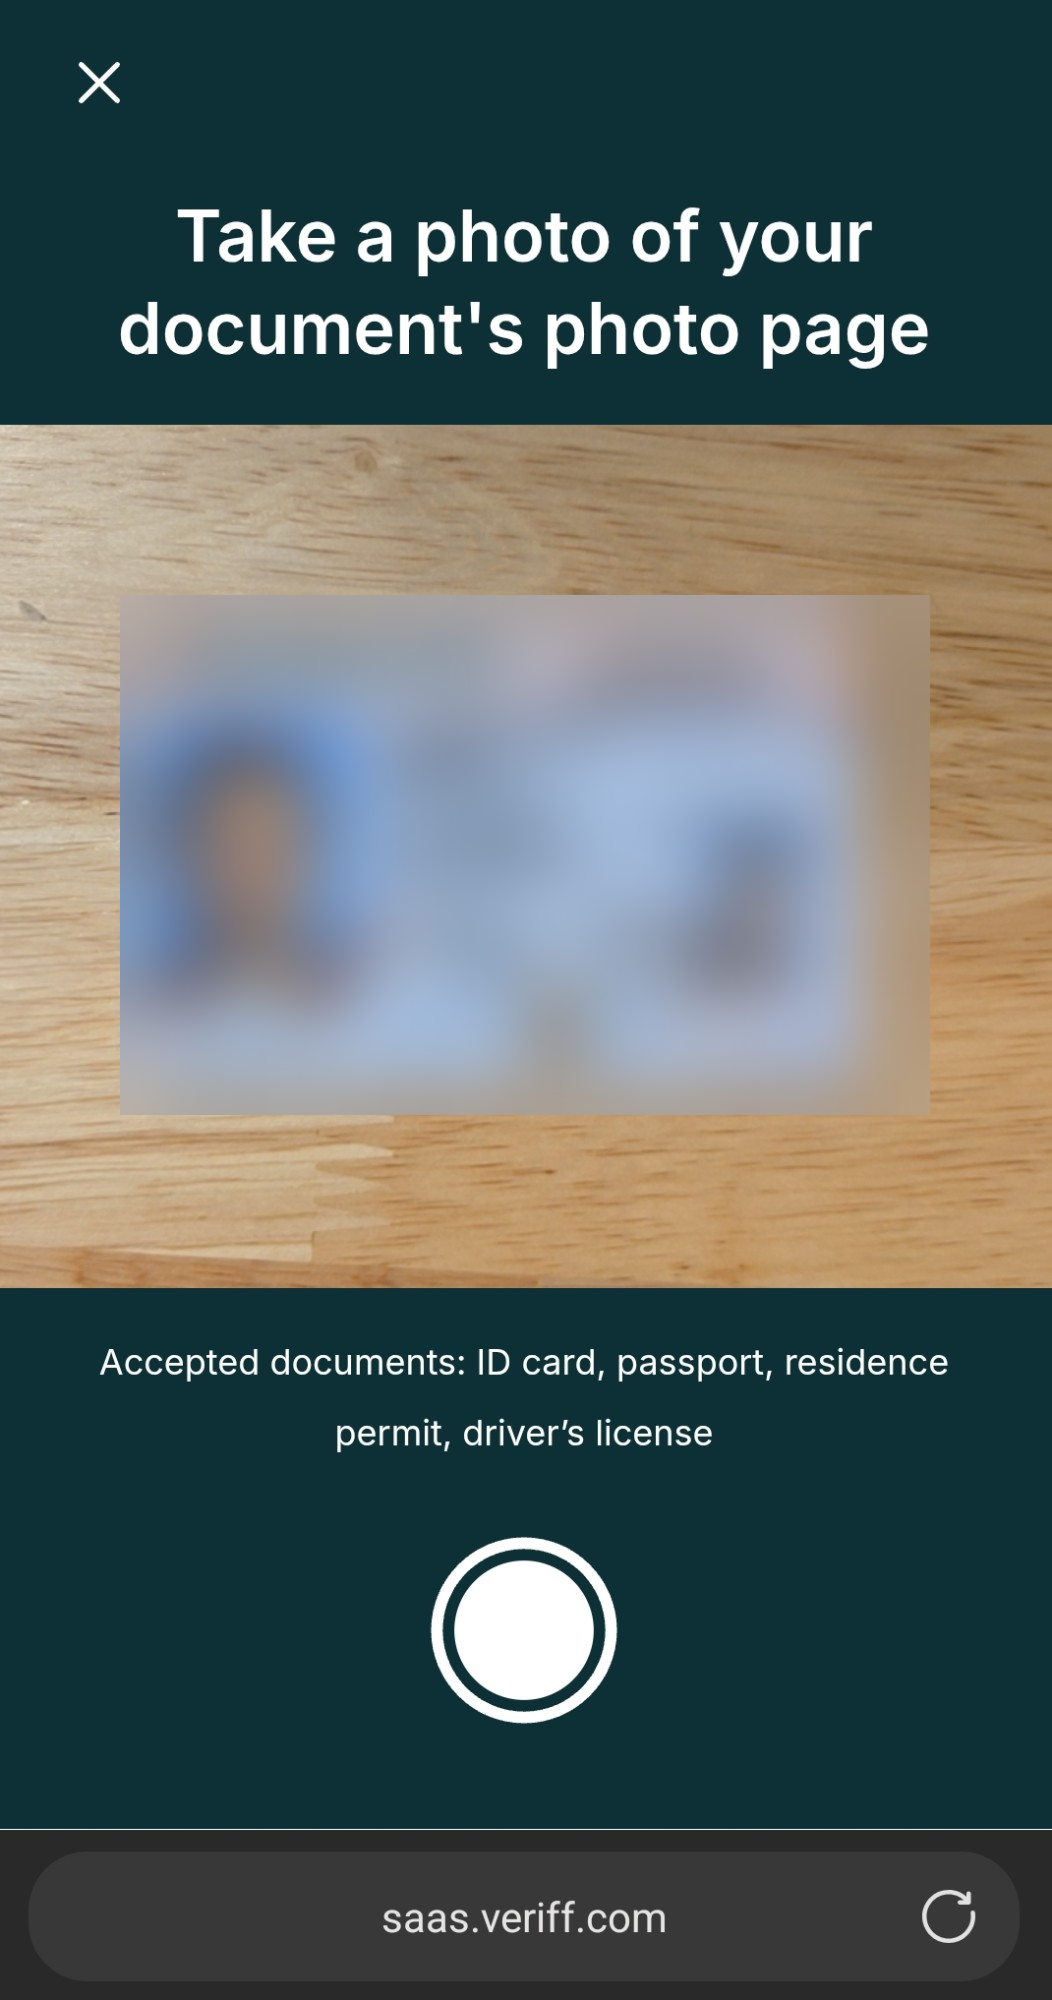
On your phone, follow the prompts on the Veriff identity verification page. When asked to Take a photo of your document’s photo page, place your ID on a flat surface and take a photo. Accepted documents are an ID card, passport, residence permit, or driver’s license.
-
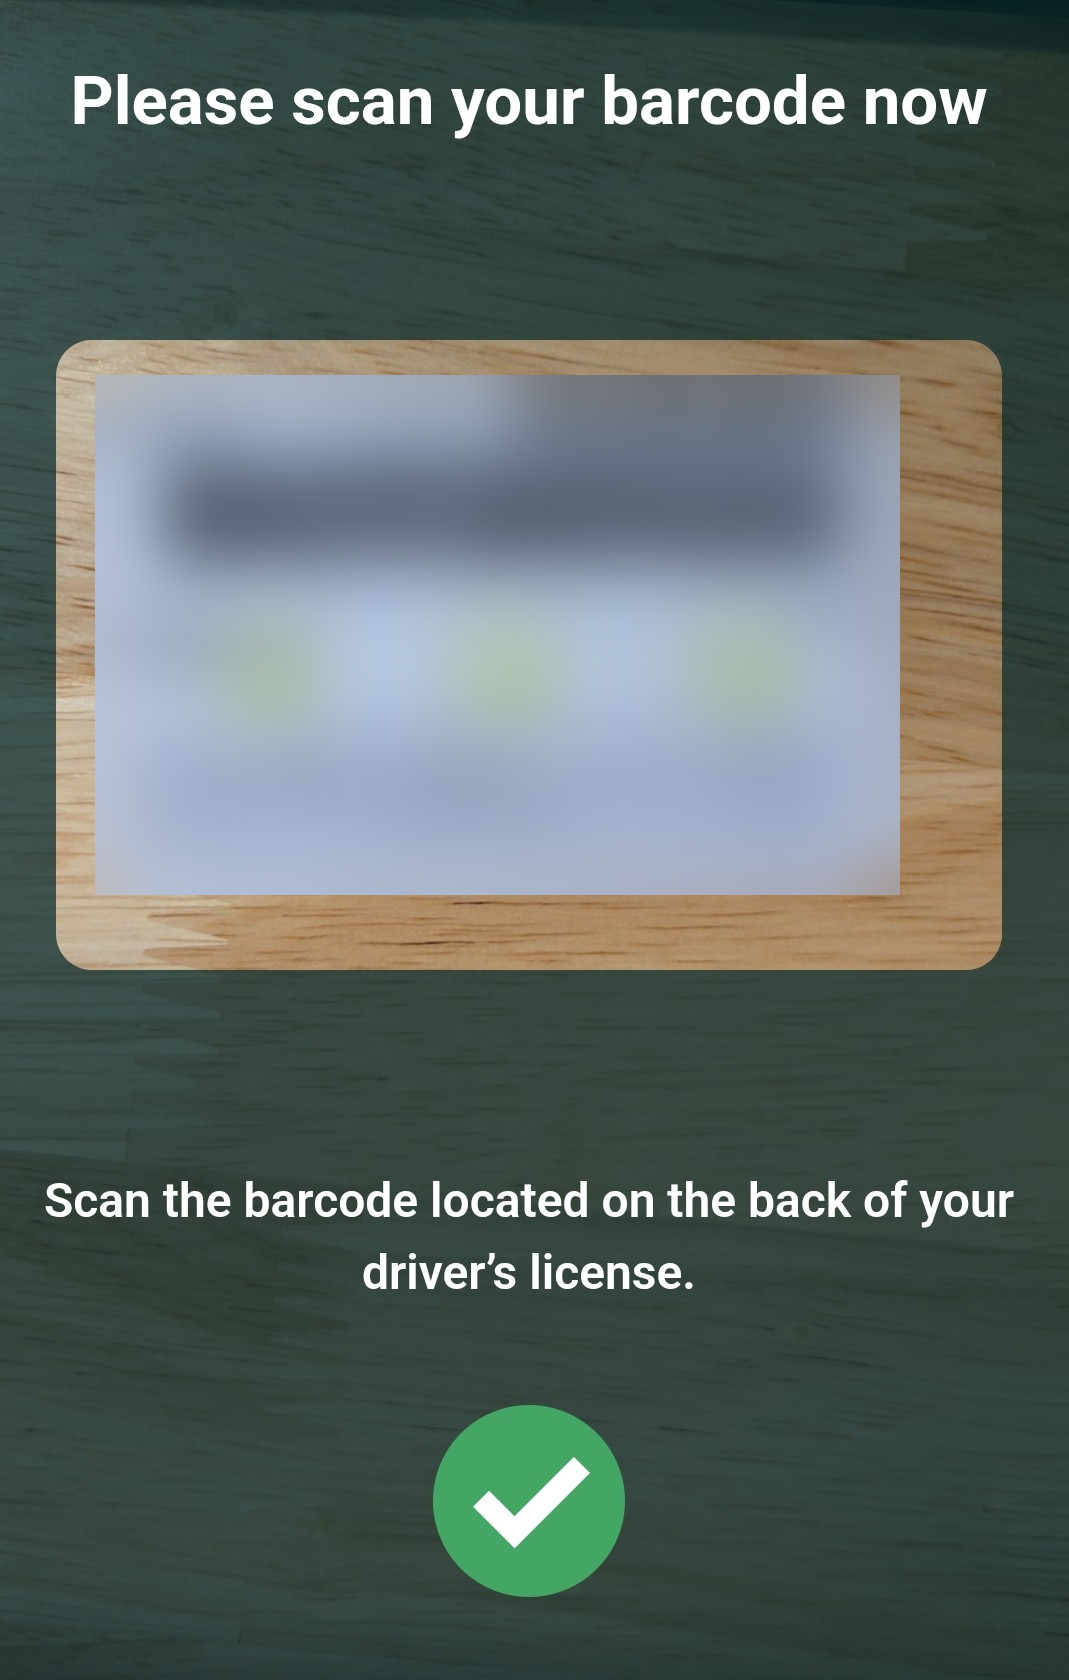
If you’re using a driver’s license, you’re asked to scan the barcode located on the back of your driver’s license. Turn your license over and hold the barcode in the frame until you see a green check mark.
-
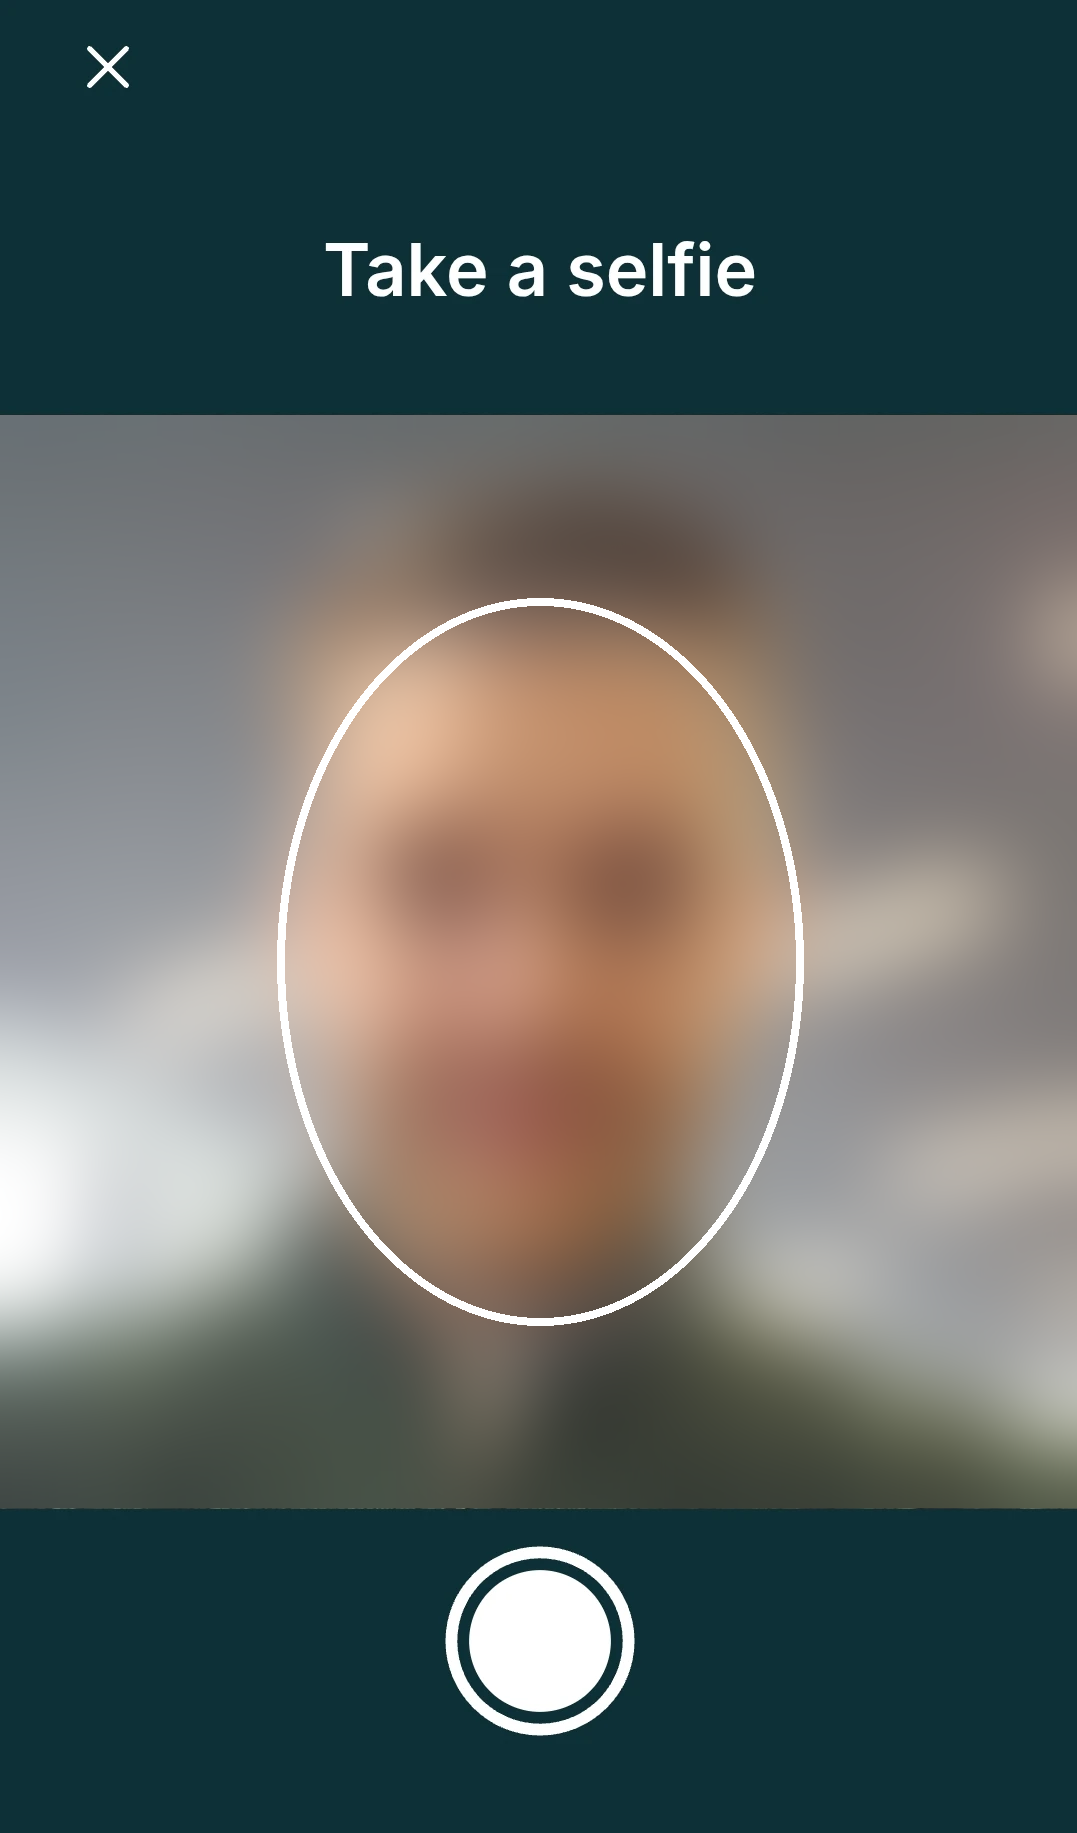
When asked to Take a selfie, hold your phone at eye level, center your face in the oval, and tap the shutter button. Veriff compares your selfie with the photo on your ID.
-
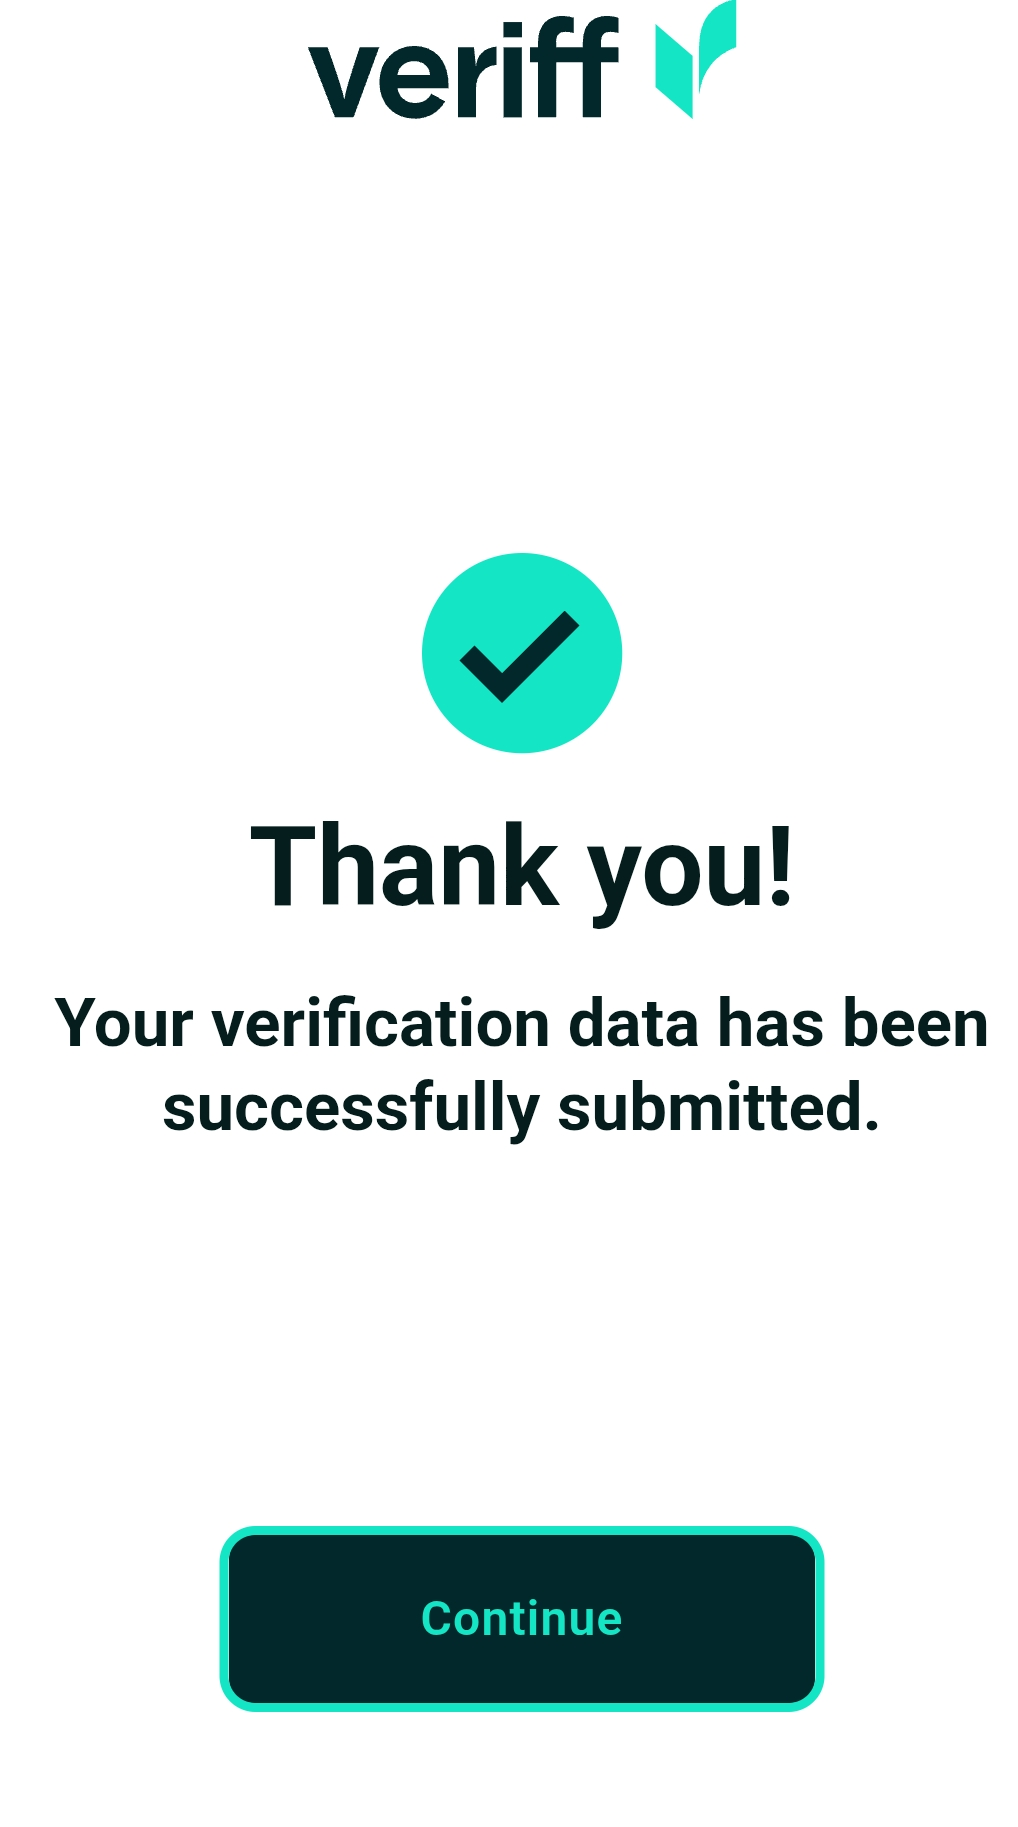
Complete any other prompts. When you see Thank you!, your verification data has been submitted. Tap Continue.
How to Start Setting Up Your Security Key
-
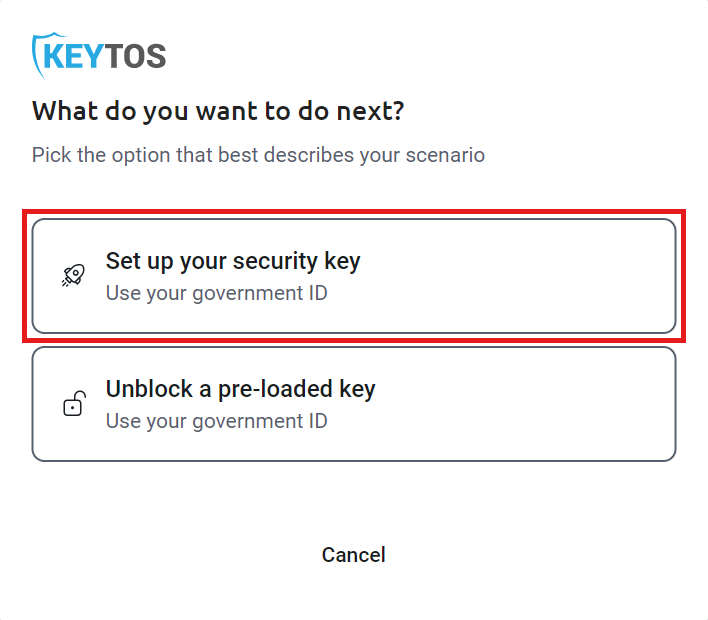
Back in Keytos Connect, under What do you want to do next?, click Set up your security key. If your IT team already put your credentials on the key, click Unblock a pre-loaded key instead, and set your own PIN.
How to Connect Your Security Key
-
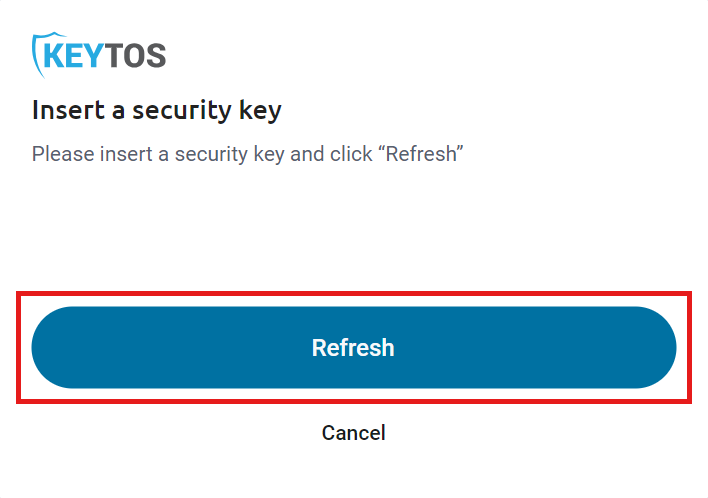
If you see Insert a security key, plug your security key into your computer, and click Refresh.
-
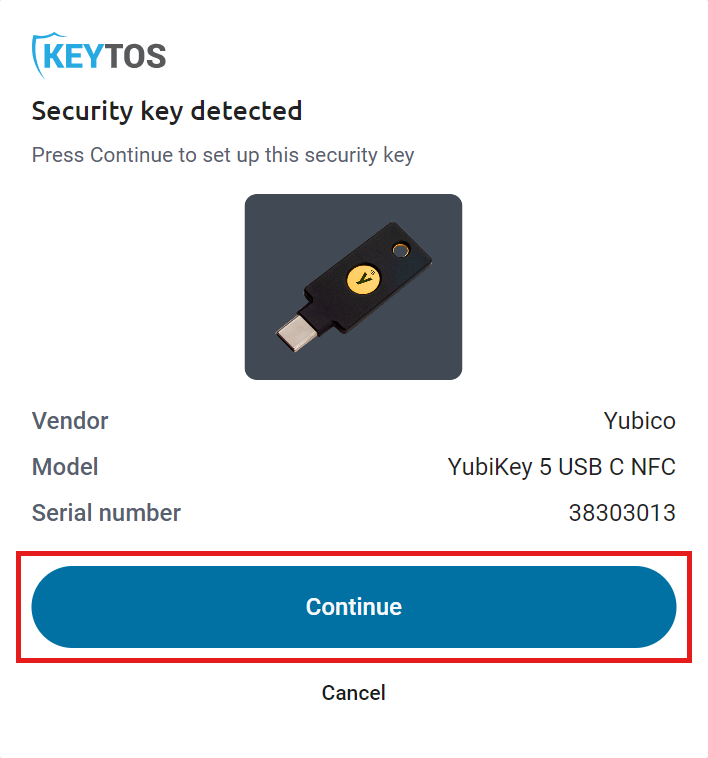
Under Security key detected, check that the Vendor, Model, and Serial number match the key you plugged in, and click Continue.
How to Put Your Credentials on Your Security Key
-
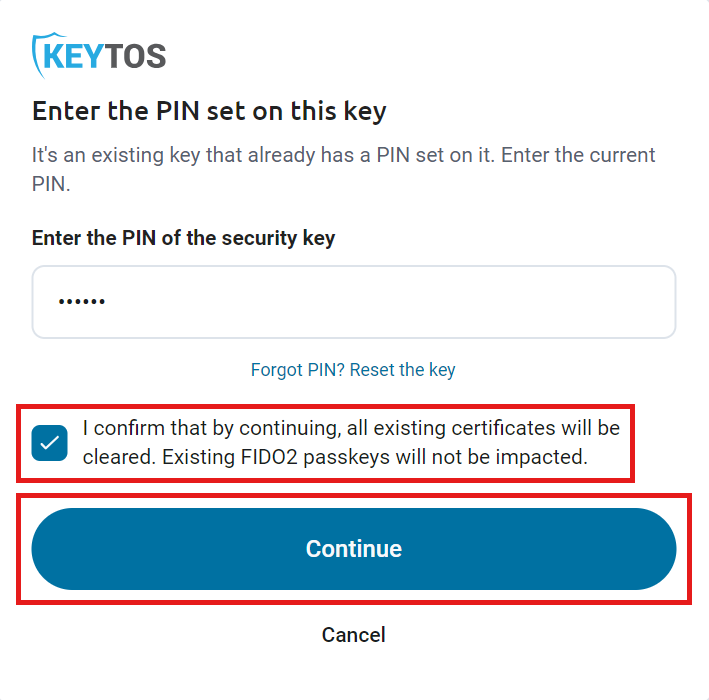
If your key already has a PIN, you see Enter the PIN set on this key. Enter the key’s current PIN. If you don’t know it, click Forgot PIN? Reset the key.
-
Check the box to confirm that all existing certificates on the key will be cleared. Existing FIDO2 passkeys on the key aren’t affected. Click Continue.
-
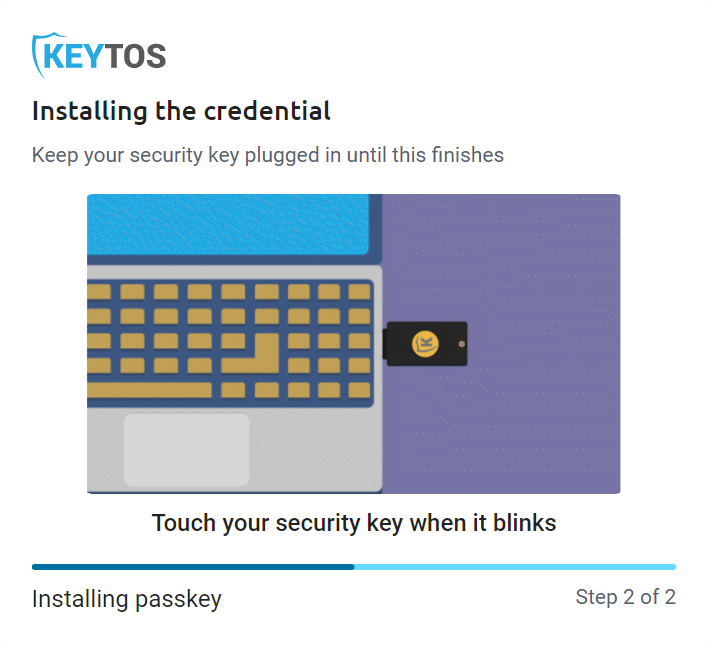
Keytos Connect shows Installing the credential. Keep your security key plugged in, and touch it each time it blinks. Setup has two steps, and the last one installs your passkey.
-
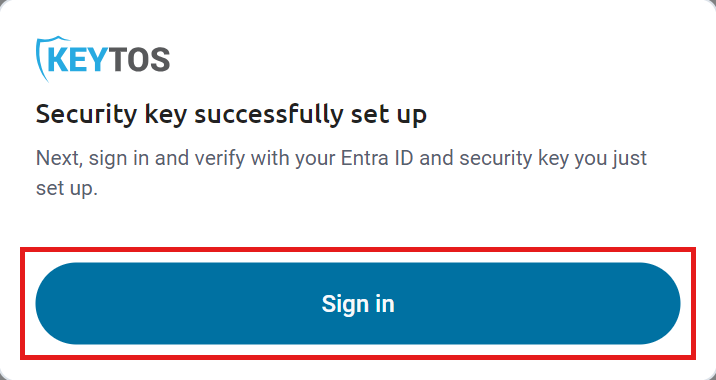
When you see Security key successfully set up, click Sign in.
How to Sign In with Your New Security Key
-
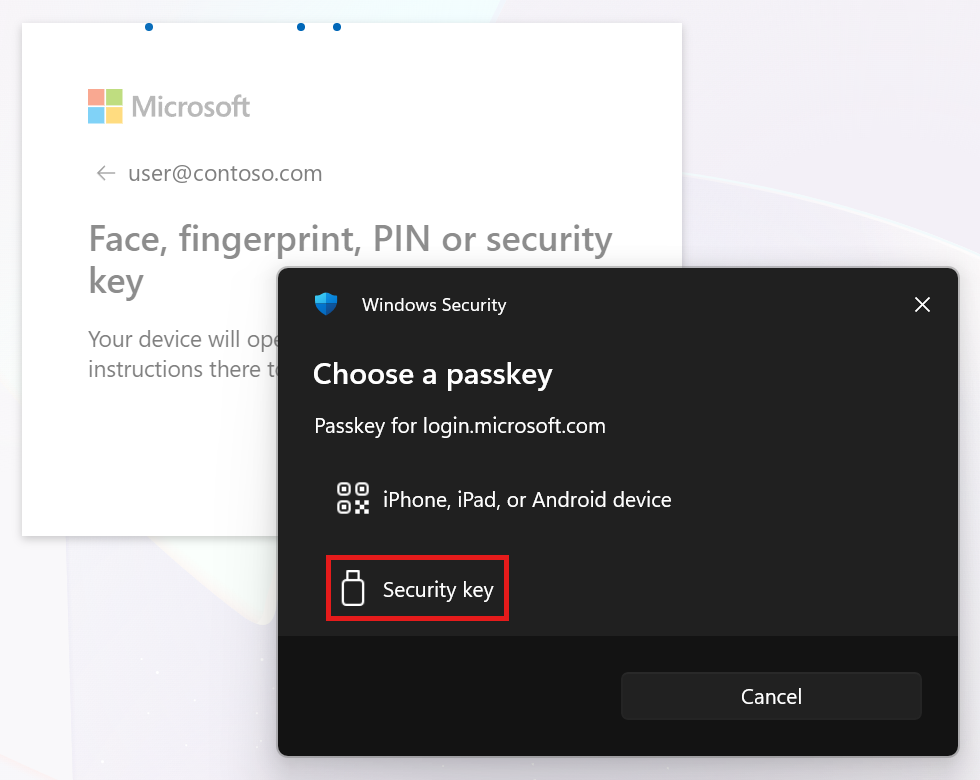
In the Microsoft sign-in window, under Face, fingerprint, PIN or security key, Windows asks you to Choose a passkey. Click Security key.
-
Enter your security key’s PIN, and touch the key when it blinks.
-
Keytos Connect shows Security key onboarding completed.
-
On the Identity management page, your security key shows as Connected, with its Model and Serial number. To see what’s on it, click About this key.
Done! You can now use your security key to sign in to your work or school account.