












How-To: Bootstrap Security Keys for Users in Keytos Shield
Overview - What is Security Key Bootstrapping in Keytos Shield?
Bootstrapping lets your IT help desk set up a user’s security key for them. Instead of shipping a blank key and having the user enroll it, a credential manager installs the user’s identity on the key in Keytos Connect, and then ships the key, ready to use. This is useful for new hires who don’t have a working credential yet, or for users who need a replacement key quickly.
Bootstrapping follows the normal request flow, with one extra step before the key ships:
- The user requests a security key.
- An administrator approves the request and assigns a key from your inventory.
- A credential manager bootstraps the key with the user’s identity.
- You ship the key to the user, or hold it for pickup.
Prerequisites for Bootstrapping Security Keys in Keytos Shield
-
You have completed Keytos Shield identity security onboarding.
-
You have the Owner or Identity Administrator role on your Keytos Shield subscription, so you can see Admin access in Keytos Connect.
-
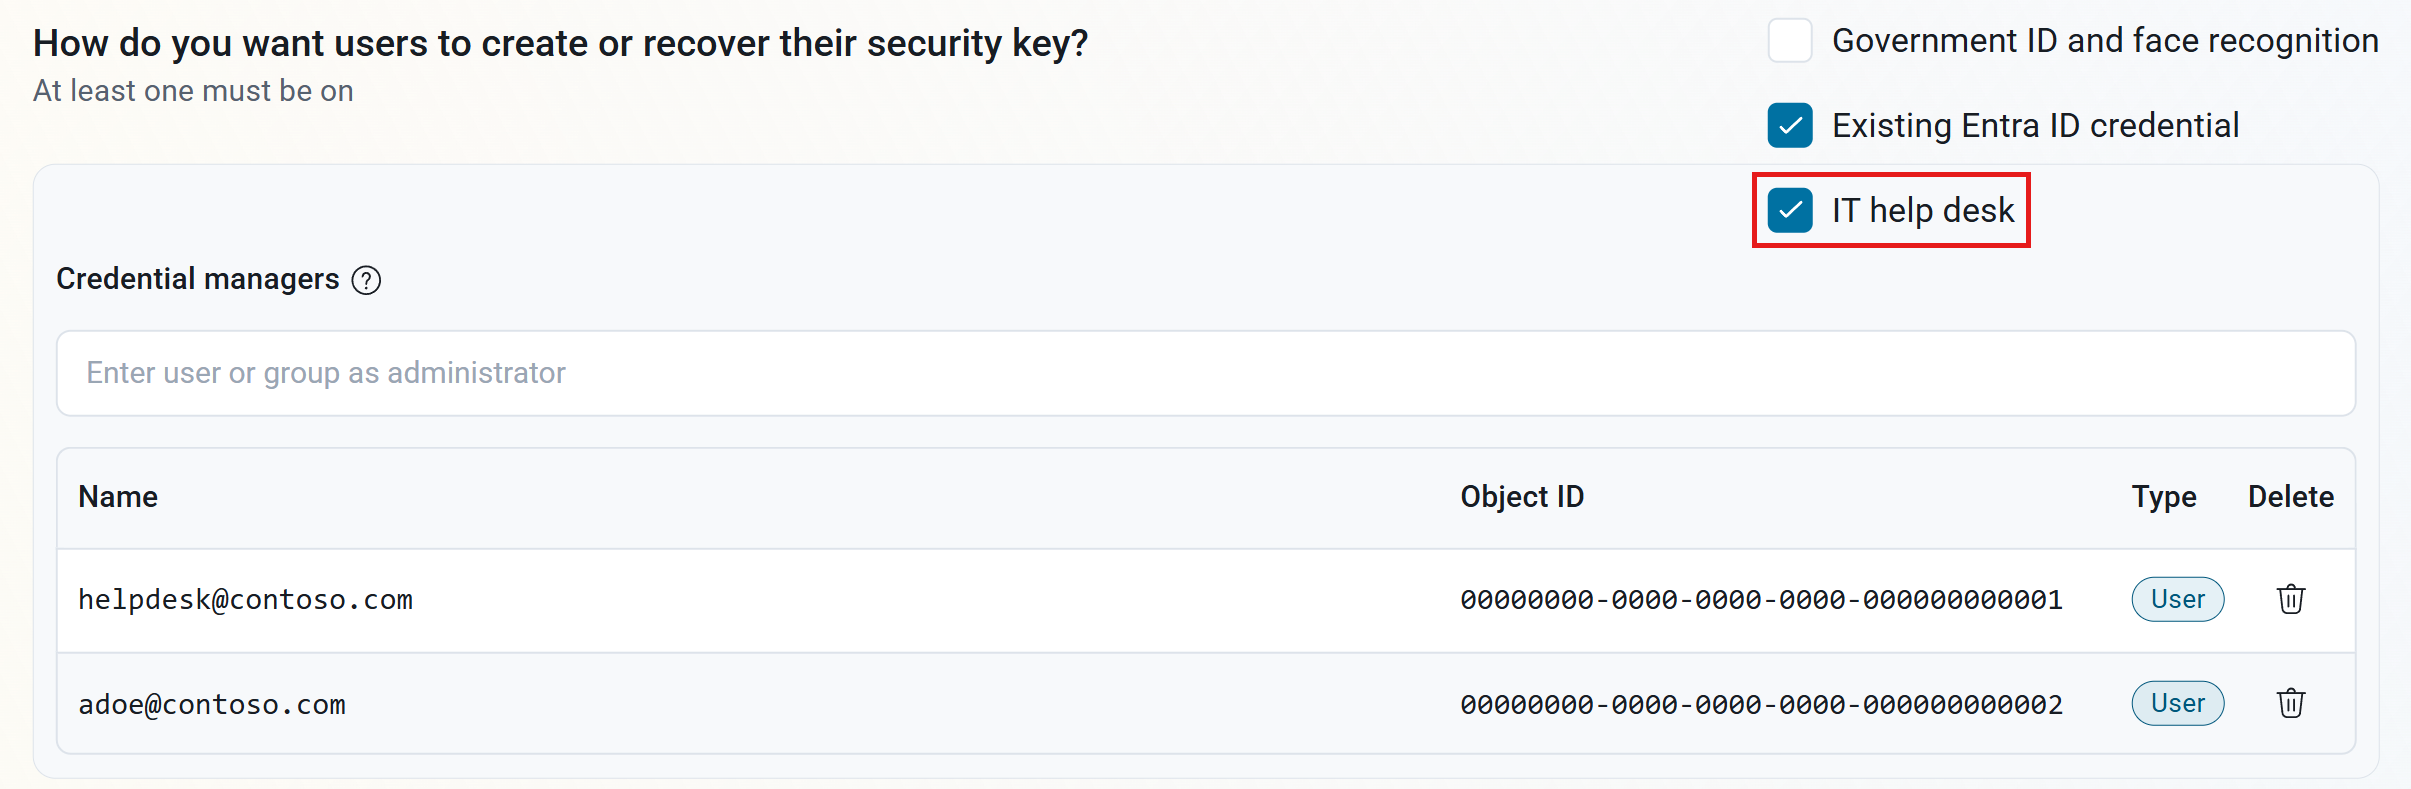
IT help desk is turned on, and you are a credential manager. In the Shield portal, go to Identity settings > Enrollment and recovery. Under How do you want users to create or recover their security key?, check IT help desk, and then add yourself, or a group you belong to, under Credential managers. Credential managers can onboard security keys on behalf of users, but can’t assign keys. Click Save changes.
-
You have registered the security key in your inventory, and you have it plugged in to the computer running Keytos Connect.
Step-by-Step Guide - How to Bootstrap a Security Key in Keytos Shield
Step 1 - How Users Request a Security Key
The user requests a security key in Keytos Connect by clicking Request a new key on the Identity management page and filling in the key type, where to receive it, and why they need it. If an administrator makes the request instead, it’s approved automatically, and you can skip to Step 3.
Step 2 - How to Approve the Security Key Request
-
Open Keytos Connect and sign in with your administrator account.
-
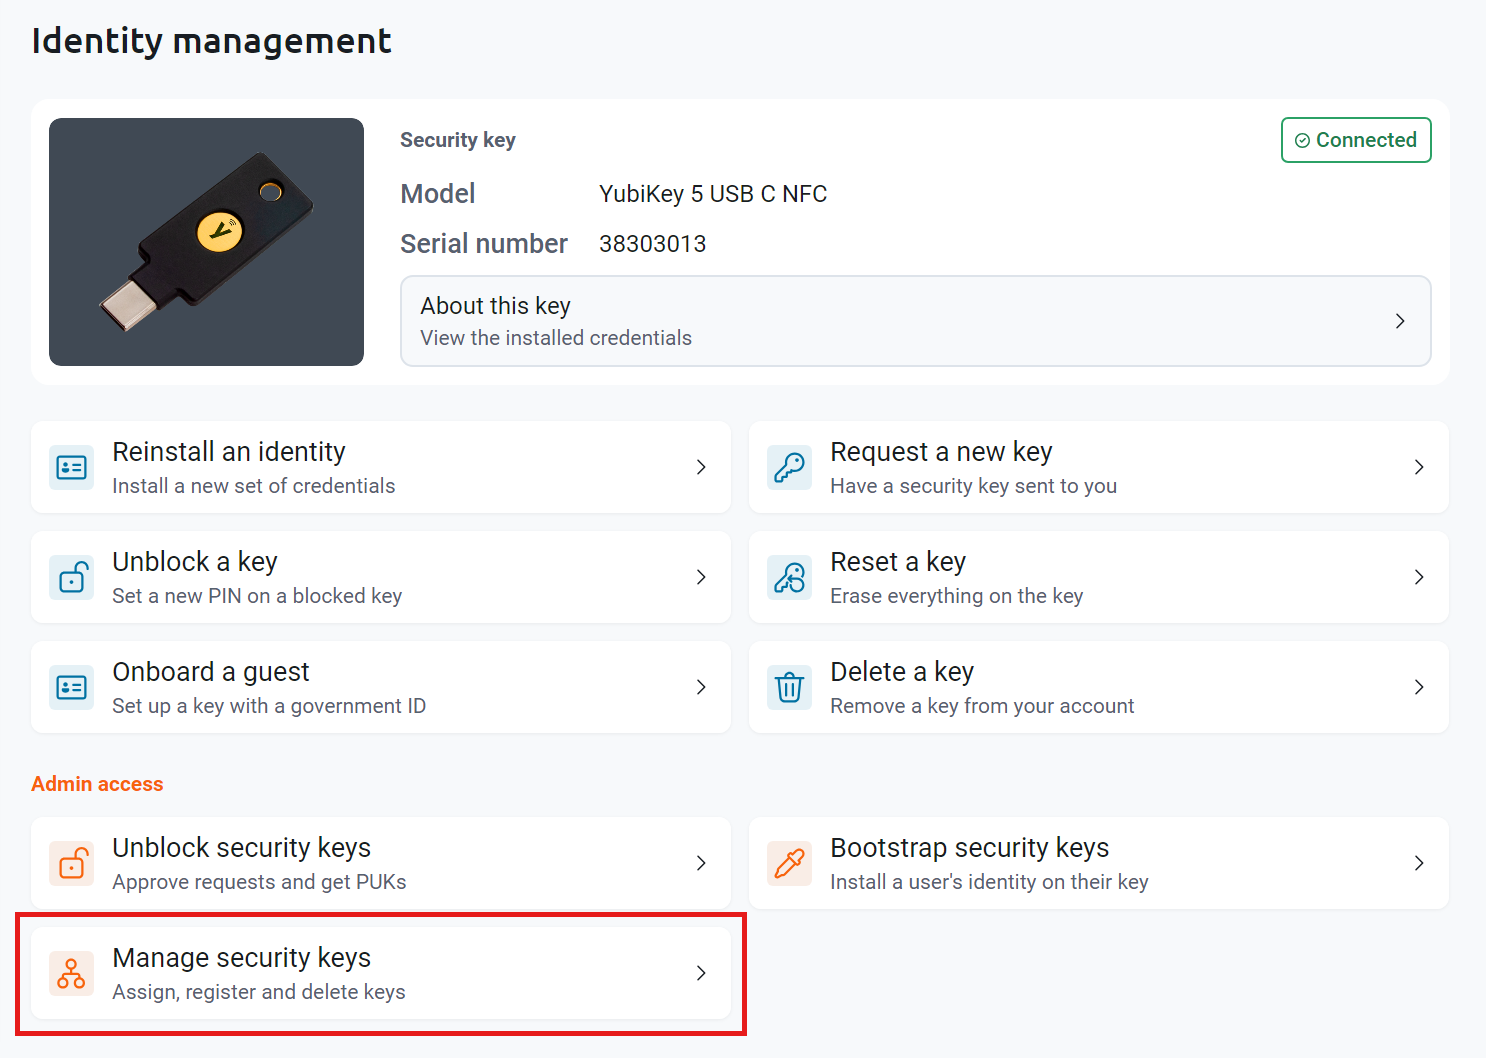
On the Identity management page, under Admin access, click Manage security keys.
-
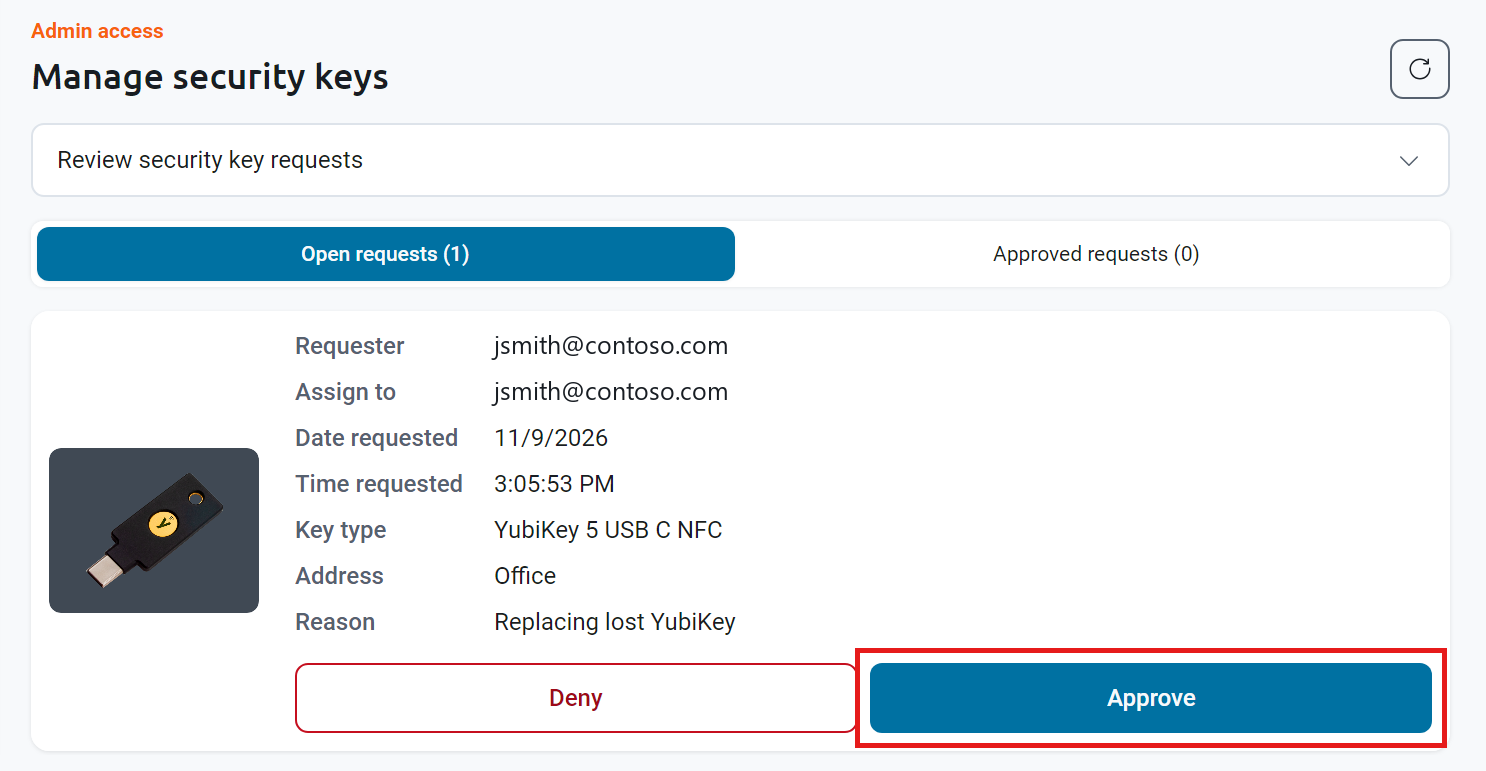
Under Open requests, review the request’s Requester, Assign to, Key type, Address, and Reason.
-
Click Approve, and then click Confirm. To reject the request instead, click Deny.
Step 3 - How to Assign a Security Key to the Request
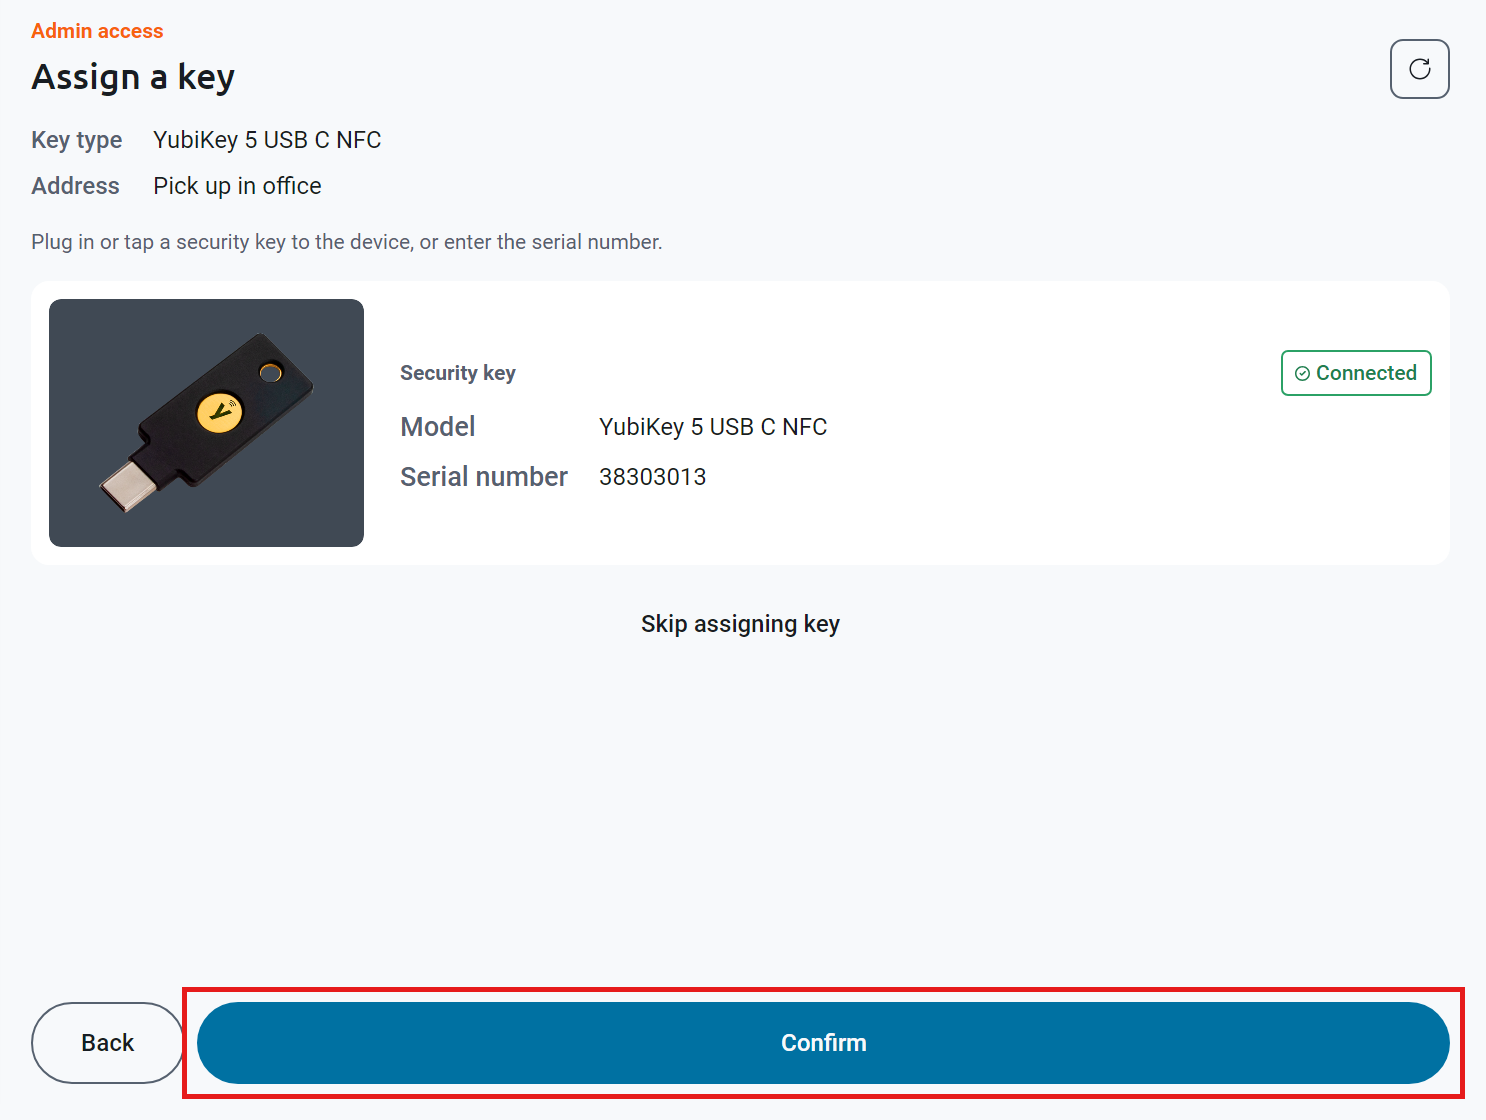
After you approve a request, Keytos Connect takes you to the Assign a key page.
-
Plug in or tap a security key of the requested Key type, or type its serial number in the Enter security key serial number box.
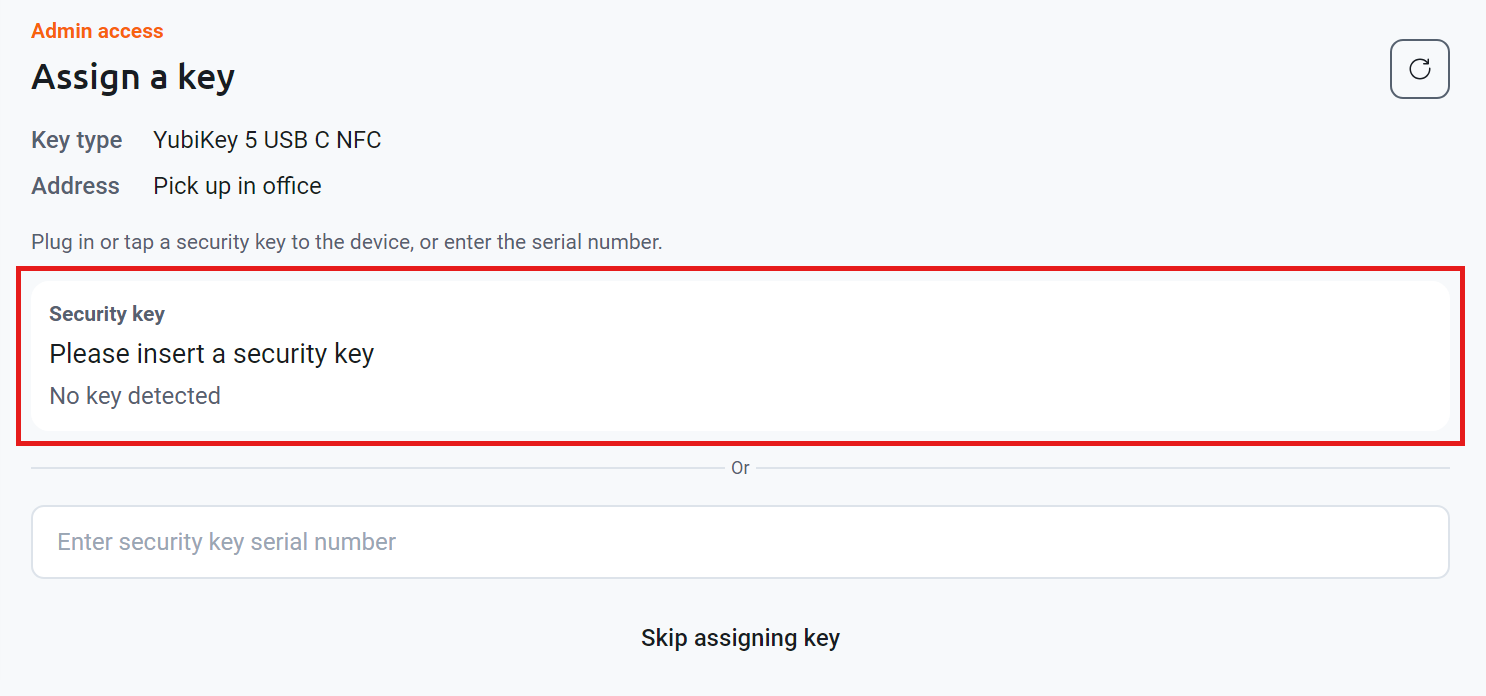
Don’t have a key in hand yet? Click Skip assigning key. The request moves to Approved requests, where you can click Assign later.
-
Check that the key shows as Connected and its Model matches the requested Key type, and then click Confirm.
-
Keytos Connect confirms the security key is assigned. Click Done, but don’t ship the key yet. Bootstrap it first.

Step 4 - How to Bootstrap the User’s Identity on the Security Key
-
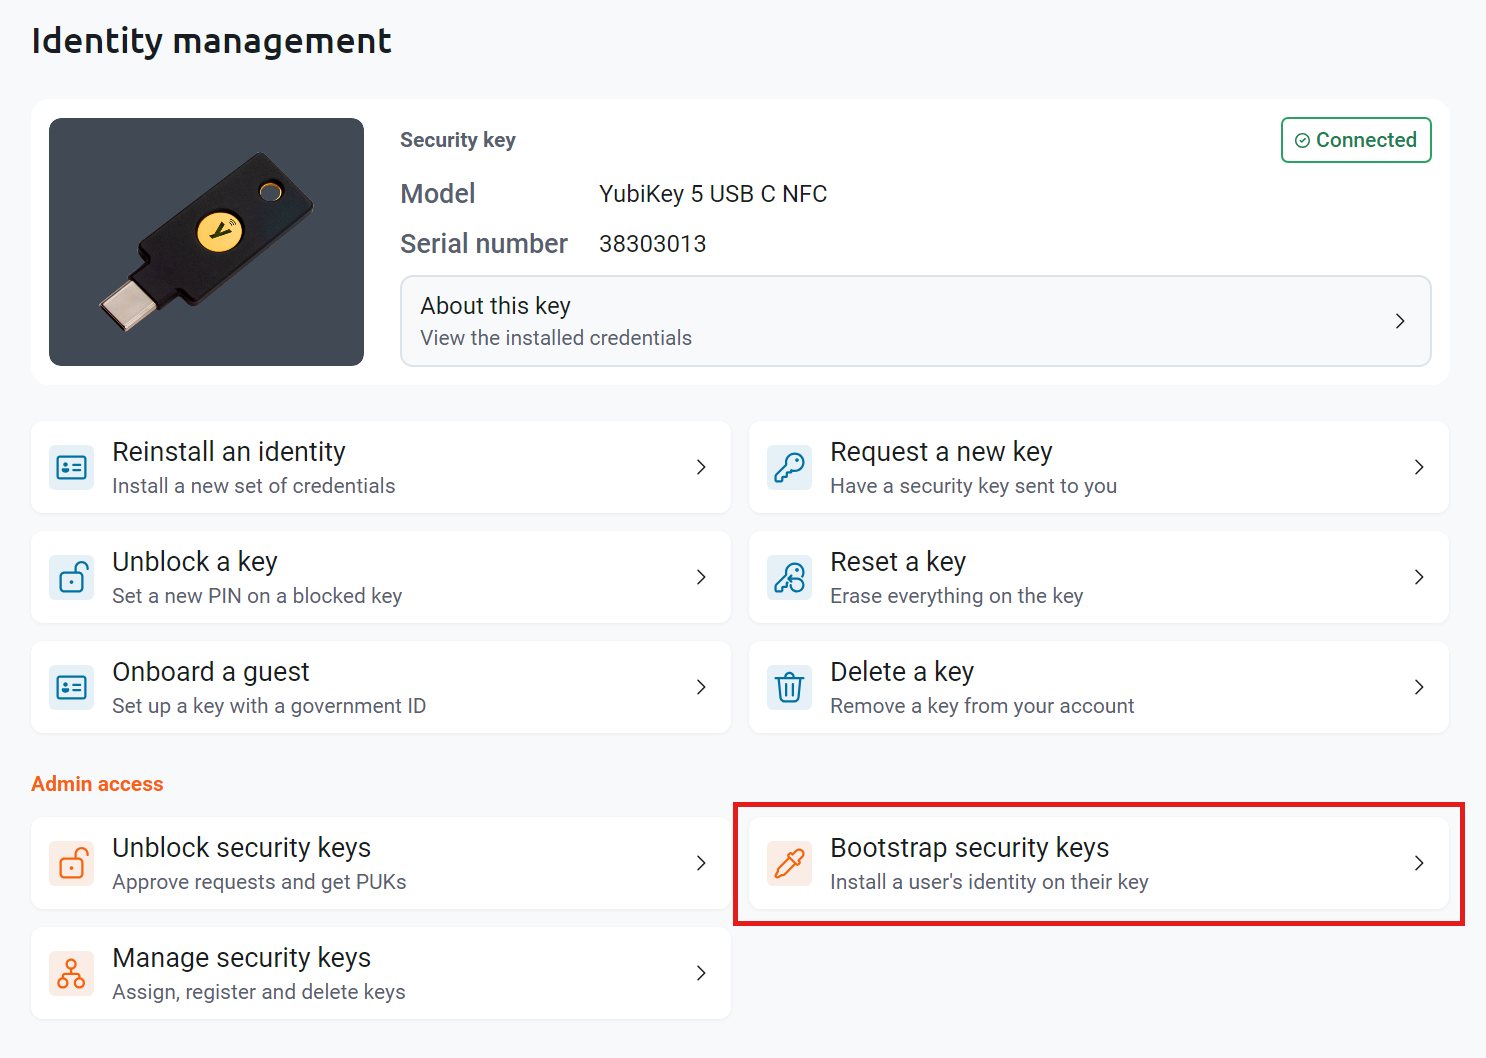
On the Identity management page, under Admin access, click Bootstrap security keys.
-
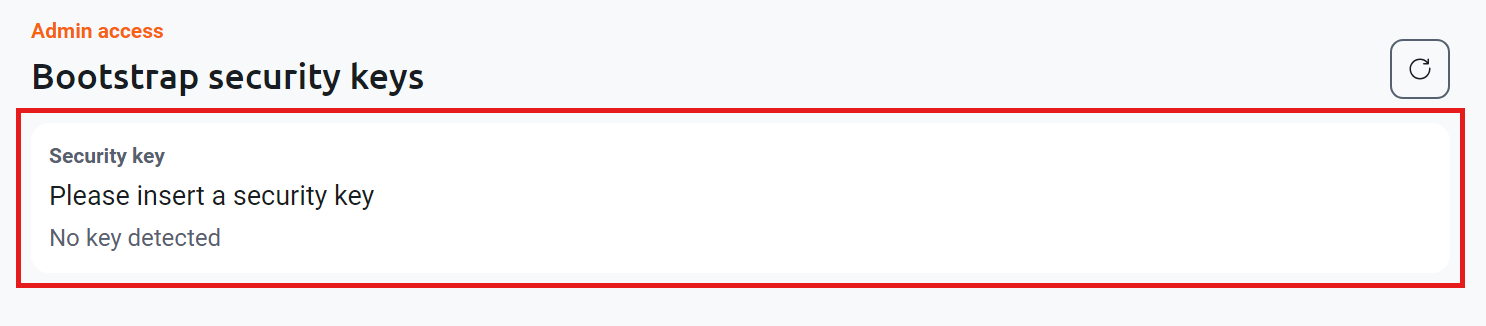
Plug in or tap the security key you assigned in Step 3.
-
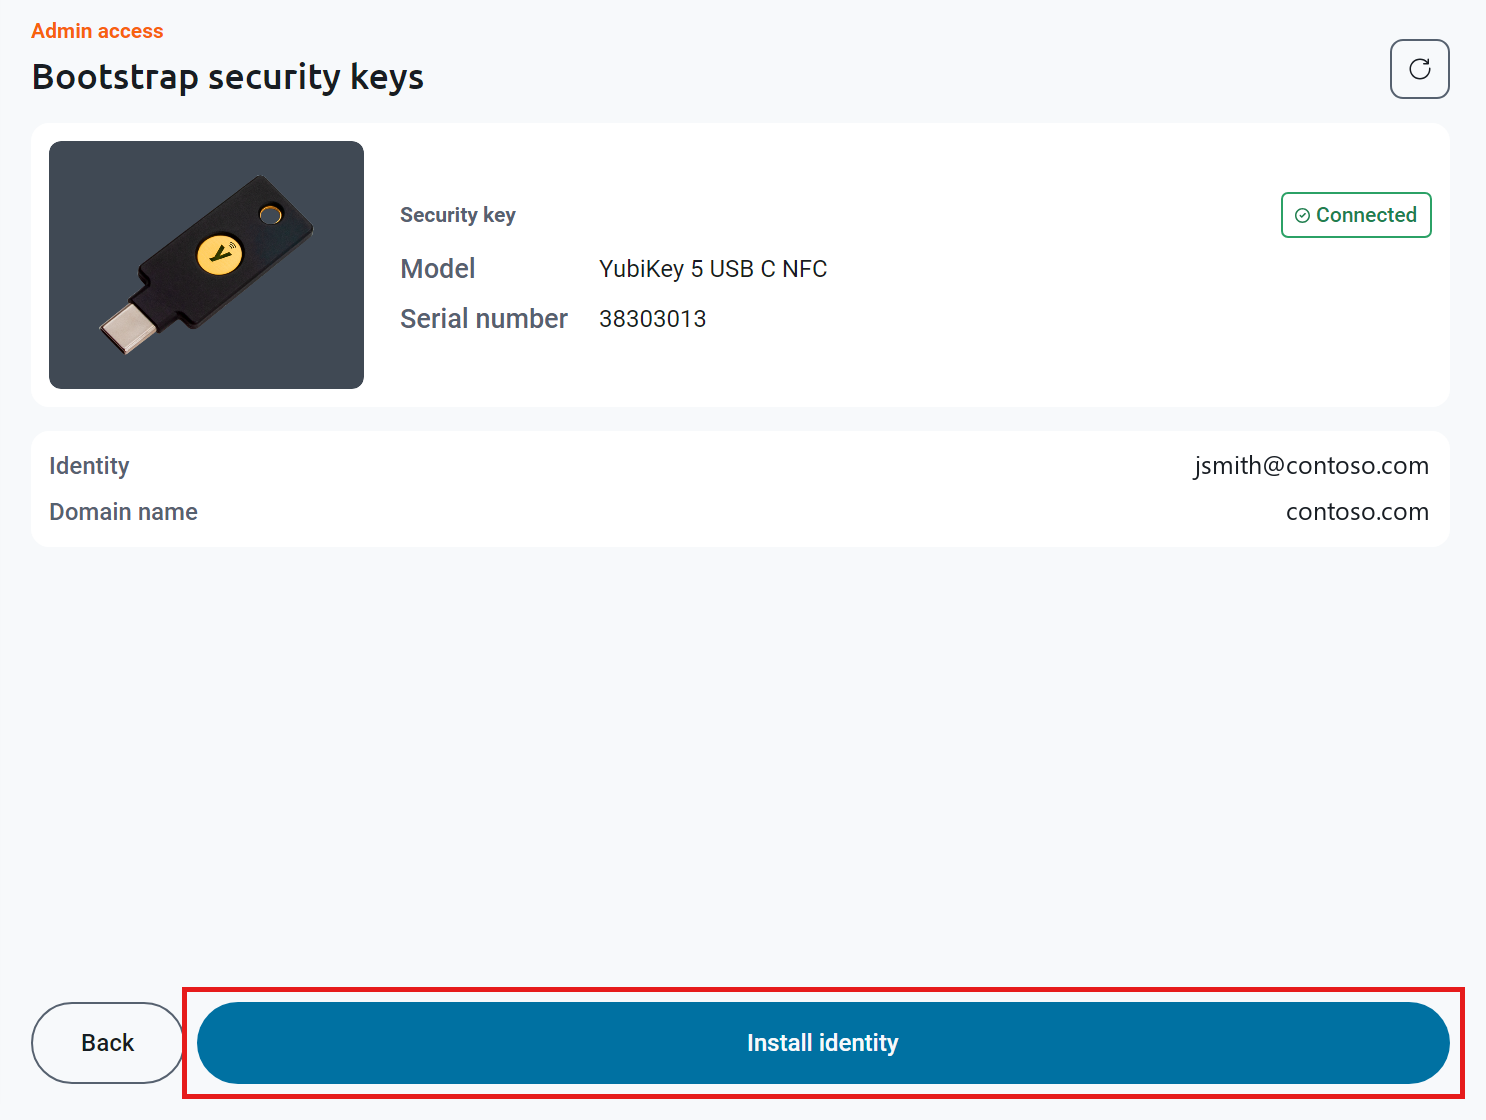
Check that the Identity and Domain name show the user the key is assigned to, and then click Install identity.
-
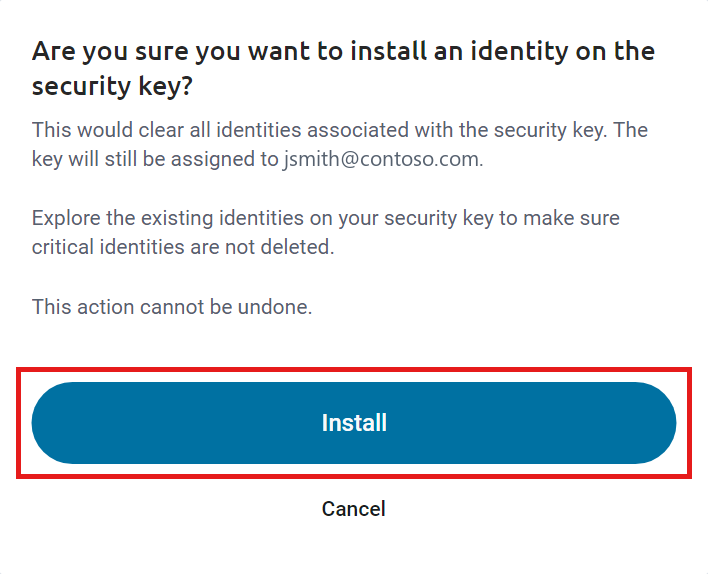
Read the confirmation, and then click Install.
Installing an Identity Erases the Security KeyInstalling an identity clears every identity already on the security key, and it can’t be undone. The key stays assigned to the user. If the key might already hold credentials someone needs, check its existing identities before you continue.
-
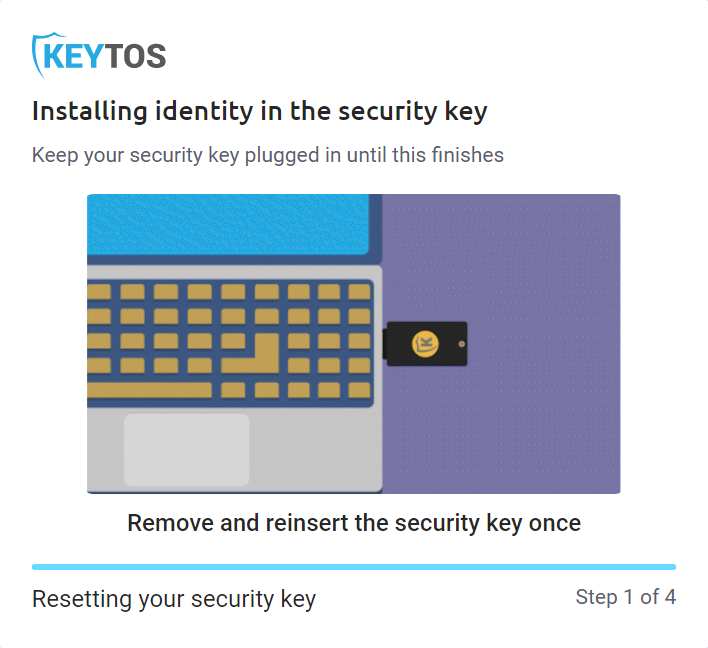
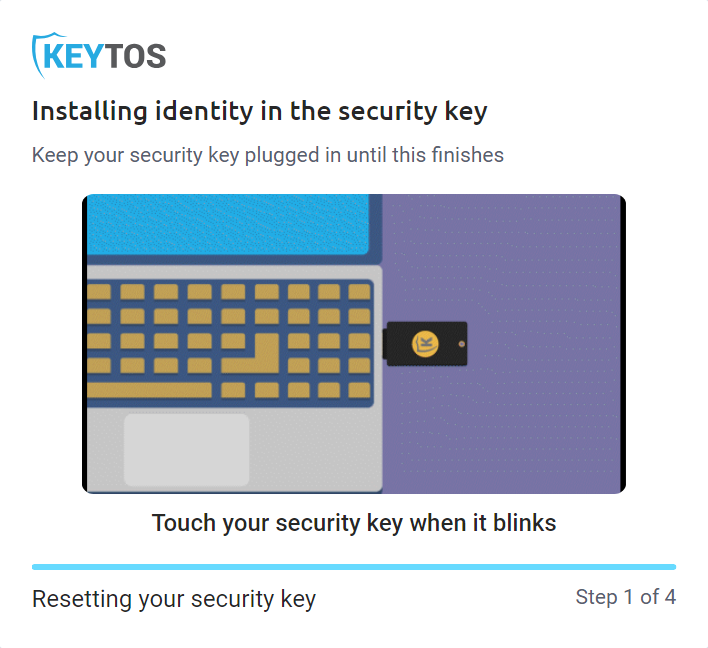
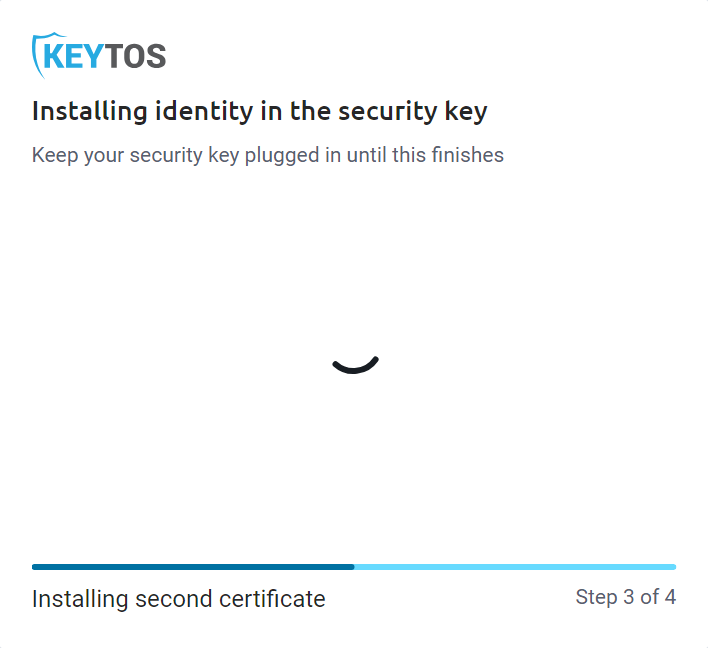
Keep the security key plugged in while Keytos Connect installs the identity in four steps. When prompted:
-
Remove and reinsert the security key once while Keytos Connect resets it.
-
Touch your security key when it blinks.
-
-
Wait while Keytos Connect installs the user’s certificates. When it finishes, it returns to the Bootstrap security keys page.
Step 5 - How to Get the Security Key to the User
- Unplug the security key and ship it to the address on the request, or hold it for pickup in the office.
- Let the user know their key is on the way. The key arrives Blocked, so before they can use it, the user requests an unblock and sets their own PIN in Keytos Connect.
- When the user’s unblock request comes in, approve it.